How to Draw a North Pole Sign (Easy Step by Step)
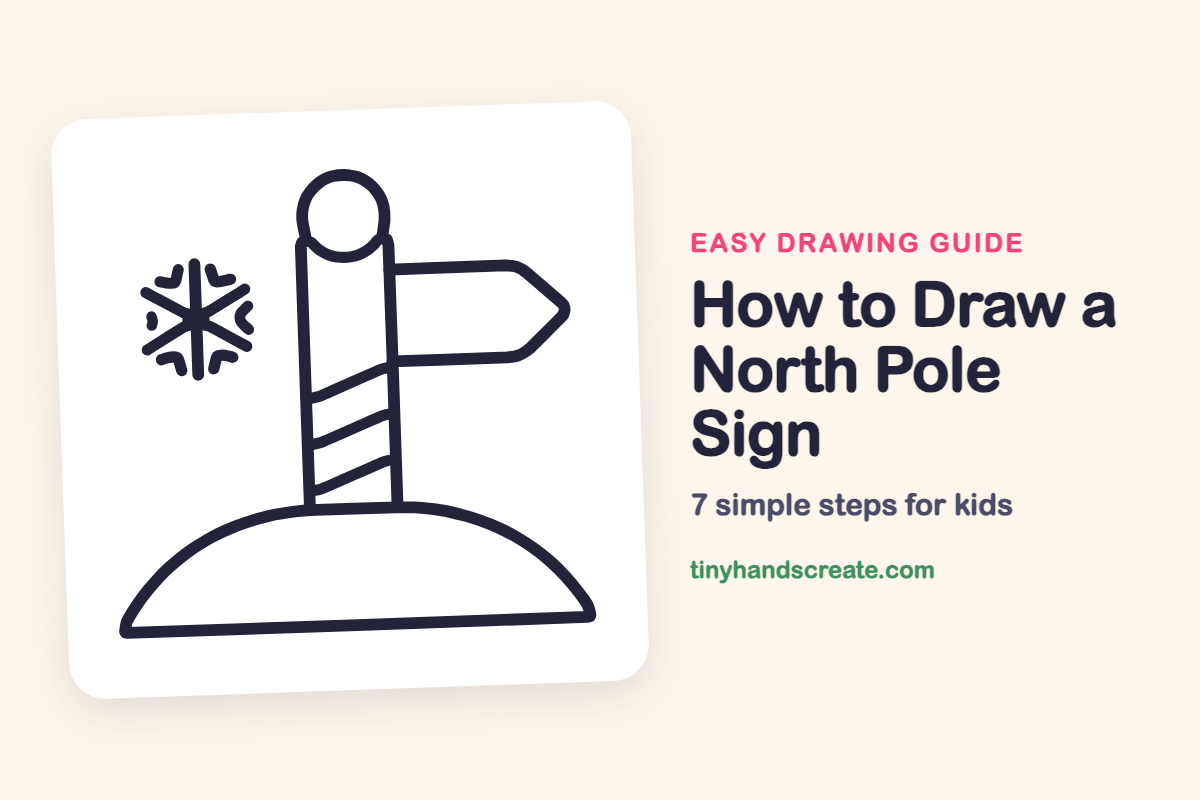
A North Pole sign is a fun picture to draw because it feels like a little story from a snowy world. It is built from simple shapes: a dome for the hill, a tall pole with a round ball on top, an arrow-shaped sign pointing the way, and a snowflake off to the side.
- Easy
- 12 minutes
- 7 steps
You need: paper, a pencil, an eraser, and crayons or markers for coloring.
Start drawingIn this article (7 sections)
How to draw a North Pole sign step by step
How to Draw a North Pole Sign · tinyhandscreate.com
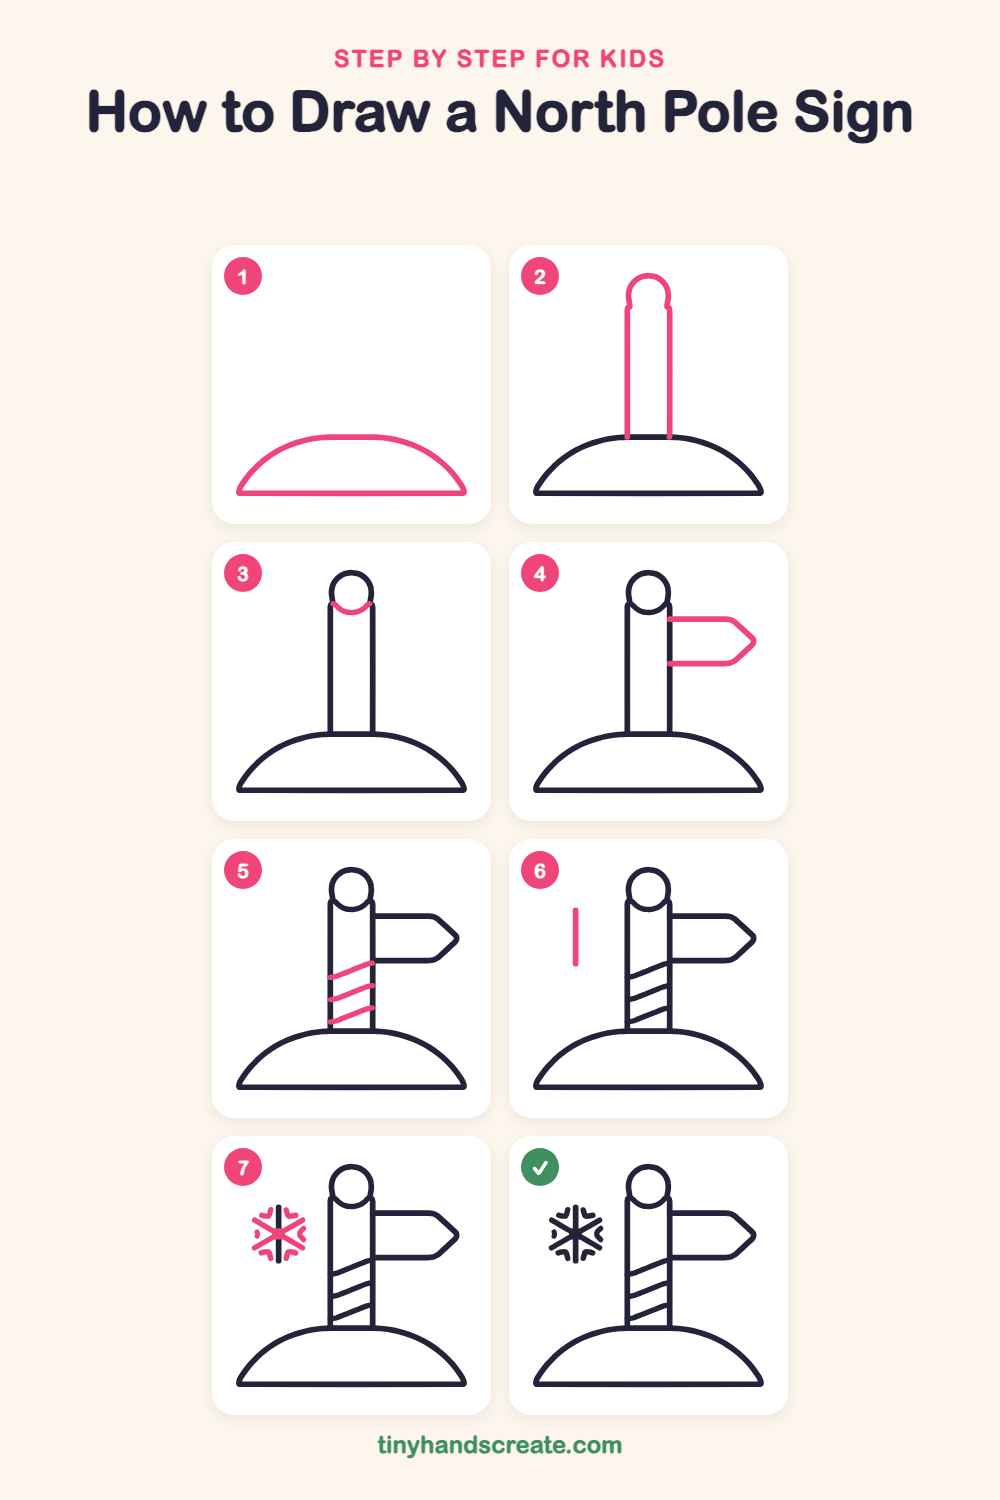
Step 1: The snowy hill
Draw a wide dome like half a circle sitting low on your page. Close it with a straight line along the bottom.
Step 2: The tall pole
Start at the top of the hill and draw two tall straight lines going up, side by side, the same distance apart. Join them at the top with a small rounded cap, like the top of a tall skinny tube.
Step 3: Bottom of the ball
Draw a short curved line like a smile across the bottom of the rounded top. This makes it look like a round ball sitting on the pole.
Step 4: The arrow sign
Start at the right side of the pole and draw a straight line going right. Draw a second straight line below it, then join both lines to a pointy arrow tip on the right.
Step 5: The candy stripes
Draw three short slanted lines across the pole, each one going up from left to right. Space them out evenly, like stripes on a candy cane.
Step 6: Snowflake middle line
Off to the left of the pole, draw one tall straight line going up and down. This is the center of your snowflake.
Step 7: Snowflake arms
Cross the tall line with two slanted lines that meet in the middle, making a star with six points. Then add a tiny V shape or curve near the tip of each point.
All done!
Go over your lines with a marker, then color it in.
Finished your North Pole sign? Keep the pencils out and learn how to draw a Christmas sweater or how to draw a Christmas tree truck next.
Tips for drawing a North Pole sign
- Draw the two sides of the pole with a steady hand and keep them the same distance apart all the way up.
- The candy stripes are the trickiest part. Tilt them all the same way, going up to the right, and space them evenly.
- Draw the snowflake's tall middle line first, then the two slanted lines that cross it. This keeps all six points even.
Free North Pole sign coloring page
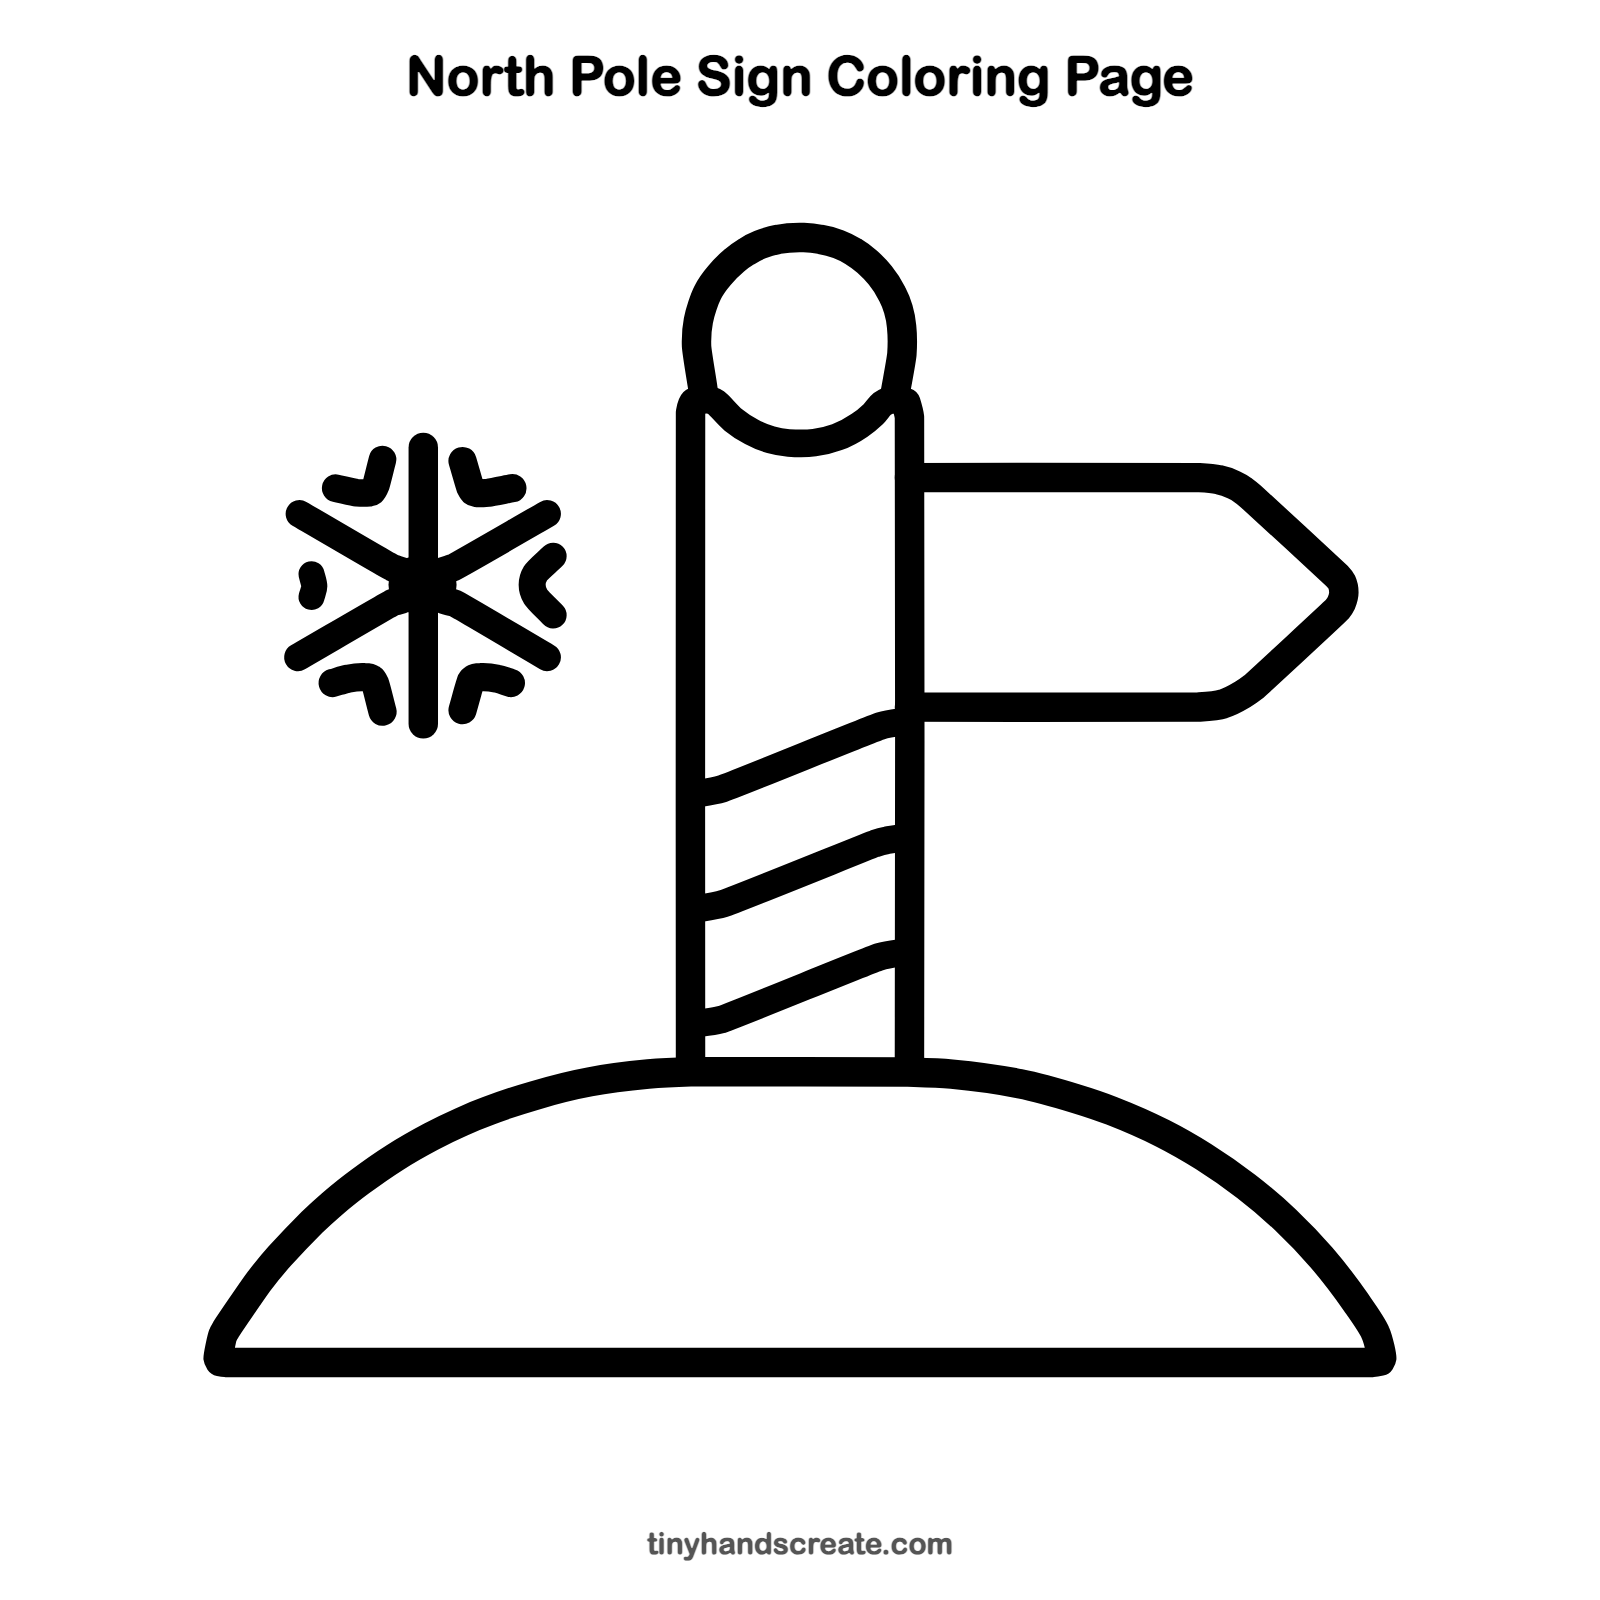
Want to go straight to coloring? Open this North Pole sign coloring page at full size and print it. It is the same drawing you just learned, with clean lines ready for crayons or markers.
How to color your North Pole sign drawing
Color the stripes on the pole red and white like a candy cane, the sign a warm brown, and the hill a soft icy blue. For a creative twist, write a funny message on the arrow, like 'Santa's workshop this way.'
North Pole sign fun fact for kids
The real North Pole is in the middle of the Arctic Ocean, which is covered with floating sea ice. The ice drifts around, so there is no land there to hold up a sign.
Questions about drawing a North Pole sign
What shapes do I need to draw a North Pole sign?
You need a half circle for the hill, a tall skinny rectangle for the pole, a rounded top for the ball, and a rectangle with a pointy end for the sign. The snowflake is just three crossing lines.
How do I make the stripes on the pole look right?
Draw each stripe as a short slanted line from the left side of the pole to the right side. Keep them parallel and evenly spaced, and they will look like they wrap around.
How can I make my North Pole sign look more festive?
Color the stripes on the pole in red and white like a candy cane, and use an icy blue for the hill. Writing a cheerful message on the arrow sign adds a holiday touch.