How to Draw an Ice Cream Cone (Easy Step by Step)
An ice cream cone is a great first drawing because it is built from a few simple shapes: two round scoops and a long pointed cone. Add two dots and a curved smile and your cone becomes a happy little friend.
- Easy
- 10 minutes
- 7 steps
You need: paper, a pencil, an eraser, and crayons or markers for coloring.
Start drawingIn this article (7 sections)
How to draw an ice cream cone step by step
How to Draw an Ice Cream Cone · tinyhandscreate.com
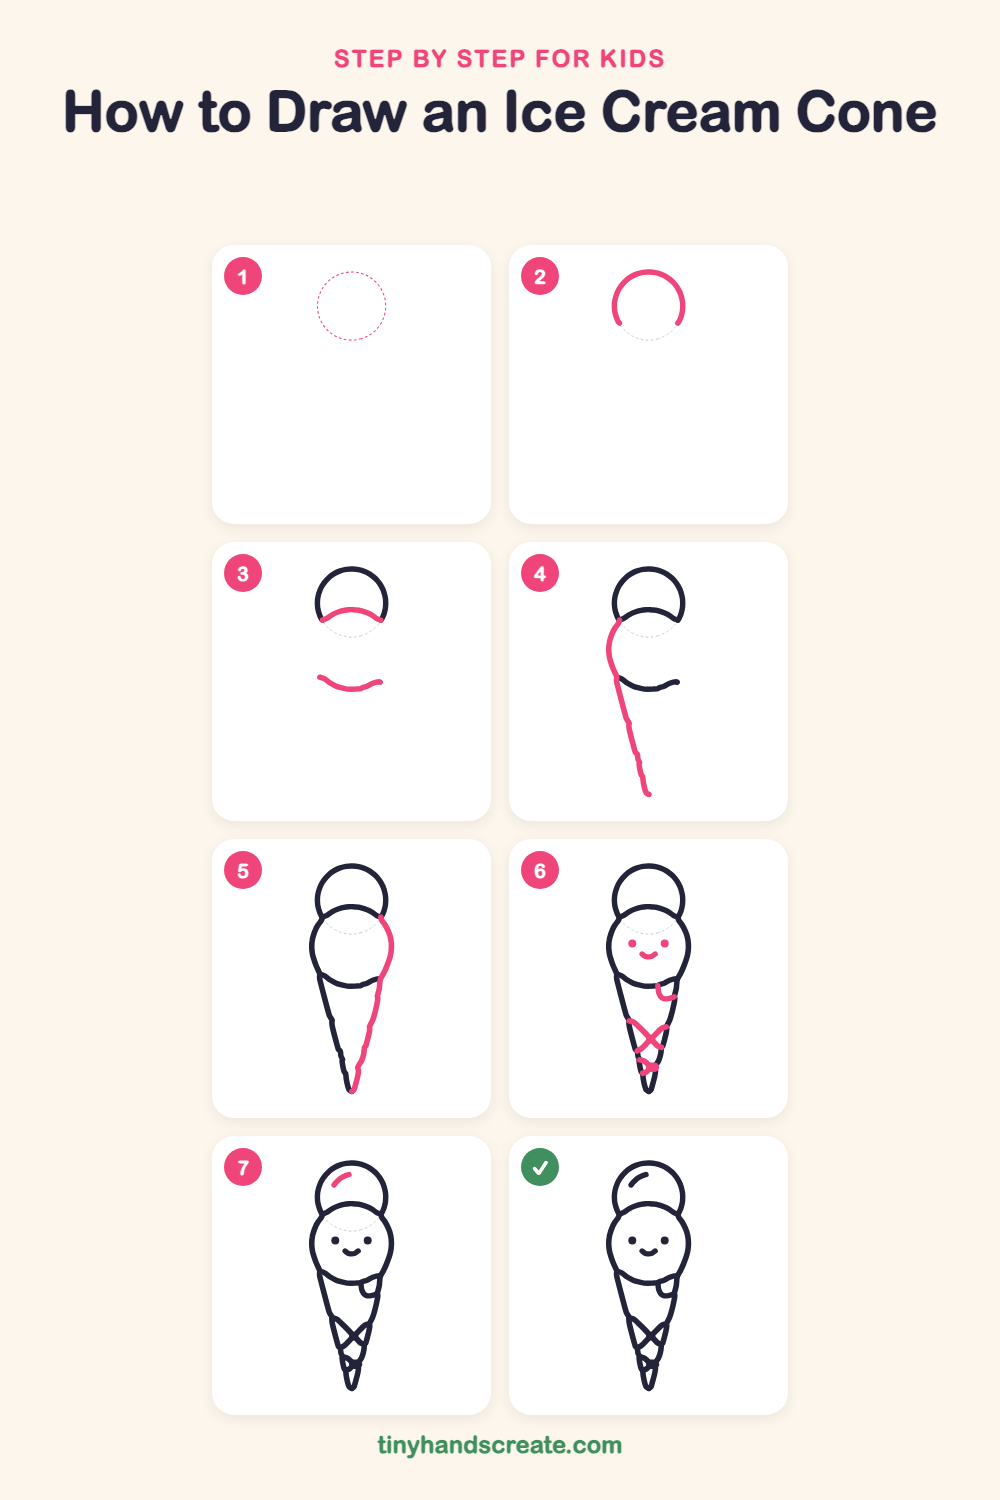
Step 1: Guide shapes
Lightly sketch this oval. It only shows where the big parts go, so press softly. You will erase it at the end.
Step 2: Top of back scoop
Near the top of your paper, draw a curved line shaped like an upside-down U, like the top of a circle. Leave the bottom open, because the next step closes it.
Step 3: Scoop bottoms
Join the two ends of your U with a gentle curve that bows upward, like a little hill. Then, lower down, draw a separate smile-shaped curve that will be the bottom of the front scoop.
Step 4: Left side of cone
Start where the left end of the hill curve meets the back scoop. Curve out and down around the left side of the front scoop, join the left end of the smile curve, then slant straight down toward a point near the bottom of the paper.
Step 5: Right side of cone
Start at the right end of the hill curve and curve out around the right side of the front scoop. Join the right end of the smile curve, then slant down to meet the left side at the pointy tip of the cone.
Step 6: Face, drip and waffle
Draw two small dots for eyes and a little curved smile on the front scoop. Add a small curled drip on the right side where the scoop meets the cone. Then draw a few crossing lines on the cone to make a waffle pattern.
Step 7: The shiny spot
Draw one short curved line inside the upper left of the back scoop. It makes the ice cream look shiny.
All done!
Erase the guide shapes, go over your lines, then color it in.
Finished your ice cream cone? Keep the pencils out and learn how to draw a donut or how to draw a slice of pizza next.
Tips for drawing an ice cream cone
- Draw the back scoop first and the front scoop second, so the front scoop overlaps it. Overlapping is what makes the scoops look stacked.
- The cone is the trickiest part. Keep both sides straight and slanted, and aim them at one point below the scoop so they meet in a neat tip.
- Draw the waffle lines so they cross over the cone, and keep the crossings near the bottom smaller because the cone gets narrower.
Free ice cream cone coloring page
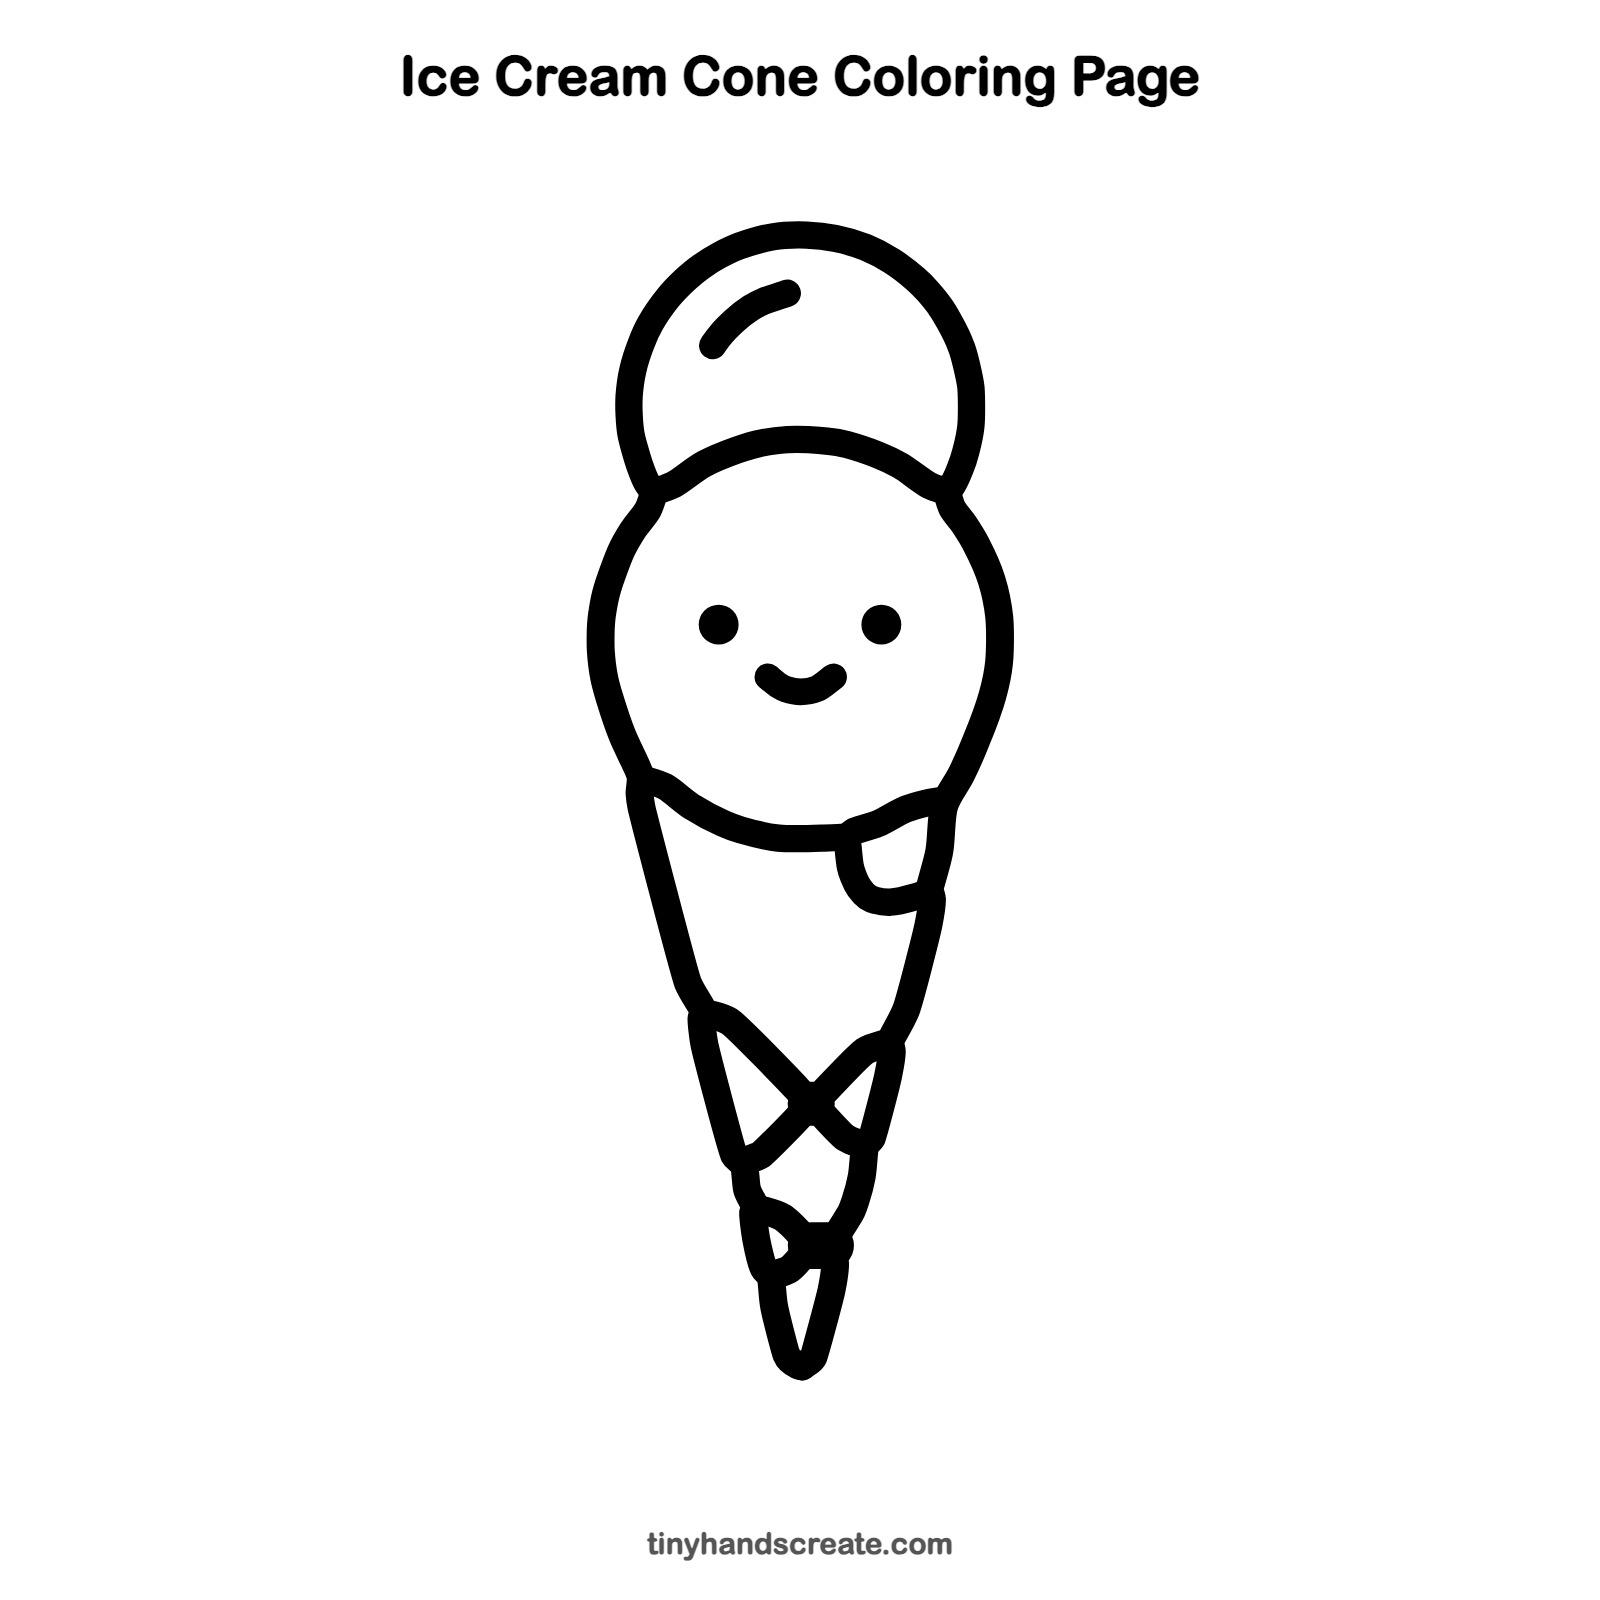
Want to go straight to coloring? Open this ice cream cone coloring page at full size and print it. It is the same drawing you just learned, with clean lines ready for crayons or markers.
How to color your ice cream cone drawing
Try pink and mint green scoops with a golden brown cone. Leave the shiny spot white, and give each scoop a different flavor if you like.
Ice cream cone fun fact for kids
Vanilla, the flavor in many ice creams, comes from the seed pods of a kind of orchid plant.
Questions about drawing an ice cream cone
What shapes do I need to draw an ice cream cone?
You need two round scoops and one long cone that points down. A few crossing lines make the waffle pattern.
How do I make my ice cream cone look cuter?
Give the front scoop two small dot eyes and a little smile. Round shapes and a big smile make it look friendly.
How do I draw the cone so it looks straight?
Draw one side first, then the other, and let both lines meet at a point at the bottom. Draw slowly and lightly first, then go over the lines.