How to Draw a Hand Holding a Seedling (Easy Step by Step)
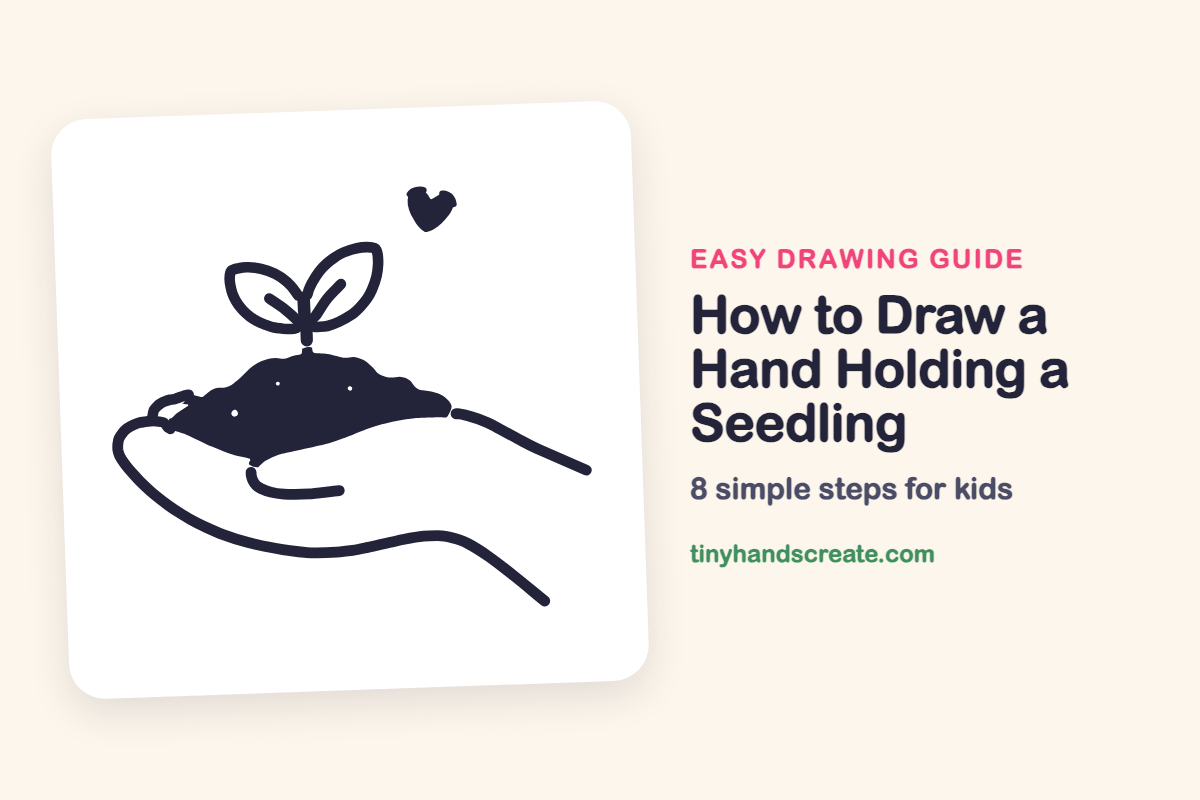
A hand holding a tiny plant says growing and caring without a single word. It is built from just a few easy shapes: long wavy lines for the hand, a lumpy hill for the soil, two pointy ovals for leaves, and a small heart.
- Easy
- 10 minutes
- 8 steps
You need: paper, a pencil, an eraser, and crayons or markers for coloring.
Start drawing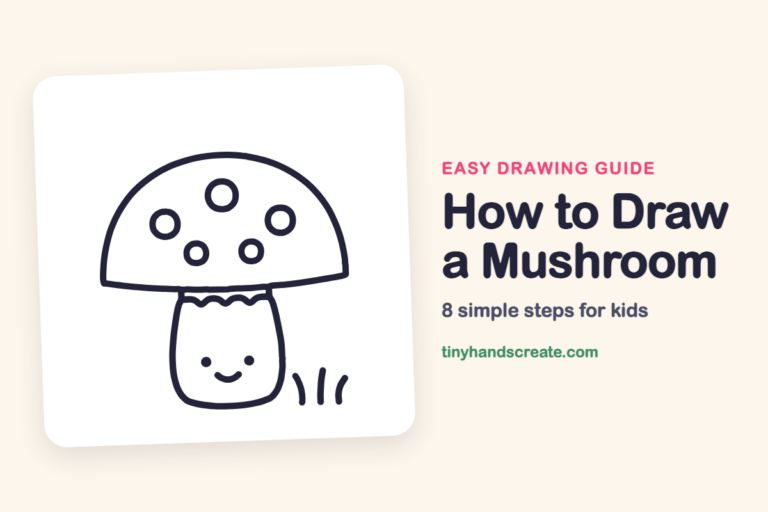
In this article (7 sections)
How to draw a hand holding a seedling step by step
How to Draw a Hand Holding a Seedling · tinyhandscreate.com
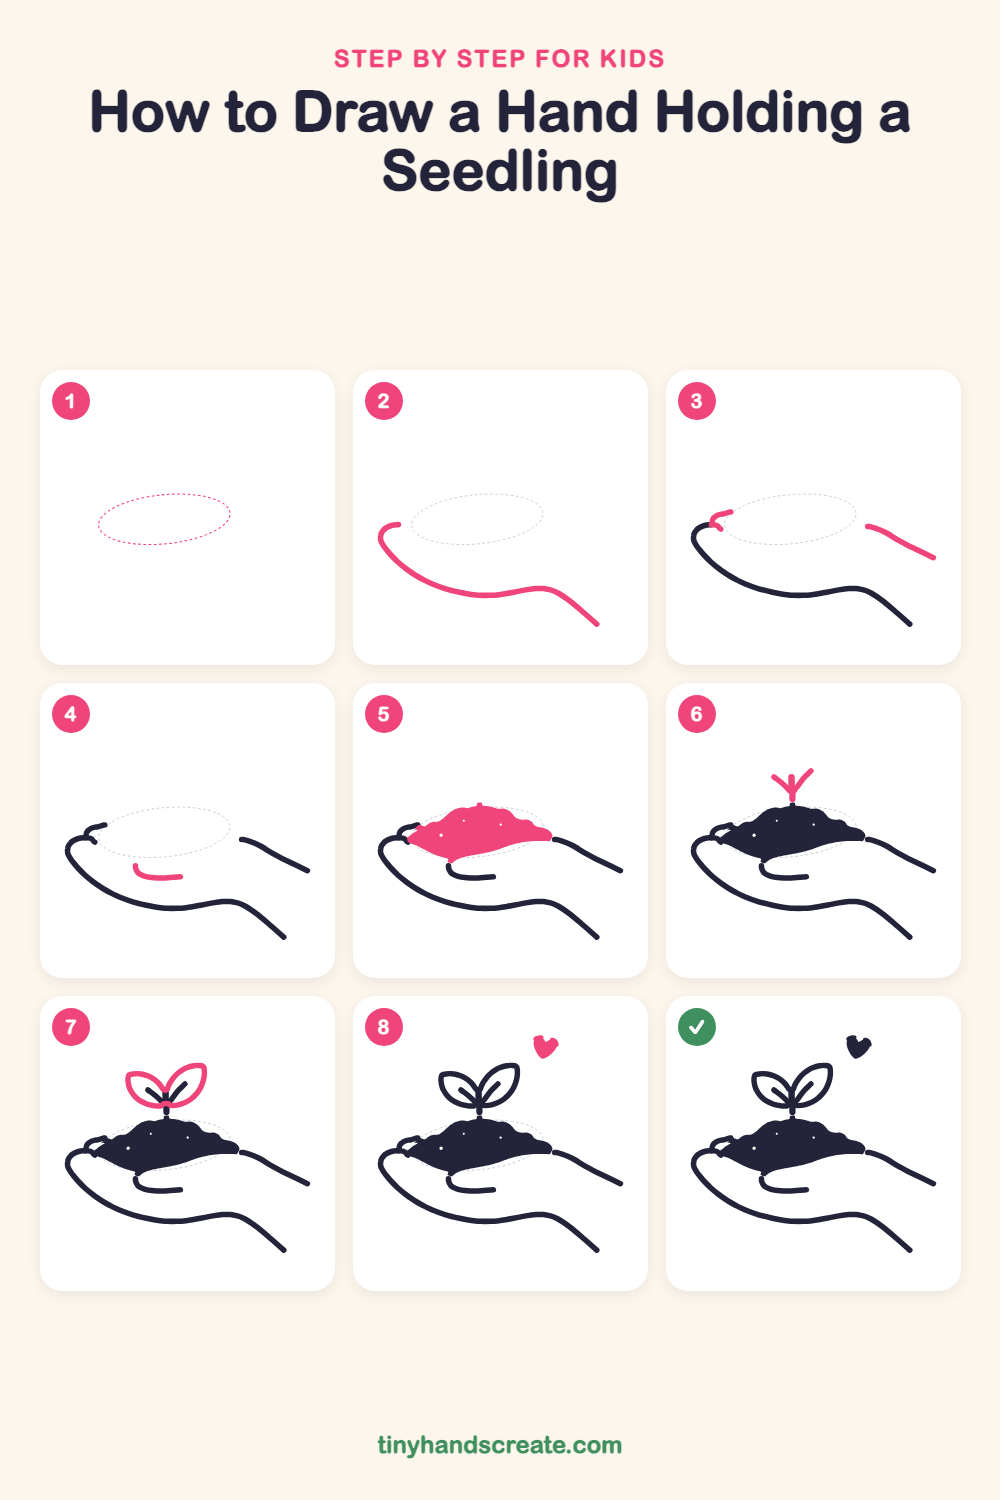
Step 1: Guide shapes
Lightly sketch this oval. It only shows where the big parts go, so press softly. You will erase it at the end.
Step 2: Hand's underside
Start at the left with a small hook, then curve down and draw one long, gentle wave sweeping to the right, like a smooth slide. Finish with the line sloping down toward the lower right.
Step 3: Fingertip curl and wrist
At the top left, draw a tiny curl that sits on the hook, like a little fingertip. Then, on the right side, draw a short slanting line that heads down and to the right.
Step 4: Curved palm line
Below the middle of the hand, draw a short curve that starts at the top, dips down, and then slides to the right, like a smile lying on its side.
Step 5: The soil mound
Draw a lumpy hill sitting on the hand, wide at the bottom and bumpy on top, and fill it in solid. Leave a few tiny dots unfilled for pebbles.
Step 6: Stem and sprout
Draw a short straight stem growing up from the top of the soil. At the top of the stem, add two little lines that branch out, like the letter Y.
Step 7: The two leaves
Draw a pointy oval leaf on the left, starting at the top of the stem and curving out and back. Make a matching leaf on the right, tilted the other way, and add a short line inside each leaf.
Step 8: The little heart
Up in the sky, to the right of the plant, draw two small bumps side by side. Join them with a point at the bottom, then fill the heart in.
All done!
Erase the guide shapes, go over your lines, then color it in.
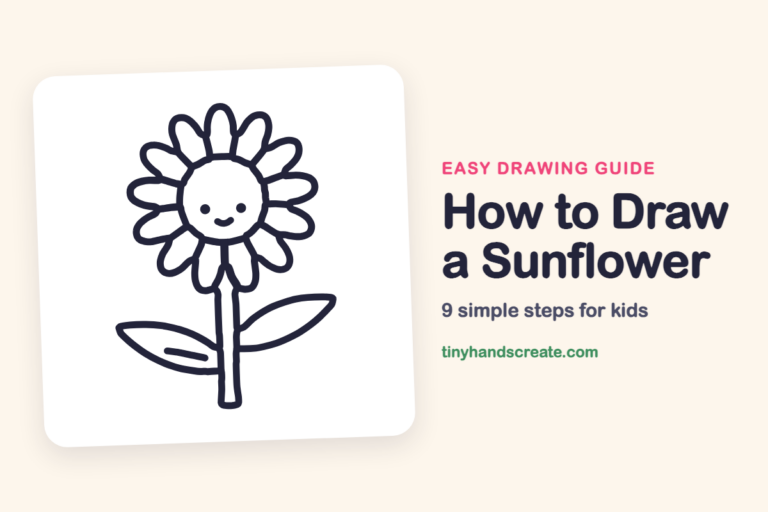
Finished your hand holding a seedling? Keep the pencils out and learn how to draw a mushroom or how to draw a sunflower next.
Tips for drawing a hand holding a seedling
- Draw the hand's long curves in one smooth, slow motion instead of tiny scratchy lines. The wave along the bottom is the trickiest part, so practice it once on scrap paper.
- Sketch the soil as a lumpy hill, not a perfect half circle. Bumpy edges make it look like real dirt.
- Draw both leaves as pointy ovals that start at the top of the stem. Make the second leaf a little different in size so it looks alive.
Free hand holding a seedling coloring page
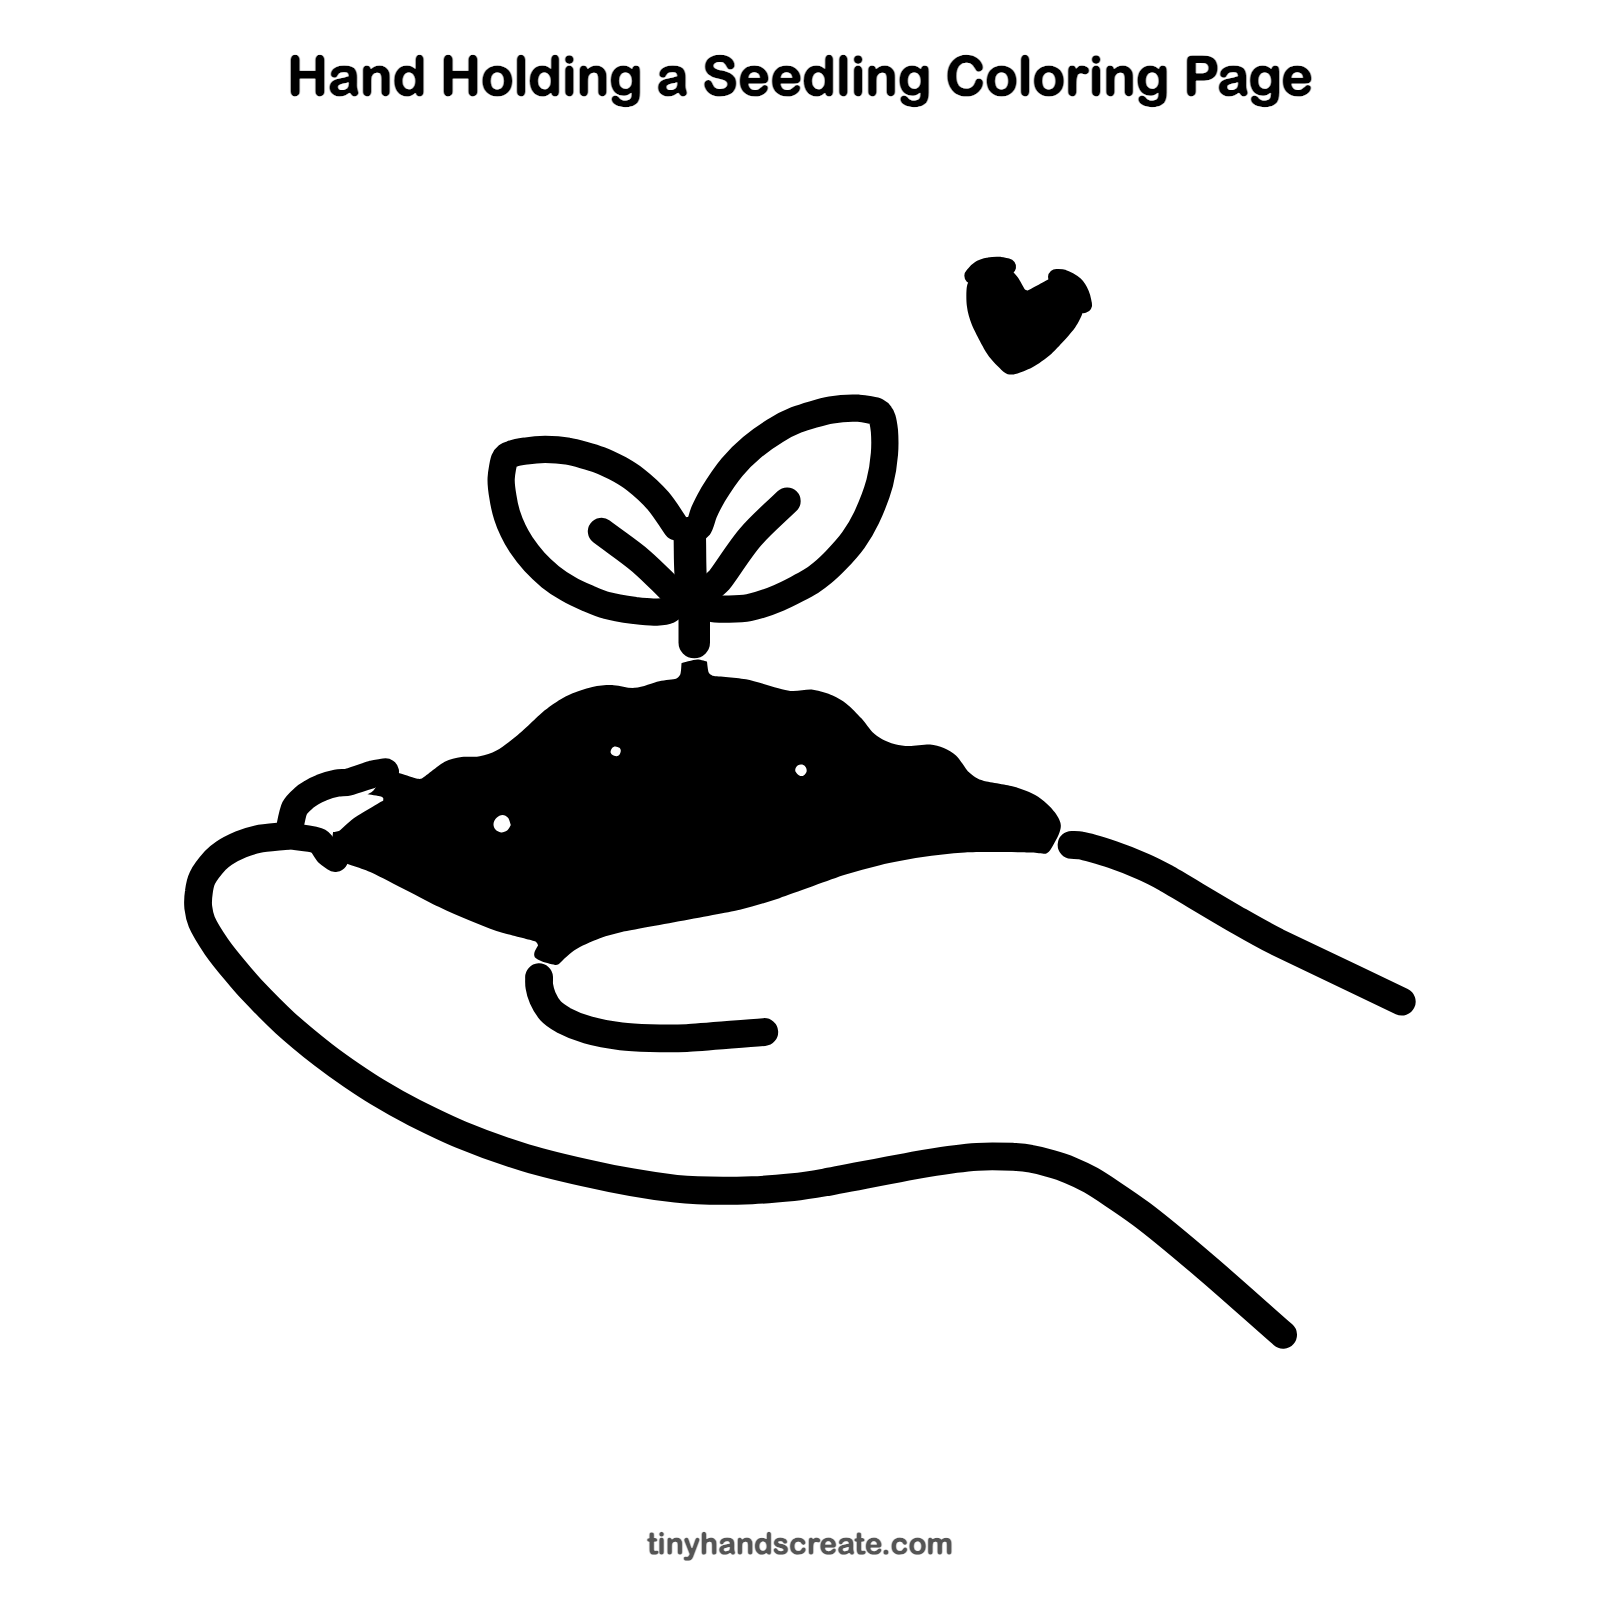
Want to go straight to coloring? Open this hand holding a seedling coloring page at full size and print it. It is the same drawing you just learned, with clean lines ready for crayons or markers.
How to color your hand holding a seedling drawing
Try dark brown for the soil, bright green for the leaves, and a warm skin tone for the hand, with a red or pink heart. For a creative twist, add a sky color behind the plant.
Hand holding a seedling fun fact for kids
The first two little leaves that pop out of many sprouting seeds are called seed leaves, or cotyledons. They help feed the baby plant until its real leaves grow.
Questions about drawing a hand holding a seedling
What shapes do I need to draw a hand holding a seedling?
You need long wavy lines for the hand, a lumpy hill shape for the soil, two pointy ovals for the leaves, and a small heart. A short straight line makes the stem.
How do I make the hand look natural?
Use long, smooth curves and do not worry about drawing every finger. A small curl at the top and a short curved line in the palm are enough to show an open, gentle hand.
How do I make my seedling look cuter?
Make the leaves a bit big compared to the stem, and add a little heart floating above the plant.