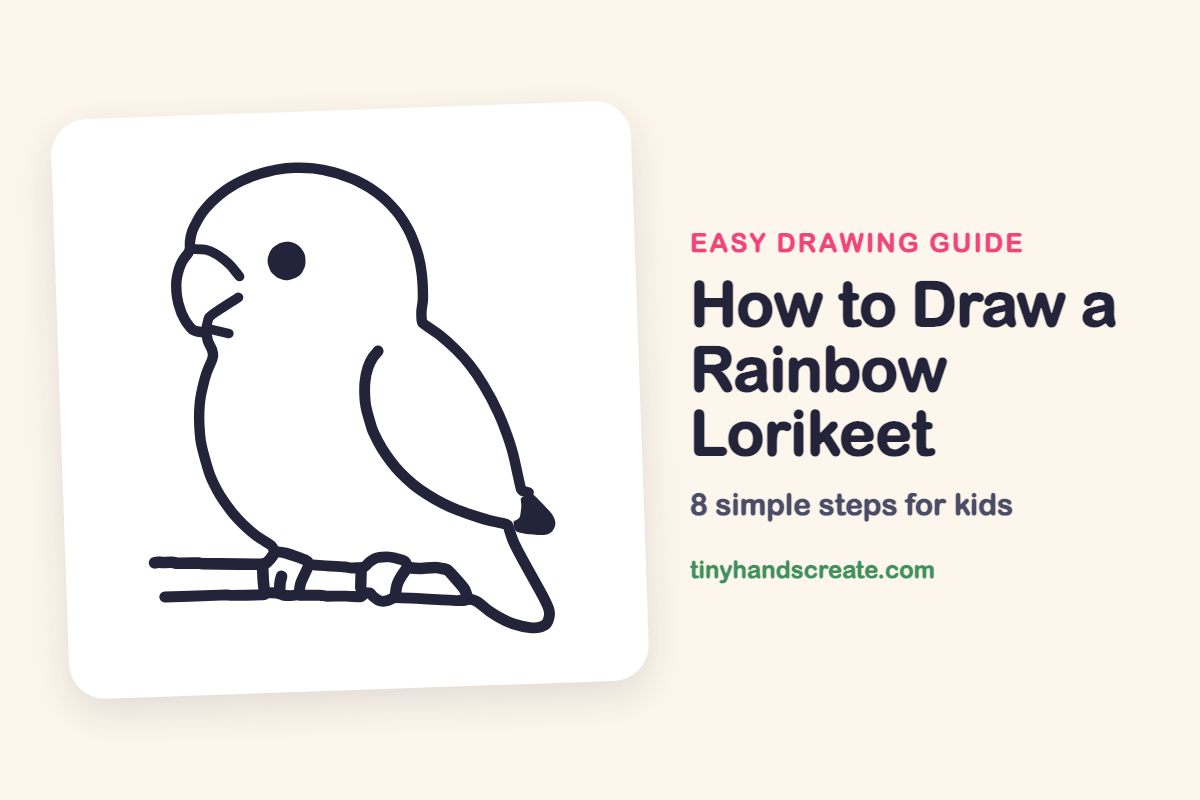
How to Draw a Rainbow Lorikeet (Easy Step by Step)
A rainbow lorikeet is a chubby, cheerful bird, and this one is made from soft, rounded lines. You will draw a big dome for the head, a curved chest, and a leaf-shaped wing with a tail. Then you add a hooked beak, a round eye, and tiny toes that grip a branch.
- Easy
- 12 minutes
- 8 steps
You need: paper, a pencil, an eraser, and crayons or markers for coloring.
Start drawing


In this article (7 sections)
How to draw a rainbow lorikeet step by step
How to Draw a Rainbow Lorikeet · tinyhandscreate.com
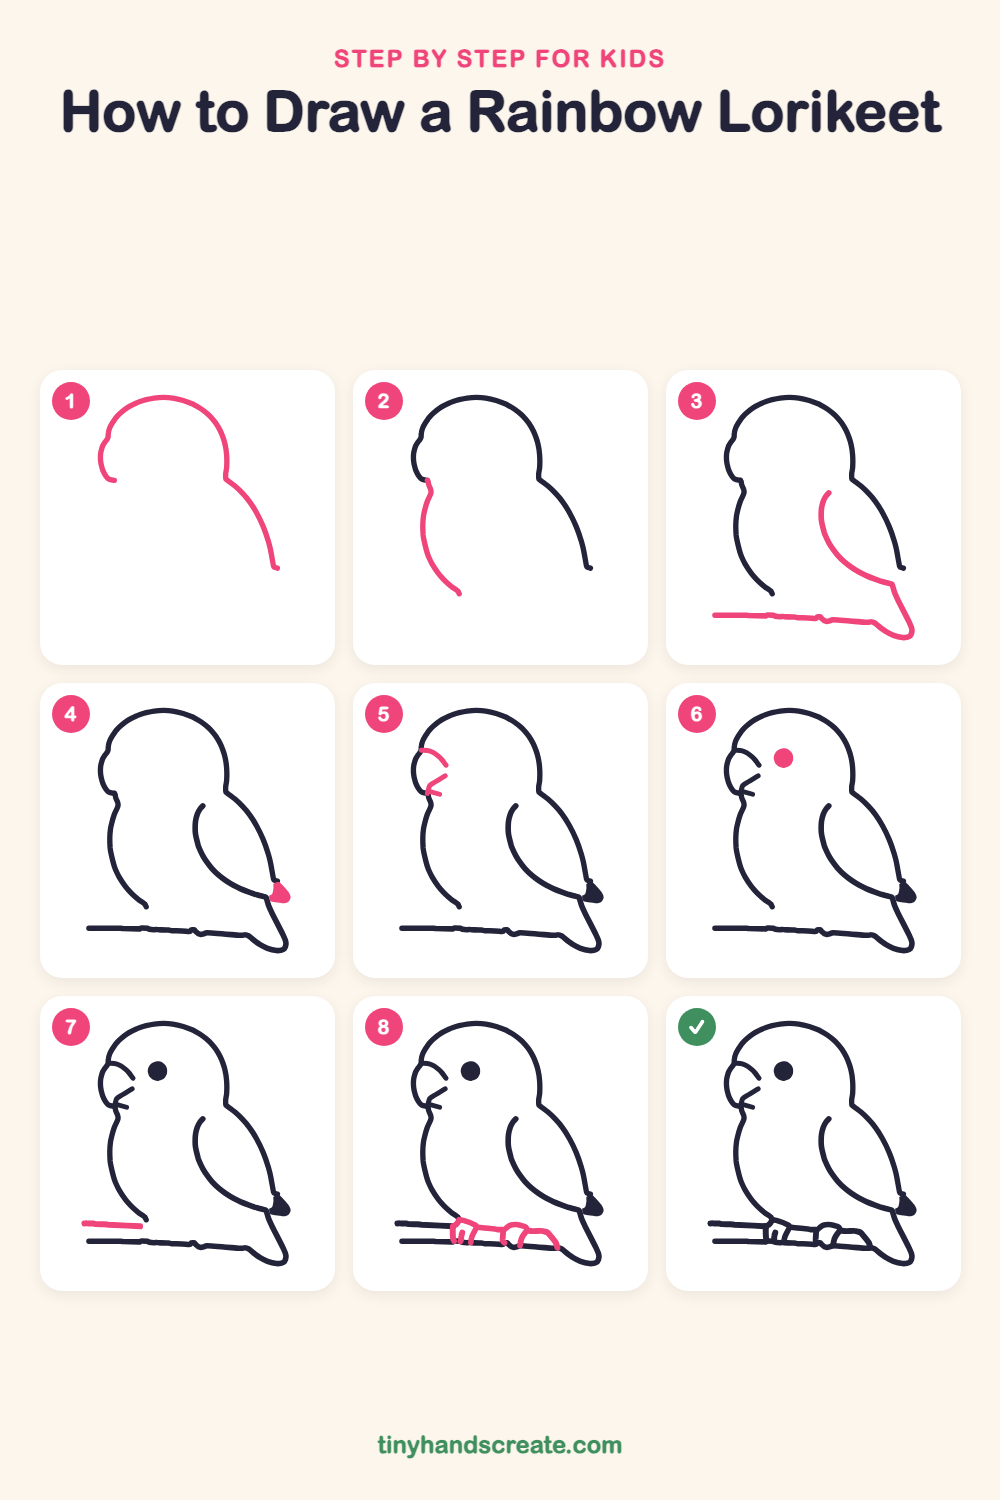
Step 1: The head and back
Start with a big round dome for the head. Draw it curving over the top and down the right side, then let the line slope out into the back. Add a little curve on the left for the forehead.
Step 2: The chest line
Draw a curved line for the chest and tummy. Start under the beak on the left and curve down and to the right until it ends at the bottom of the belly.
Step 3: Wing, tail and branch
Draw a long curve inside the body for the wing, like a leaf pointing down. Let it run down into the tail and end in a rounded tip, then draw a long, nearly straight line from the tail tip going left for the bottom of the branch.
Step 4: The tail base
Fill in a little triangle at the top of the tail, where the back meets the tail feathers. Color it in solid.
Step 5: The beak
Draw a curved hook on the left of the face for the top of the beak. Add a small bent line below it for the open mouth.
Step 6: The eye
Draw a round dot for the eye, up and to the right of the beak. Color it in dark.
Step 7: The top of the branch
Draw one long, nearly straight line just above the first branch line, starting at the left end. Keep the two lines close together so they make a branch.
Step 8: Feet and toes
Draw two little feet resting on the branch. Add small curved toes on each foot that wrap over the branch.
All done!
Go over your lines with a marker, then color it in.
Finished your rainbow lorikeet? Keep the pencils out and learn how to draw a fox or how to draw a hedgehog next.
Tips for drawing a rainbow lorikeet
- Draw the head dome first and let the line slide into the back, so the head and body flow together smoothly.
- The wing is a long curved leaf shape. Start at the top and sweep down into the tail, and it will look great.
- The toes are the trickiest part. Draw each foot as a small bump on the branch first, then add two little curved toes over it.
Free rainbow lorikeet coloring page
Want to go straight to coloring? Open this rainbow lorikeet coloring page at full size and print it. It is the same drawing you just learned, with clean lines ready for crayons or markers.
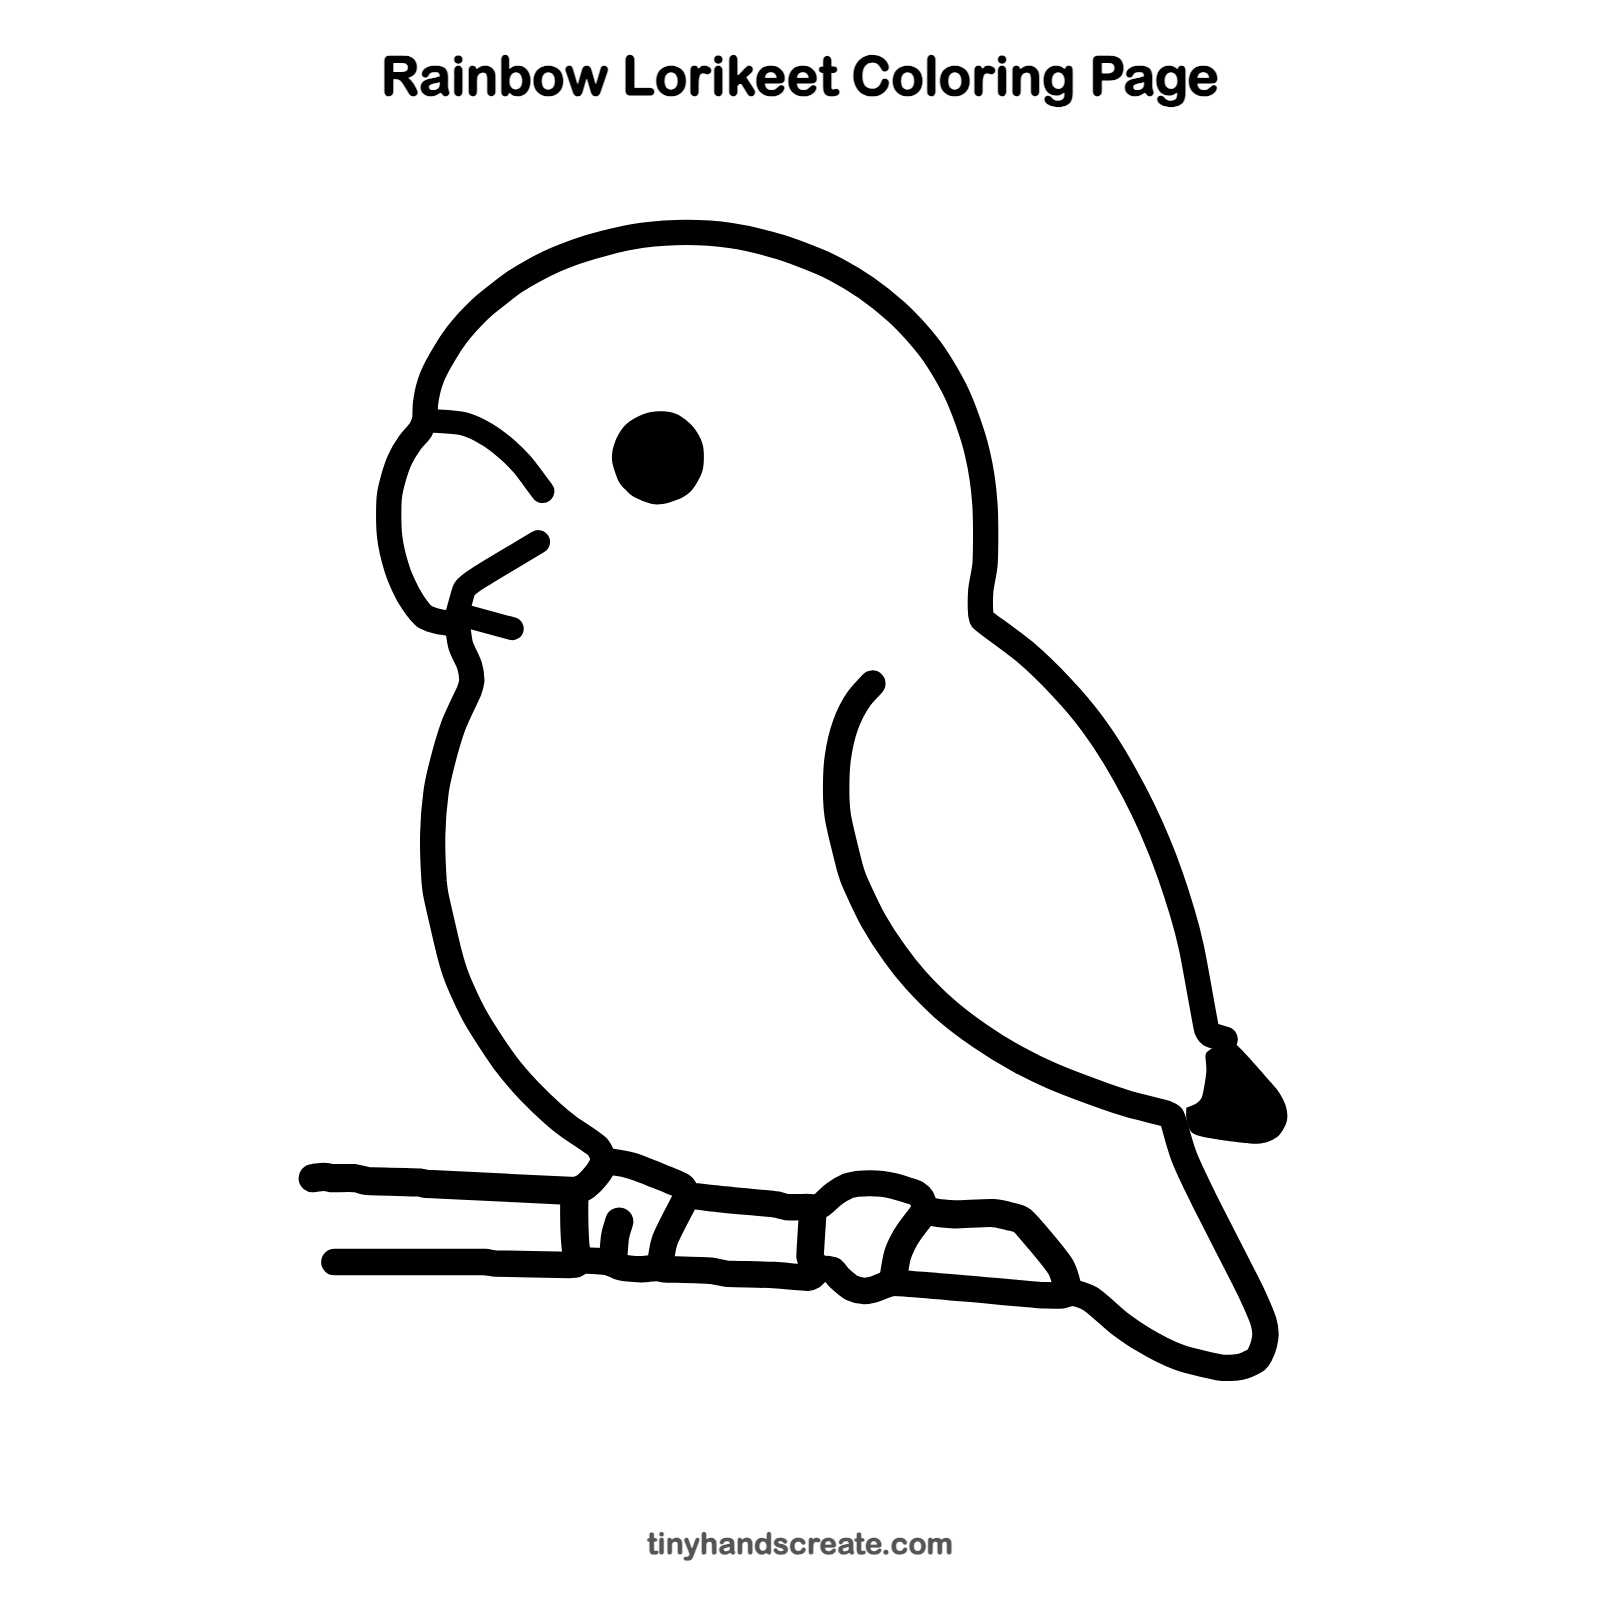
How to color your rainbow lorikeet drawing
Use red for the chest, green for the wings and back, blue for the head, and yellow for the belly to make a true rainbow look. Leave the eye dark and the little tail triangle dark too.
Rainbow lorikeet fun fact for kids
Rainbow lorikeets have a tongue with a brush-like tip that helps them lap up nectar and pollen from flowers.
Questions about drawing a rainbow lorikeet
What shapes do I need to draw a rainbow lorikeet?
You need a big dome for the head, a curved line for the chest, and a leaf shape for the wing. A small hook makes the beak and a round dot makes the eye.
How do I make my lorikeet look cuter?
Make the eye a big, round dot and keep the head large compared to the body. A chubby tummy and short little feet make it even sweeter.
How do I draw the feet gripping a branch?
Draw the branch first as two nearly straight lines. Then add small feet with curved toes that bend over the top of the branch.