How to Draw a Muscle Car (Easy Step by Step)
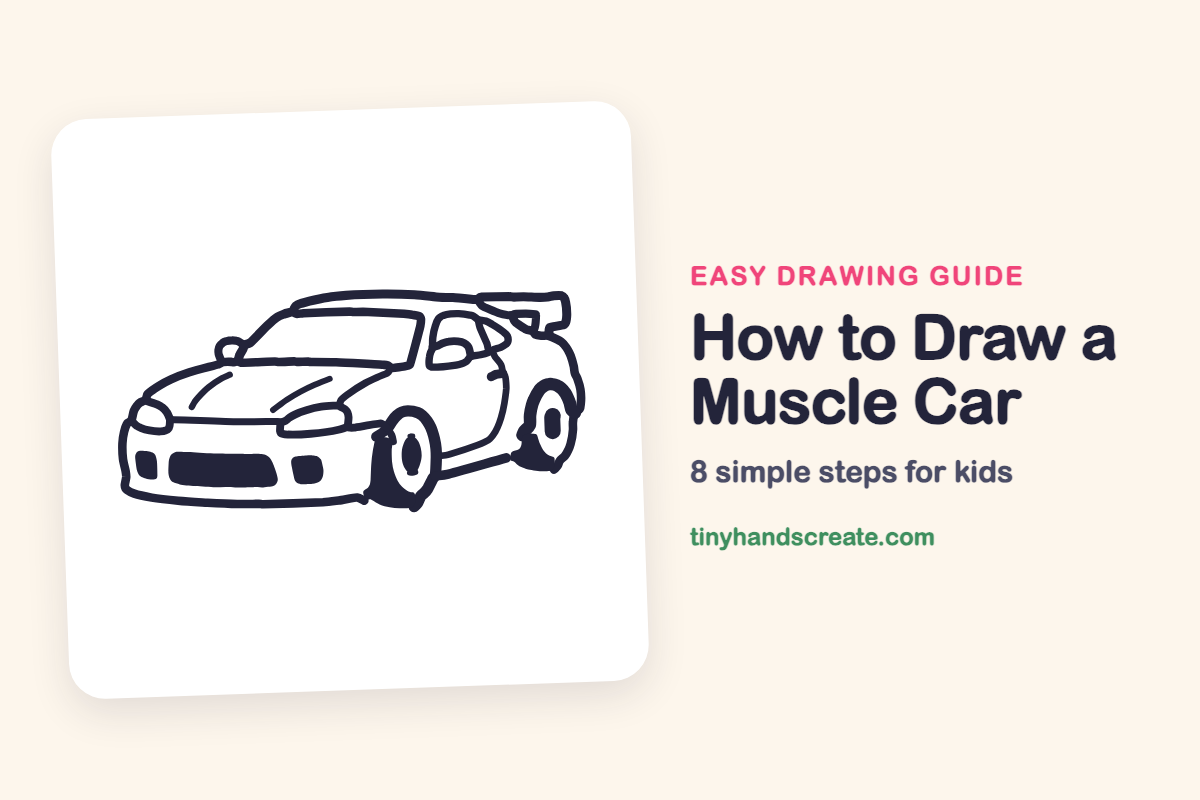
A muscle car looks fast even when it is parked, and that is what makes it fun to draw. It is built from simple shapes: a long, low body, round tires, and a flat wing on the back. Once the big shapes are down, the small details make it look ready to race.
- Medium
- 15 minutes
- 8 steps
You need: paper, a pencil, an eraser, and crayons or markers for coloring.
Start drawing


In this article (7 sections)
How to draw a muscle car step by step
How to Draw a Muscle Car · tinyhandscreate.com
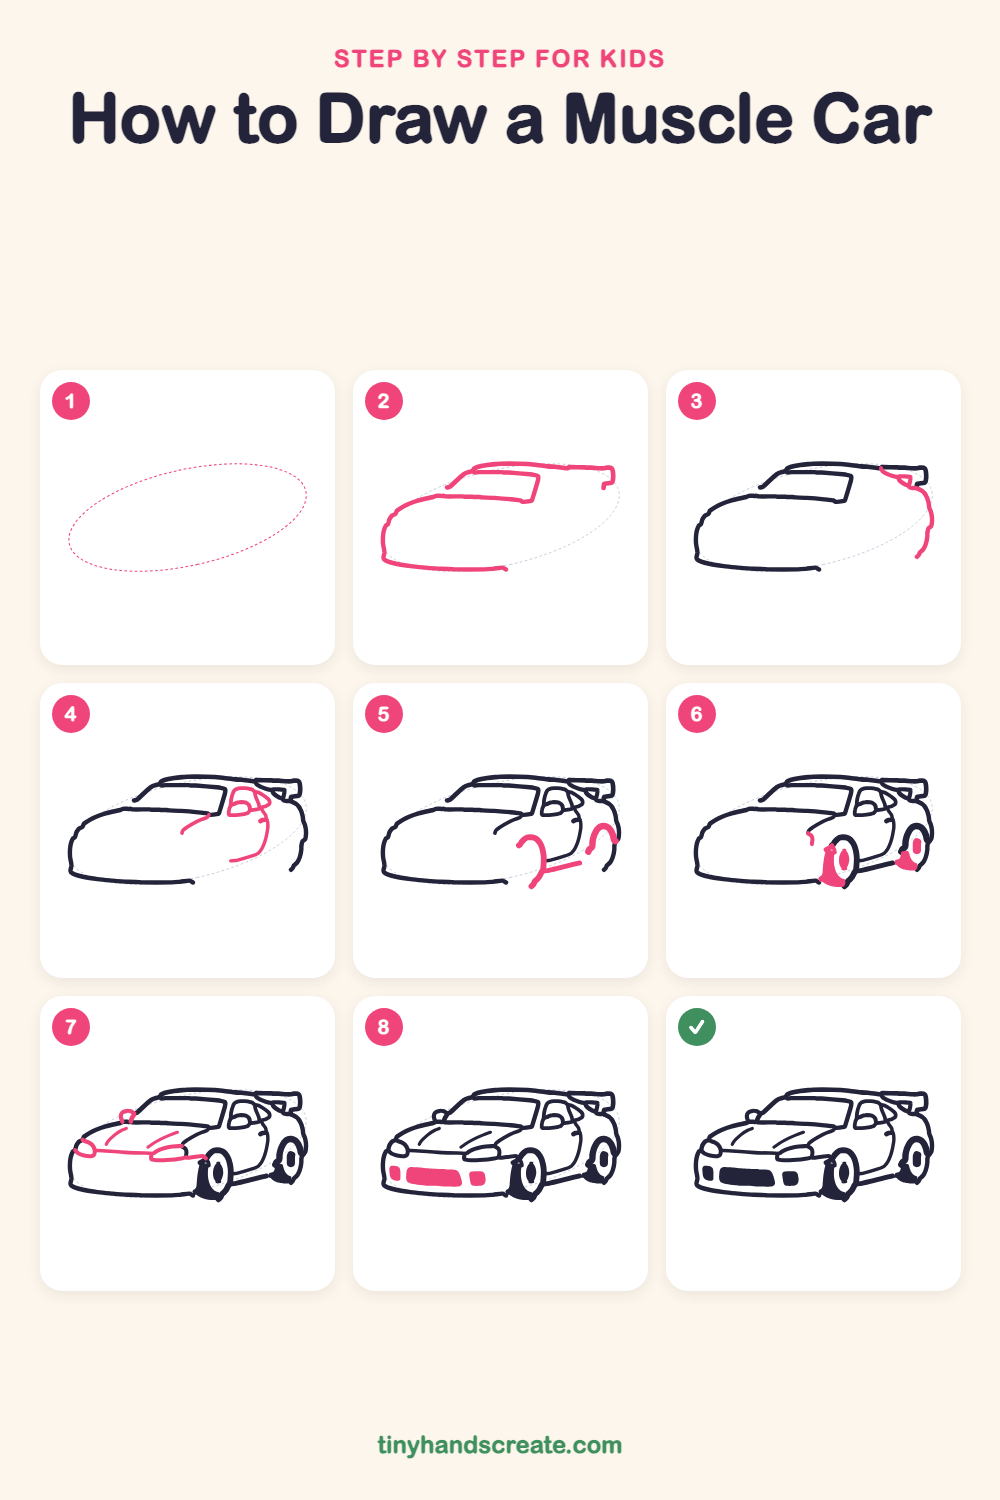
Step 1: Guide shapes
Lightly sketch this oval. It only shows where the big parts go, so press softly. You will erase it at the end.
Step 2: Body and windshield
Draw a long, low line for the roof that curves down to the front of the car, then add a slanted rectangle under it for the windshield. Finish the body with a rounded nose at the front and a long, flat line along the bottom.
Step 3: Spoiler and back
At the back end of the roof, draw a flat wing that sticks out like a little shelf. Then curve a line down from the wing to the back bottom of the car.
Step 4: Side window and door
Draw a small rounded window behind the windshield with a little oval inside it. Add a long curved line below it for the edge of the door, and a short curved line near the front of the windshield.
Step 5: Wheel arches
Draw two curved arches on the side of the car where the wheels will go, one near the front and one near the back. Connect them with a straight line along the bottom for the side skirt.
Step 6: Wheels
Inside each arch, draw a round tire with a tall oval hub in the middle. Color in the dark edge of each tire.
Step 7: Headlights and hood
Draw an almond shape on each side of the front for the headlights, and a long line across the front under the hood. Add two curved swoosh lines on the hood, and a tiny loop by the windshield for the side mirror.
Step 8: Grille and lights
Near the bottom of the front bumper, draw a wide rounded rectangle for the grille and color it in. Add a small square on each side for the fog lights.
All done!
Erase the guide shapes, go over your lines, then color it in.
Finished your muscle car? Keep the pencils out and learn how to draw a rocket or how to draw a shooting star next.
Tips for drawing a muscle car
- Draw the body very lightly at first. The roof should slope smoothly from the windshield down to the nose, so use one long curve instead of lots of short lines.
- The two wheels are the trickiest part. Draw the arch first, then put the tire inside it so both wheels match.
- Make the back wheel a little narrower than the front one. That small change helps the car look like it is turning toward you.
Free muscle car coloring page
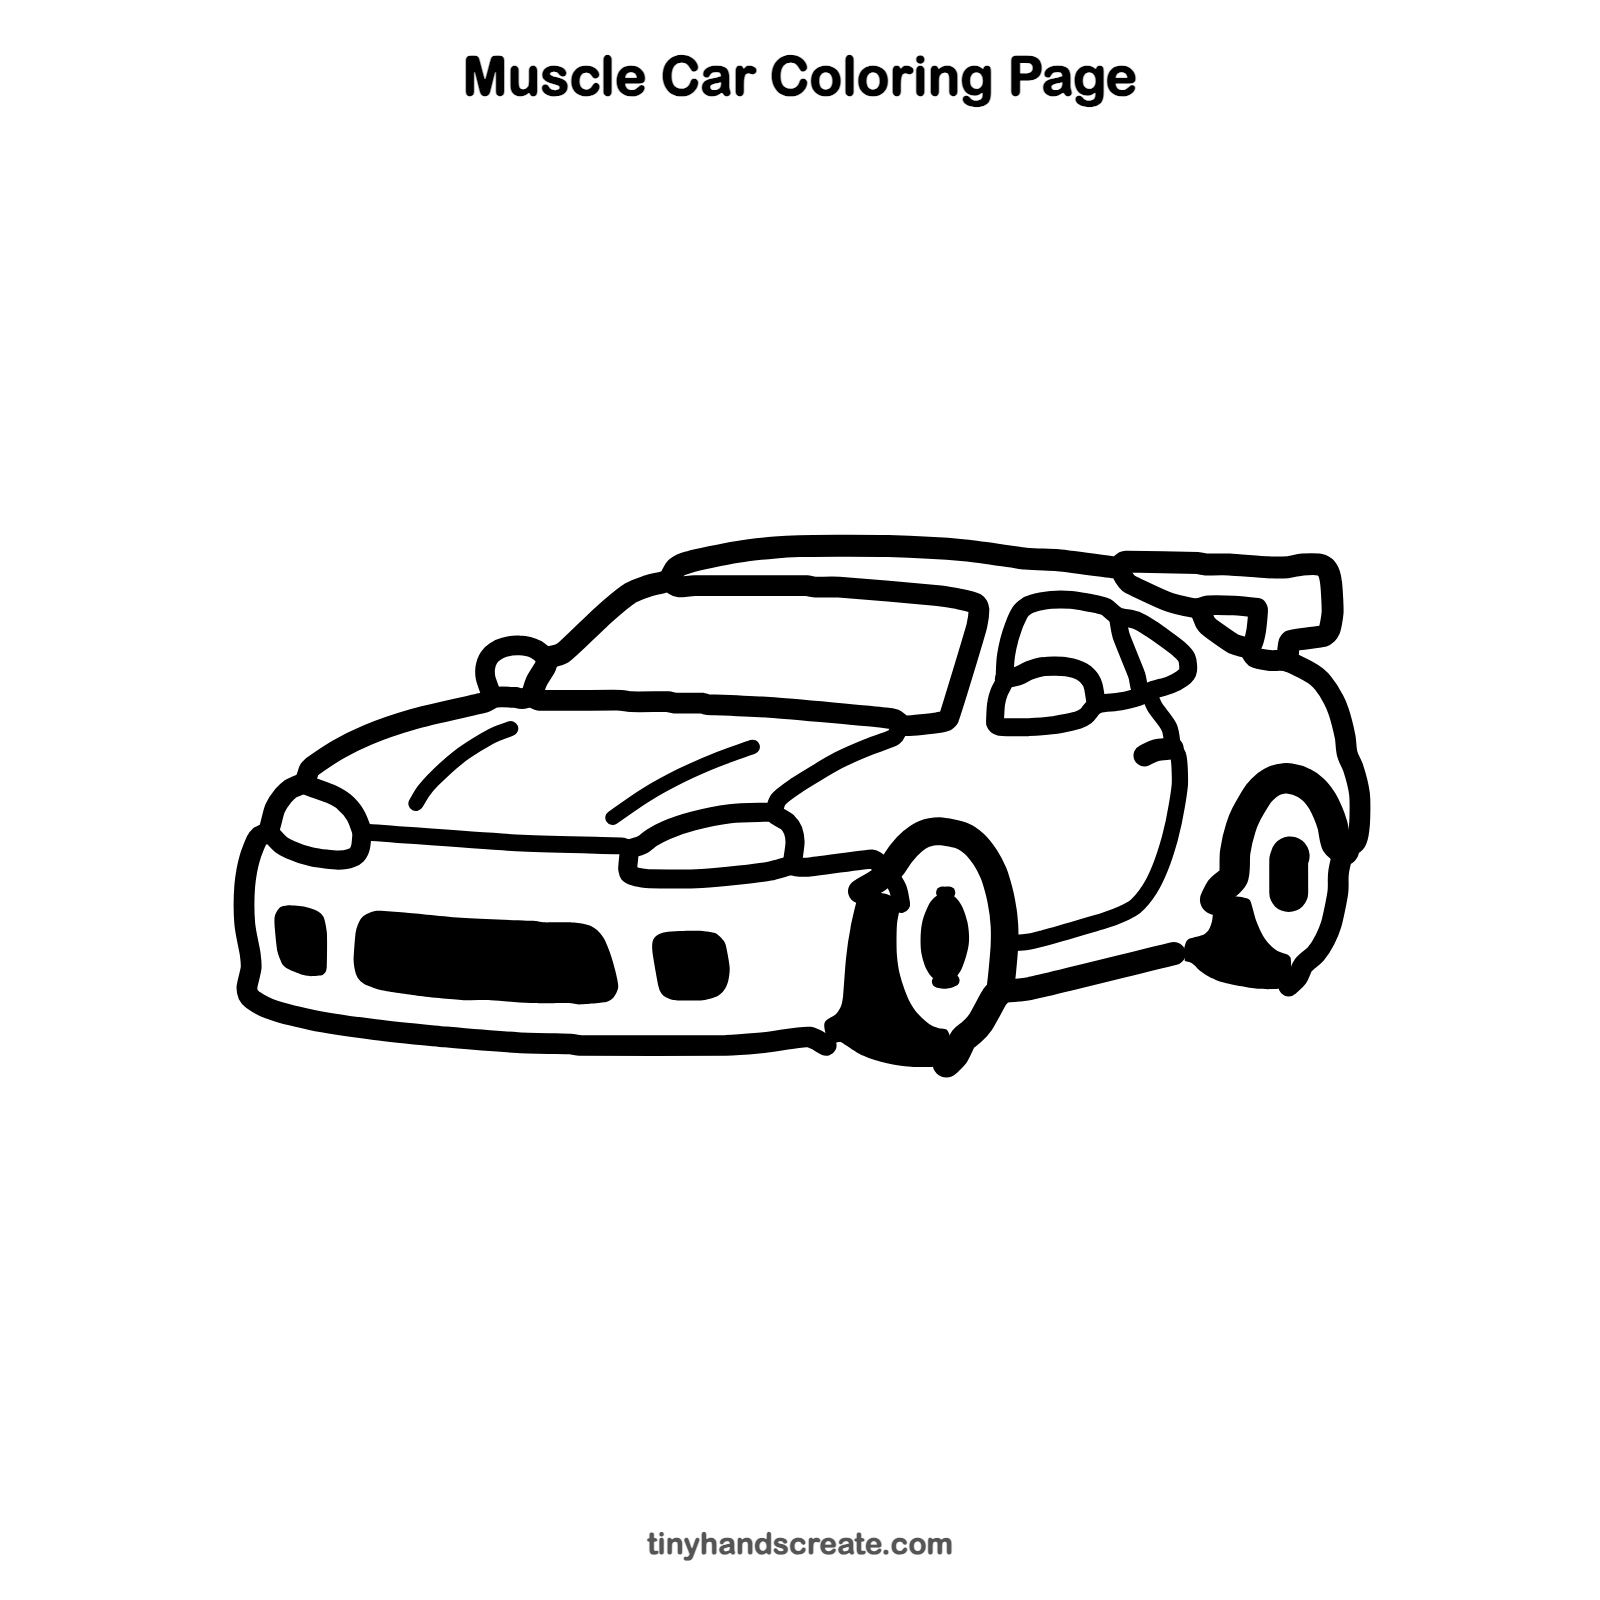
Want to go straight to coloring? Open this muscle car coloring page at full size and print it. It is the same drawing you just learned, with clean lines ready for crayons or markers.
How to color your muscle car drawing
Try a bright red or a deep blue for the body, with dark gray tires and a yellow spot for each headlight. Color the grille black and leave the windows light blue.
Muscle car fun fact for kids
Muscle cars became popular in the United States in the 1960s. They were known for big, powerful engines and bold styling.
Questions about drawing a muscle car
What shapes do I need to draw a muscle car?
You need a long, low rounded body, two round tires, and a few small ovals and rectangles for the windows, grille, and lights. The spoiler is just a flat, thin shelf on the back.
How do I make my car look faster?
Draw the roof low and sloping, and add swoosh lines on the hood. A big spoiler also makes the car look ready to zoom.
How do I draw the wheels so they match?
Draw the two arches first, then a tire in each one. Add a tall oval inside for the hub, and check that both wheels are about the same height.