How to Draw an Explorer (Easy Step by Step)
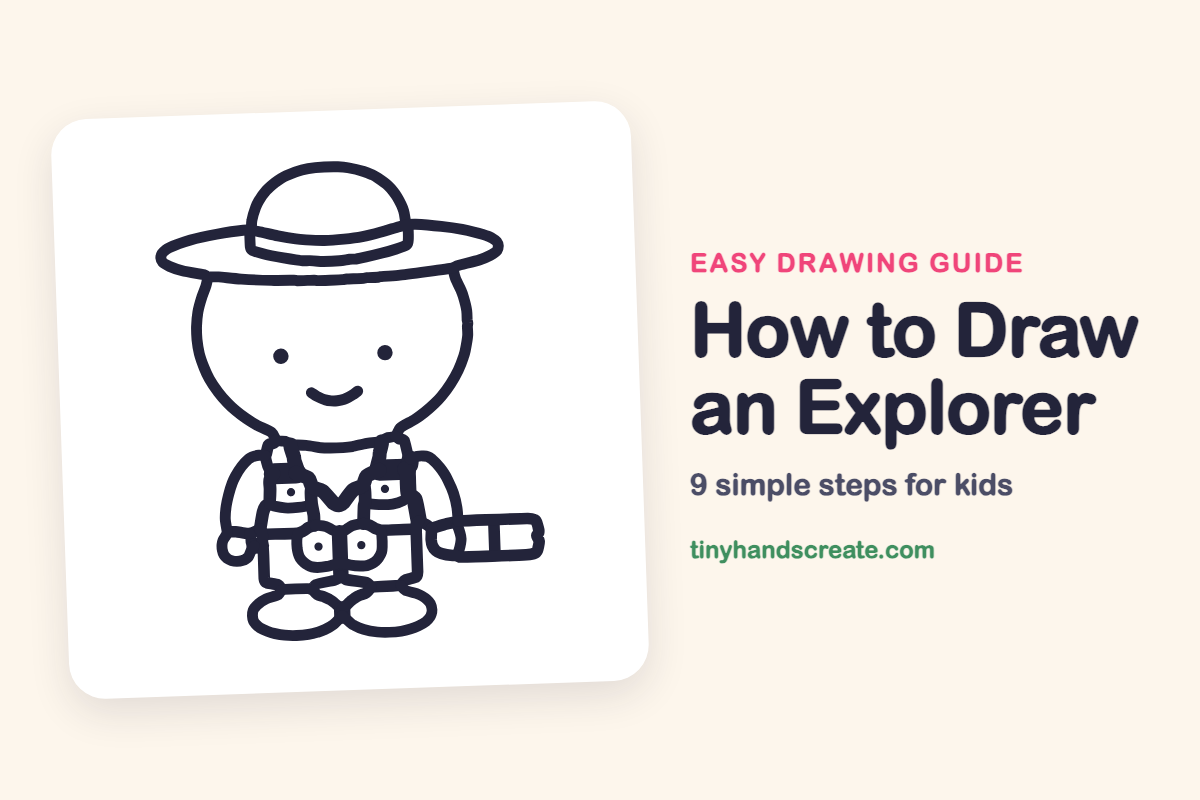
This little explorer is ready for an adventure with a floppy wide-brim hat, a vest with pockets, a pair of binoculars, and a rolled-up map. It is built from circles, ovals, and rounded boxes, so it is friendly to draw. Start with the big round head, then add the hat, the vest, and the gear one piece at a time.
- Easy
- 12 minutes
- 9 steps
You need: paper, a pencil, an eraser, and crayons or markers for coloring.
Start drawingIn this article (7 sections)
How to draw an explorer step by step
How to Draw an Explorer · tinyhandscreate.com
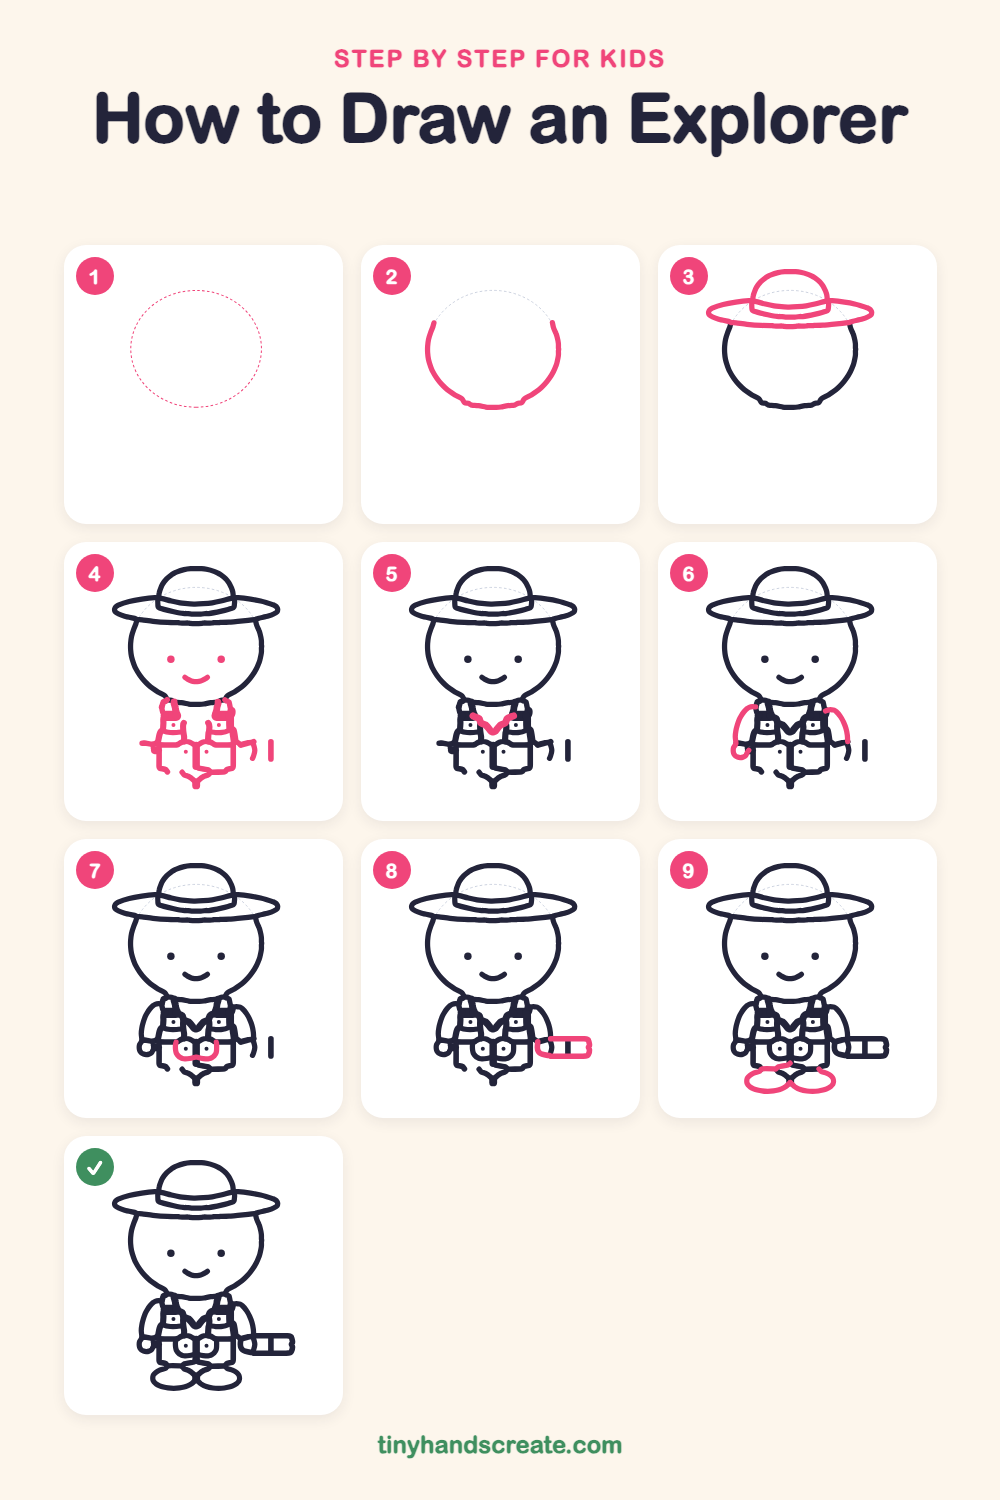
Step 1: Guide shapes
Lightly sketch this oval. It only shows where the big parts go, so press softly. You will erase it at the end.
Step 2: The round head
Draw a big round circle for the head, but leave a gap across the top where the hat will sit. Make the bottom a little flat, like a gentle bowl.
Step 3: The wide hat
Draw a long, flat oval across the top of the head for the brim. Then add a dome on top and a thin band around the bottom of the dome.
Step 4: Face and vest
Give the explorer two small dot eyes and a little curved smile. Under the head, draw two pocket boxes side by side on the chest, with a short strap going up from each one toward the neck.
Step 5: The vest collar
Draw a wide V shape in the middle of the chest, between the two pockets, with the point facing down. It makes the collar of the vest.
Step 6: Two arms
Draw a long curved line down each side of the body, starting near the shoulder. Finish the left arm with a small round loop for the hand, and end the right arm near the belly.
Step 7: The binoculars
On the lower chest, draw two small round rings side by side with a dot in each one. Add a curved line underneath that joins them together.
Step 8: The rolled map
Next to the right arm, draw a short, rounded rectangle lying on its side. Add two short lines inside it to show where the map is tied.
Step 9: Two shoes
At the very bottom, draw two flat ovals side by side so they touch in the middle. Tuck them just under the bottom of the vest.
All done!
Erase the guide shapes, go over your lines, then color it in.
Finished your explorer? Keep the pencils out and learn how to draw a grandma or how to draw a grandpa next.
Tips for drawing an explorer
- Draw the hat brim as a long, flat oval, then place the dome on top. The brim should be much wider than the head.
- Draw the two vest pockets about the same size so the chest looks balanced.
- For the binoculars, draw two rings of the same size side by side, then add a dot in each one.
- Draw both arms as gently curved lines that match each other so your explorer looks balanced.
Free explorer coloring page
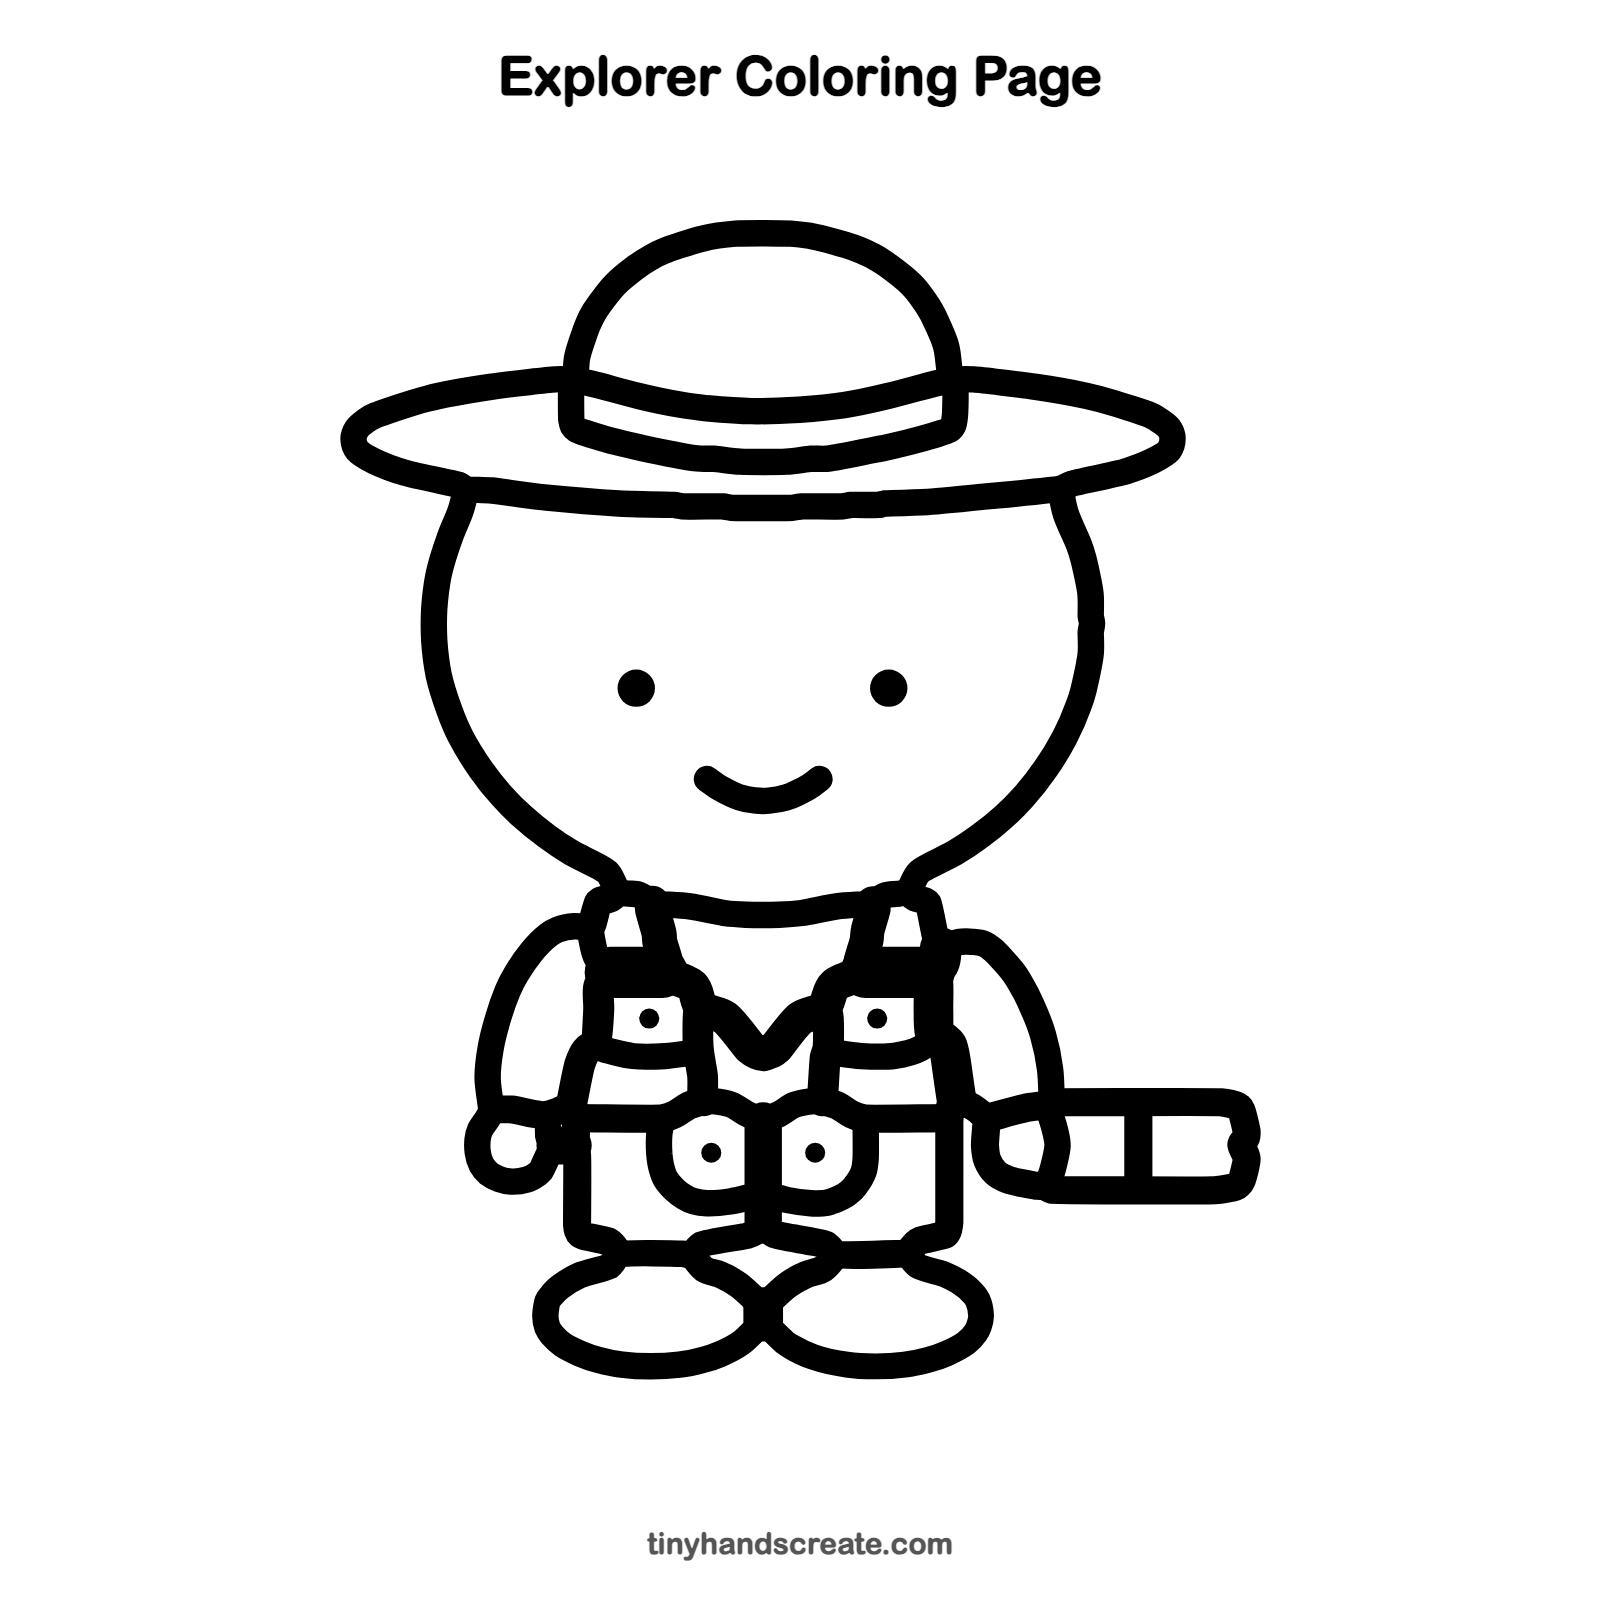
Want to go straight to coloring? Open this explorer coloring page at full size and print it. It is the same drawing you just learned, with clean lines ready for crayons or markers.
How to color your explorer drawing
Try khaki or tan for the hat and vest, with brown shoes and a cream-colored map. For a creative twist, draw a jungle, a mountain, or a treasure map behind your explorer.
Explorer fun fact for kids
In 1911, a team led by the Norwegian explorer Roald Amundsen became the first people to reach the South Pole.
Questions about drawing an explorer
What shapes do I need to draw an explorer?
You need a big circle for the head and flat ovals for the hat brim and shoes. The vest pockets are small boxes, the binoculars are two small rings, and the map is a rounded rectangle.
How do I make my explorer look cuter?
Keep the head big and round, and draw the eyes as small dots with a little curvy smile. A floppy wide-brim hat adds lots of charm.
What can my explorer carry?
Try a compass, a backpack, a magnifying glass, or a flashlight. Draw them as simple circles and rectangles, just like the binoculars and map.