How to Draw a Pine Tree (Easy Step by Step)
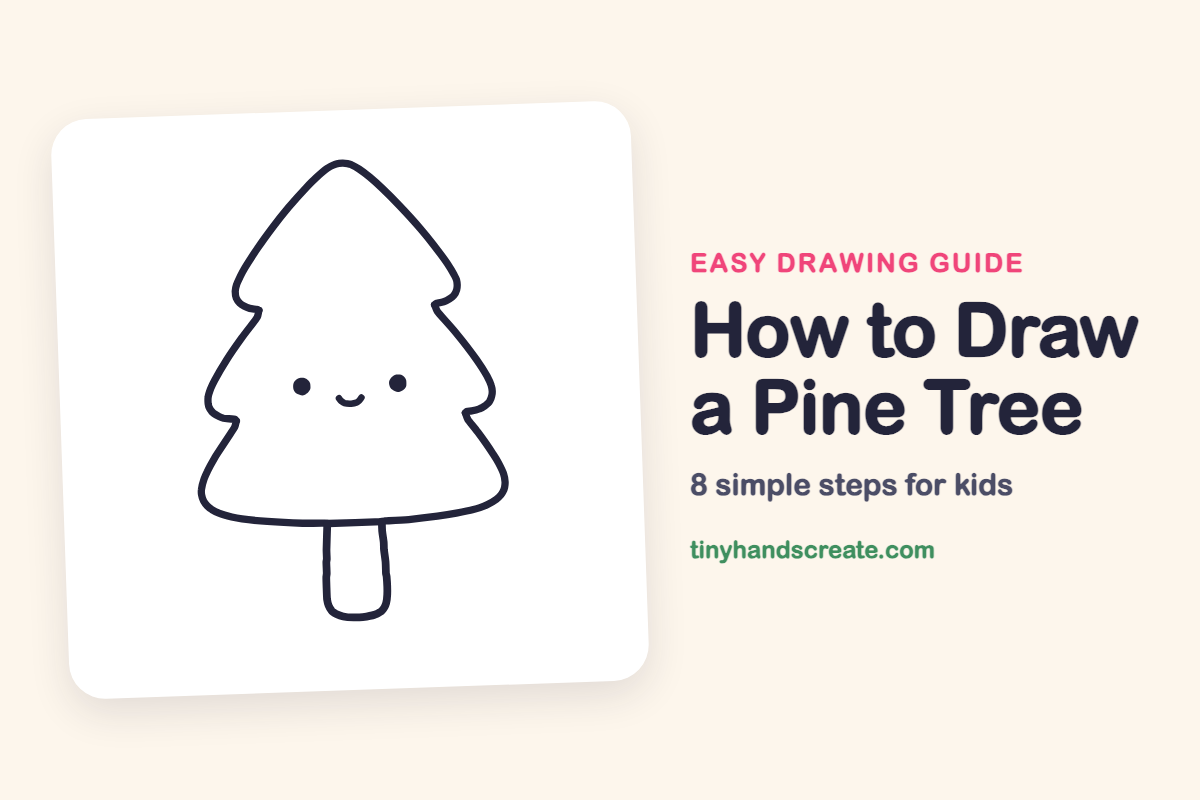
This pine tree is a cheerful one: a stack of soft layers with a little trunk and a friendly face. It is built from a few simple lines, a rounded top, curly branches on each side, a wide bottom, a trunk, two dots, and a tiny smile. It is a great first drawing because every line is simple and forgiving.
- Easy
- 10 minutes
- 8 steps
You need: paper, a pencil, an eraser, and crayons or markers for coloring.
Start drawing
In this article (7 sections)
How to draw a pine tree step by step
How to Draw a Pine Tree · tinyhandscreate.com
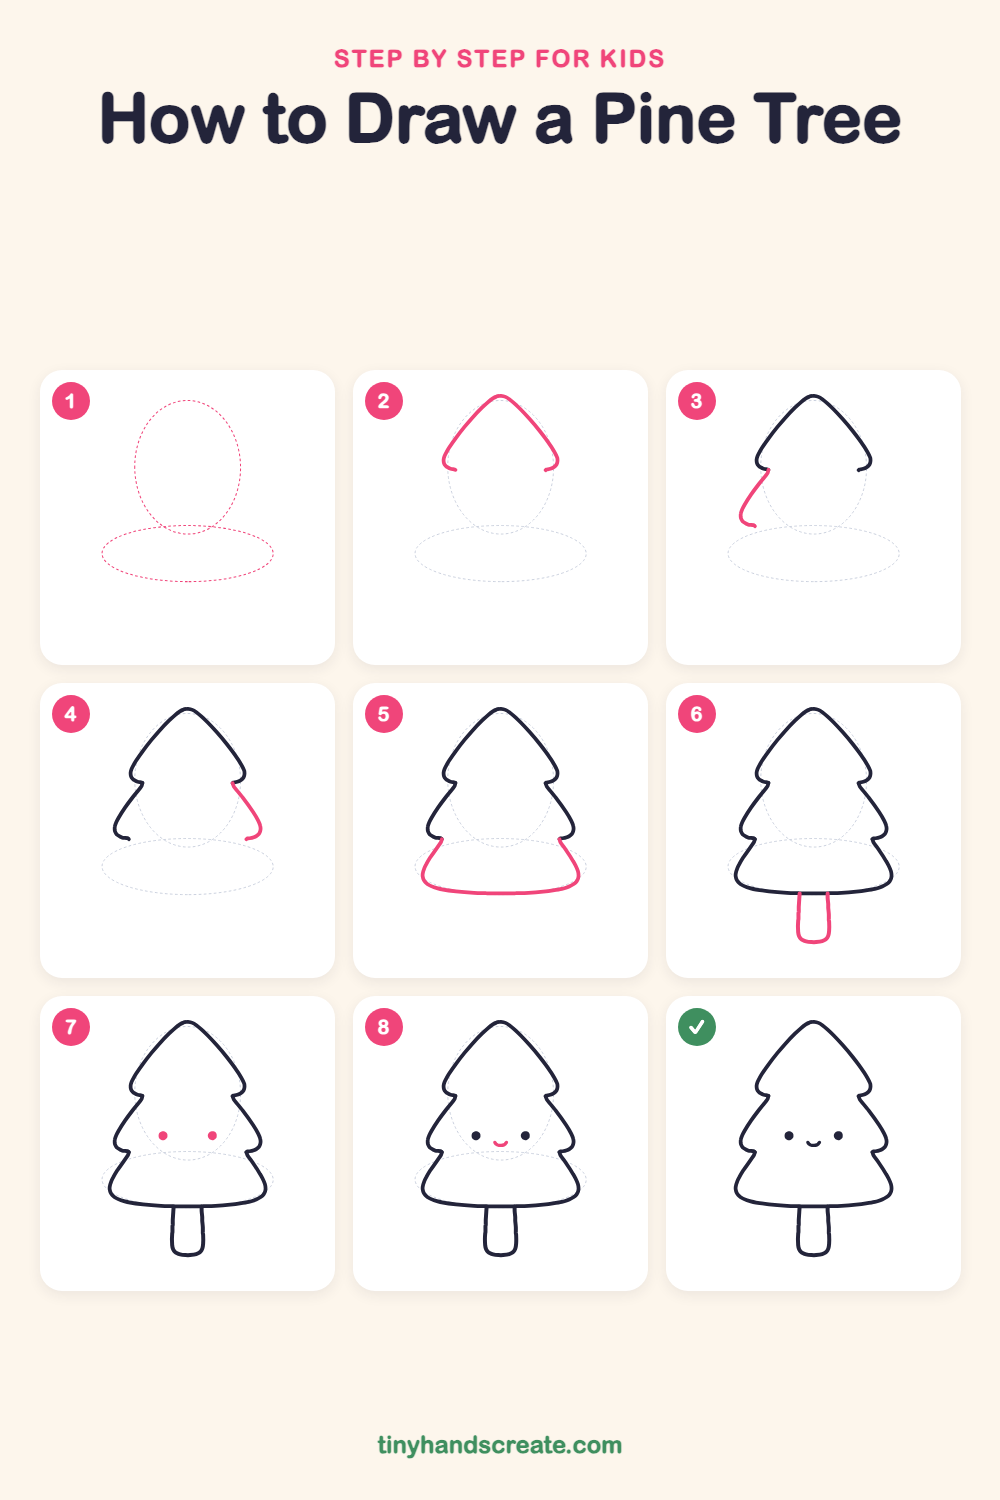
Step 1: Guide shapes
Lightly sketch these 2 ovals. They only show where the big parts go, so press softly. You will erase them at the end.
Step 2: The top of the tree
Start at the very top with a rounded point, then draw two slanting lines going down and outward. End each one with a little curl that tucks back in toward the middle.
Step 3: The left branches
Start just below the little curl on the left and draw a curved line sloping down and out. Finish it with a small curl that tucks back in.
Step 4: The right branches
Do the same on the right side. Start just below the right curl and sweep down and out, then tuck the end back in so both sides match.
Step 5: The wide bottom
Start at the little curl on each side and slope down and out to a rounded corner. Then join the two corners with a long, gently curved line across the bottom.
Step 6: The trunk
Under the middle of the bottom, draw two short straight lines going down. Connect them with a rounded bottom to make a sturdy trunk.
Step 7: The eyes
Draw two small solid dots in the middle of the tree, side by side, with space between them. Fill them in with your pencil.
Step 8: The smile
Halfway between the eyes and a little lower, draw a tiny curved line like a small bowl. Keep it small so it looks like a happy smile.
All done!
Erase the guide shapes, go over your lines, then color it in.
Finished your pine tree? Keep the pencils out and learn how to draw a mushroom or how to draw a sunflower next.
Tips for drawing a pine tree
- The little curls where each layer tucks in are the trickiest part. Make them small, and try to match the left side to the right side.
- Keep the trunk short and a little narrow so it sits right in the middle under the bottom layer.
- Place the eyes and smile in the middle of the tree, keep the two eyes the same size, and keep the smile small.
Free pine tree coloring page
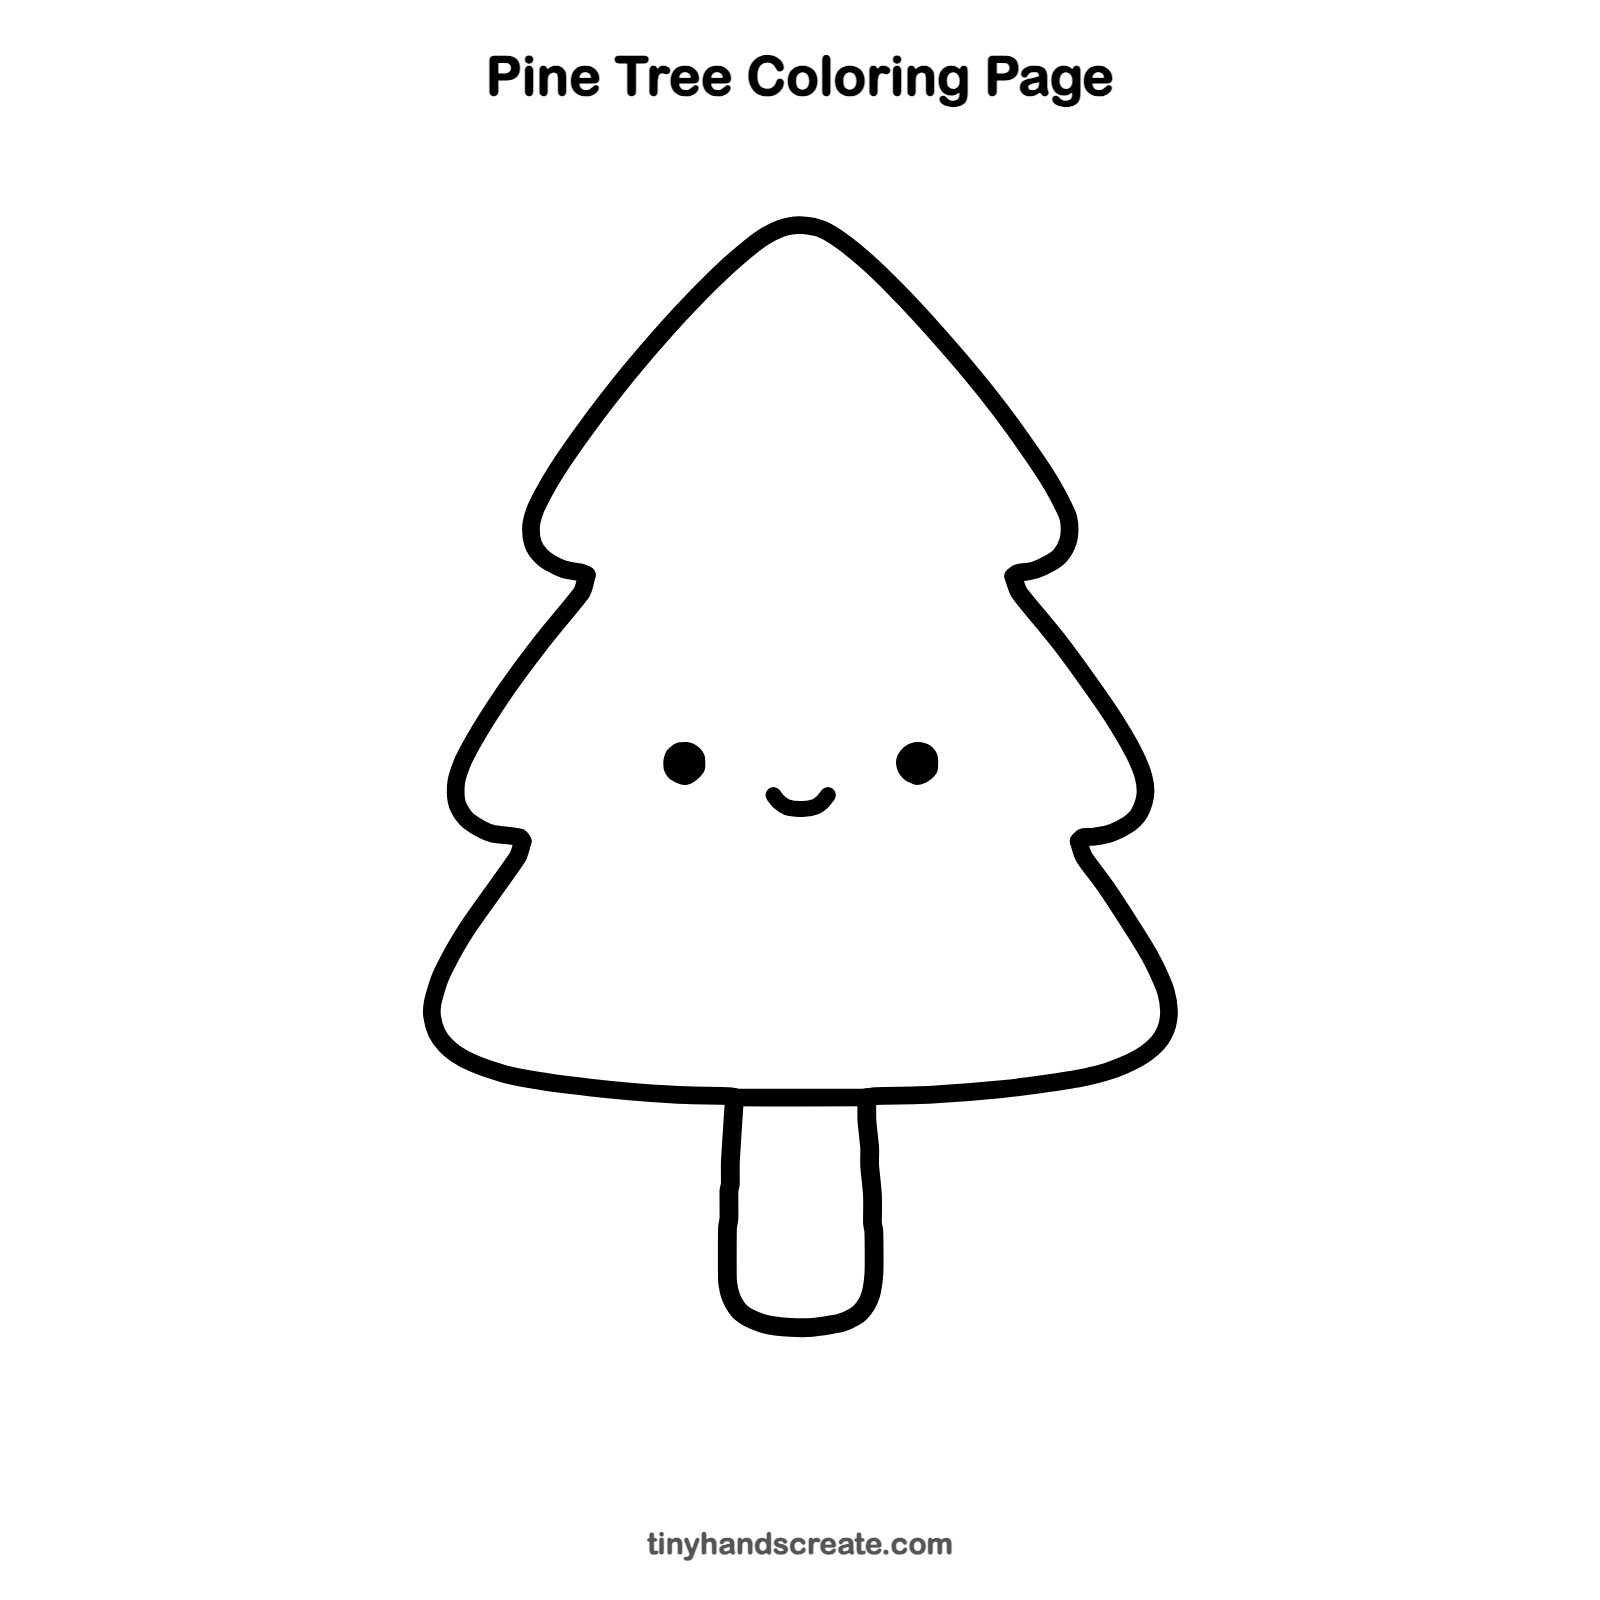
Want to go straight to coloring? Open this pine tree coloring page at full size and print it. It is the same drawing you just learned, with clean lines ready for crayons or markers.
How to color your pine tree drawing
Try two or three shades of green for the tree and brown for the trunk. For a creative twist, add tiny colored dots as ornaments or draw snow on the branches.
Pine tree fun fact for kids
Pine trees are evergreens, which means they always have green needles on them, even in winter. Many pines grow their needles in little bundles of two, three, or five, and their cones hold the seeds.
Questions about drawing a pine tree
What shapes do I need to draw a pine tree?
Think of a tall triangle with soft, rounded corners and little curls on the sides, then a small rectangle for the trunk. Two dots and a small curve make the face.
How do I make the pine tree look cuter?
Keep the eyes wide apart and the smile small. Rounded corners instead of sharp points also make the tree feel friendly.
How do I get both sides of the tree to match?
Draw the left side first, then copy each curl on the right at about the same height. A very light center line can help you check.