How to Draw a Chocolate Chip Cookie (Easy Step by Step)
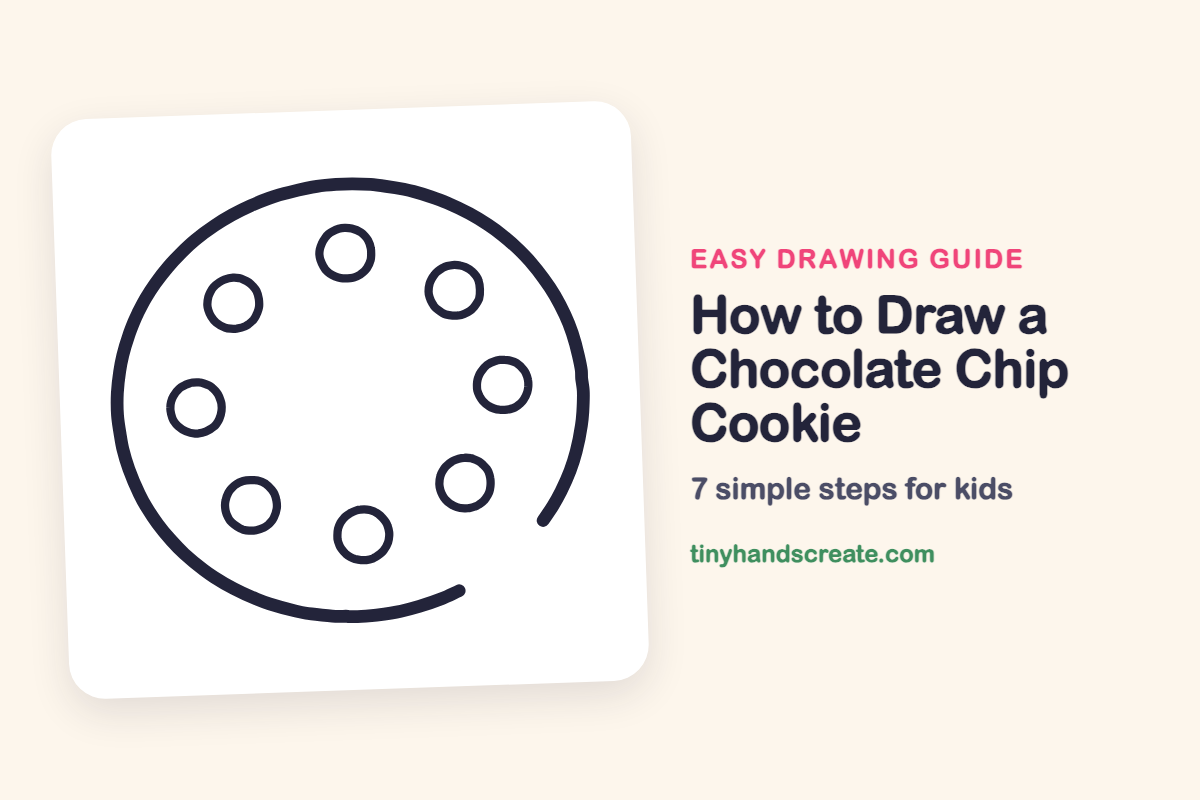
Learn how to easily draw a delicious-looking chocolate chip cookie using simple shapes. You'll discover how to combine a large circle with smaller ones to create your sweet masterpiece.
- Start your cookie drawing with one large circle.
- Add smaller circles to represent the chocolate chips.
- Strategically space out the chips for a realistic look.
- Combine these simple shapes to create an appetizing cookie drawing.
This post contains affiliate links. As an Amazon Associate I earn from qualifying purchases.
A chocolate chip cookie is easy to draw, because it is built from just one big circle and a handful of little ones. Spacing the chips out around the cookie is the fun puzzle. Once the shapes are down, it looks good enough to eat.
- Easy
- 8 minutes
- 7 steps
You need: paper, a pencil, an eraser, and crayons or markers for coloring.
Start drawing

In this article (7 sections)
How to draw a chocolate chip cookie step by step
How to Draw a Chocolate Chip Cookie · tinyhandscreate.com
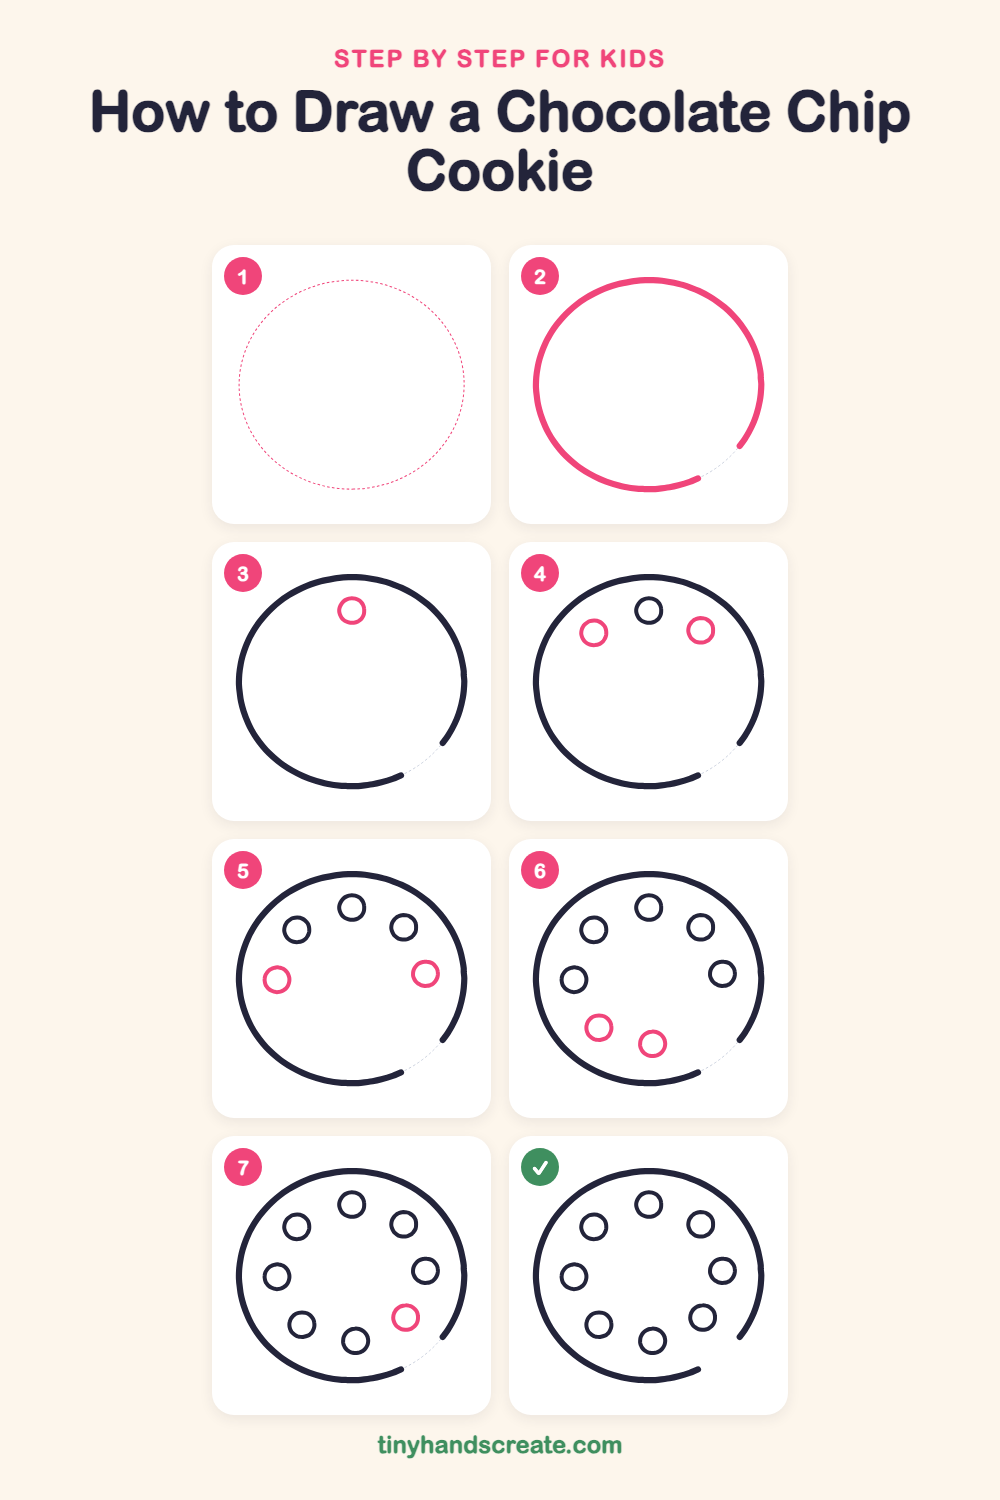
Step 1: Guide shapes
Lightly sketch this oval. It only shows where the big parts go, so press softly. You will erase it at the end.
Step 2: The round cookie
Draw a big round circle for the cookie, starting at the lower right and going all the way around. Stop just before you get back to the start, so there is a small gap near the bottom right.
Step 3: The top chip
Near the top inside the cookie, draw a small circle for your first chocolate chip. Keep it a little way in from the edge.
Step 4: Upper side chips
Draw two more small circles in the upper part of the cookie, one on the left and one on the right of the top chip. Make them about the same size.
Step 5: Middle side chips
Draw a small circle in the middle of the left side and another in the middle of the right side. Keep them a little way in from the edge.
Step 6: Bottom chips
Draw two small circles near the bottom of the cookie, one lower left and one lower middle, with room between them.
Step 7: The last chip
Draw one more small circle near the lower right, just above the gap in the cookie's edge. Now your cookie is ready for coloring.
All done!
Erase the guide shapes, go over your lines, then color it in.
Finished your chocolate chip cookie? Keep the pencils out and learn how to draw boba tea or how to draw a cupcake next.
Tips for drawing a chocolate chip cookie
- Draw the big circle lightly first, then go over it. Stop before the circle closes so the cookie has a small gap near the bottom right.
- Make the chips with small circles that are all about the same size, but let a few be slightly wobbly. Real chips are never perfect.
- Place the chips in a ring like the numbers on a clock face, leaving the middle empty. Space them out so none of them touch the edge or each other.
Free chocolate chip cookie coloring page
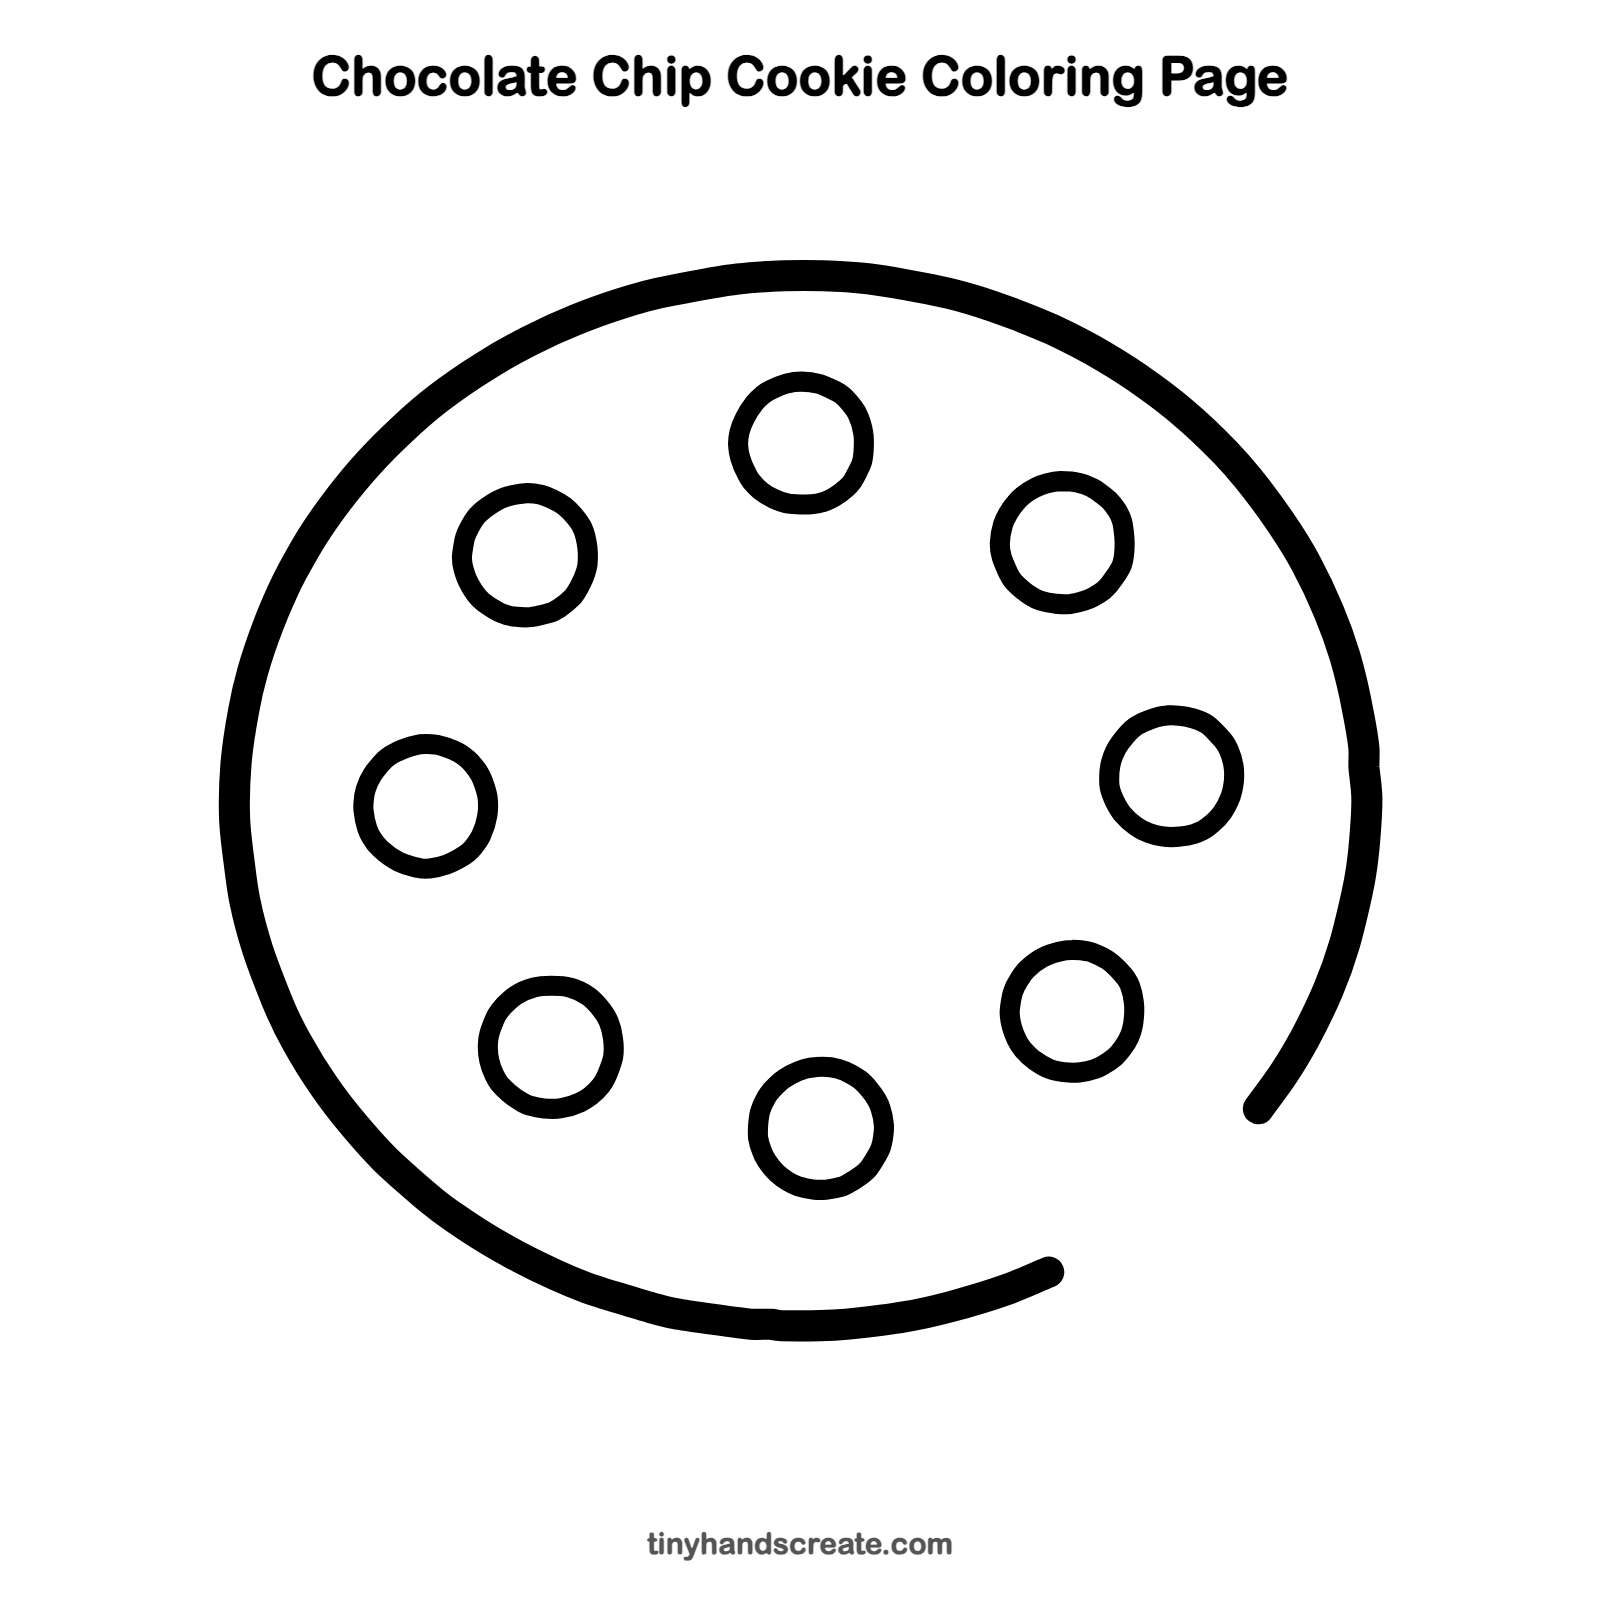
Want to go straight to coloring? Open this chocolate chip cookie coloring page at full size and print it. It is the same drawing you just learned, with clean lines ready for crayons or markers.
How to color your chocolate chip cookie drawing
Color the cookie a warm golden brown and the chips a deep dark brown. For a twist, make a rainbow cookie by coloring each chip a different bright color.
Chocolate chip cookie fun fact for kids
The chocolate chip cookie was invented in the 1930s by Ruth Wakefield, who ran the Toll House Inn in Massachusetts. Her recipe was printed on packages of Nestlé chocolate bars, and chocolate chips were sold later.
Questions about drawing a chocolate chip cookie
What shapes do I need to draw a chocolate chip cookie?
You only need circles: one big one for the cookie and several small ones for the chocolate chips. Draw the big one first and the small ones inside it.
How do I make my cookie look more real?
Color it golden brown and make the chips dark brown. Letting your chip circles be a little wobbly also makes the cookie look more real.
How many chocolate chips should I draw?
This guide uses nine, but you can draw as many as you like. Just space them out so they do not crowd each other.