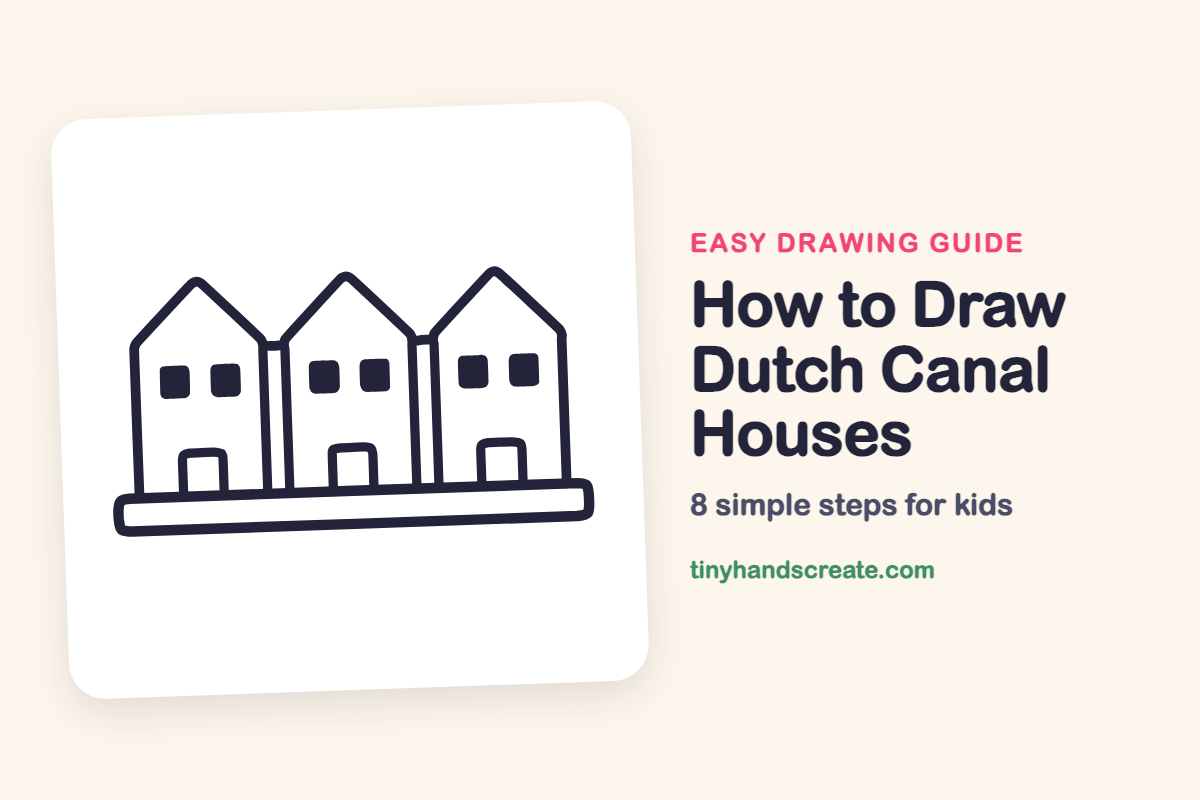
How to Draw Dutch Canal Houses (Easy Step by Step)
Learn to draw cheerful Dutch canal houses using simple shapes like straight lines, squares, and pointed roofs. You'll easily replicate the design for a row of three houses.
- Draw three tall, skinny Dutch canal houses.
- Construct houses using only straight lines, squares, and pointed roofs.
- Replicate the first house's design two more times for a complete scene.
- Follow an easy step-by-step guide to create your drawing.
This post contains affiliate links. As an Amazon Associate I earn from qualifying purchases.
Three tall, skinny houses standing side by side make a cheerful picture, and they are easy to draw. Everything is built from straight lines, squares, and pointed roofs. Once you draw one house, you just repeat the idea two more times.
- Easy
- 10 minutes
- 8 steps
You need: paper, a pencil, an eraser, and crayons or markers for coloring.
Start drawing


In this article (7 sections)
How to draw Dutch canal houses step by step
How to Draw Dutch Canal Houses · tinyhandscreate.com
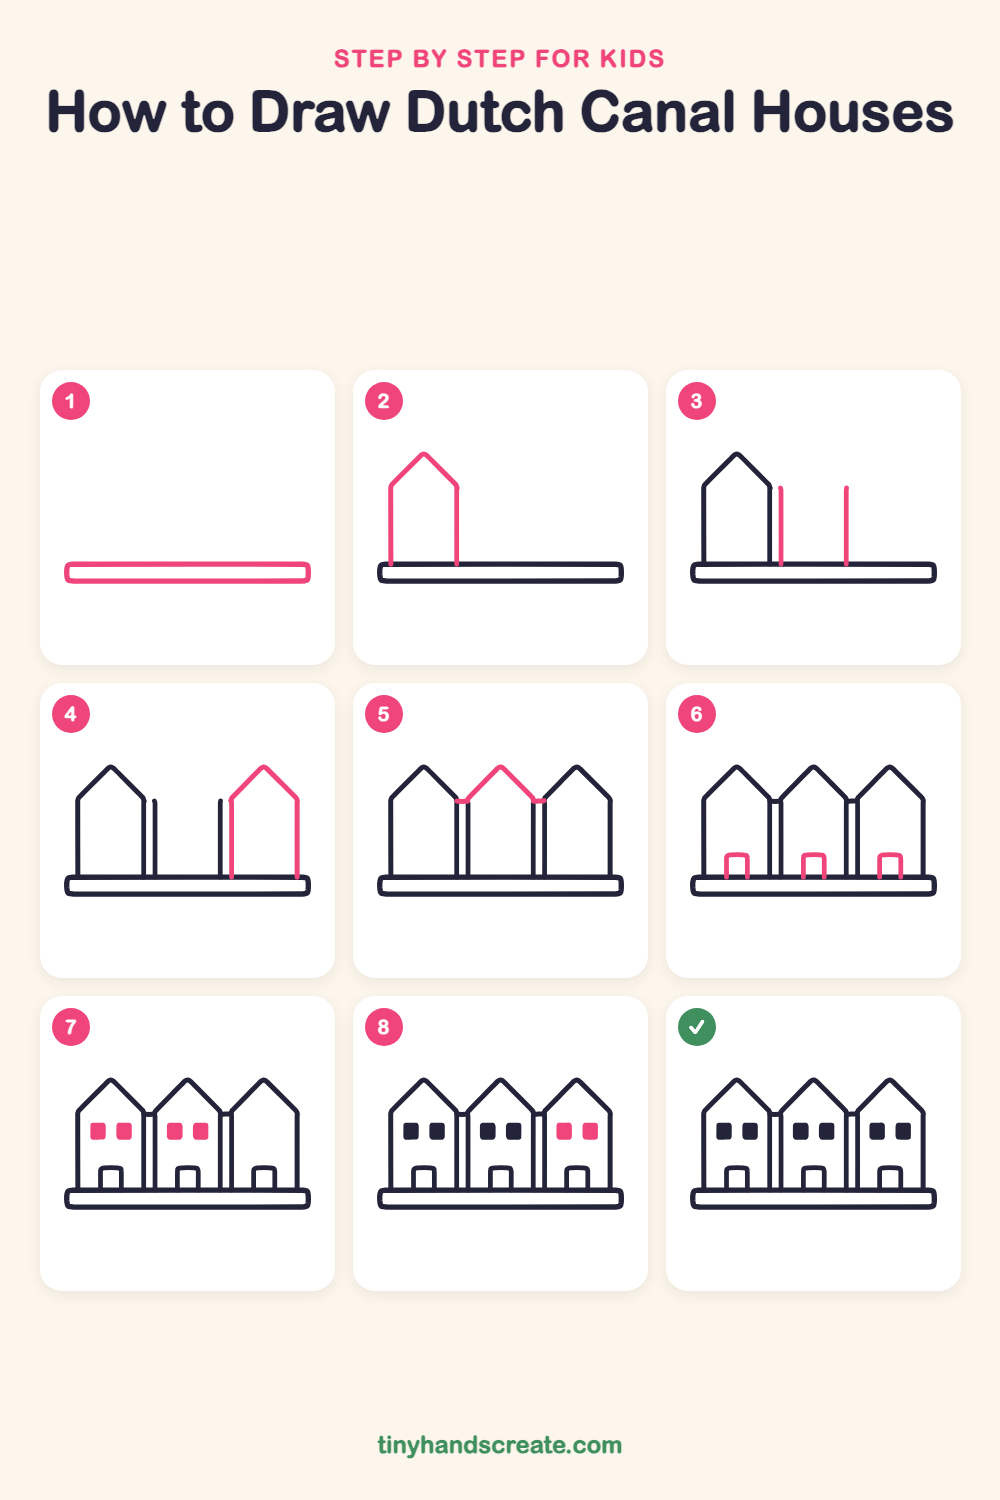
Step 1: The base
Draw a long, flat rectangle with rounded corners across the bottom of your paper. This is the ground the houses stand on.
Step 2: First house
Start on the left end of the base and draw a straight line up. Draw a slanted line up to a point and another slanting back down, then a straight line down to the base to finish the first house.
Step 3: Middle house walls
Leave a skinny gap next to the first house. Draw two tall straight lines standing up from the base, one just right of the gap and one a bit farther along. These are the sides of the middle house.
Step 4: Right house
Draw a tall line up from the base, just right of the middle house's second wall. Draw a pointed roof on top, then a straight line down to the far right end of the base.
Step 5: Middle roof
Draw a pointed roof on the middle house. Start at the top of its left wall, go up to a point, and come back down to the top of its right wall. Add tiny flat lines across the gaps between the houses.
Step 6: The doors
Near the bottom of each house, draw a door. Make an upside-down U with square corners that sits right on the base.
Step 7: Left and middle windows
Draw two small squares with rounded corners high on the first house, side by side. Then draw the same pair on the middle house.
Step 8: Right house windows
Finish with two small rounded squares high on the third house. Color all the windows in dark so they stand out.
All done!
Go over your lines with a marker, then color it in.
Finished your Dutch canal houses? Keep the pencils out and learn how to draw a rocket or how to draw a shooting star next.
Tips for drawing Dutch canal houses
- Use a ruler or the edge of a book for the long wall lines so they stand up straight.
- Draw the three roof points at about the same height so the row looks neat. Mark small dots first if it helps.
- Leave a thin gap between the houses. It is the trickiest part, so go slowly and keep the two lines side by side.
Free Dutch canal houses coloring page
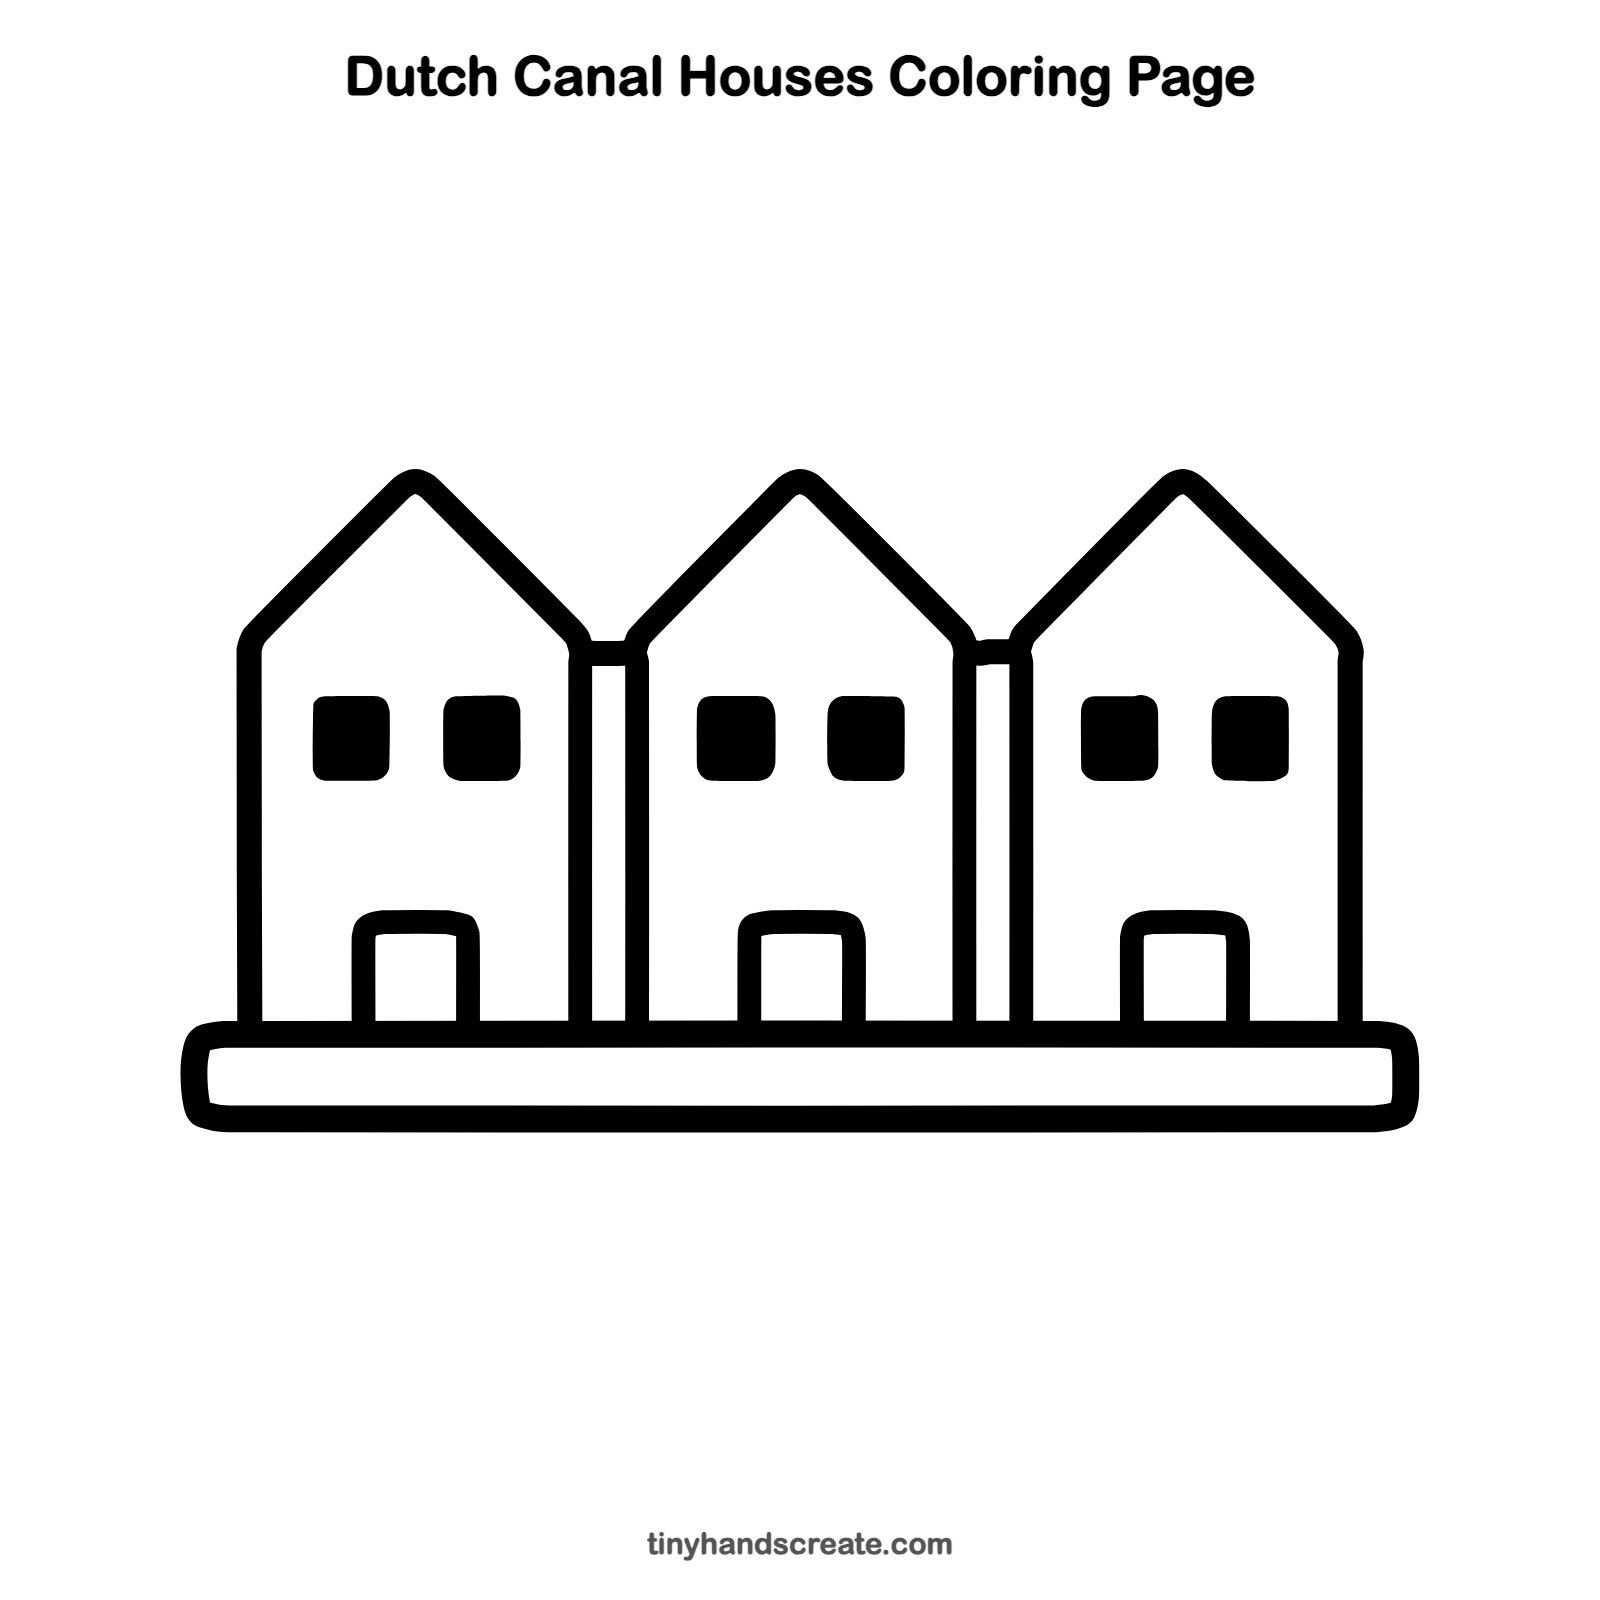
Want to go straight to coloring? Open this Dutch canal houses coloring page at full size and print it. It is the same drawing you just learned, with clean lines ready for crayons or markers.
How to color your Dutch canal houses drawing
Try red, orange, and yellow brick for the walls, with blue or gray roofs and dark windows. For a creative twist, give each house a different color.
Dutch canal houses fun fact for kids
Many old houses along the canals of Amsterdam are tall and narrow because owners were once taxed by how wide the front of their house was.
Questions about drawing Dutch canal houses
What shapes do I need to draw Dutch canal houses?
You need straight lines for the walls, small rounded squares for the windows, and upside-down U shapes for the doors. Each roof is a pointed peak, and a long, rounded rectangle makes the base.
How do I make all three houses look the same size?
Draw the walls with the same height, and make the roof points line up. Light pencil marks across the top and bottom can help you.
How can I make my canal houses look more special?
Color each house a different shade, or give every house its own roof color. A row of bright colors makes the picture look lively.