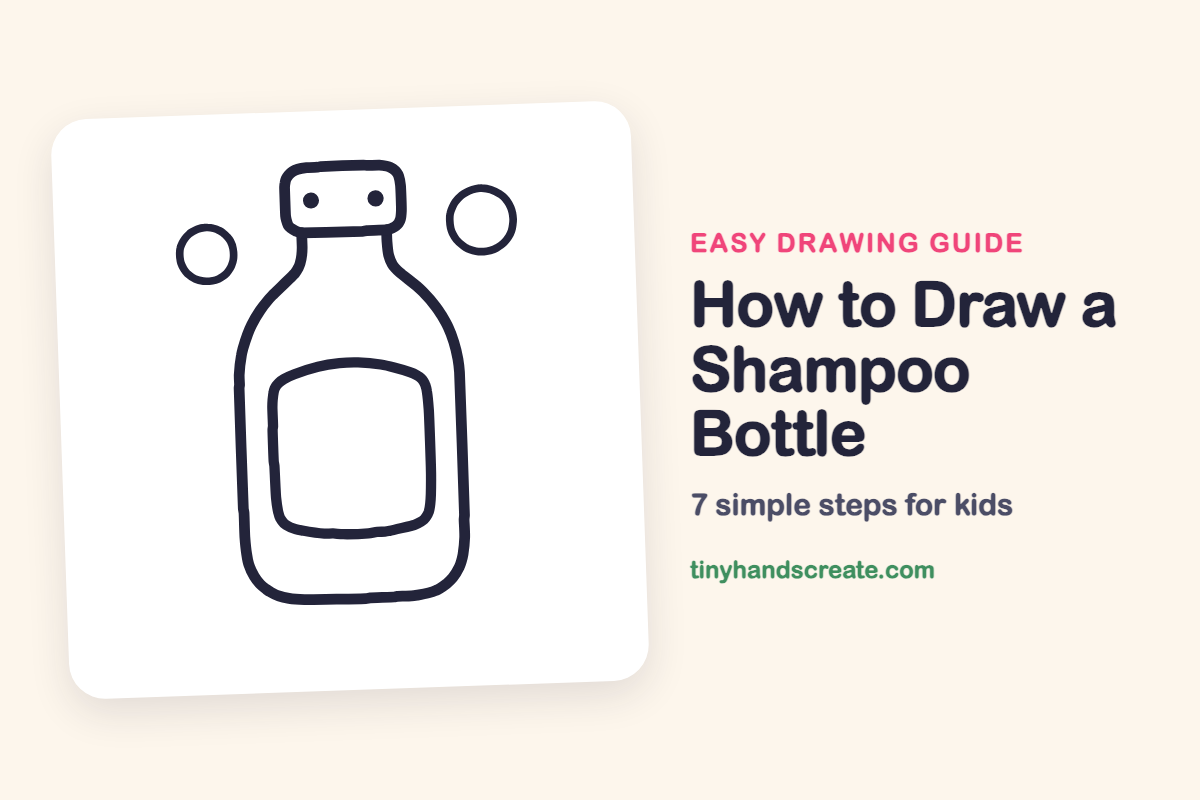
How to Draw a Shampoo Bottle (Easy Step by Step)
Learn how to draw a shampoo bottle using simple shapes like a rounded body, cap, and label. You'll combine these elements with dots and bubbles to create an easy first drawing.
- Draw a shampoo bottle by combining simple shapes.
- Start with a tall rounded body and a small rounded cap.
- Add a soft square for the label and two tiny dots.
- Finish your drawing by adding floating bubbles.
This post contains affiliate links. As an Amazon Associate I earn from qualifying purchases.
A shampoo bottle is a great first drawing because it is made from just a few simple shapes. You will use a tall rounded body, a small rounded rectangle for the cap, a big soft square for the label, two tiny dots, and two bubbles. Add the floating bubbles and it looks ready for bath time.
- Easy
- 8 minutes
- 7 steps
You need: paper, a pencil, an eraser, and crayons or markers for coloring.
Start drawing


In this article (7 sections)
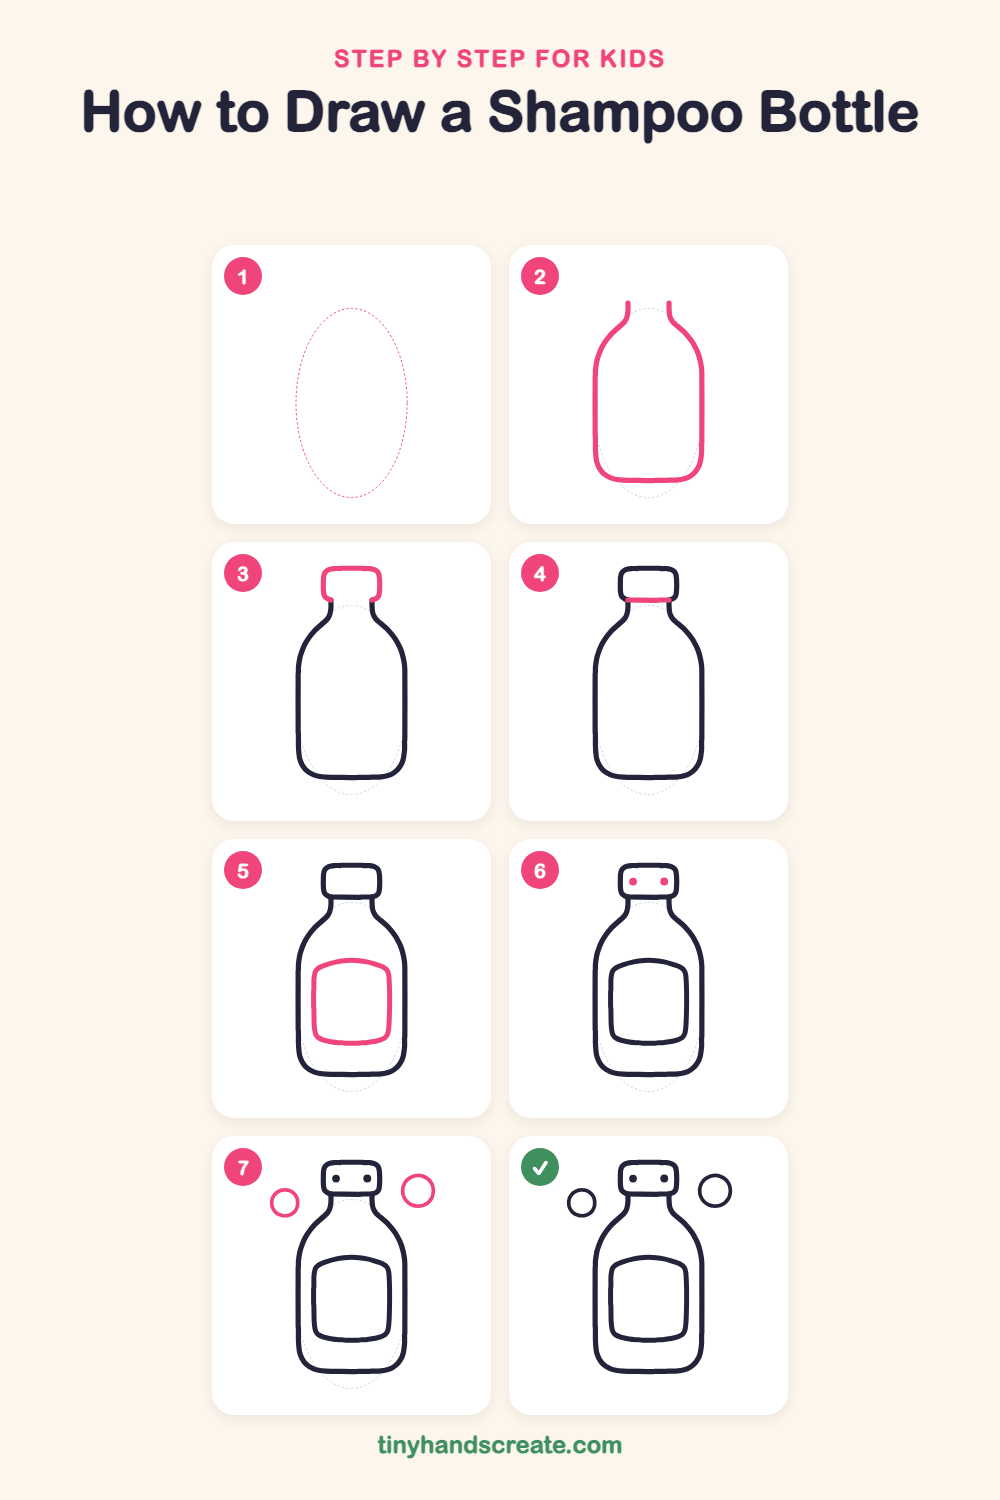
How to draw a shampoo bottle step by step
How to Draw a Shampoo Bottle · tinyhandscreate.com
Step 1: Guide shapes
Lightly sketch this oval. It only shows where the big parts go, so press softly. You will erase it at the end.
Step 2: The bottle body
Draw the bottle's outline: two tall, straight sides that curve in at the shoulders and go up into two short lines for the neck. Join the sides at the bottom with a flat, rounded curve. Leave the top of the neck open.
Step 3: The cap
On top of the neck, draw a rounded rectangle, like a box with soft corners. Make it a little wider than the neck so it sits on top like a hat.
Step 4: The cap's bottom line
Draw a short straight line across the bottom of the cap. It connects the two sides of the neck and closes the cap.
Step 5: The label
In the middle of the bottle, draw a big rounded square for the label. Make the top and bottom edges curve a tiny bit, as if the label wraps around the bottle.
Step 6: Two cap dots
Inside the cap, draw two small round dots side by side. Keep them the same size and at the same height.
Step 7: Floating bubbles
Draw one circle on each side of the bottle, with space between the circles and the bottle. Make the right bubble a little bigger and a little higher than the left one.
All done!
Erase the guide shapes, go over your lines, then color it in.
Finished your shampoo bottle? Keep the pencils out and learn how to draw a rocket or how to draw a shooting star next.
Tips for drawing a shampoo bottle
- Draw the two sides of the bottle so they are about the same distance from the middle. The shoulders, where the bottle curves in toward the neck, are the trickiest part, so go slowly there.
- Make the cap a little wider than the neck so it looks like it sits on top. Round the corners instead of making them sharp.
- Draw the label after the body, and leave a gap between it and the bottle's edges. Curve the top and bottom edges just a bit so it looks like it wraps around.
Free shampoo bottle coloring page
Want to go straight to coloring? Open this shampoo bottle coloring page at full size and print it. It is the same drawing you just learned, with clean lines ready for crayons or markers.
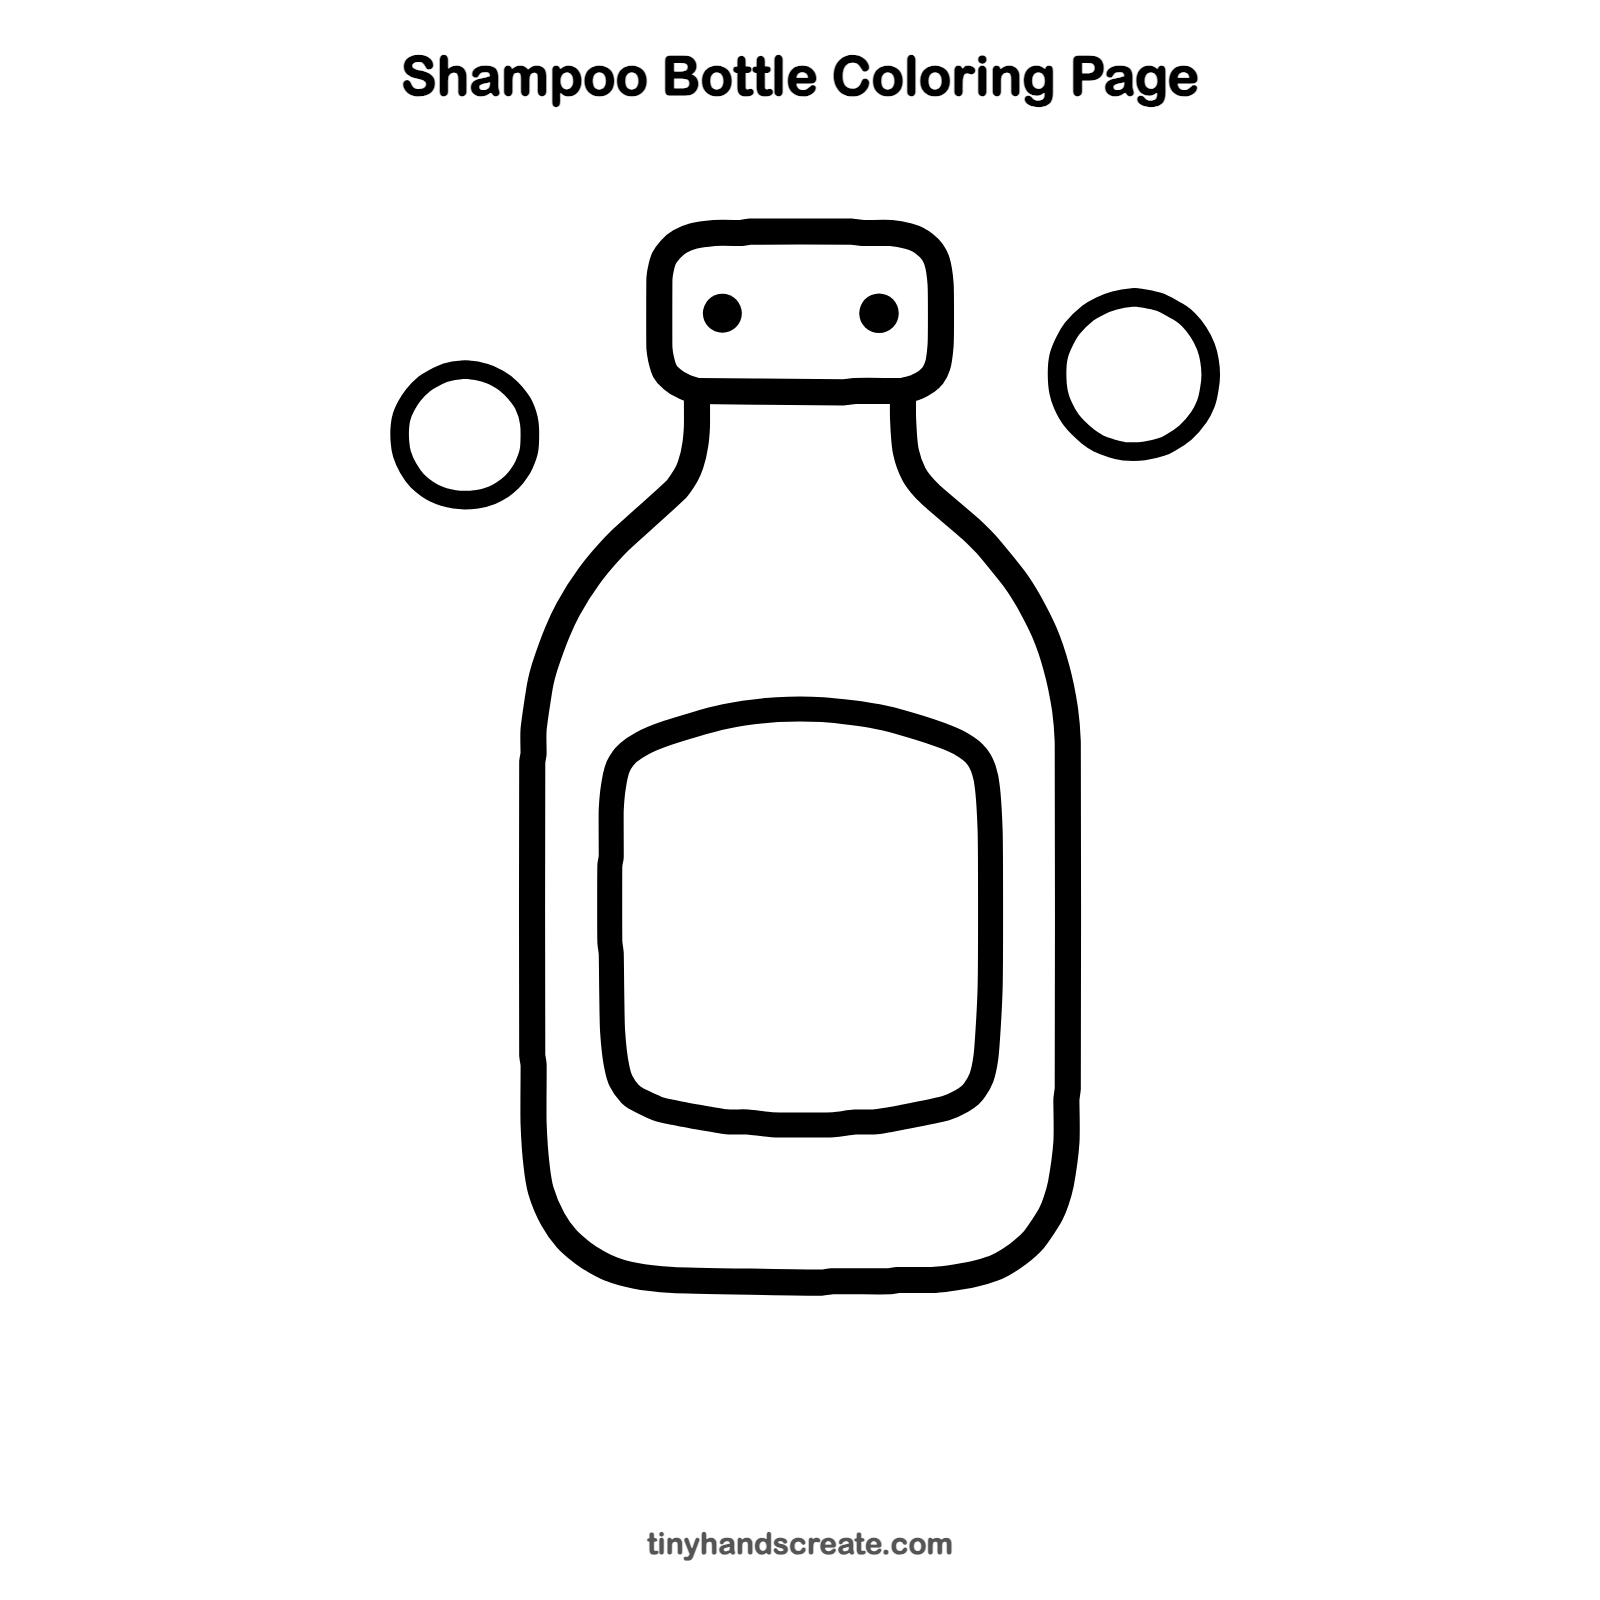
How to color your shampoo bottle drawing
Try a bright color for the cap, like blue or purple, and a lighter color for the bottle. Color the label to match your favorite shampoo smell, then add rainbow shines to the bubbles.
Shampoo bottle fun fact for kids
The word shampoo comes from the Hindi word chāmpo, which means to press or massage. English speakers borrowed it in the 1700s.
Questions about drawing a shampoo bottle
What shapes do I need to draw a shampoo bottle?
You need a tall rounded body, a rounded rectangle for the cap, a rounded square for the label, and a few small circles for the dots and bubbles. Drawing these shapes one at a time makes the bottle easy.
How do I make my bottle look even?
Keep both sides of the body the same distance from the middle, and make the cap a little wider than the neck. Draw slowly and go back over any wobbly part.
How can I make my shampoo bottle look more fun?
Add more bubbles around it, draw a picture on the label once it is finished, and color it in bright colors.