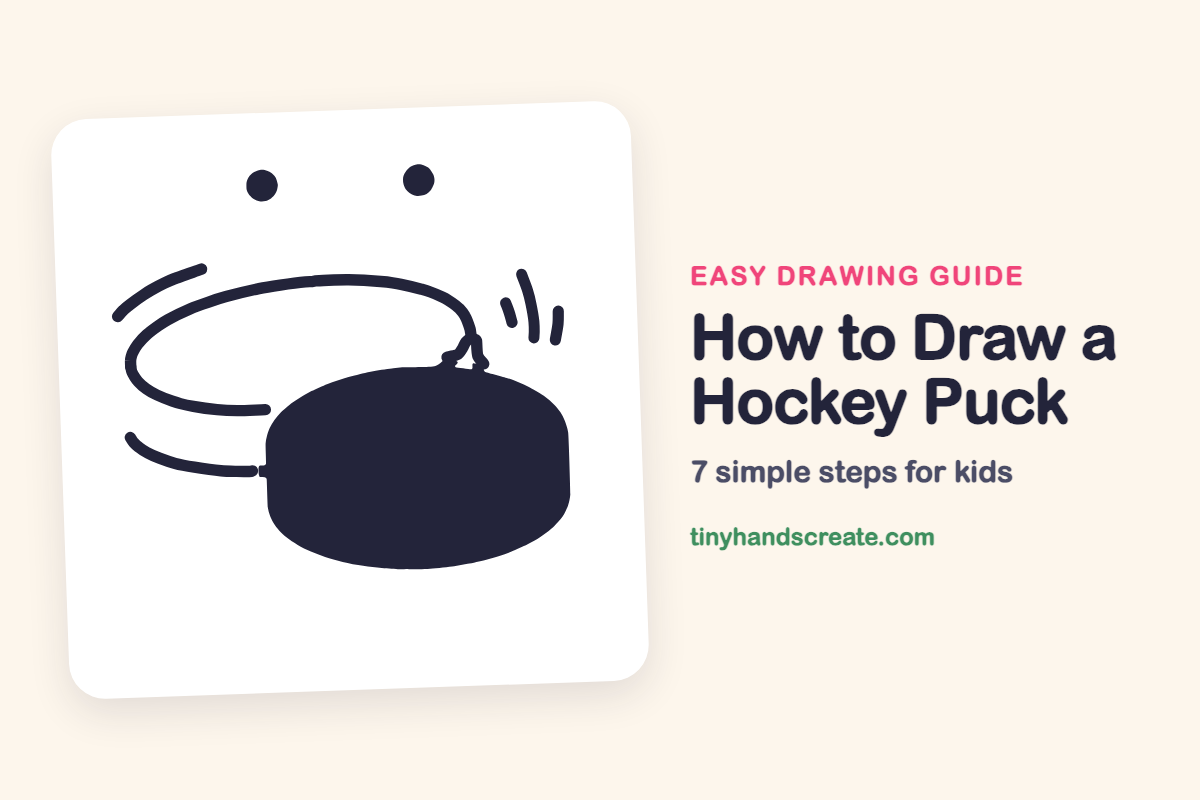
How to Draw a Hockey Puck (Easy Step by Step)
Learn how to draw a hockey puck with this easy step-by-step guide. You'll practice drawing flat shapes, curved lines for spinning motion, and simple dots to complete your picture.
- Start by drawing the puck's short, flat shape with straight sides.
- Practice creating long curved lines to illustrate the puck's spinning motion.
- Add tiny motion marks to further emphasize the spinning effect.
- Complete your drawing by adding two simple dots floating above the puck.
This post contains affiliate links. As an Amazon Associate I earn from qualifying purchases.
A hockey puck is a great first drawing because it is a short, flat shape with straight sides, like a can lying down. In this drawing the puck is spinning, so you also get to practice long curved lines and tiny motion marks. Two dots floating above it finish the picture.
- Easy
- 10 minutes
- 7 steps
You need: paper, a pencil, an eraser, and crayons or markers for coloring.
Start drawing


In this article (7 sections)
How to draw a hockey puck step by step
How to Draw a Hockey Puck · tinyhandscreate.com
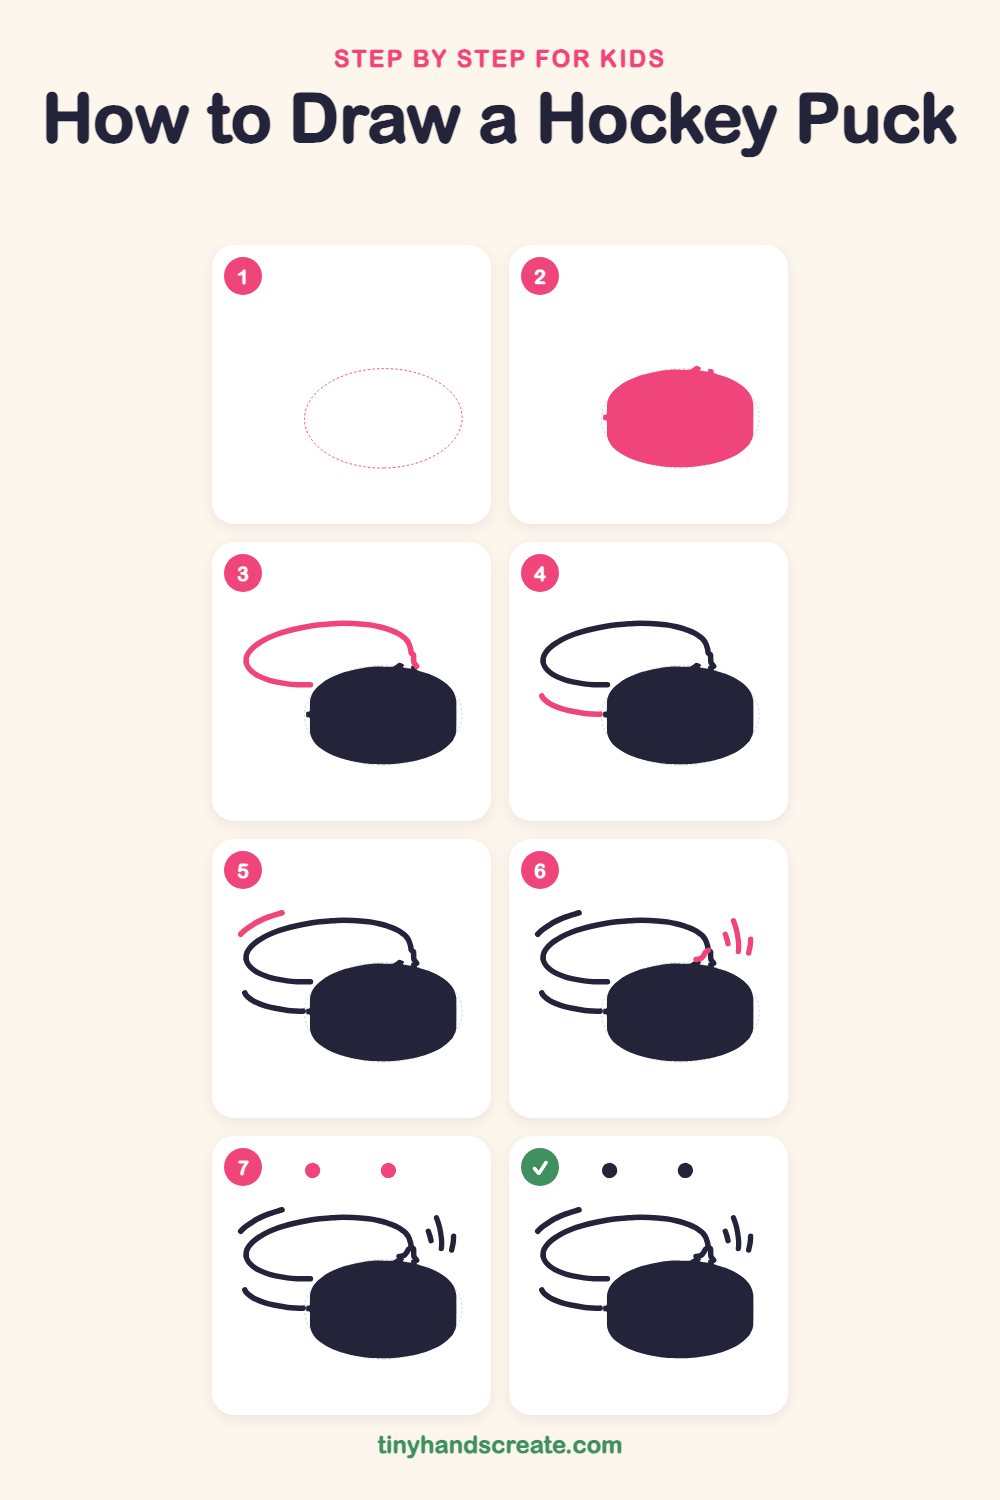
Step 1: Guide shapes
Lightly sketch this oval. It only shows where the big parts go, so press softly. You will erase it at the end.
Step 2: The puck body
Draw a wide, rounded shape like a short fat can lying on its side, with a flat left and right edge and a curved top and bottom. Color the whole shape in.
Step 3: The big spin loop
Start at the top right of the puck and draw a long curved line that sweeps up, over to the left, around the end, and back toward the puck. Stop the line just before it touches the left side of the puck.
Step 4: The lower spin line
Below the loop, draw a short curved line that starts out in the air on the left and swoops down toward the left side of the puck. It should bend like a smile.
Step 5: The top speed swoosh
Above the left end of the loop, draw one short curved line that bends the same way as the loop. Leave a little gap between the two.
Step 6: Little wobble lines
On the right side, draw three short curved lines next to each other, with the middle one the longest. Then add a small squiggly line where the loop meets the top of the puck.
Step 7: The two dots
High above the puck, draw two round dots side by side with space between them. Fill them in dark.
All done!
Erase the guide shapes, go over your lines, then color it in.
Finished your hockey puck? Keep the pencils out and learn how to draw a rocket or how to draw a shooting star next.
Tips for drawing a hockey puck
- Draw the puck as a wide, rounded shape with flat sides. Keep the left and right edges about the same height so the puck does not look tilted.
- The spin loop is the trickiest part. Draw it lightly first, and stop it just before the left side of the puck.
- Make the motion lines short and curved, and leave small gaps between them and the loop. The gaps make the puck look like it is zooming.
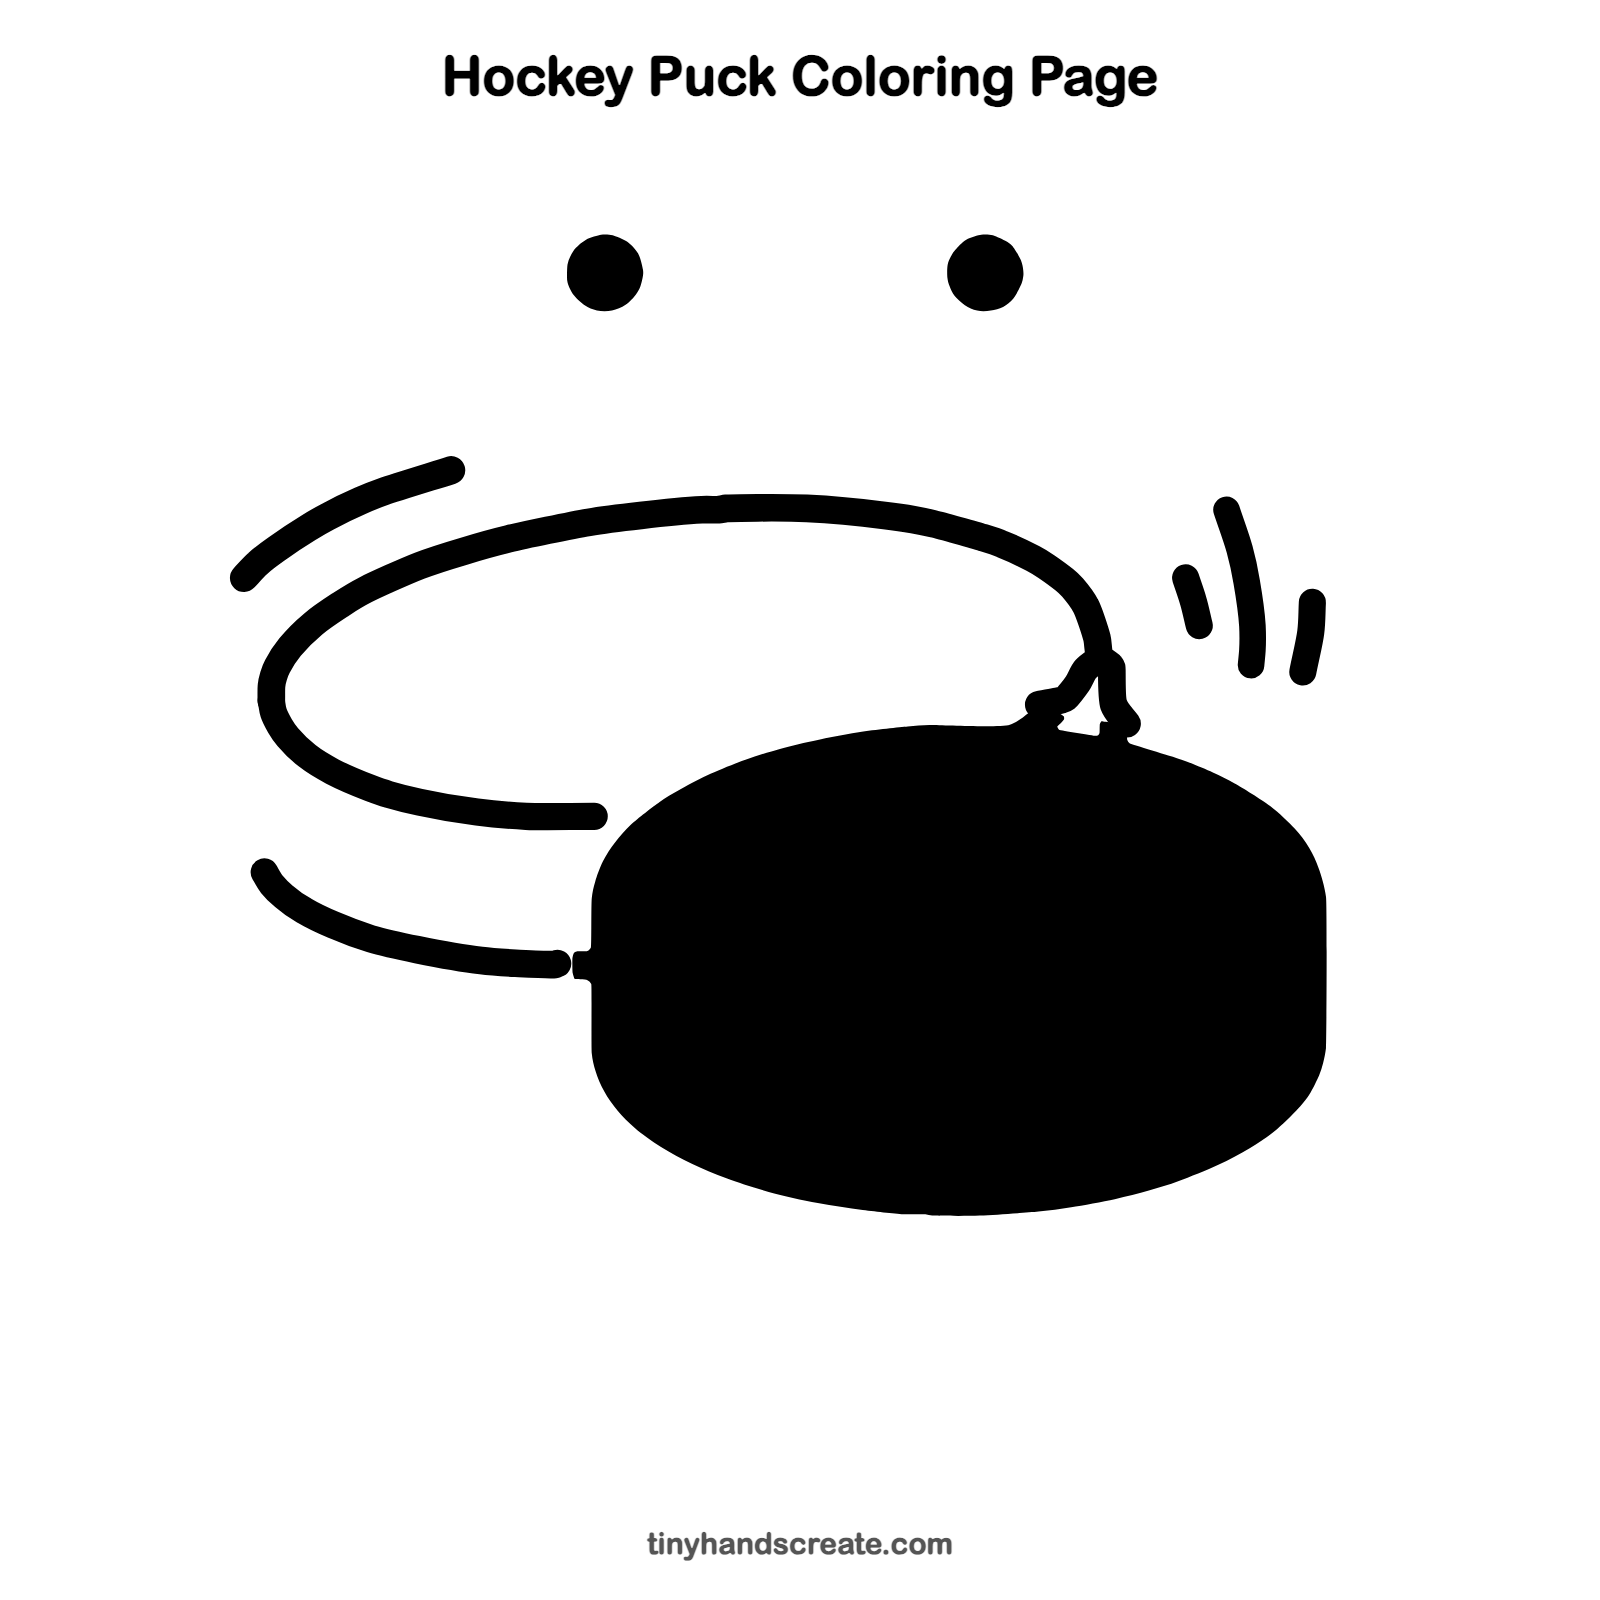
Free hockey puck coloring page
Want to go straight to coloring? Open this hockey puck coloring page at full size and print it. It is the same drawing you just learned, with clean lines ready for crayons or markers.
How to color your hockey puck drawing
Color the puck black or dark gray, and use light blue for the spin lines so they look like icy air. For a creative twist, add a team logo on the puck, or draw a frosty ice rink underneath it.
Hockey puck fun fact for kids
A regulation hockey puck is made of hard rubber and is one inch thick and three inches wide. Pucks are often frozen before a game so they slide smoothly and do not bounce around on the ice.
Questions about drawing a hockey puck
What shapes do I need to draw a hockey puck?
You need a wide, rounded shape with flat left and right sides and a curved top and bottom. That makes a short, round shape like a can lying down.
How do I make a hockey puck look like it is spinning?
Draw a big curved loop starting at the top of the puck and add a few short curved lines on the sides. These lines show movement, so the puck looks like it is whirling.
What are the two dots for?
The two dots float above the puck as a simple finishing touch. Make them the same size and fill them in dark.