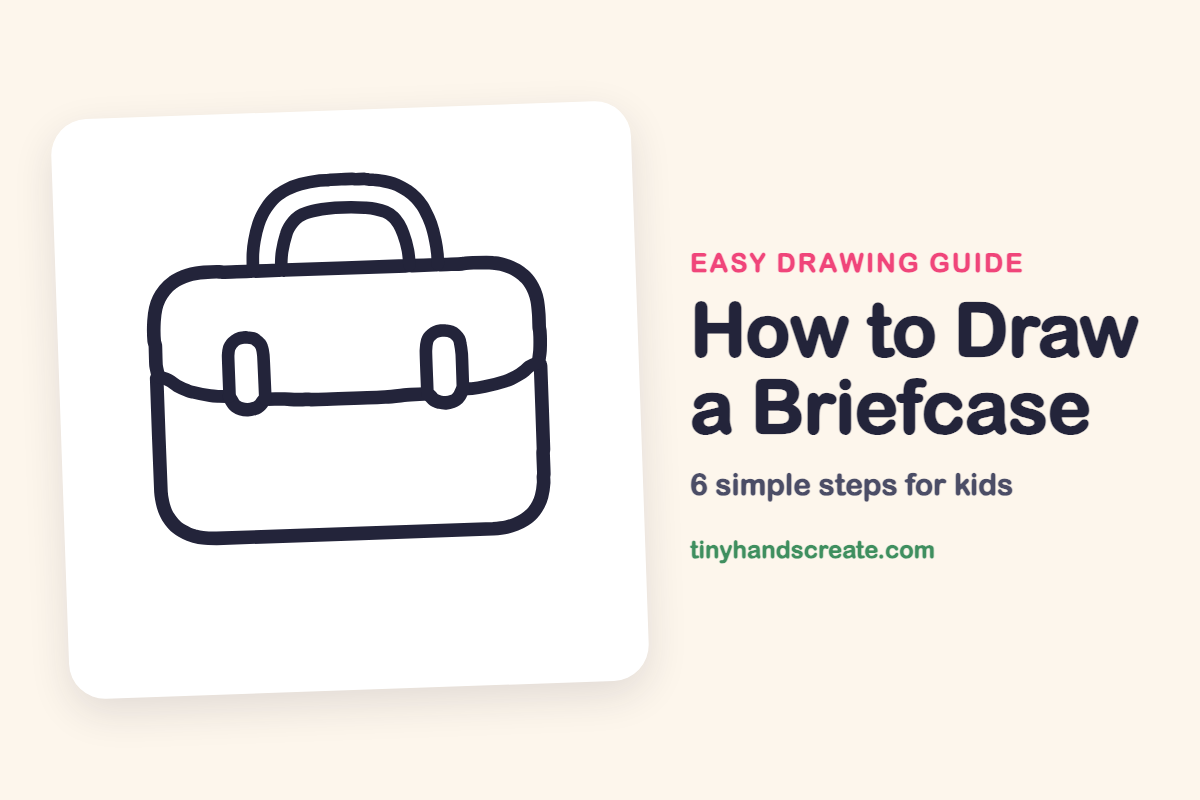
How to Draw a Briefcase (Easy Step by Step)
Learn how to draw a briefcase using simple shapes like rounded rectangles, U shapes, and ovals. This step-by-step guide will help you practice smooth, steady lines.
- Start your briefcase drawing with a big soft rectangle.
- Create the handle using two upside-down U shapes.
- Draw a curved line to form the briefcase's flap.
- Add two tall ovals to represent the clasps.
- Use this drawing exercise to practice making smooth, steady lines.
This post contains affiliate links. As an Amazon Associate I earn from qualifying purchases.
A briefcase is a friendly object to draw because it is built almost entirely from rounded rectangles and curves. You will use one big soft rectangle, two upside-down U shapes for the handle, a curved line for the flap, and two tall ovals for the clasps. It is a great picture for practicing smooth, steady lines.
- Easy
- 10 minutes
- 6 steps
You need: paper, a pencil, an eraser, and crayons or markers for coloring.
Start drawing


In this article (7 sections)
How to draw a briefcase step by step
How to Draw a Briefcase · tinyhandscreate.com
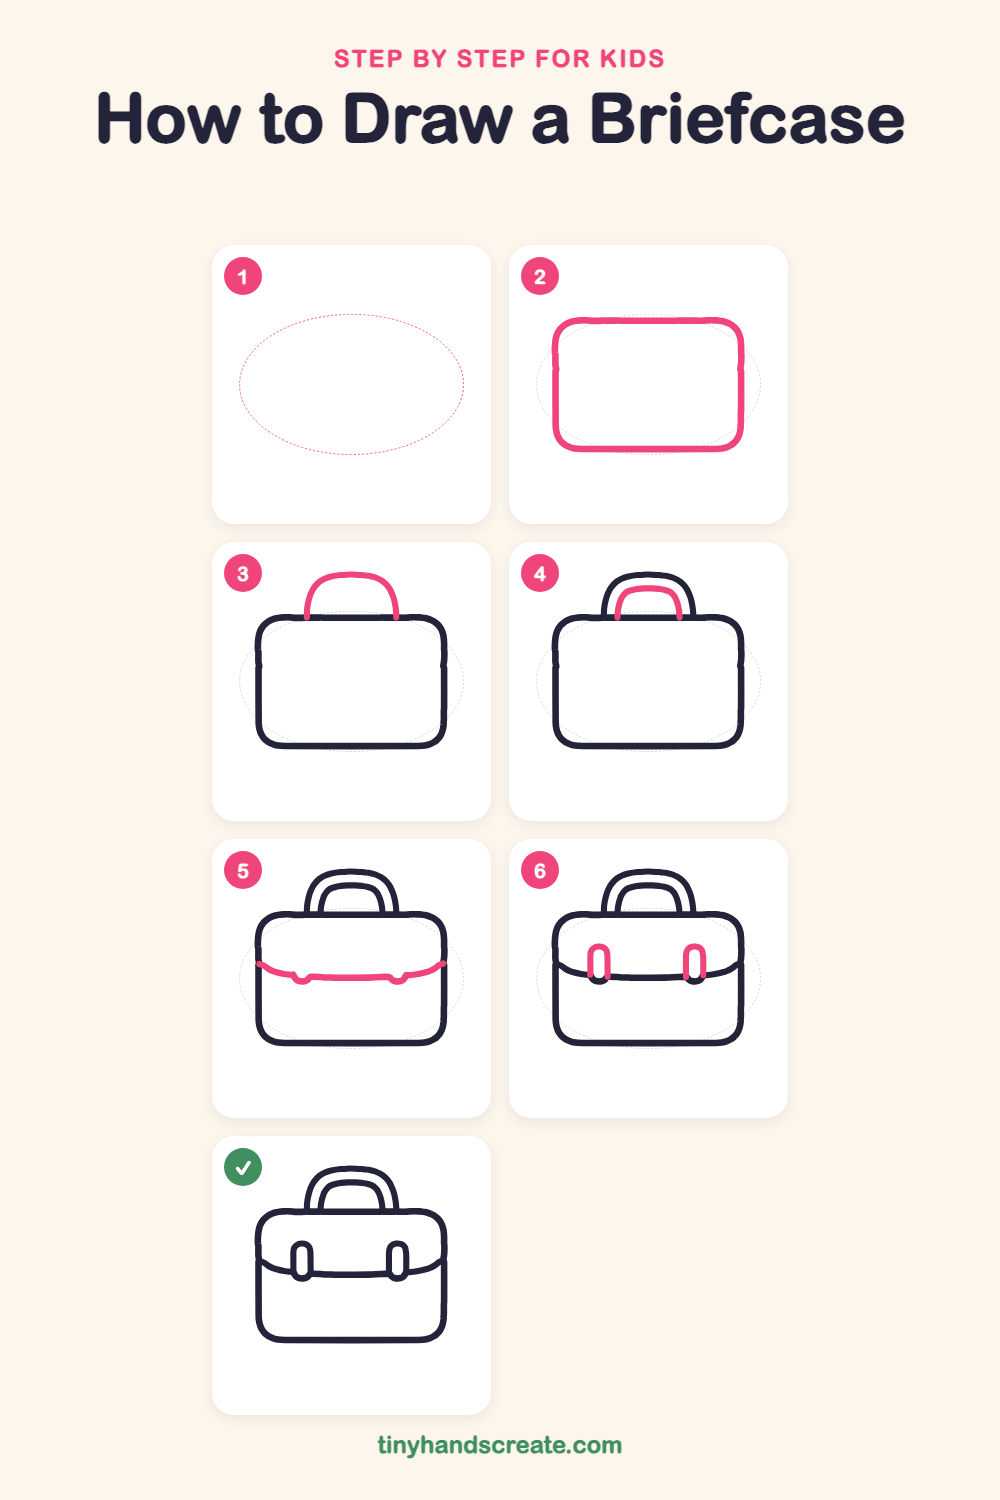
Step 1: Guide shapes
Lightly sketch this oval. It only shows where the big parts go, so press softly. You will erase it at the end.
Step 2: The case body
Draw a wide rounded rectangle, like a pillow that has been squished flat. Make all four corners nice and round.
Step 3: The outer handle
Start on the top line of the case and draw a big upside-down U with a rounded top. Bring it back down to meet the top line again.
Step 4: The inner handle
Draw a smaller upside-down U inside the big one, leaving a gap about as wide as your finger. Start and end it on the top line of the case. This makes the handle look thick and strong.
Step 5: The front flap
Start at the left side, about halfway down the case, and draw a gentle curve across to the right side. Add two small bumps that dip down along the line, one on the left and one on the right, where the clasps will go.
Step 6: The two clasps
Draw two tall skinny ovals, one on the left and one on the right, over the bumps in the flap line. Let the top of each oval sit above the line and the bottom dip just below it.
All done!
Erase the guide shapes, go over your lines, then color it in.
Finished your briefcase? Keep the pencils out and learn how to draw a rocket or how to draw a shooting star next.
Tips for drawing a briefcase
- Sketch the body lightly first. If the rectangle looks squished, erase it and try again before adding the handle.
- Keep the two handle curves the same distance apart all the way around, so draw the inner one slowly and follow the shape of the outer one.
- Make the clasps match by drawing them at the same height and size. Draw the left one first, then copy it on the right.
Free briefcase coloring page
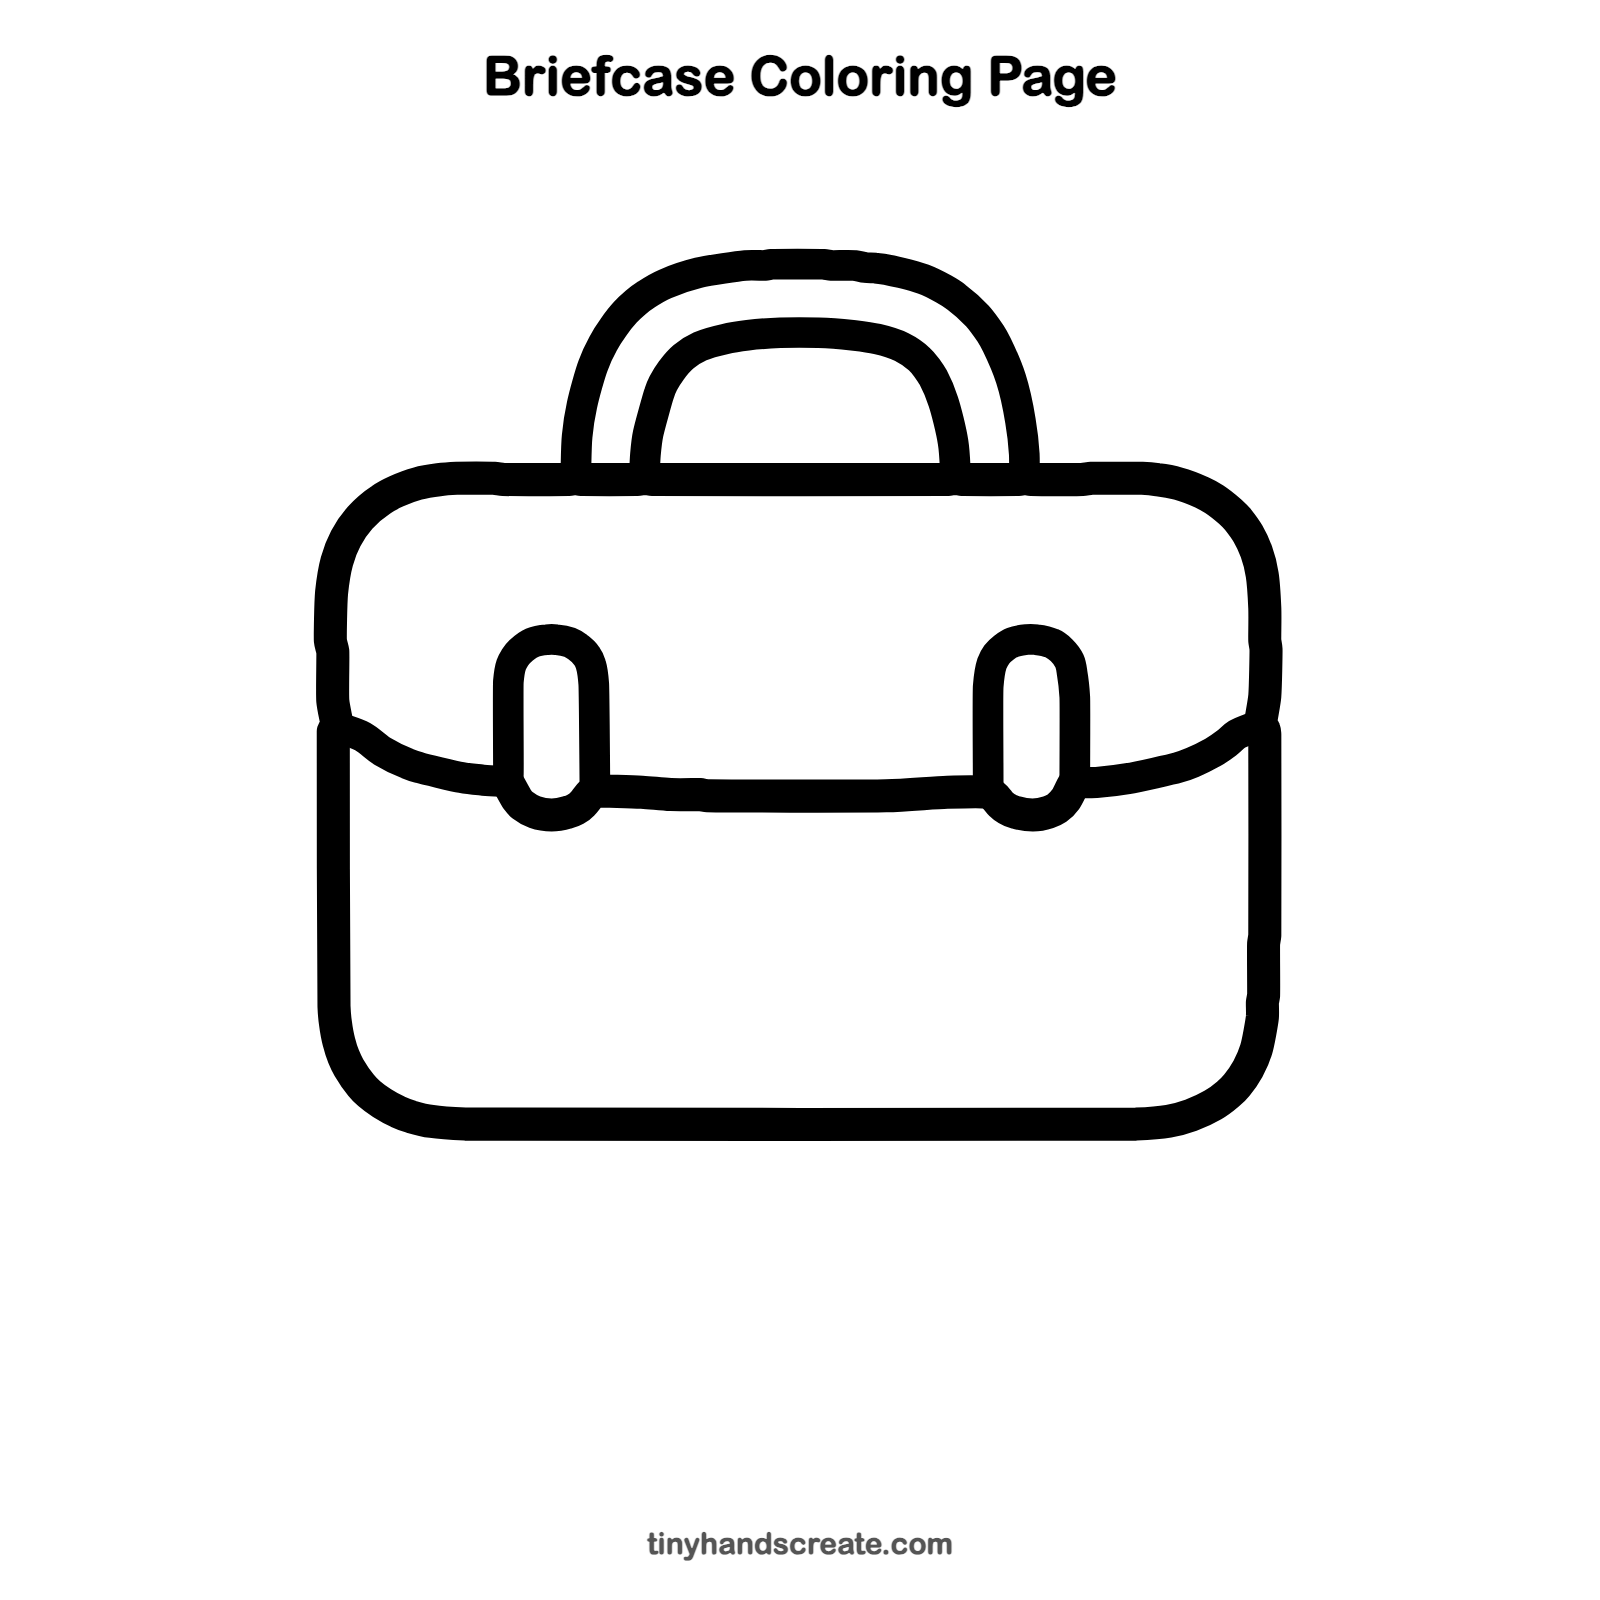
Want to go straight to coloring? Open this briefcase coloring page at full size and print it. It is the same drawing you just learned, with clean lines ready for crayons or markers.
How to color your briefcase drawing
Try classic brown or black leather, with gold or silver clasps. You could also color the handle a darker shade than the case so it stands out.
Briefcase fun fact for kids
Briefcases got their name because they were used to carry legal papers called briefs, which are short written summaries of a court case.
Questions about drawing a briefcase
What shapes do I need to draw a briefcase?
You need a big rounded rectangle for the body, two upside-down U shapes for the handle, and two skinny ovals for the clasps. One curved line across the middle makes the flap.
How do I make my briefcase handle look even?
Draw the outer U first, then draw the inner U a finger-width inside it. Keeping that same gap all the way around makes the handle look neat.
How do I make my briefcase look more real?
Add the curved flap line and two clasps, then color it brown with a darker shade for the handle. Gold or silver clasps make it look like a real leather case.