
How to Draw an Autumn Scene (Easy Step by Step)
Learn to draw a cozy autumn scene using simple shapes. You'll create a puffy cloud treetop, a branched trunk, a bumpy bush, a round hill, and drifting leaves with this easy step-by-step guide.
- Draw a puffy cloud to form your tree's treetop.
- Sketch a trunk with two simple branches for your tree.
- Add a bumpy bush and a round hill to complete your landscape.
- Include small, drifting leaves to capture the autumn feel.
This post contains affiliate links. As an Amazon Associate I earn from qualifying purchases.
An autumn scene is a cozy picture to draw because it is built from just a few simple shapes. You will make a puffy cloud for the treetop, a trunk with two branches, a bumpy bush, a round hill, and little leaves drifting down.
- Easy
- 12 minutes
- 6 steps
You need: paper, a pencil, an eraser, and crayons or markers for coloring.
Start drawing


In this article (7 sections)
How to draw an autumn scene step by step
How to Draw an Autumn Scene · tinyhandscreate.com
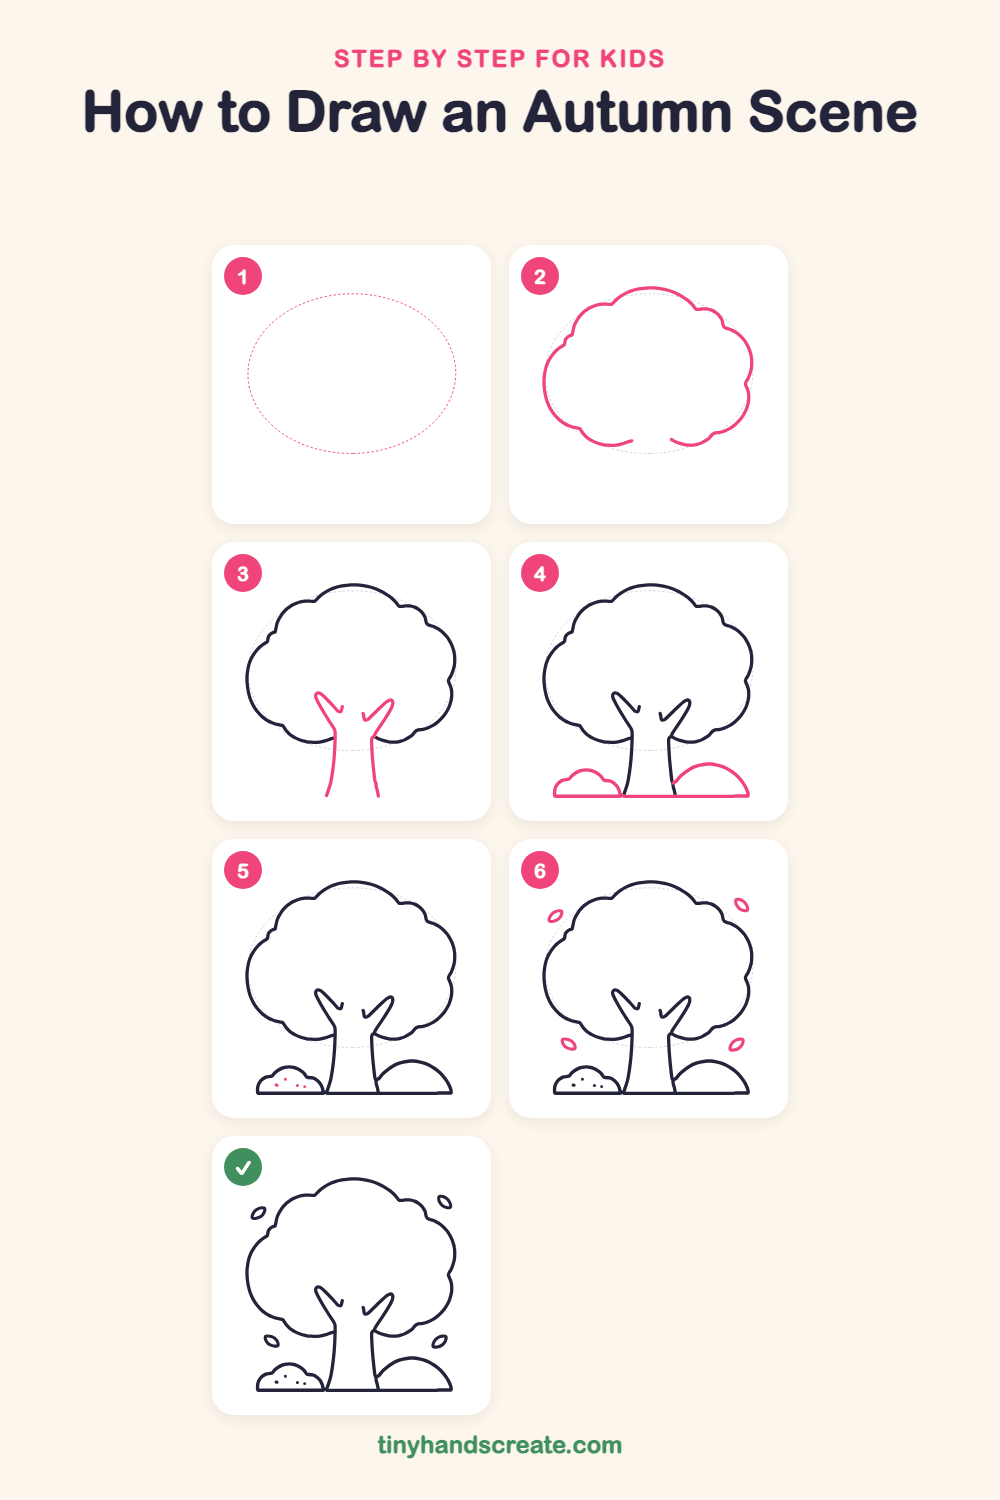
Step 1: Guide shapes
Lightly sketch this oval. It only shows where the big parts go, so press softly. You will erase it at the end.
Step 2: The leafy treetop
Draw a big, puffy cloud shape with lots of rounded bumps along the edge. Leave a small gap at the bottom in the middle, where the trunk will come up.
Step 3: The tree trunk
Start at the gap in the bottom of the cloud and draw two long lines going down, a little apart from each other. At the top, add two short branch lines that angle up and outward into the leaves, like a letter V.
Step 4: Bush, hill and ground
On the left, draw a small bumpy bush. On the right, draw a smooth hill like half a circle. Then draw one flat line along the bottom that joins the bush, the trunk and the hill.
Step 5: Dots on the bush
Add a few tiny dots inside the bush, like little berries. Spread them out so they are not all in a row.
Step 6: Falling leaves
Draw four small leaf shapes floating around the tree, two up high and two down low. Make each one like a tiny lemon: a curve on top and a curve on the bottom that meet in pointy ends.
All done!
Erase the guide shapes, go over your lines, then color it in.
Finished your autumn scene? Keep the pencils out and learn how to draw a mushroom or how to draw a sunflower next.
Tips for drawing an autumn scene
- Make the treetop bumps different sizes. Big and small bumps together look more like real leaves than bumps that are all the same.
- Draw the two trunk lines starting from the gap in the treetop, then add the two short branches that angle up into the leaves.
- For the falling leaves, keep them small and tilt each one a different way so they look like they are tumbling.
Free autumn scene coloring page
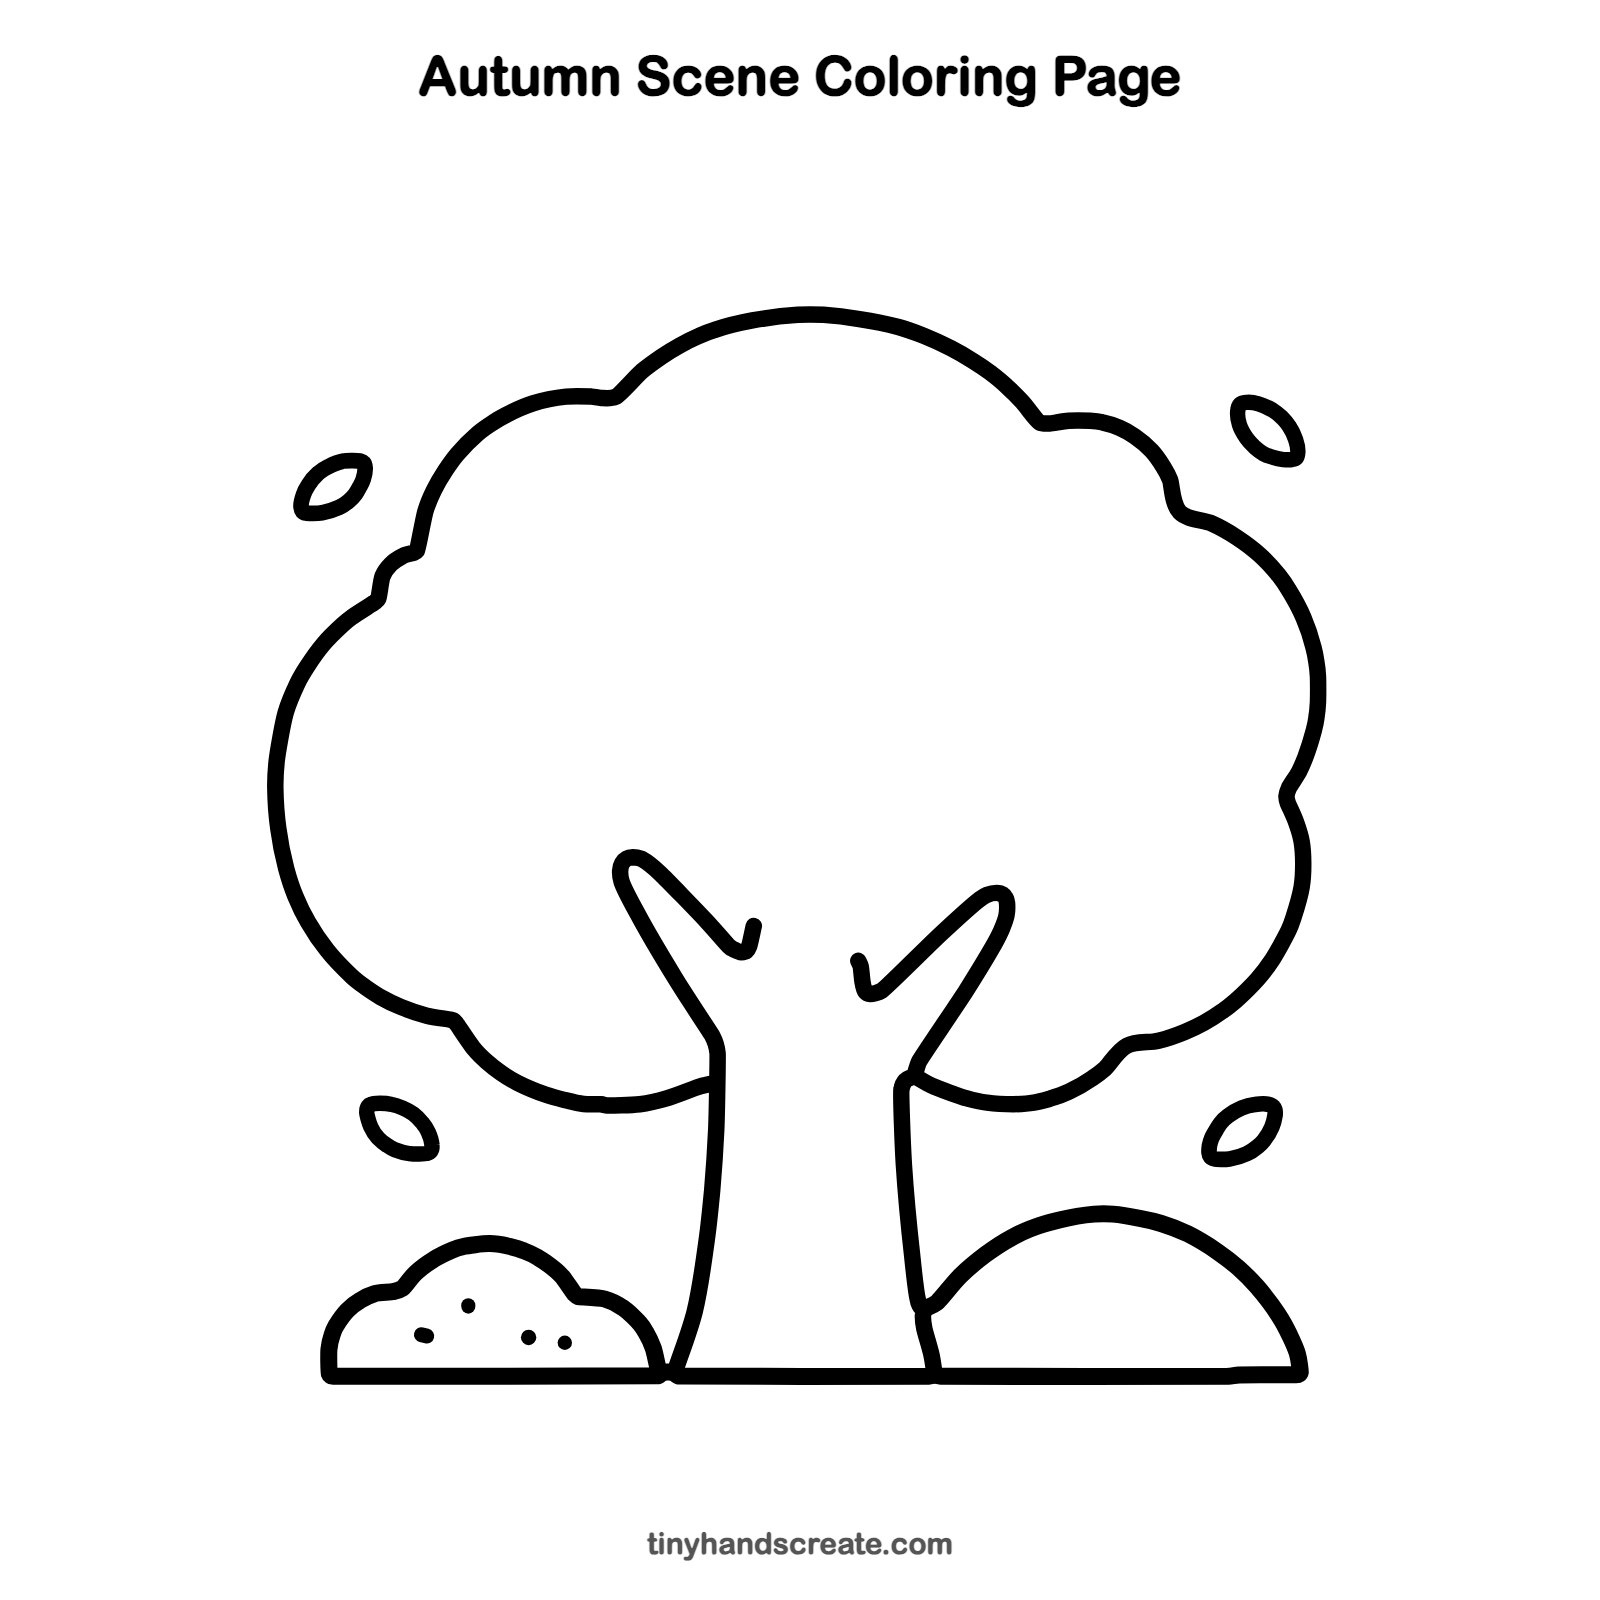
Want to go straight to coloring? Open this autumn scene coloring page at full size and print it. It is the same drawing you just learned, with clean lines ready for crayons or markers.
How to color your autumn scene drawing
Try bright oranges, reds, and yellows for the treetop and the falling leaves, with a brown trunk, a green bush, and a golden hill. For a creative twist, color each falling leaf a different shade, as if they came from a whole rainbow of trees.
Autumn scene fun fact for kids
Leaves look green because of a chemical called chlorophyll. In autumn, trees stop making it, and the yellow and orange colors that were hiding underneath finally show up.
Questions about drawing an autumn scene
What shapes do I need to draw an autumn tree?
You need a big puffy cloud shape for the leaves, two long lines for the trunk, a bumpy bush, and a half circle for the hill. The falling leaves are small lemon shapes with pointy ends.
How do I make my autumn scene look more real?
Add more falling leaves at different tilts, and make the treetop bumps different sizes. A few tiny dots on the bush look like berries and add detail.
How do I draw the leafy part of the tree?
Draw a big cloud shape with lots of small rounded bumps along the edge. Leave a gap at the bottom in the middle so the trunk can come up from there.