How to Draw a Cashier (Easy Step by Step)
This post contains affiliate links. As an Amazon Associate I earn from qualifying purchases.
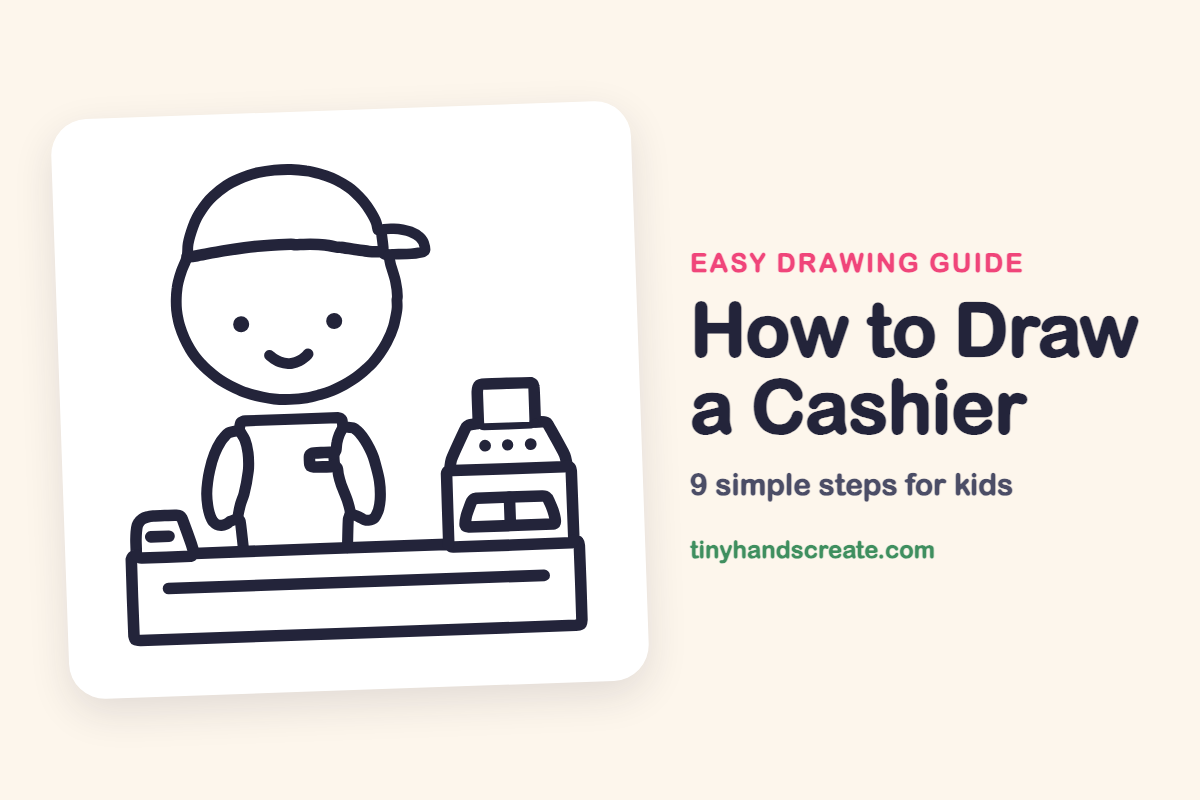
This friendly cashier is made from circles, rounded boxes and a few curved lines. The round head, the cap and the cash register make it feel like a real shop counter. Kids can draw it one simple shape at a time.
- Medium
- 15 minutes
- 9 steps
You need: paper, a pencil, an eraser, and crayons or markers for coloring.
Start drawing
In this article (7 sections)
How to draw a cashier step by step
How to Draw a Cashier · tinyhandscreate.com
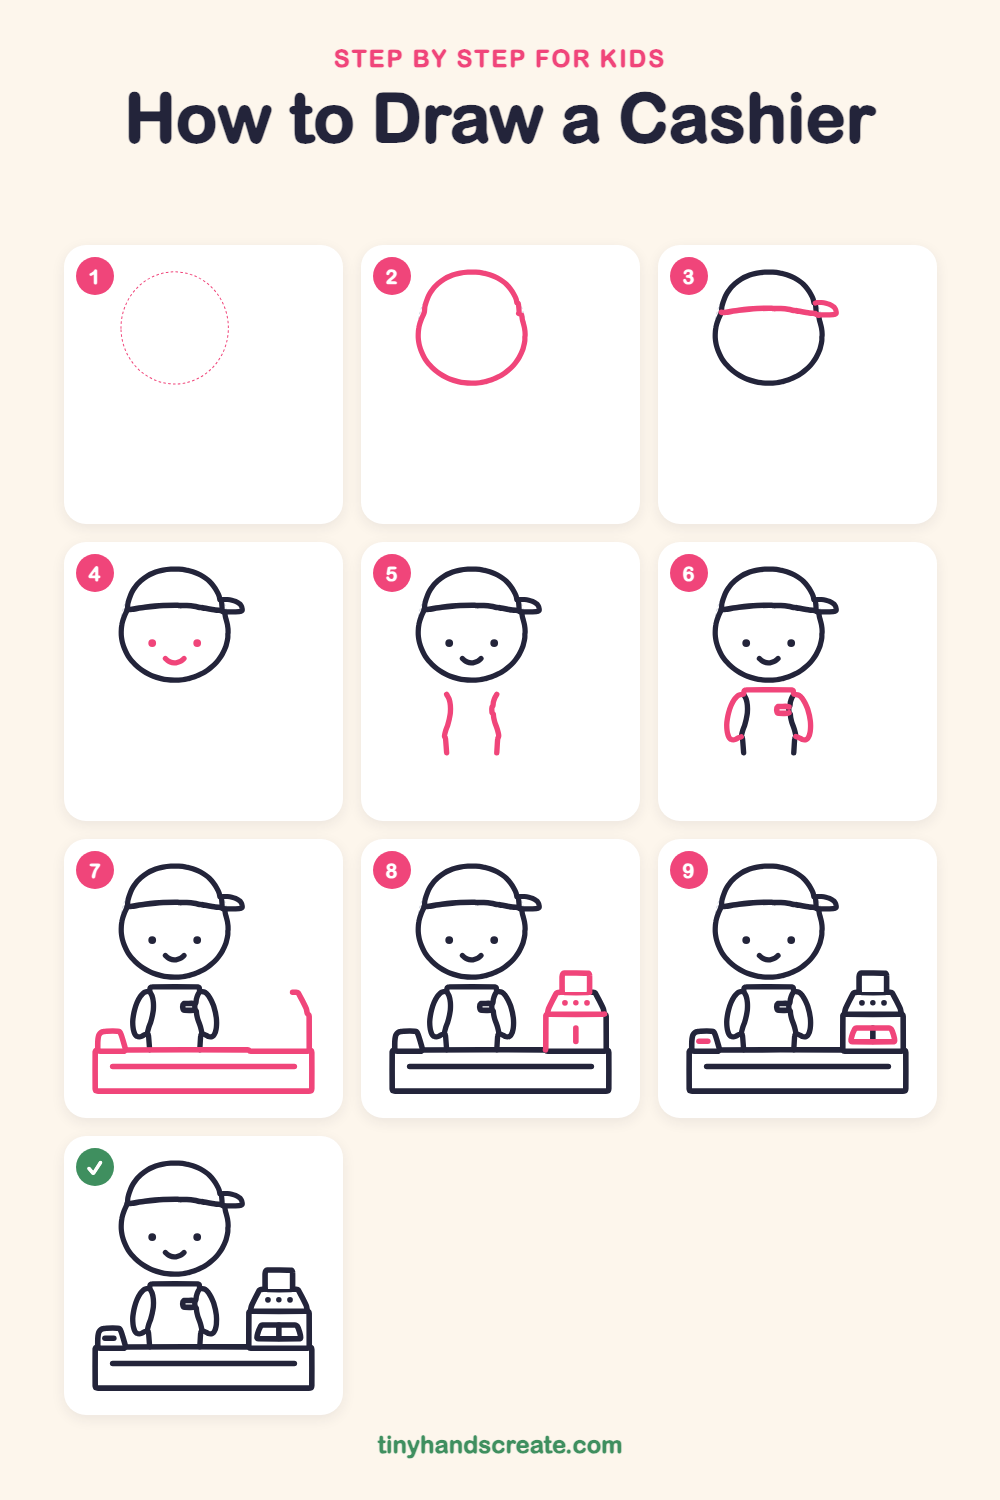
Step 1: Guide shapes
Lightly sketch this oval. It only shows where the big parts go, so press softly. You will erase it at the end.
Step 2: The round head
Draw a big round circle for the head, just a little taller than it is wide. Leave room above it for a cap and room below it for the body.
Step 3: The cap
Draw a curved line across the top of the head for the cap band. At the right end, add a small rounded flap that sticks out for the brim.
Step 4: A happy face
Draw two small dots for the eyes in the middle of the face. Under them, draw a little smile curve, like a tiny bowl.
Step 5: Sides of the body
Under the head, draw two gently curved lines going down, one on the left and one on the right. Leave a gap between them for the shirt.
Step 6: Shirt, arms and name tag
Draw a short line across the top to join the body sides, like the top of a shirt. Then draw a rounded loop on each side for the arms, and add a tiny rounded rectangle on the chest for a name tag.
Step 7: The long counter
Draw a wide, flat box across the bottom of the page, and a long straight line inside it. On the right, draw a short line going up from the corner of the box, bending a little at the top.
Step 8: The cash register
On the right end of the counter, draw a box with a slanted top. Add a small square screen on top, and three little dots on the slanted part for buttons. Draw a short straight line down the front of the box.
Step 9: Drawer and card reader
On the front of the register, draw a wide trapezoid for the cash drawer. Then add a tiny short line on the small card reader at the left end of the counter.
All done!
Erase the guide shapes, go over your lines, then color it in.
Finished your cashier? Keep the pencils out and learn how to draw a sports coach or how to draw a referee next.
Tips for drawing a cashier
- Draw the head circle first and keep it big. The cap and face both sit inside it, so a roomy circle gives you space.
- The arms are rounded loops on each side of the shirt. Draw them lightly first so you can fix the shape.
- Use a ruler or the edge of a book for the long counter lines. The register looks best when its sides are straight.
Free cashier coloring page
Want to go straight to coloring? Open this cashier coloring page at full size and print it. It is the same drawing you just learned, with clean lines ready for crayons or markers.
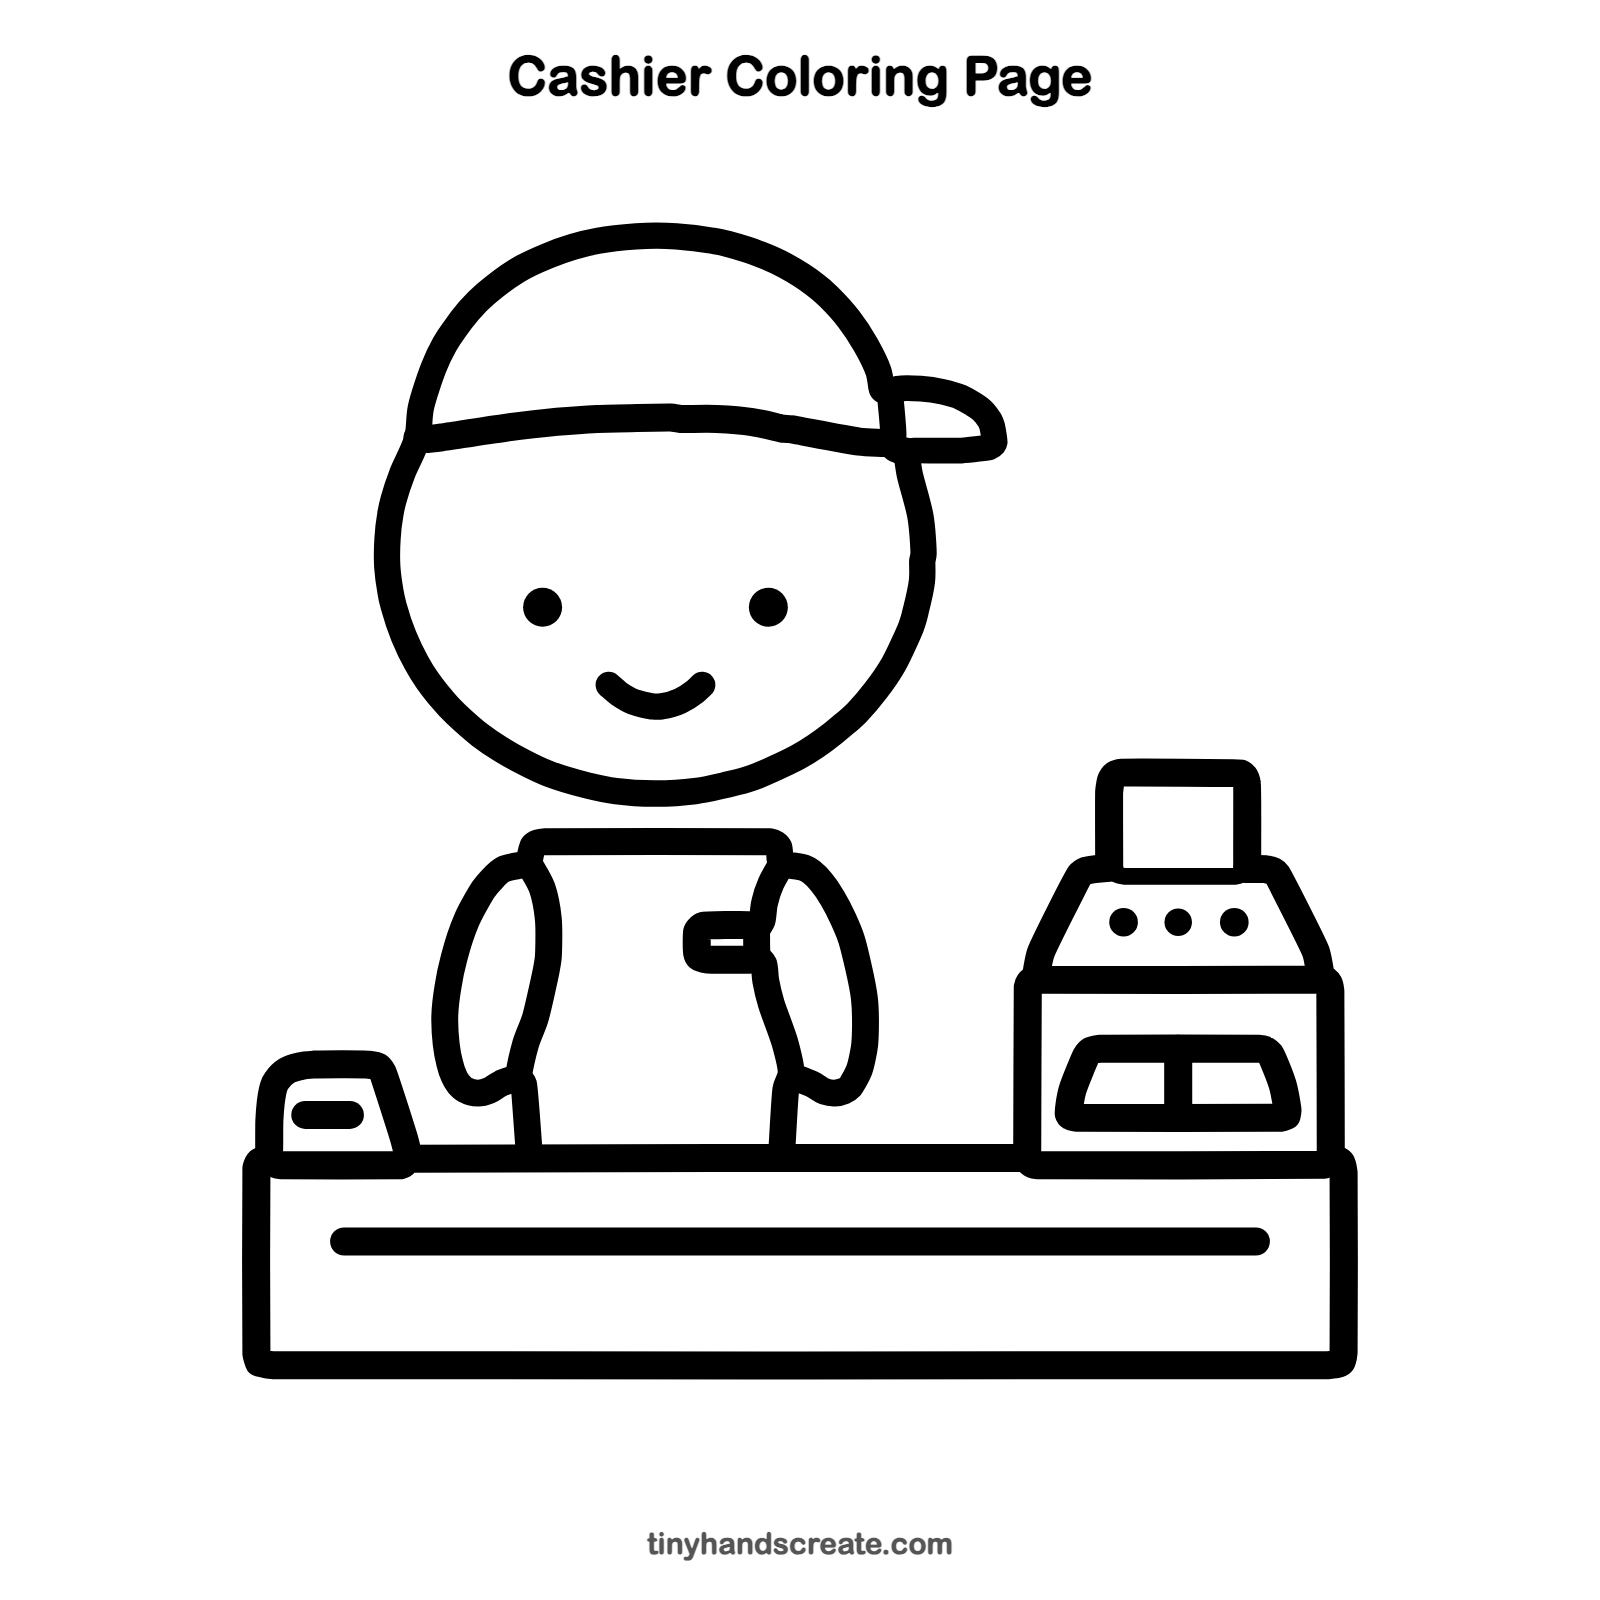
How to color your cashier drawing
Try a red cap and shirt, a gray register and a brown wooden counter. For a creative twist, color the register screen like a tiny rainbow.
Cashier fun fact for kids
The first cash register was invented in 1879 by James Ritty, a saloon owner in Dayton, Ohio. It rang a bell every time a sale was made.
Questions about drawing a cashier
What shapes do I need to draw a cashier?
You need a circle for the head, curved lines and a rounded top for the body, and loops for the arms. The counter and cash register are built from boxes and a trapezoid.
How do I make my cashier look friendlier?
Draw a smile and two round dots for eyes. Making the smile a little wider also adds a cheerful look.
What is the hardest part of drawing a cashier?
Most kids find the cash register trickiest because it has many small parts. Draw its big box first, then add the screen, buttons and drawer one at a time.