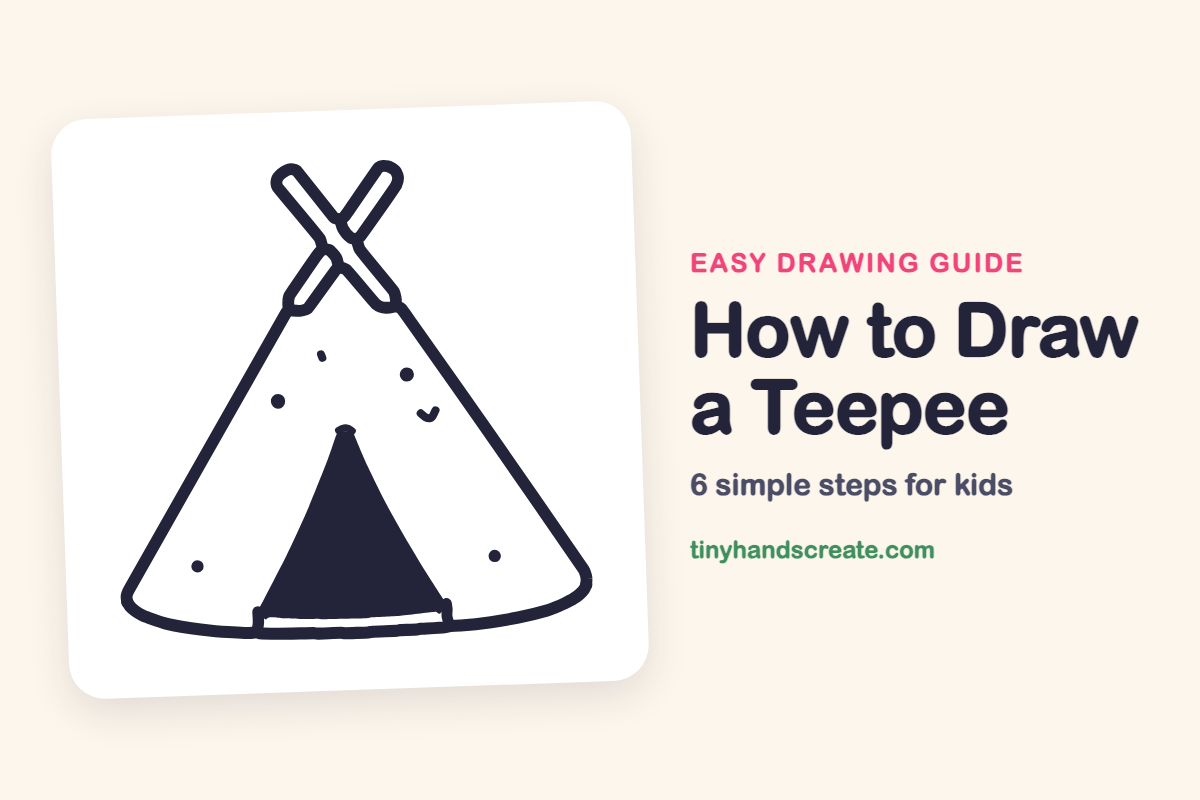
How to Draw a Teepee (Easy Step by Step)
Learn to draw a teepee using simple shapes like a big triangle, straight lines, and a curve. You'll discover how to add crossed poles and a doorway for an easy, fun drawing.
- Start your teepee drawing with a large triangle for the main structure.
- Add two crossed poles extending from the top of your teepee.
- Use straight lines, a curve, and a few dots to build your drawing.
- Create a dark doorway to make your teepee stand out on the page.
This post contains affiliate links. As an Amazon Associate I earn from qualifying purchases.
A teepee is a fun drawing because it is mostly a big triangle with two crossed poles poking out the top. You only need straight lines, a curve, and a few dots to build it, and the dark doorway makes it stand out on the page.
- Easy
- 10 minutes
- 6 steps
You need: paper, a pencil, an eraser, and crayons or markers for coloring.
Start drawing


In this article (7 sections)
How to draw a teepee step by step
How to Draw a Teepee · tinyhandscreate.com
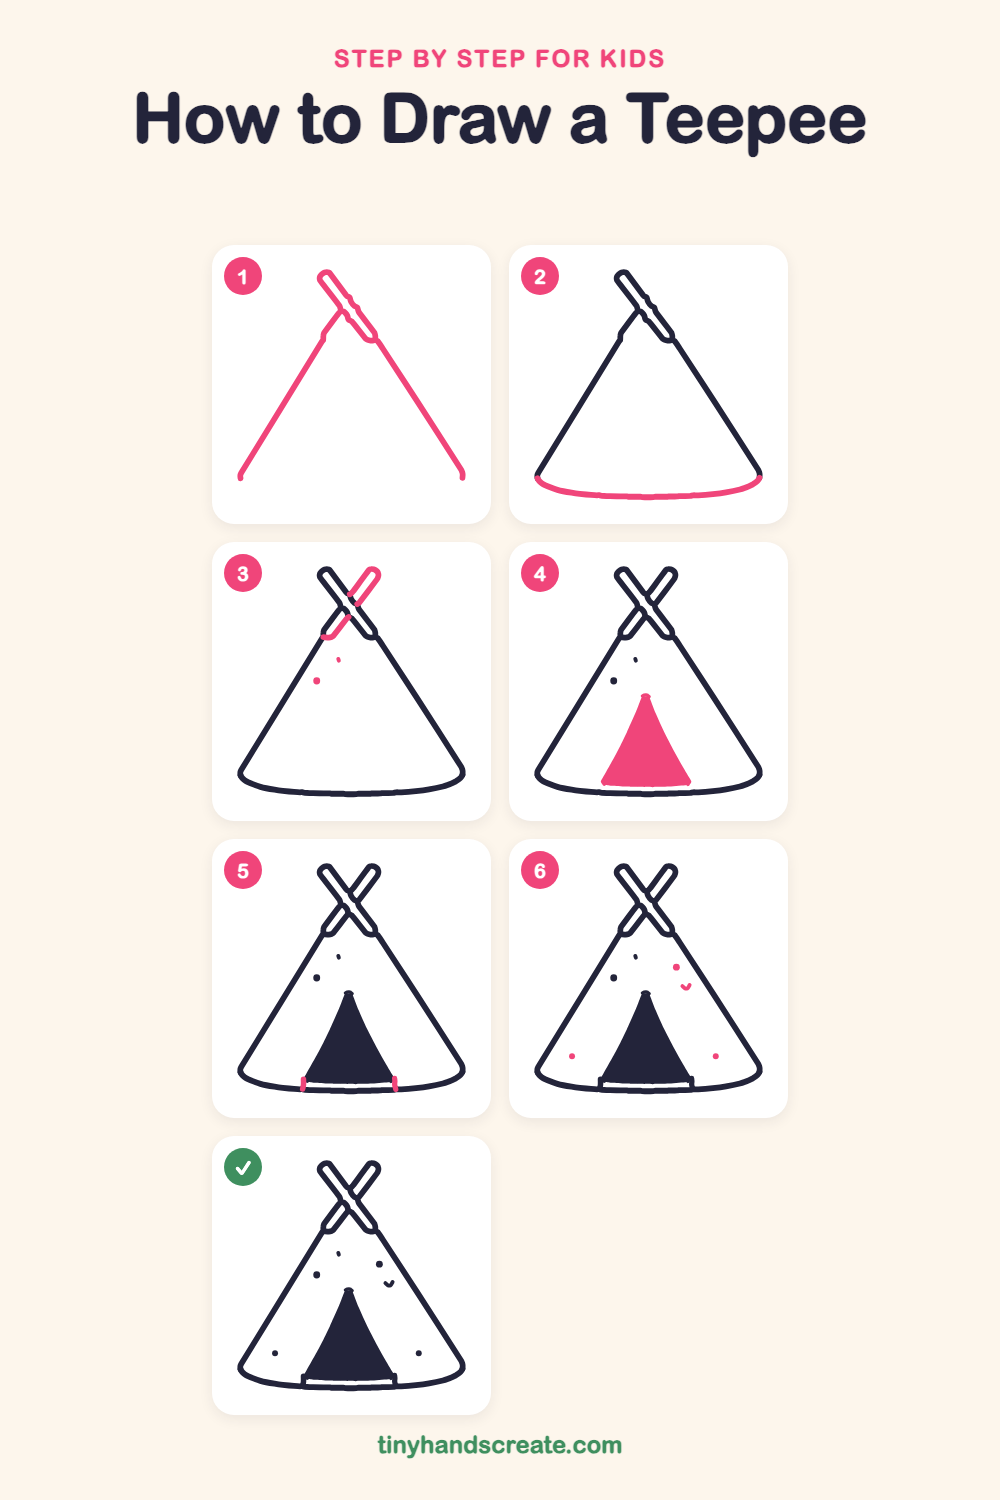
Step 1: The two sides
Near the top, draw one long skinny pole shape that slopes down to the right, then draw two long straight lines going down and apart from it, like the sides of a tall triangle. Leave the bottom of the sides open.
Step 2: The curved bottom
Connect the bottom ends of the two sides with a wide, smooth curve that sags like a gentle smile. This is the ground edge of the teepee.
Step 3: Crossed poles
At the top, draw a second long skinny pole that crosses the first one to make an X, with its ends poking out above the tent. Add two tiny dots on the tent, one near each side.
Step 4: The doorway
In the middle of the bottom, draw a tall pointed shape like a narrow arch, with its tip high up and its base resting on the curved bottom. Fill it in solid.
Step 5: Door edges
Draw a short straight line going up at each bottom corner of the doorway, so the door looks like it sits on the ground.
Step 6: Dots and a check
Add a few small round dots on the tent sides, and a little check mark near the right side of the doorway. Spread them out so the tent looks decorated.
All done!
Go over your lines with a marker, then color it in.
Finished your teepee? Keep the pencils out and learn how to draw a rocket or how to draw a shooting star next.
Tips for drawing a teepee
- Draw the two long sides first and check that they lean toward each other evenly, so the teepee looks balanced.
- The crossed poles are the trickiest part. Draw the first pole, then add the second one so the two cross like an X near the top.
- Make the doorway a tall, narrow point and fill it in solid, so it stands out as an opening.
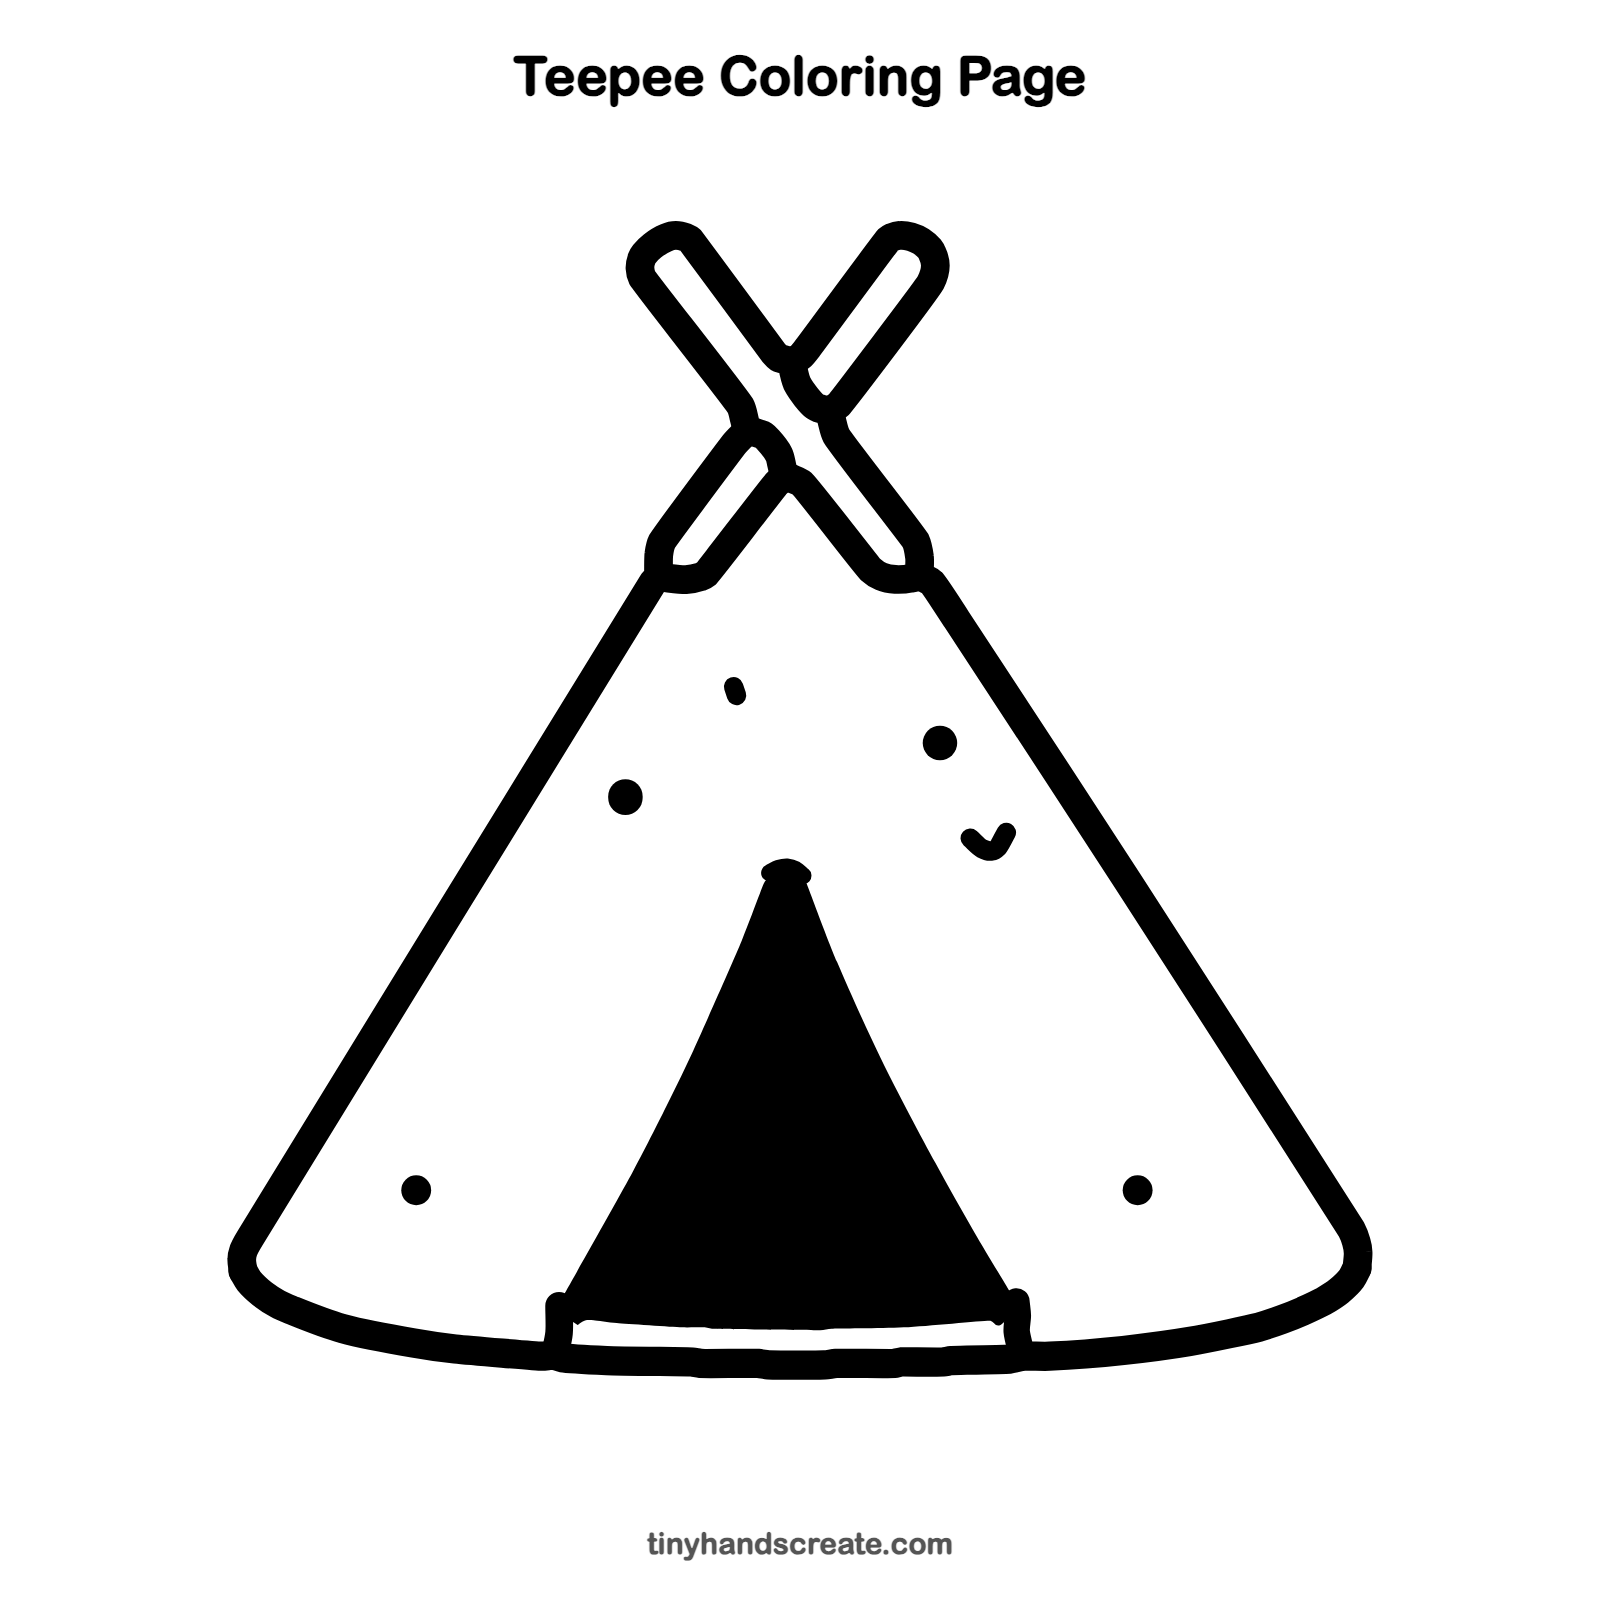
Free teepee coloring page
Want to go straight to coloring? Open this teepee coloring page at full size and print it. It is the same drawing you just learned, with clean lines ready for crayons or markers.
How to color your teepee drawing
Try tan, cream, or brown for the tent, with a deep dark color for the doorway and brown for the poles. For a creative twist, add colorful zigzag patterns around the base or a night sky behind the teepee.
Teepee fun fact for kids
Many Plains Indian peoples, such as the Lakota and the Blackfeet, traditionally used teepees as homes. They were made of long wooden poles covered with animal hides, and they could be taken down and carried when families moved.
Questions about drawing a teepee
What shapes do I need to draw a teepee?
You need two long slanted lines for the sides, a smooth curve for the bottom, two skinny poles that cross, and a narrow pointed arch for the door. A few dots and a check mark add the finishing touch.
How do I make my teepee look balanced?
Draw a faint line down the middle first, then make both sides slope the same amount. Put the door right on that middle line.
How do I draw the crossed poles at the top?
Draw one long skinny pole that slopes down to the right, then add a second one that crosses it to make an X. Round off the ends so they look like real wooden poles.