How to Draw a Chandelier (Easy Step by Step)
Learn to draw a fancy chandelier using simple shapes like circles, curves, and straight lines. You'll start with the chain and build down to glowing candles and sparkly crystals, practicing symmetry along the way.
- Begin your chandelier drawing with basic shapes like circles and curves.
- Construct the design from the top chain down to the candles and crystals.
- Practice symmetry by mirroring the left and right sides of your chandelier.
This post contains affiliate links. As an Amazon Associate I earn from qualifying purchases.
A chandelier looks fancy, but it is built from simple shapes: circles, curves, and a few straight lines. You start at the top with a long chain and build down to the glowing candles and sparkly crystals. It is a great drawing for practicing symmetry, because the left side mirrors the right.
- Medium
- 15 minutes
- 7 steps
You need: paper, a pencil, an eraser, and crayons or markers for coloring.
Start drawing


In this article (7 sections)
How to draw a chandelier step by step
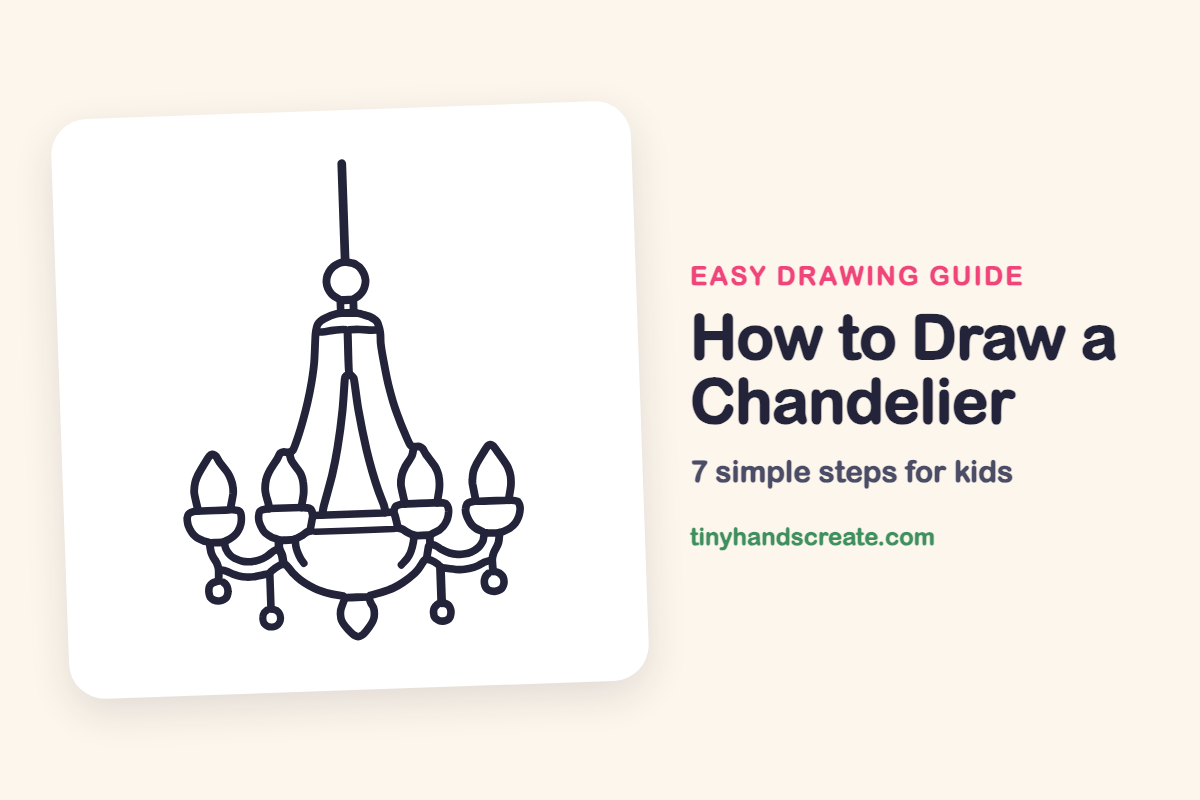
How to Draw a Chandelier · tinyhandscreate.com
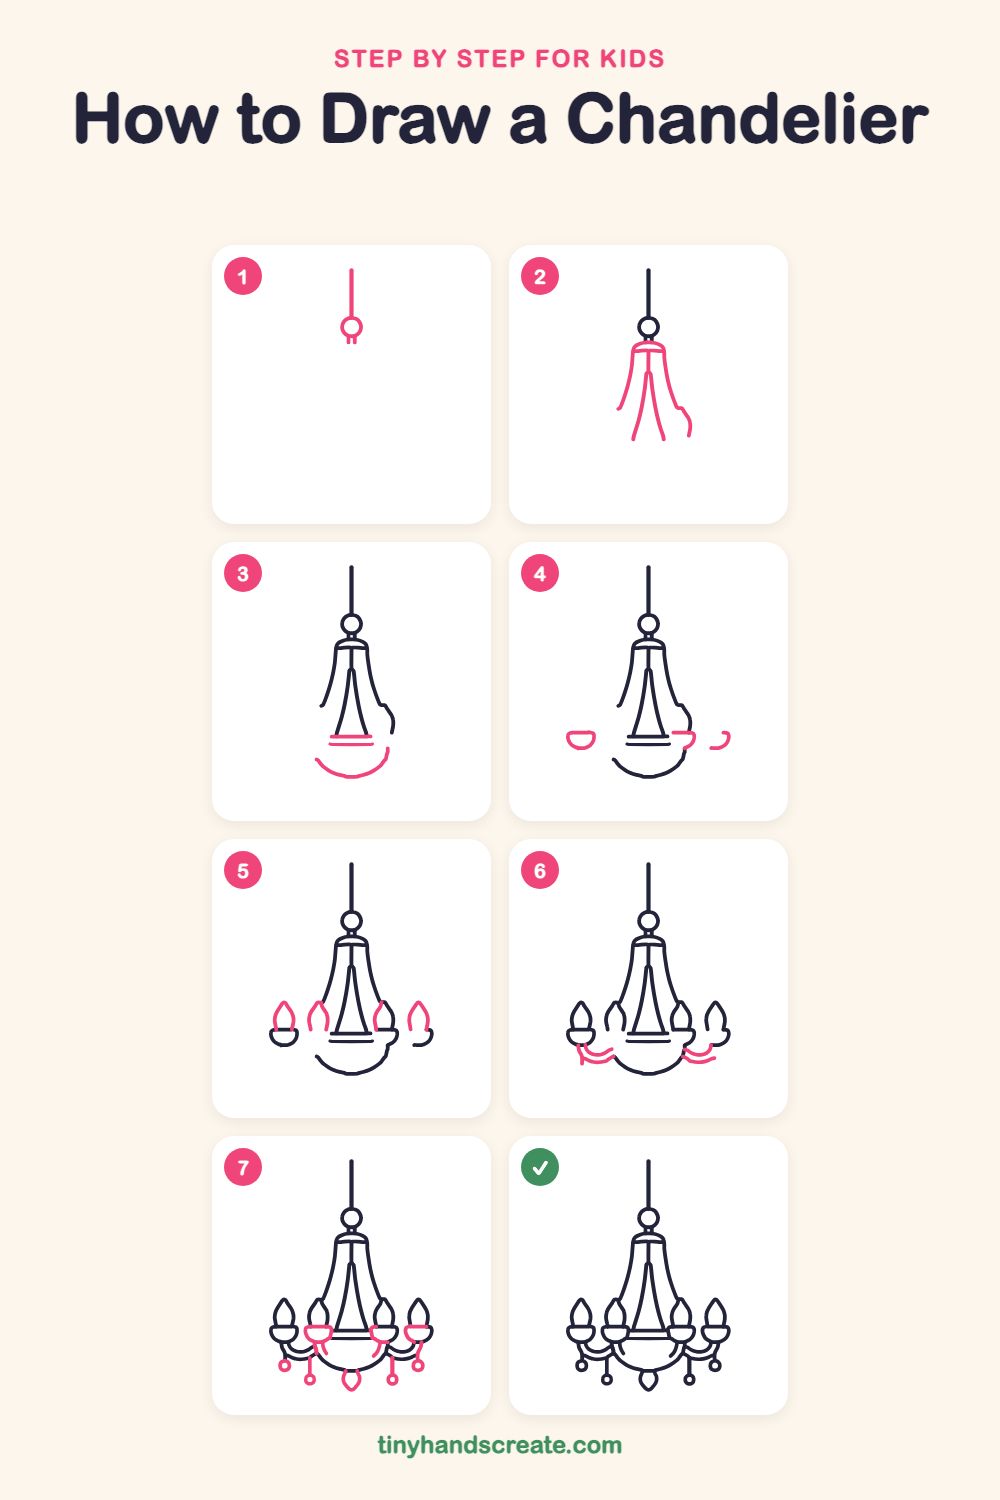
Step 1: Chain and top ring
Draw a straight line going down from the top of the page. At the bottom of the line, draw a small circle, then add two tiny short lines under the circle.
Step 2: The bell body
Under the circle, draw a short curved cap shape. From each end of the cap, draw a long curved line that swoops down and outward, like a tall bell. Add two more lines inside that lean toward each other near the middle.
Step 3: The center bowl
Near the bottom of the bell, draw two short flat lines, one above the other. Then draw a big smile-shaped curve underneath to make a round bowl.
Step 4: Four candle cups
Draw a small cup on each side of the bowl, with two on the left and two on the right. Each cup is a flat line on top with a curved half-circle underneath, like a little bowl.
Step 5: Candle flames
On top of each cup, draw a flame shape. Start at the cup, curve up on both sides, and finish with a pointy tip, like a teardrop.
Step 6: Curvy arms
Draw a curved arm that swoops from under each outer cup toward the bowl, like a smile. Add a second small curve beside each one to show the arm is thick.
Step 7: Hanging crystals
Draw a short line dangling down from the arms and put a small circle at the end of each one. Add small curved bands under the cups. Finish with a pointy teardrop jewel hanging from the very bottom of the bowl.
All done!
Go over your lines with a marker, then color it in.
Finished your chandelier? Keep the pencils out and learn how to draw a rocket or how to draw a shooting star next.
Tips for drawing a chandelier
- Draw the center chain first, and use it as a guide so the left and right sides match.
- The bell body is the trickiest part. Draw the two side curves lightly first, and make them swoop out the same amount on both sides.
- Make all four candle cups about the same size by placing the two inner ones first, then the two outer ones.
Free chandelier coloring page
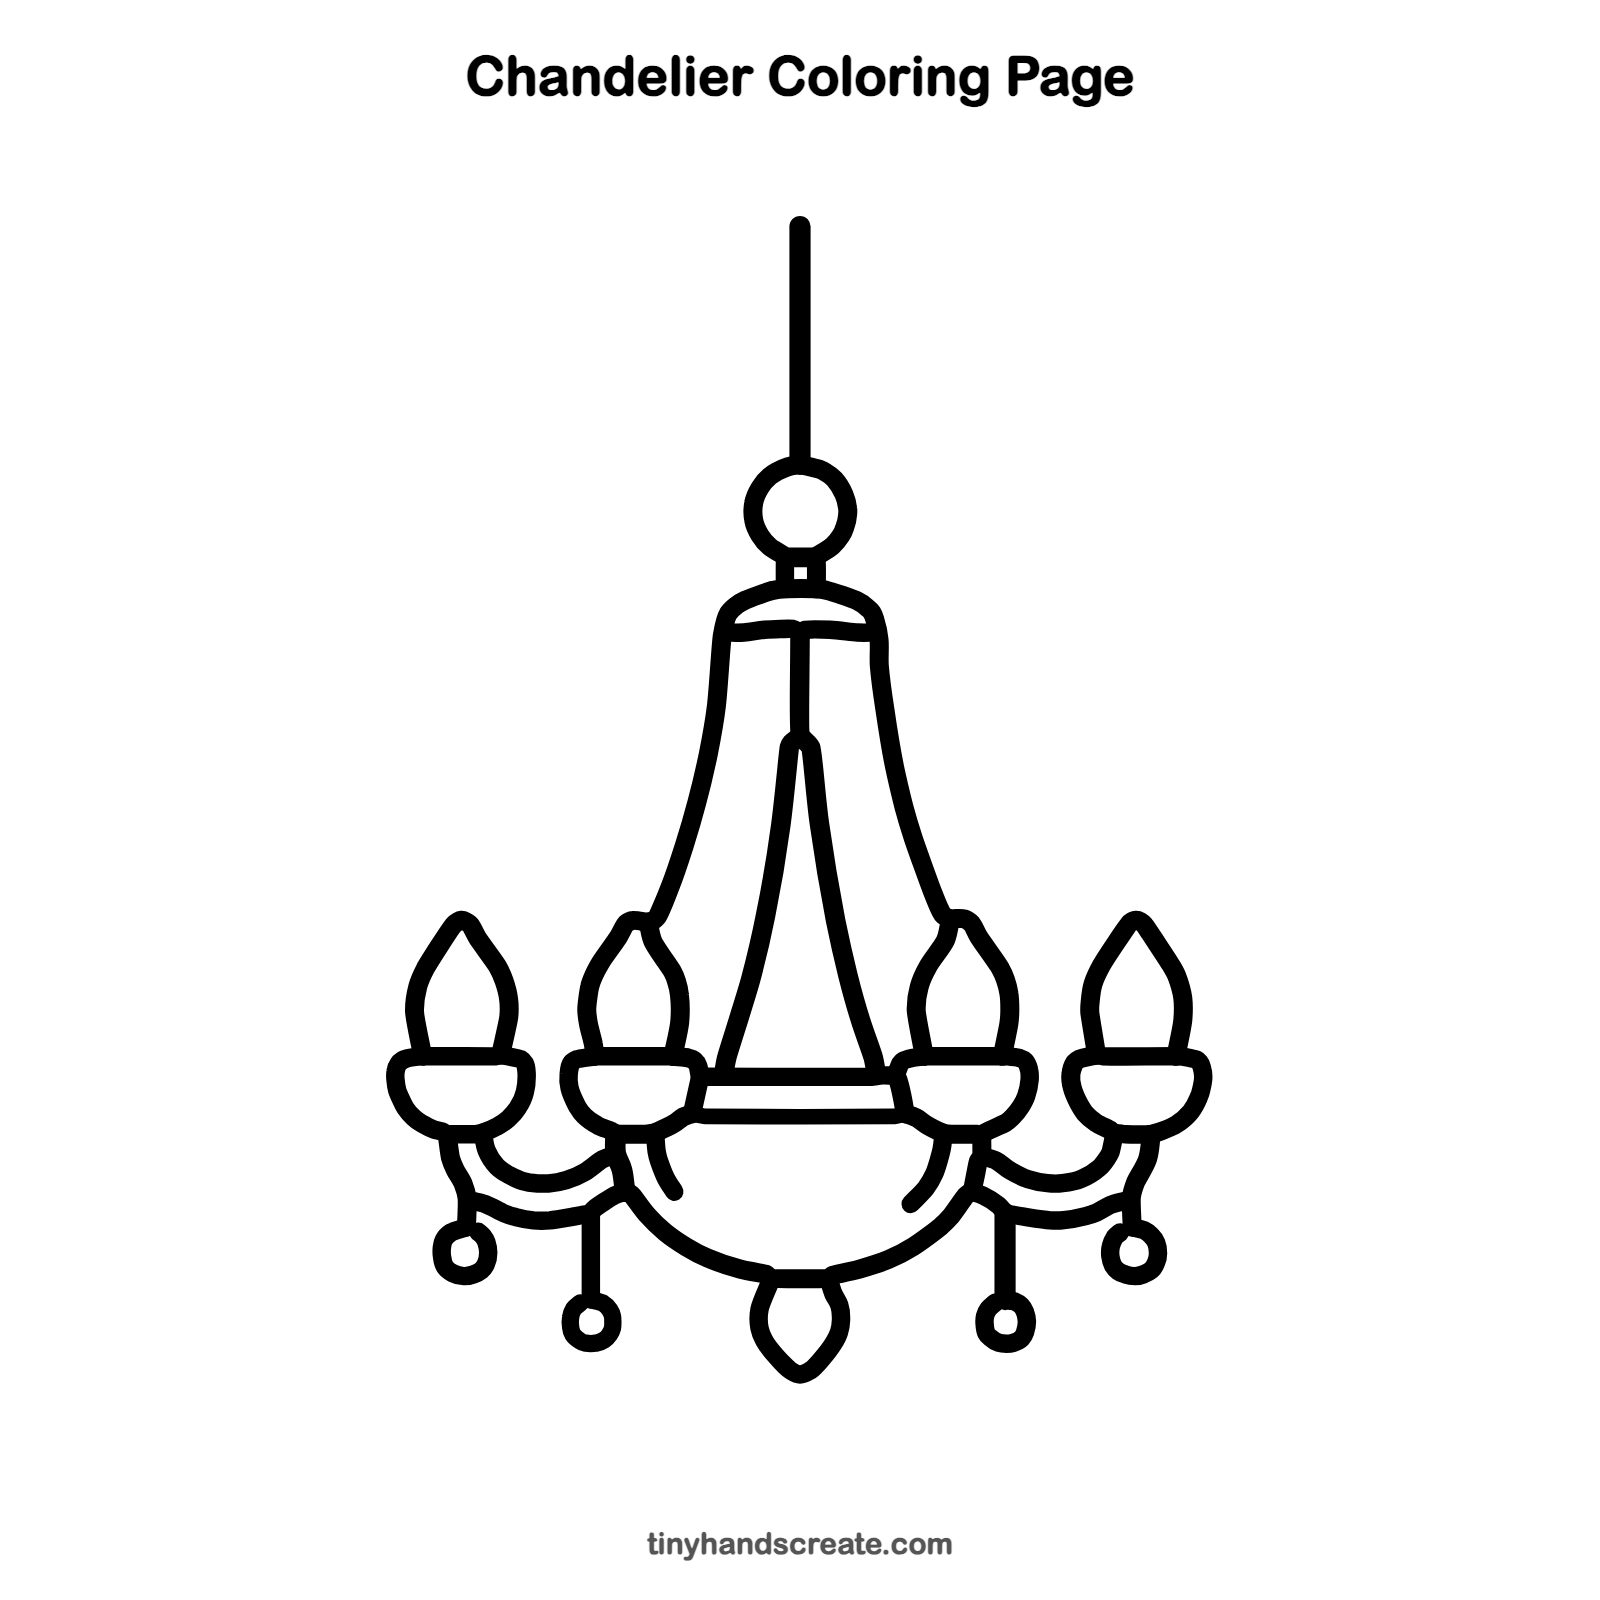
Want to go straight to coloring? Open this chandelier coloring page at full size and print it. It is the same drawing you just learned, with clean lines ready for crayons or markers.
How to color your chandelier drawing
Try gold for the body and arms, pale yellow and orange for the flames, and light blue or pink for the crystals. For a creative twist, color each crystal a different jewel color, like a rainbow.
Chandelier fun fact for kids
Long ago, chandeliers held real candles, and someone had to lower them on a rope or chain to light each one. Many chandeliers today use electric bulbs shaped like little flames.
Questions about drawing a chandelier
What shapes do I need to draw a chandelier?
You need circles, half-circles, and curved lines. The flames are teardrop shapes and the body is a tall bell shape.
How do I make my chandelier look balanced?
Start with the center chain and draw each part on the left, then match it on the right. Light pencil guidelines help a lot.
How do I make my chandelier look sparkly?
Color the crystals in light, shiny colors, and leave small white spots on them to look like shine.