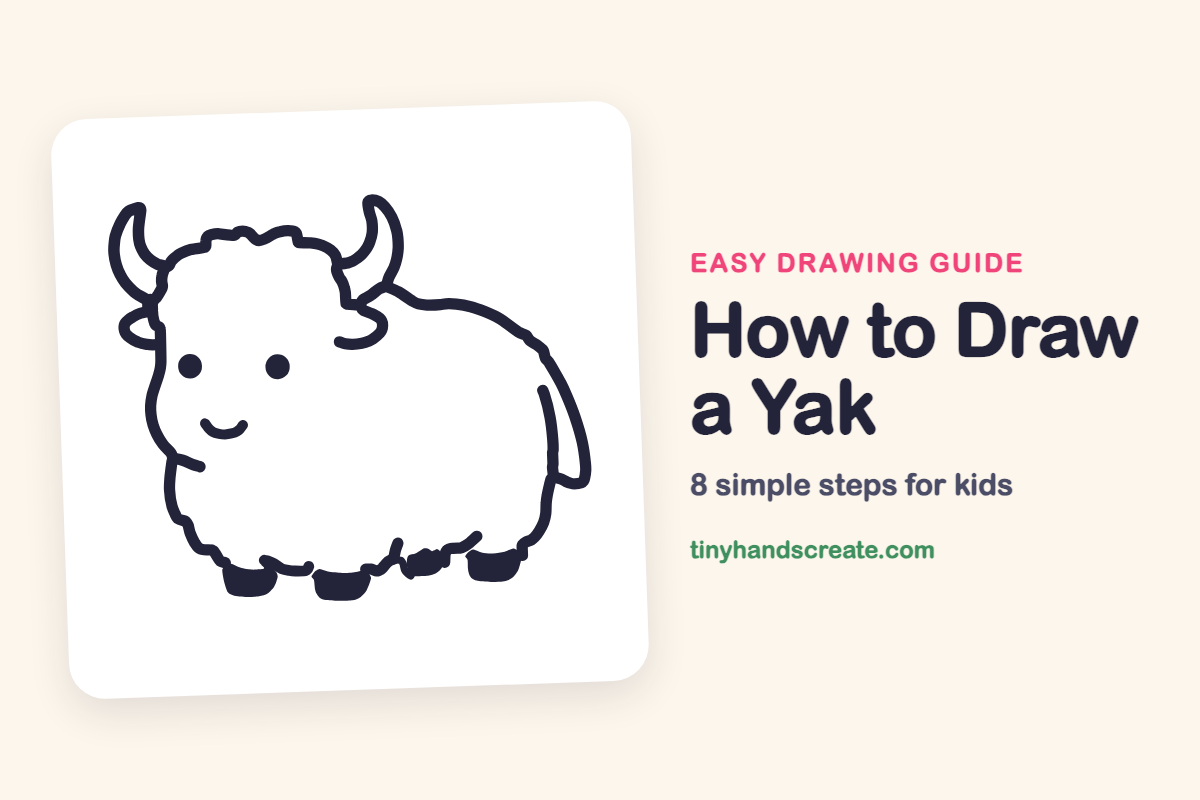
How to Draw a Yak (Easy Step by Step)
Learn how to easily draw a yak using simple, rounded shapes for its head, body, and horns. You'll find that its shaggy lines mean your drawing doesn't have to be perfect.
- You can easily draw a yak using mostly big, soft, round shapes.
- Build your yak by starting with a bumpy, cloud-like head and a rounded body.
- Add two curvy, crescent horns and four little feet to complete your drawing.
This post contains affiliate links. As an Amazon Associate I earn from qualifying purchases.
A yak is a fun one to draw because it is mostly big, soft, round shapes with two curvy horns on top. You build it from a bumpy, cloud-like head, a rounded body, two crescent horns, and four little feet. The wiggly, shaggy lines mean nothing has to be perfect.
- Easy
- 12 minutes
- 8 steps
You need: paper, a pencil, an eraser, and crayons or markers for coloring.
Start drawing


In this article (7 sections)
How to draw a yak step by step
How to Draw a Yak · tinyhandscreate.com
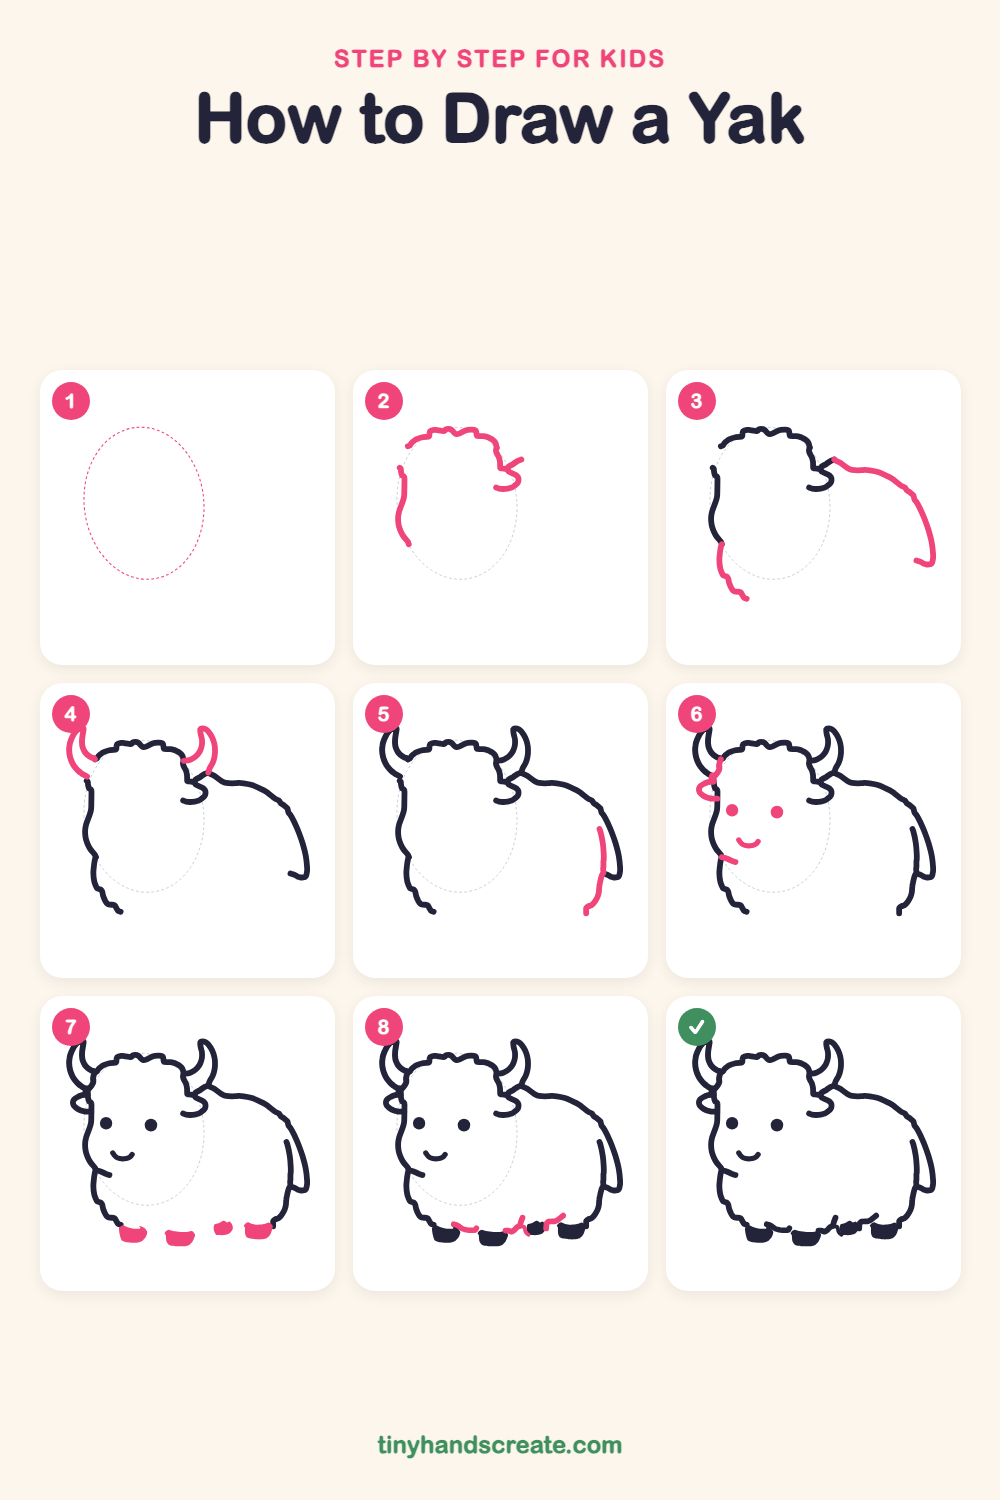
Step 1: Guide shapes
Lightly sketch this oval. It only shows where the big parts go, so press softly. You will erase it at the end.
Step 2: Fluffy head outline
Start with a bumpy, wiggly line across the top of the oval for the fluffy head. Then draw a wavy line down the left side, and add a little curl on the right where the head meets the neck.
Step 3: Back and cheek fur
Start at the curl on the right and draw a long, soft hill over the back, curving down to a little hook at the end. Then continue the left side of the head downward with a bumpy line for the shaggy cheek fur.
Step 4: The curved horns
Draw two horns that look like skinny crescent moons. Put one on each side of the head, curving up and a little outward, with the lower ends touching the head.
Step 5: The tail
On the right side of the body, draw a long, thin curved line inside the outline, ending in a small flick at the bottom. Together with the outline, it makes a skinny leaf shape for the tail.
Step 6: Ear and face
Draw a small loop sticking out on the left for the ear. Then add two round dots for eyes, a little smile curve below them, and a short line under the chin.
Step 7: Four little feet
Along the bottom of the body, draw four small, flat bowl shapes for the hooves. Space them out in a row and fill them in.
Step 8: Shaggy fur fringe
Between the feet, add a few short, wiggly lines along the bottom of the body to make the fur look shaggy.
All done!
Erase the guide shapes, go over your lines, then color it in.
Finished your yak? Keep the pencils out and learn how to draw a fox or how to draw a hedgehog next.
Tips for drawing a yak
- Start with one big, light oval to guide the head, so the fluffy bumps have something to follow.
- The horns are the trickiest part. Think of two crescent moons that curve upward, and make them about the same size.
- Keep the fur lines short and wiggly. If a bump looks odd, it just looks like more fur.
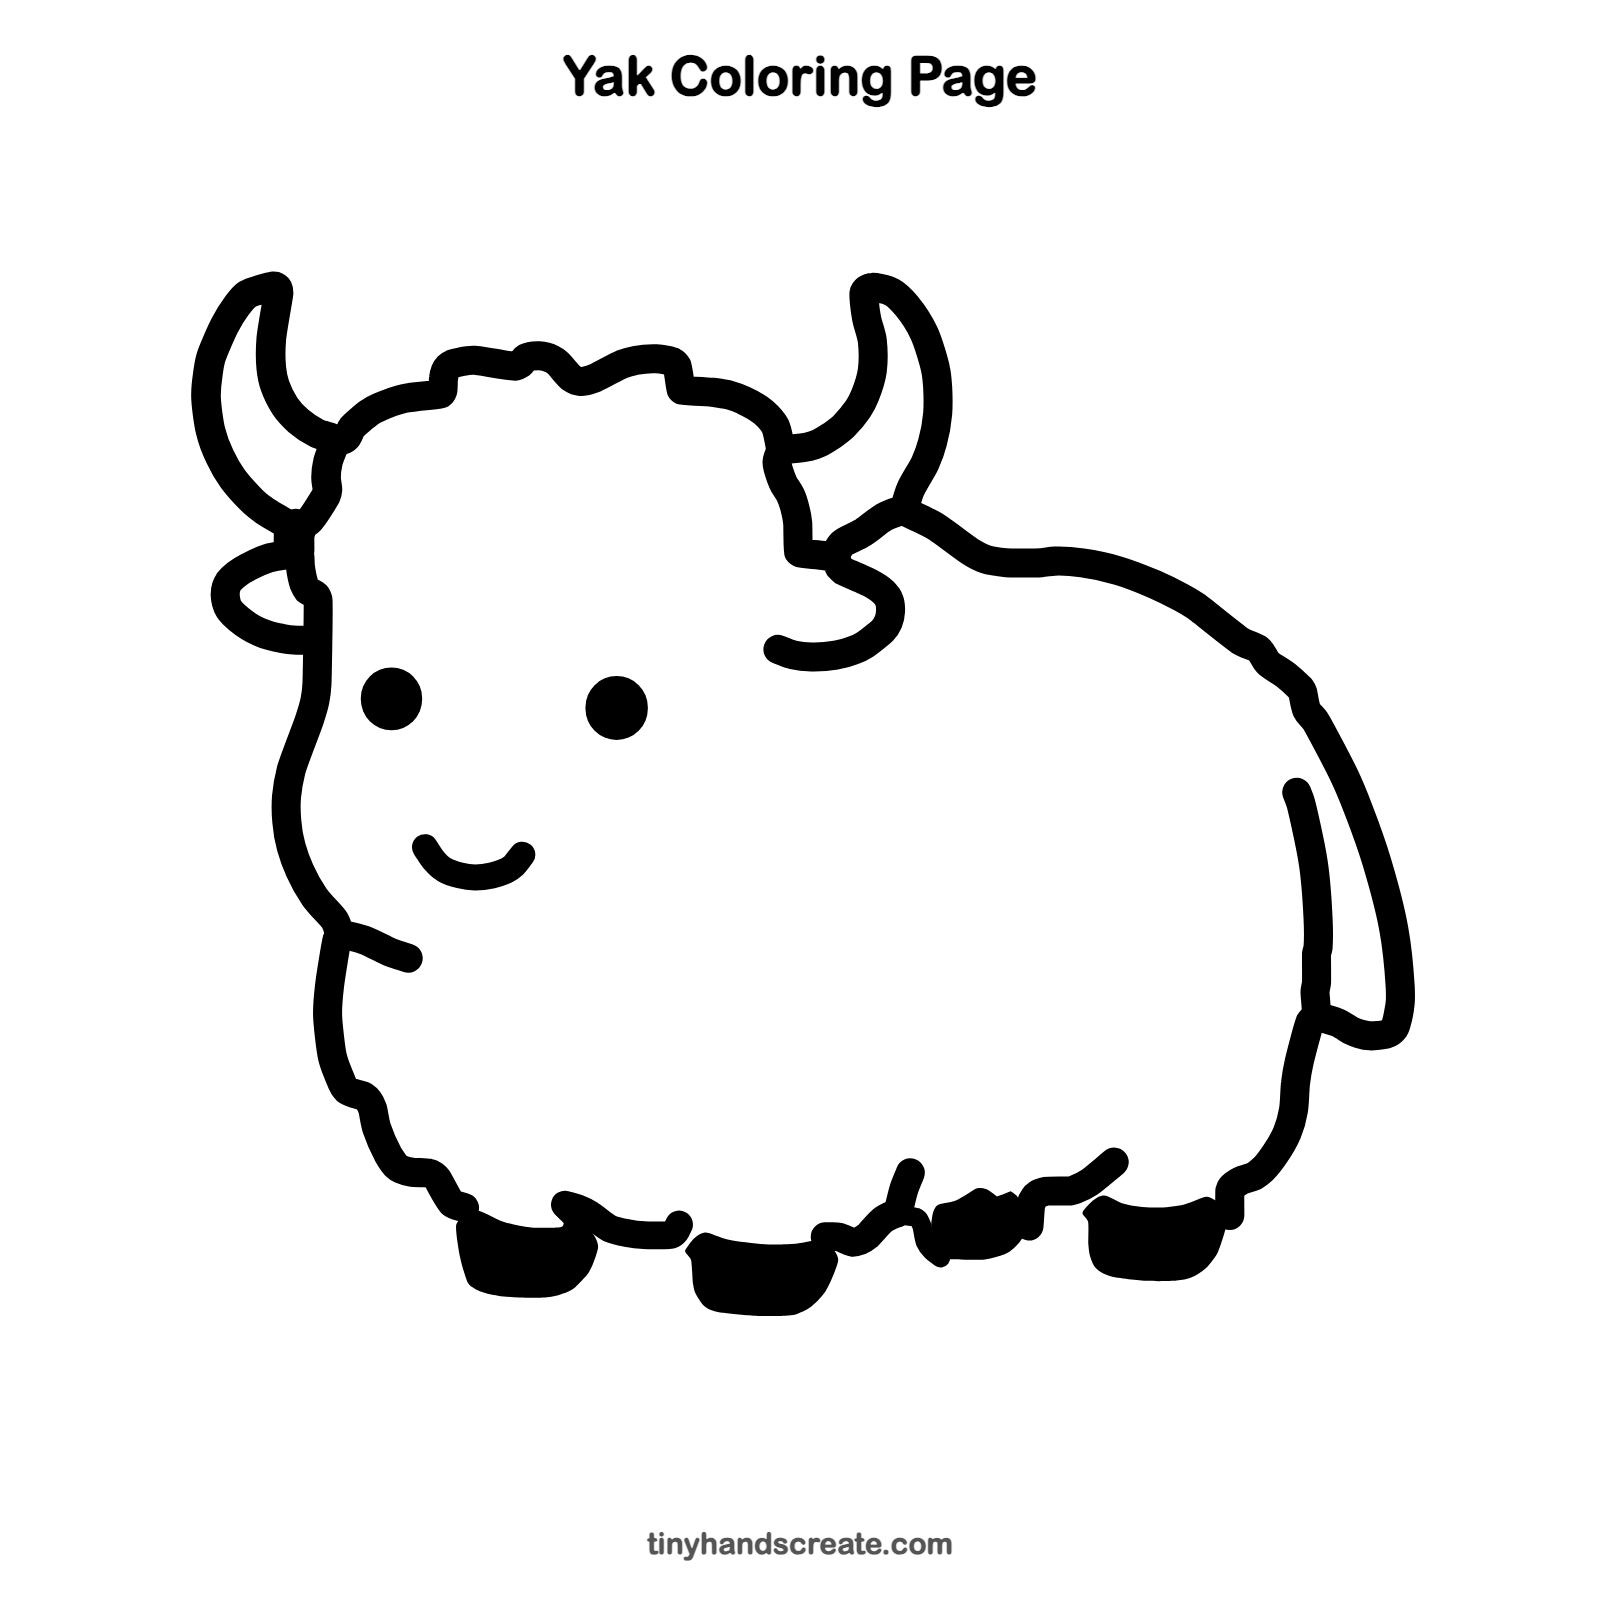
Free yak coloring page
Want to go straight to coloring? Open this yak coloring page at full size and print it. It is the same drawing you just learned, with clean lines ready for crayons or markers.
How to color your yak drawing
Try dark brown or black fur with cream horns and gray hooves. For a creative twist, color the yak in sunset pinks and oranges, or draw snowy mountains and snowflakes behind it.
Yak fun fact for kids
Yaks live high in the mountains of Central Asia, where it is very cold. Their long, shaggy hair hangs down from their sides almost like a skirt and helps keep them warm.
Questions about drawing a yak
What shapes do I need to draw a yak?
You need a big oval to guide the head, a bumpy cloud-like outline for the fluffy head and body, and two crescent moons for the horns. Four small flat bowl shapes make the hooves.
How do I make my yak look cuter?
Give it two round dot eyes and a small smile. Extra fluffy, bumpy fur also makes it look cuddly.
How do I draw yak fur?
Use short, wavy lines with little bumps instead of smooth ones. Add a few wiggly lines along the bottom of the body so the fur looks shaggy.