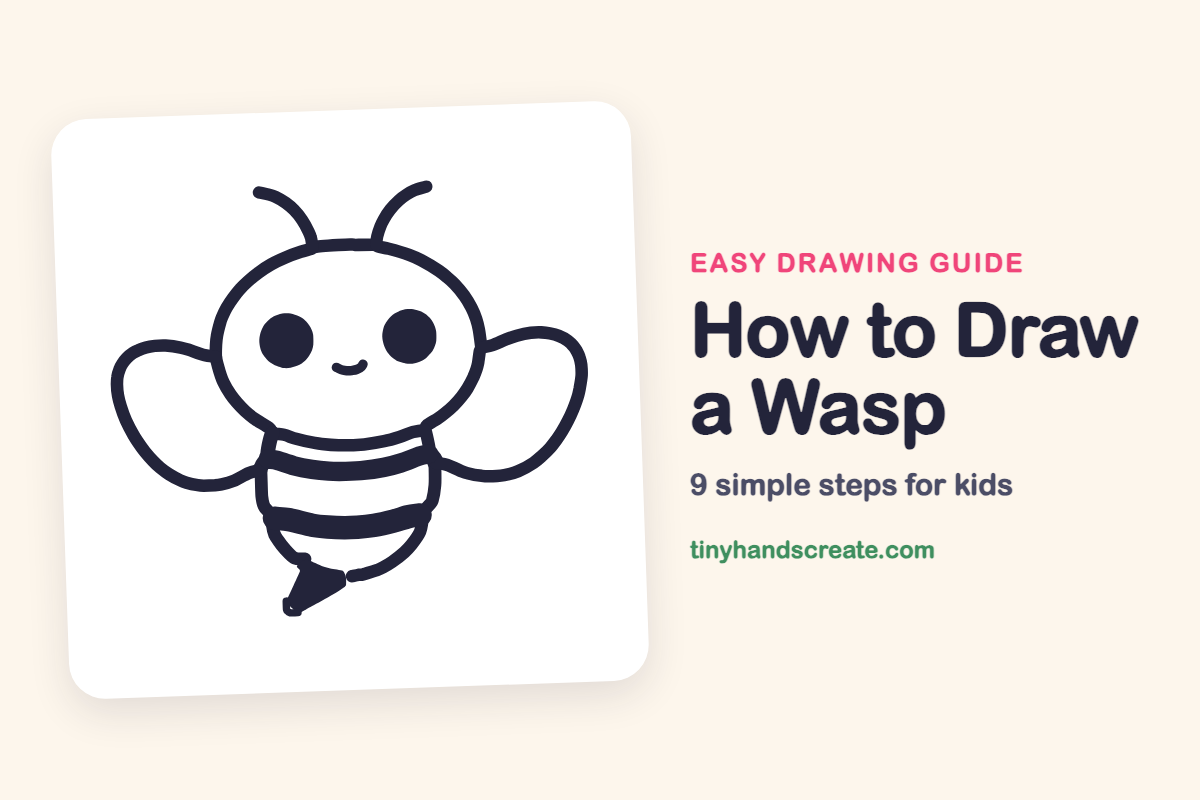
How to Draw a Wasp (Easy Step by Step)
Learn how to draw a cute wasp using simple shapes like ovals and curves. You'll construct its head, body, rounded wings, curved antennae, and a stripy tummy, giving it a friendly face.
- Begin your wasp drawing with basic ovals and curves.
- Form the head with a big oval and the body with a round shape.
- Add rounded wings, curved antennae, and a stripy tummy.
- Give your wasp a sweet expression with big round eyes and a tiny smile.
This post contains affiliate links. As an Amazon Associate I earn from qualifying purchases.
This cute wasp is built almost entirely from ovals and curves, so it is a friendly first insect for new artists. You will start with a big oval head and a round body, then add rounded wings, curved antennae, and a stripy tummy. The big round eyes and tiny smile give it a sweet face.
- Easy
- 10 minutes
- 9 steps
You need: paper, a pencil, an eraser, and crayons or markers for coloring.
Start drawing


In this article (7 sections)
How to draw a wasp step by step
How to Draw a Wasp · tinyhandscreate.com
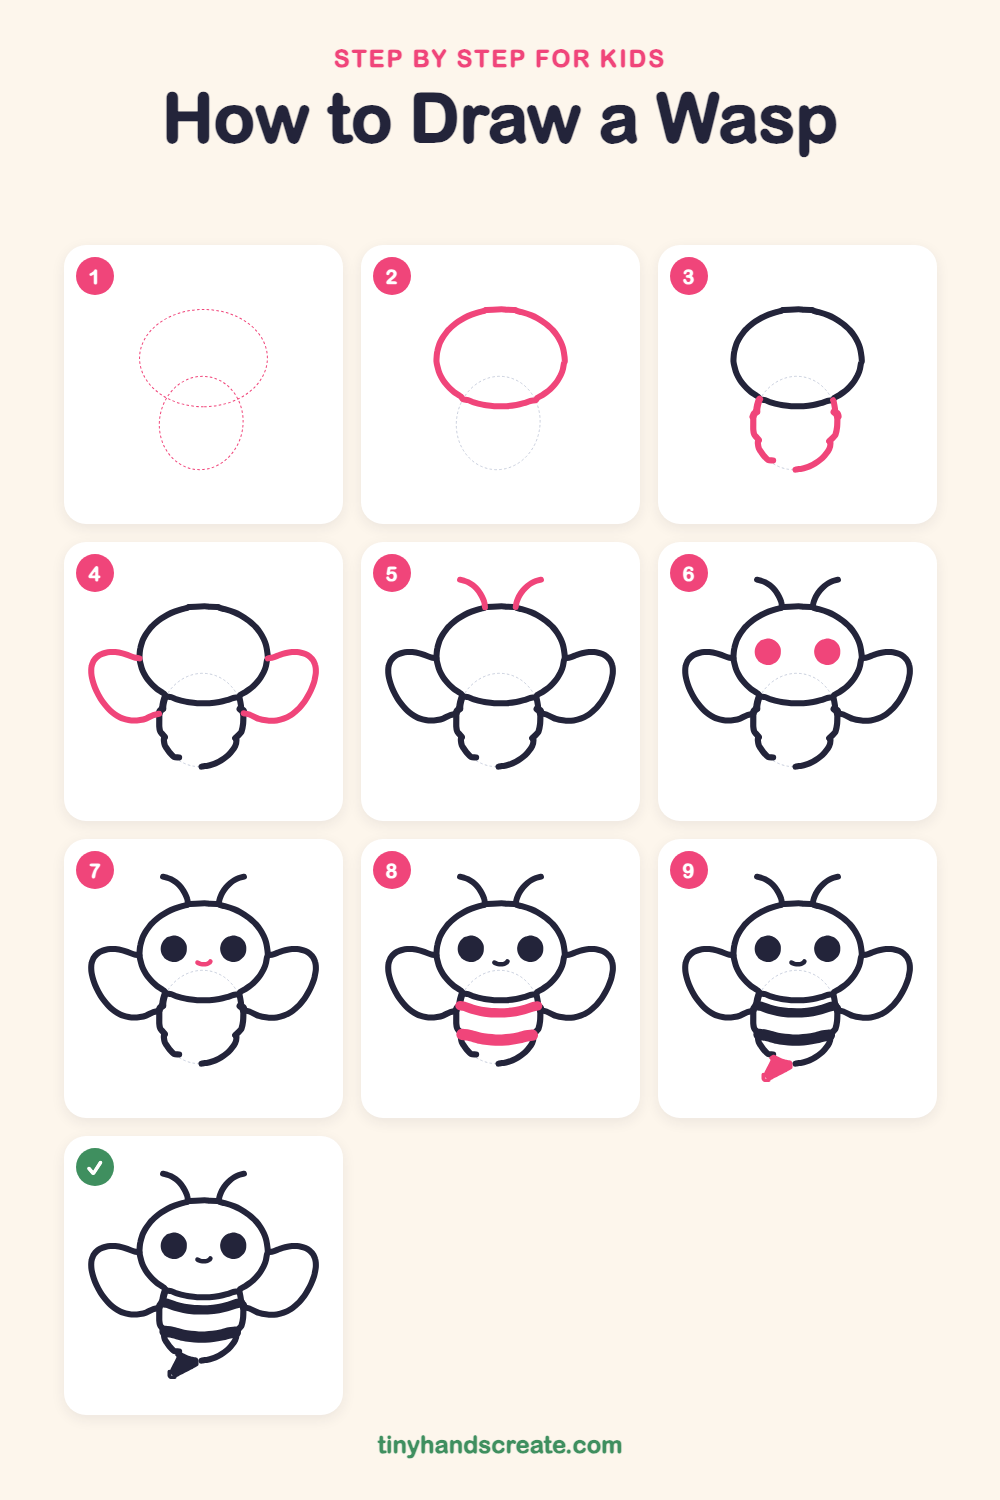
Step 1: Guide shapes
Lightly sketch these 2 ovals. They only show where the big parts go, so press softly. You will erase them at the end.
Step 2: The head
Draw a big oval near the top of your page. Make it a little wider than it is tall, like an egg lying on its side.
Step 3: The round body
Under the head, draw the sides and bottom of a round body. Start at the bottom left of the head, curve down and around like a bowl, and come back up to the bottom right of the head.
Step 4: Two round wings
Draw a rounded, leaf-shaped wing on each side of the head. Start at the side of the head, loop out and down, then curve back in to touch the body.
Step 5: Antennae
On top of the head, draw two short curved lines that bend outward, like the tops of two little candy canes. Start each one on the head and curve it away from the middle.
Step 6: Big round eyes
Draw two big round circles in the middle of the head, side by side with a gap between them. Color them in solid.
Step 7: A tiny smile
Between the eyes and a little lower, draw a small curved line like the bottom of a tiny bowl.
Step 8: Body stripes
Draw two curved stripes across the body, bending like smiles from one side to the other. Make the lower stripe thick and the upper one a little thinner.
Step 9: The stinger
At the bottom left of the body, draw a small pointed shape like a short triangle sticking out toward the lower left. Color it in solid.
All done!
Erase the guide shapes, go over your lines, then color it in.
Finished your wasp? Keep the pencils out and learn how to draw a fox or how to draw a hedgehog next.
Tips for drawing a wasp
- Draw the head first and leave room under it. The body tucks behind the bottom of the head, so let the head line stay on top where they overlap.
- Make both wings about the same size. Draw one, then look at it while you draw the other so they match.
- Curve the stripes like smiles that follow the round body. Straight lines will make the tummy look flat.
Free wasp coloring page
Want to go straight to coloring? Open this wasp coloring page at full size and print it. It is the same drawing you just learned, with clean lines ready for crayons or markers.
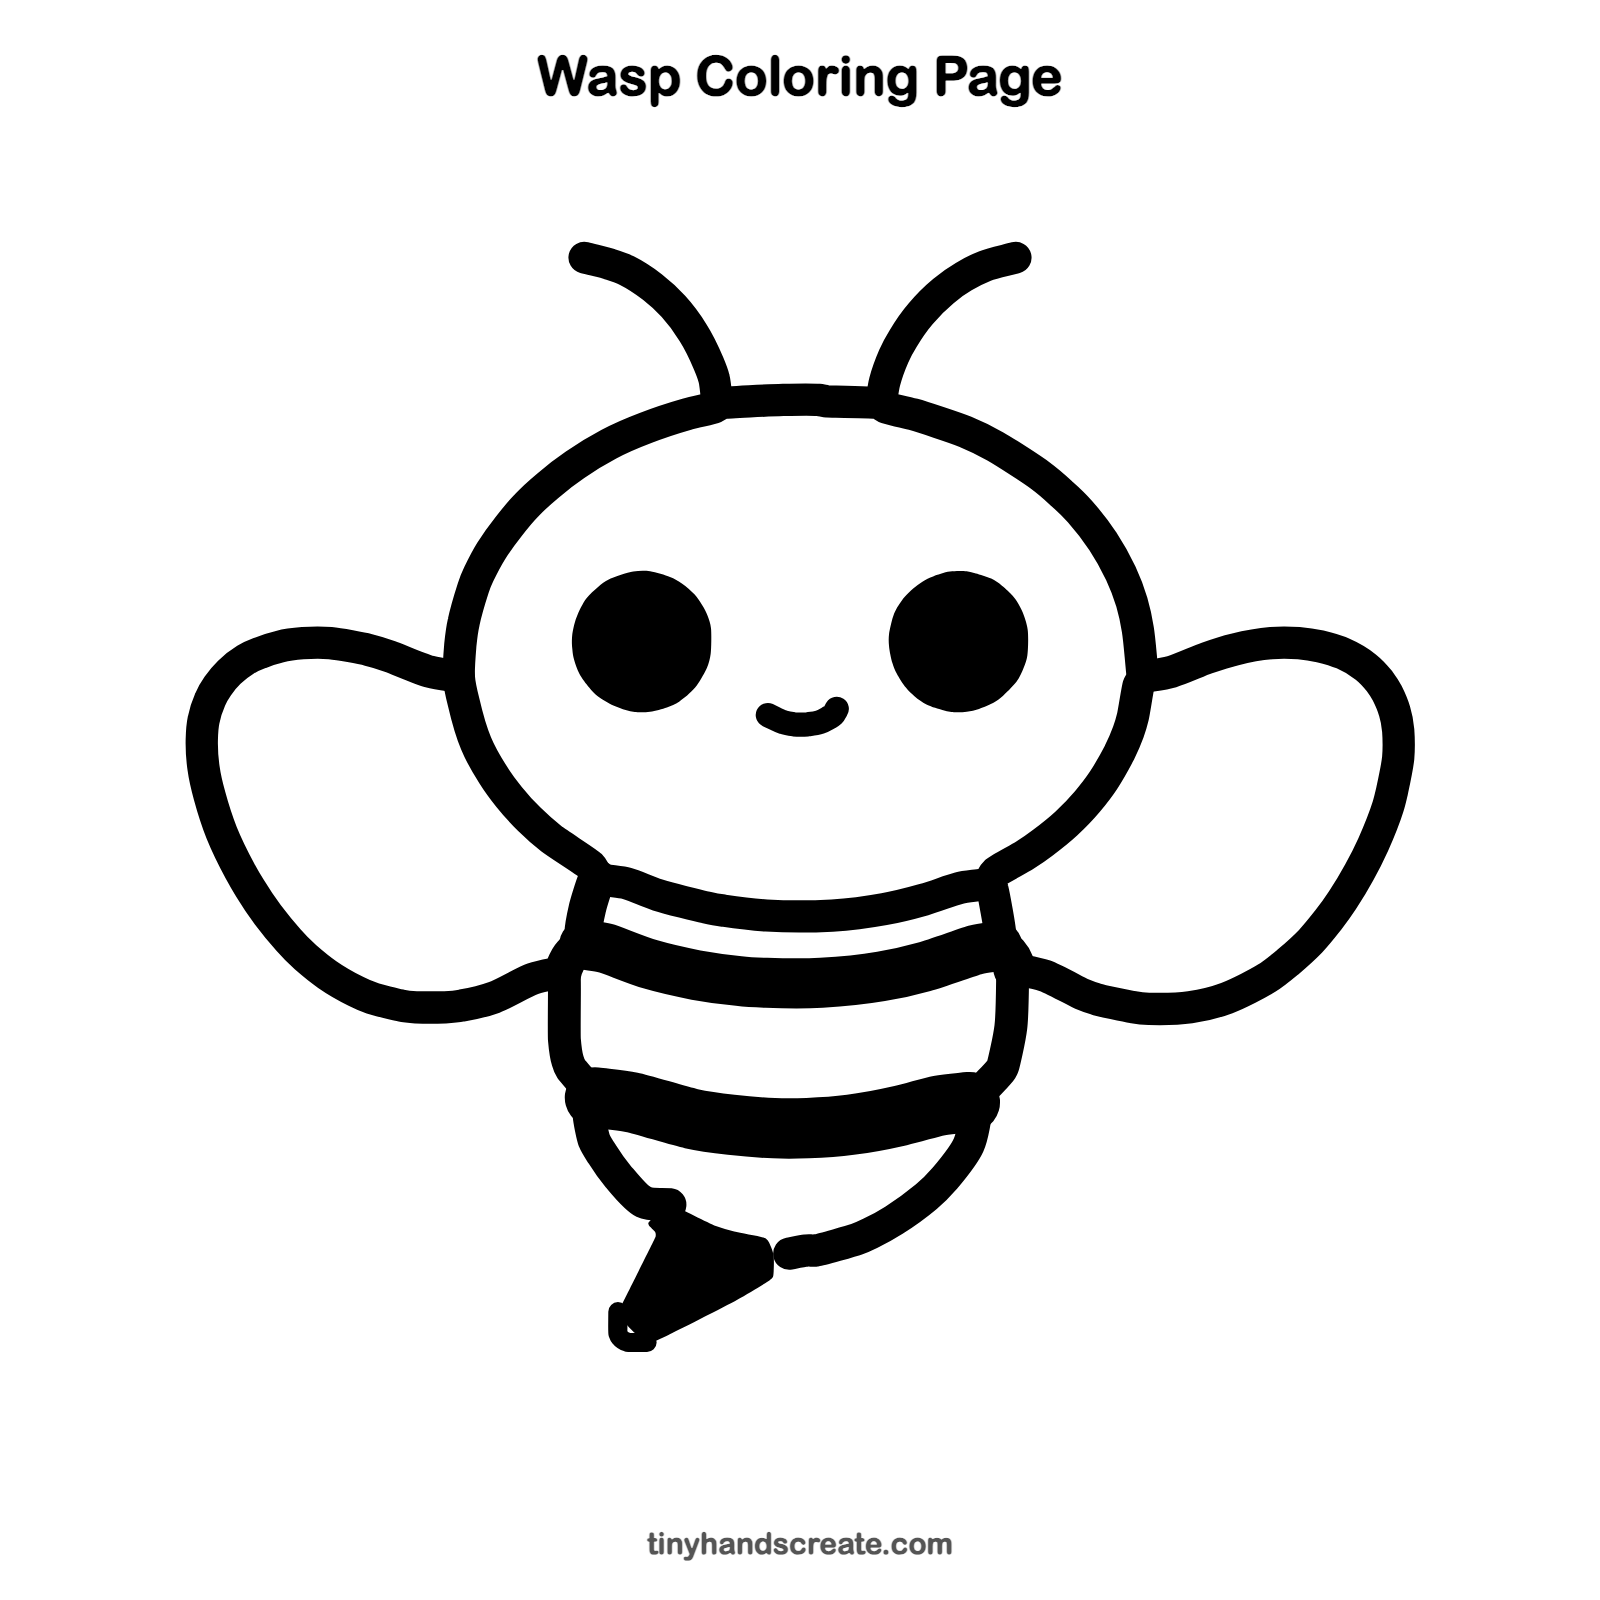
How to color your wasp drawing
Use bright yellow and black for the stripes, and a pale blue or gray for the wings. For a creative twist, give your wasp rainbow stripes or color the wings like stained glass.
Wasp fun fact for kids
Wasps build their nests out of paper. They chew up wood and plant fibers, mix them with spit, and spread the pulp into thin layers that dry into a papery home.
Questions about drawing a wasp
What shapes do I need to draw a wasp?
You need a big oval for the head, a rounded bowl shape for the body, and two rounded wings. Add two curved lines for antennae, two circles for eyes, a small curve for the smile, and a little pointed shape for the stinger.
How do I make my wasp look cuter?
Make the eyes big and round, and place them wide apart on the head. A small curved smile between them makes the wasp look friendly right away.
How do I draw the stripes so they look right?
Curve each stripe like a smile that wraps around the round body. Draw the lower stripe thicker than the upper one so the tummy looks full.