How to Draw a Sword (Easy Step by Step)
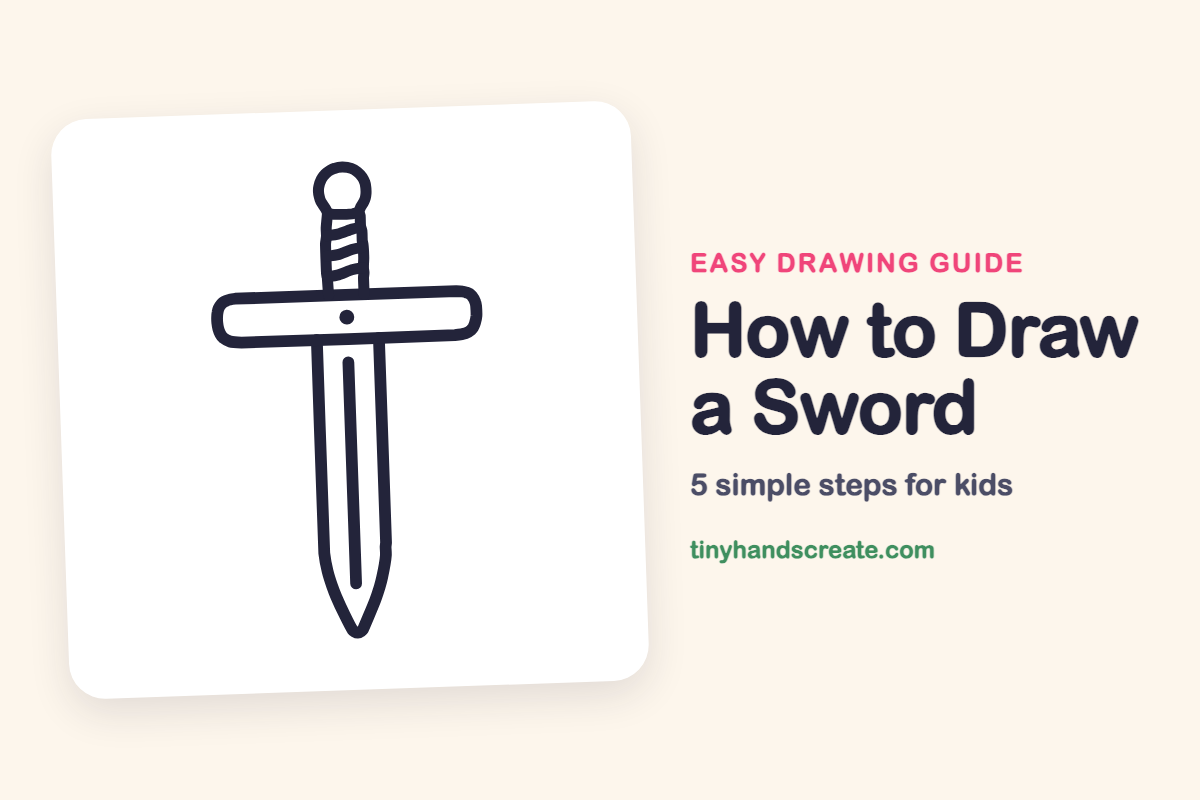
Learn to draw a sword easily using simple shapes like a long blade, flat bar, and small circle. You'll start by drawing the blade straight down the middle, then build the rest around it, allowing you to customize your design.
- Start your sword drawing with simple shapes.
- Begin by drawing the blade straight down the middle.
- Build the hilt and pommel around the central blade.
- Customize your sword as a knight's, pirate's, or hero's weapon.
This post contains affiliate links. As an Amazon Associate I earn from qualifying purchases.
A sword is a fun first drawing because it is built from simple shapes: a long blade with a pointed tip, a flat bar, and a small circle on top. Once you draw the blade straight down the middle, the rest falls into place around it. You can make it a knight's sword, a pirate's blade, or a hero from your own story.
- Easy
- 10 minutes
- 5 steps
You need: paper, a pencil, an eraser, and crayons or markers for coloring.
Start drawing
In this article (7 sections)
How to draw a sword step by step
How to Draw a Sword · tinyhandscreate.com
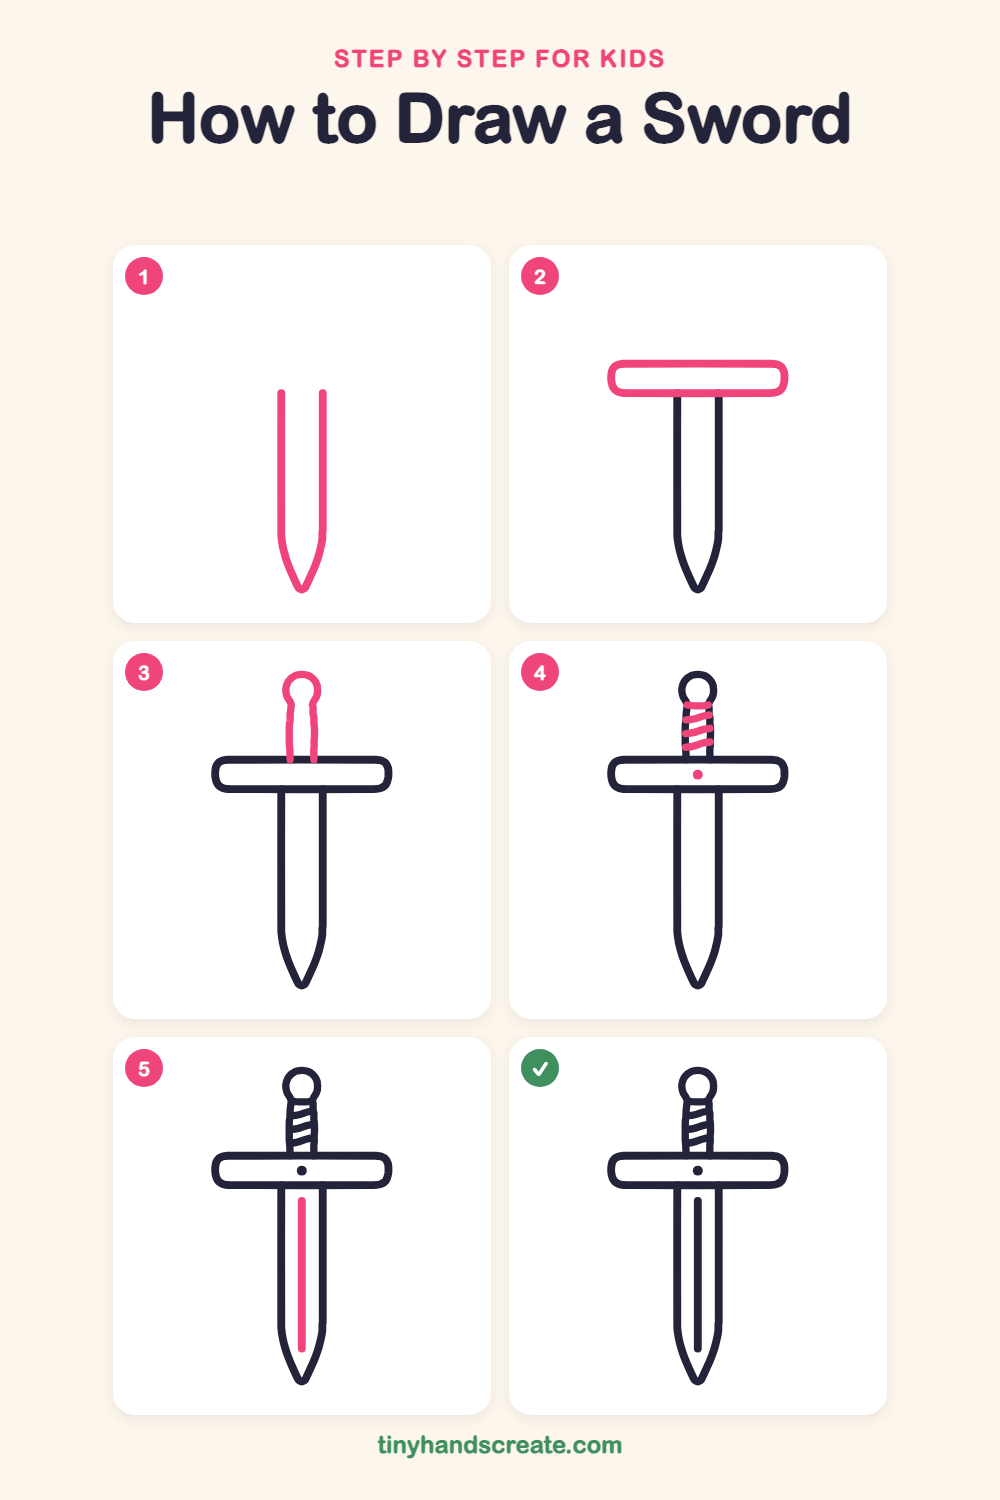
Step 1: The blade
Draw two long, straight lines going down, side by side, in the lower part of the page. At the bottom, curve both lines in and bring them together in a sharp point.
Step 2: The crossguard
Across the top of the blade, draw a wide, flat rectangle with rounded corners. It should be much wider than the blade, like the bar of a letter T.
Step 3: Handle and pommel
Above the crossguard, draw two short, slightly wavy lines going up, a little narrower than the blade. Start them on the top edge of the crossguard and top them with a small circle.
Step 4: Wrapped grip
Between the handle lines, draw a few slanted stripes from one side to the other, like a ribbon wrapped around the grip. Then add a small dot in the center of the crossguard.
Step 5: Blade groove
Draw one long, thin line down the middle of the blade, stopping before the pointed tip.
All done!
Go over your lines with a marker, then color it in.
Finished your sword? Keep the pencils out and learn how to draw a unicorn or how to draw a dragon next.
Tips for drawing a sword
- Draw the blade first and make the two sides nice and straight. Use the edge of a book as a guide for the first pencil lines if you like.
- The crossguard is the trickiest part. Make it much wider than the blade and keep it centered so the sword looks balanced.
- For the wrapped grip, draw the stripes slanting the same direction each time, like a candy cane, so the handle looks twisted.
Free sword coloring page
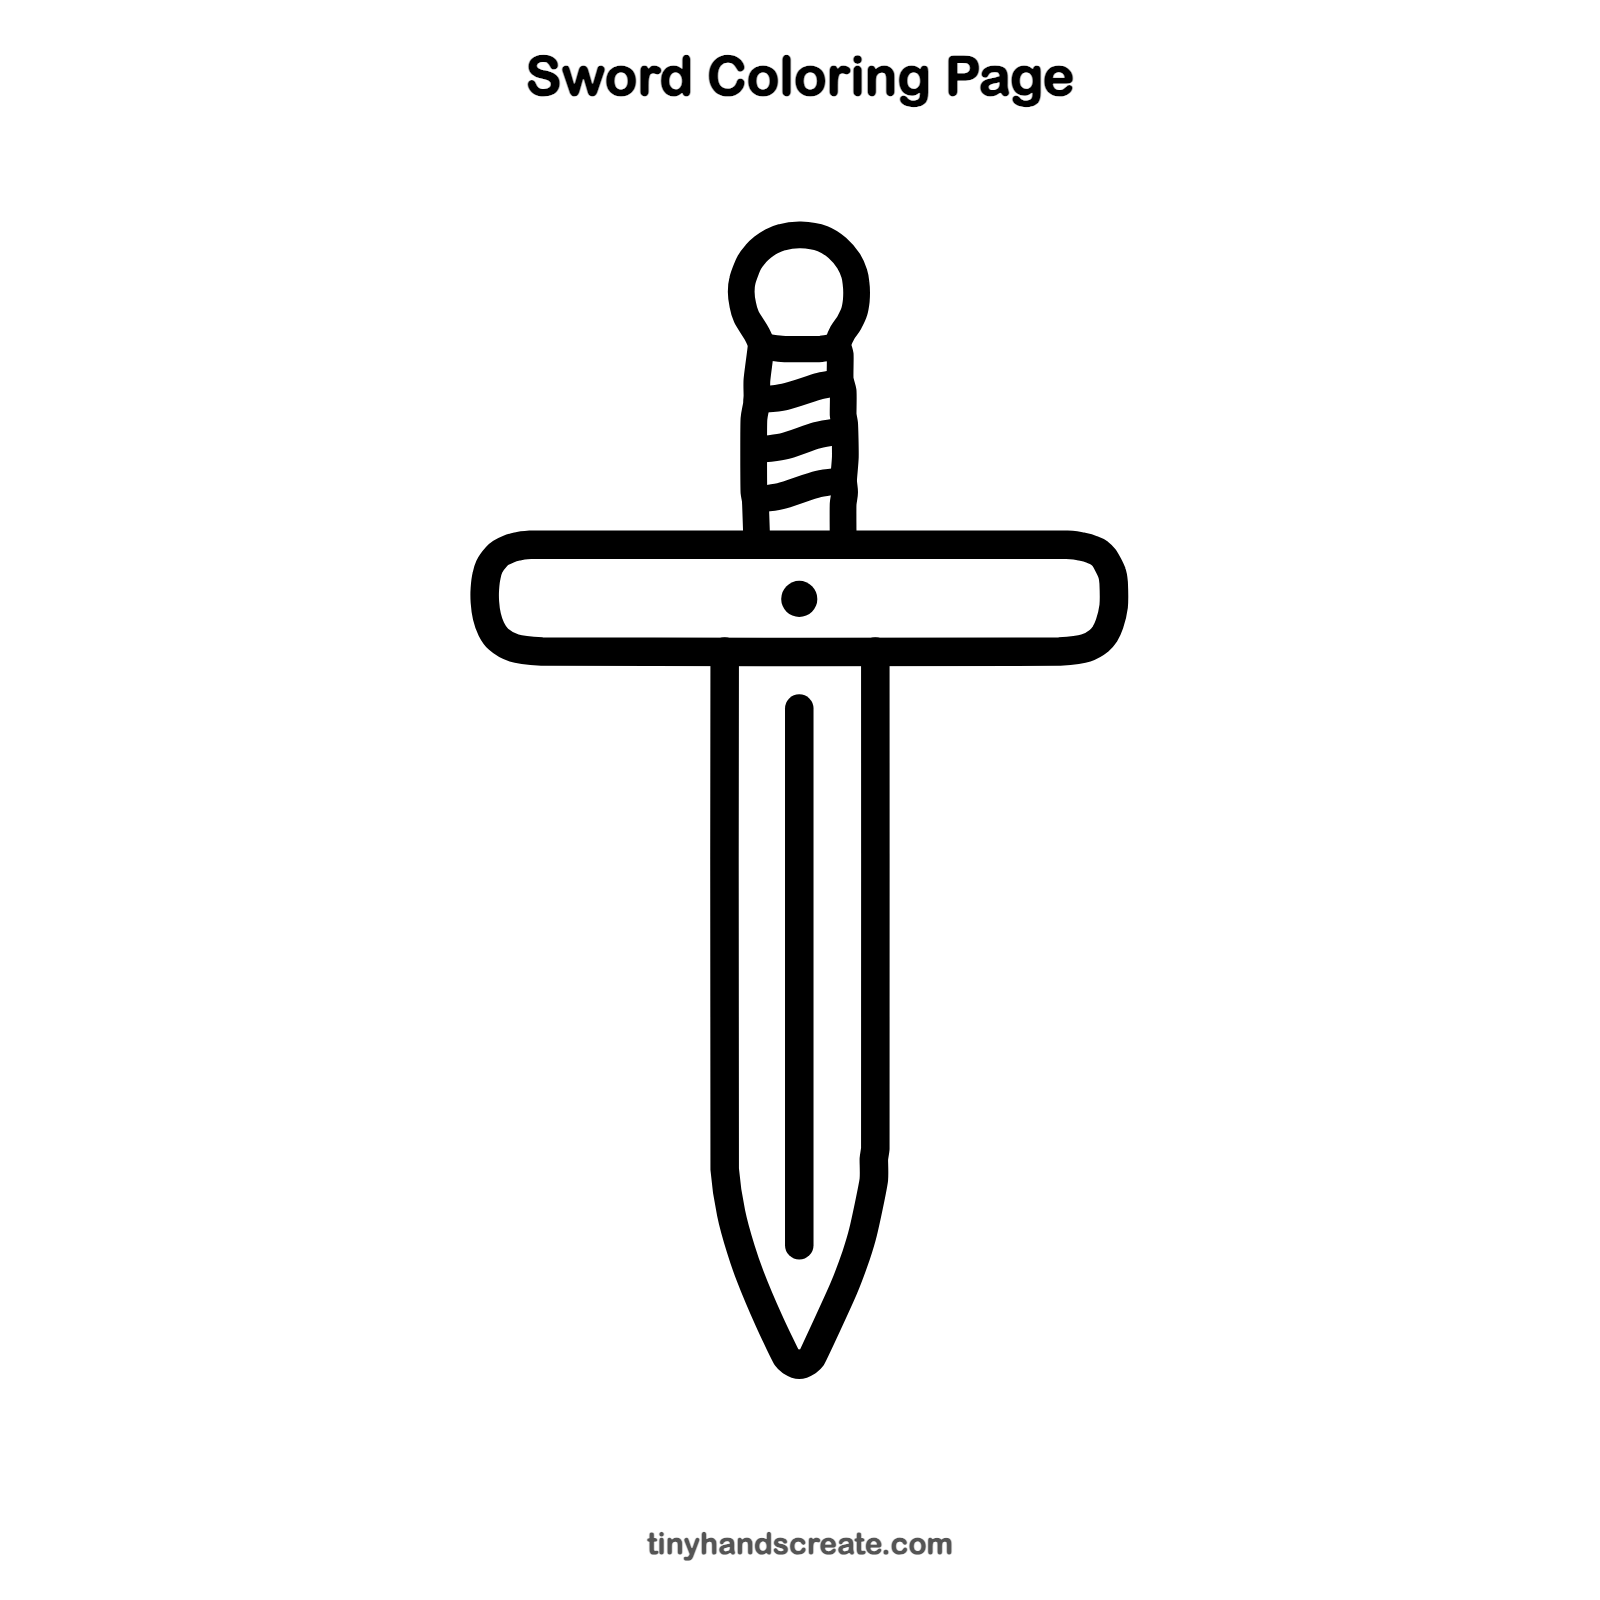
Want to go straight to coloring? Open this sword coloring page at full size and print it. It is the same drawing you just learned, with clean lines ready for crayons or markers.
How to color your sword drawing
Try silver or light gray for the blade, gold for the crossguard and the round top, and a rich brown or red for the grip. For a creative twist, make a magic sword with a glowing blue blade.
Sword fun fact for kids
The groove down the middle of a sword blade is called a fuller. It makes the blade lighter without making it much weaker.
Questions about drawing a sword
What shapes do I need to draw a sword?
You need two long lines that meet in a point for the blade, a rounded rectangle for the crossguard, a small circle on top of the handle, and a few slanted lines for the grip.
How do I make my sword look straight?
Start with a light vertical line down the middle of the page and draw both sides of the blade the same distance from it. Erase the guide line when you are done.
How can I make my sword look more magical?
Add little stars or sparkles around the blade. Color the blade in glowing blue or purple.