How to Draw a Clam (Easy Step by Step)
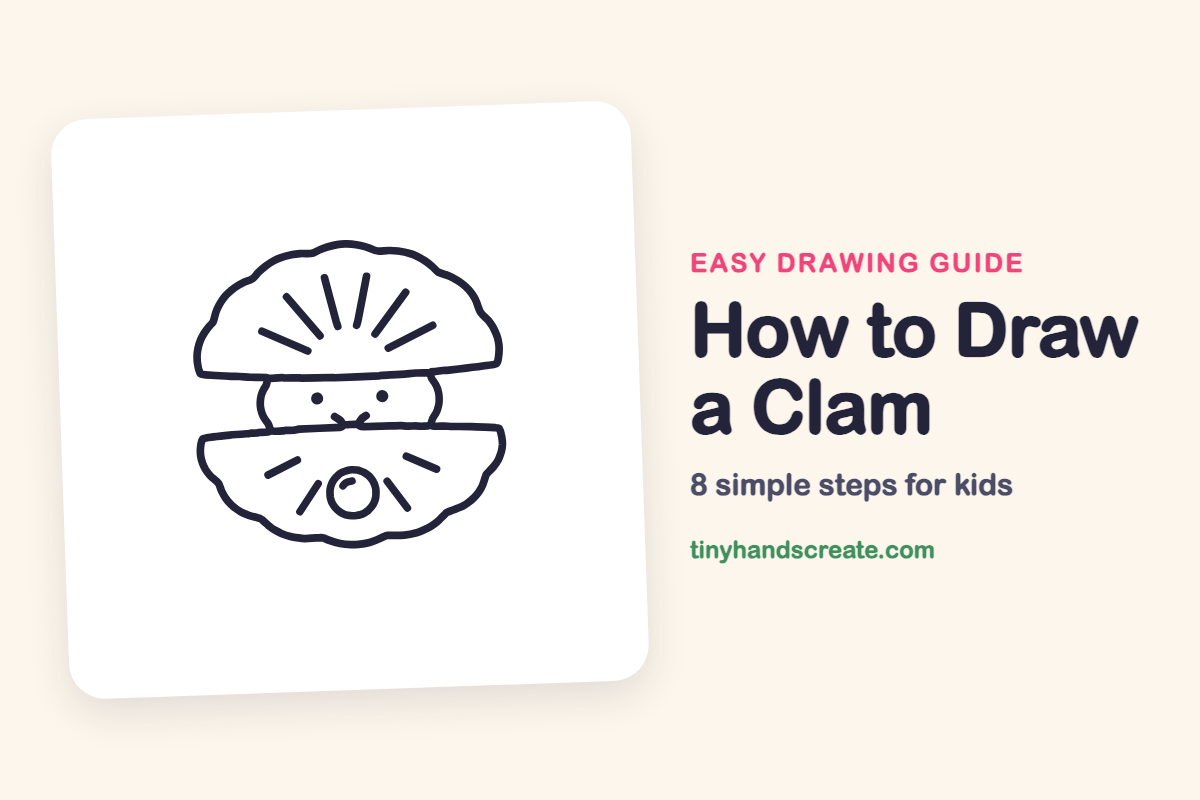
Discover how to easily draw a smiling clam, complete with a shiny pearl, using simple shapes like bumpy half circles, a rounded body, and a few key details.
- Start your clam drawing with two bumpy half circles for the shell.
- Add a rounded body inside the clam's shell.
- Give your clam personality with two dots and a small smile.
- Draw a shiny pearl circle resting in the bottom half.
- Finish your drawing with some short straight lines for detail.
This post contains affiliate links. As an Amazon Associate I earn from qualifying purchases.
This clam is fun because it looks like it is smiling up from its shell, with a shiny pearl resting in the bottom half. It is built from two bumpy half circles, a rounded body, two dots, a small smile, a pearl circle and some short straight lines.
- Easy
- 12 minutes
- 8 steps
You need: paper, a pencil, an eraser, and crayons or markers for coloring.
Start drawing
In this article (7 sections)
How to draw a clam step by step
How to Draw a Clam · tinyhandscreate.com
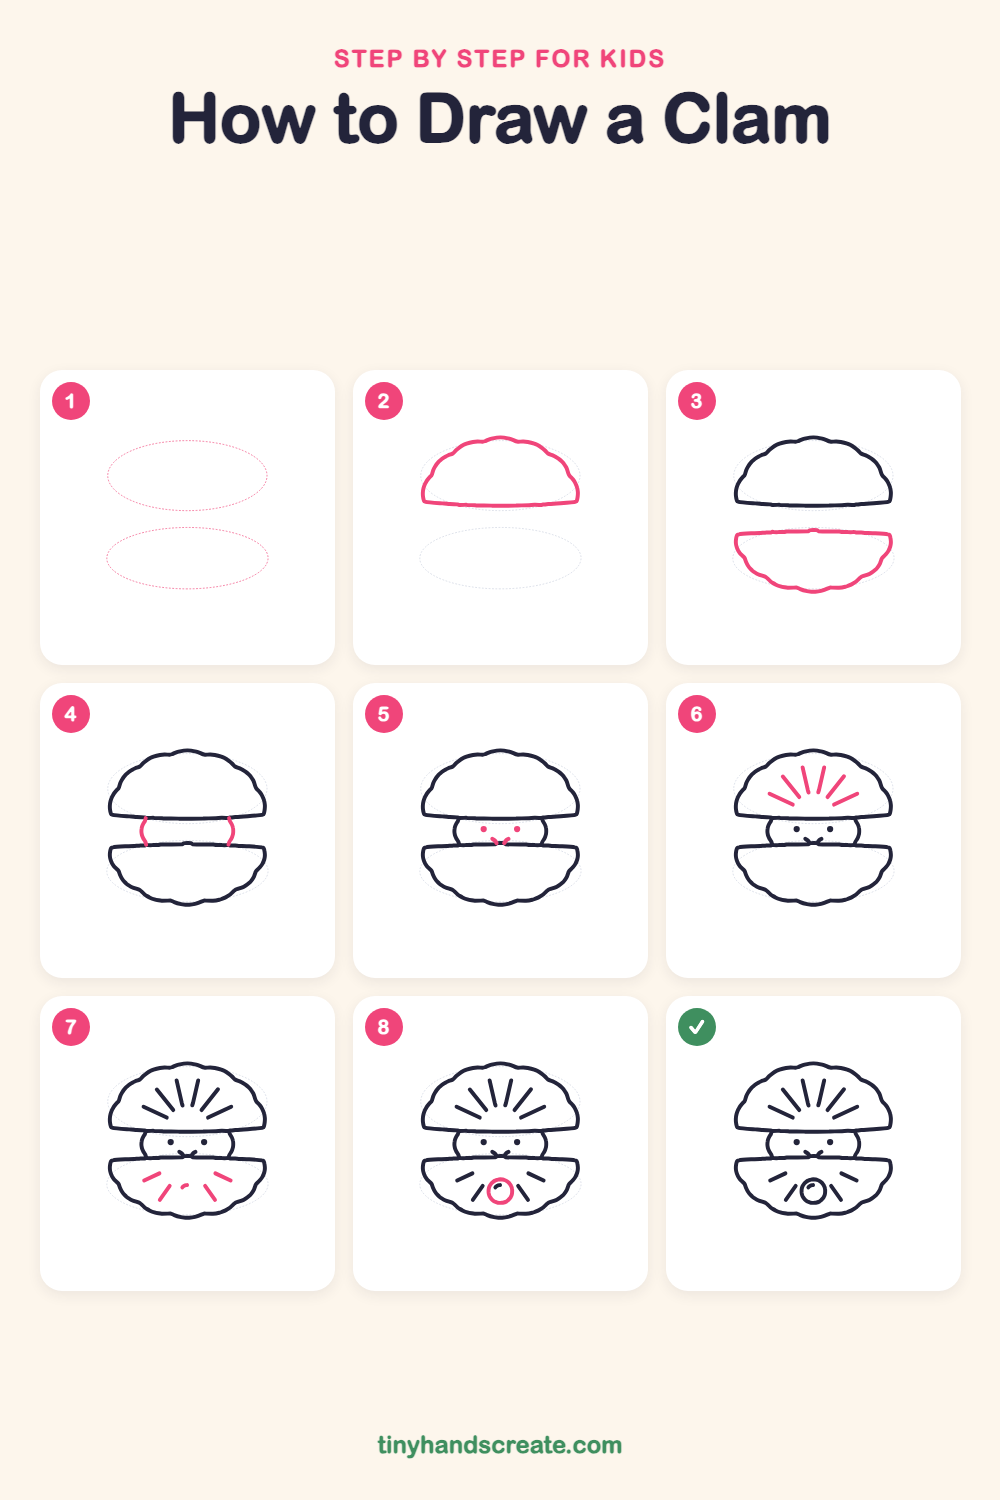
Step 1: Guide shapes
Lightly sketch these 2 ovals. They only show where the big parts go, so press softly. You will erase them at the end.
Step 2: The top shell
Draw a big half circle with a bumpy, wavy edge across the top, like a fan. Close it with a nearly straight line along the bottom, slightly curved.
Step 3: The bottom shell
Leave a gap below the top shell, then draw a second bumpy half circle upside down, with its straight edge on top. Make it about the same size as the top shell.
Step 4: The soft body
In the gap between the shells, draw a short curved line on the left going from the top shell down to the bottom shell. Draw another one on the right. Together they make a rounded, puffy shape peeking out.
Step 5: The happy face
Add two little round dots for eyes in the middle of the body. Under them, draw a tiny curved smile.
Step 6: Top shell ridges
Draw six short straight lines inside the top shell, fanning out like sunshine rays. Start them near the bottom center and spread them out to the sides.
Step 7: Bottom shell ridges
Add four short lines inside the bottom shell, two on each side, slanting out from the middle. Between them, in the center, add a tiny curved dash.
Step 8: The shiny pearl
In the space between the ridges in the bottom shell, draw a small circle for the pearl. The little dash you drew now sits inside it as the shine.
All done!
Erase the guide shapes, go over your lines, then color it in.
Finished your clam? Keep the pencils out and learn how to draw a sea urchin or how to draw an eel next.
Tips for drawing a clam
- Draw the two shells at about the same width so they look like a matching pair.
- The bumpy edge is the trickiest part. Think of drawing a row of small hills, one after another, instead of one wiggly line.
- Keep the ridge lines short and spread them out from the middle like a sunrise. Stop each one before it touches the edge of the shell.
Free clam coloring page
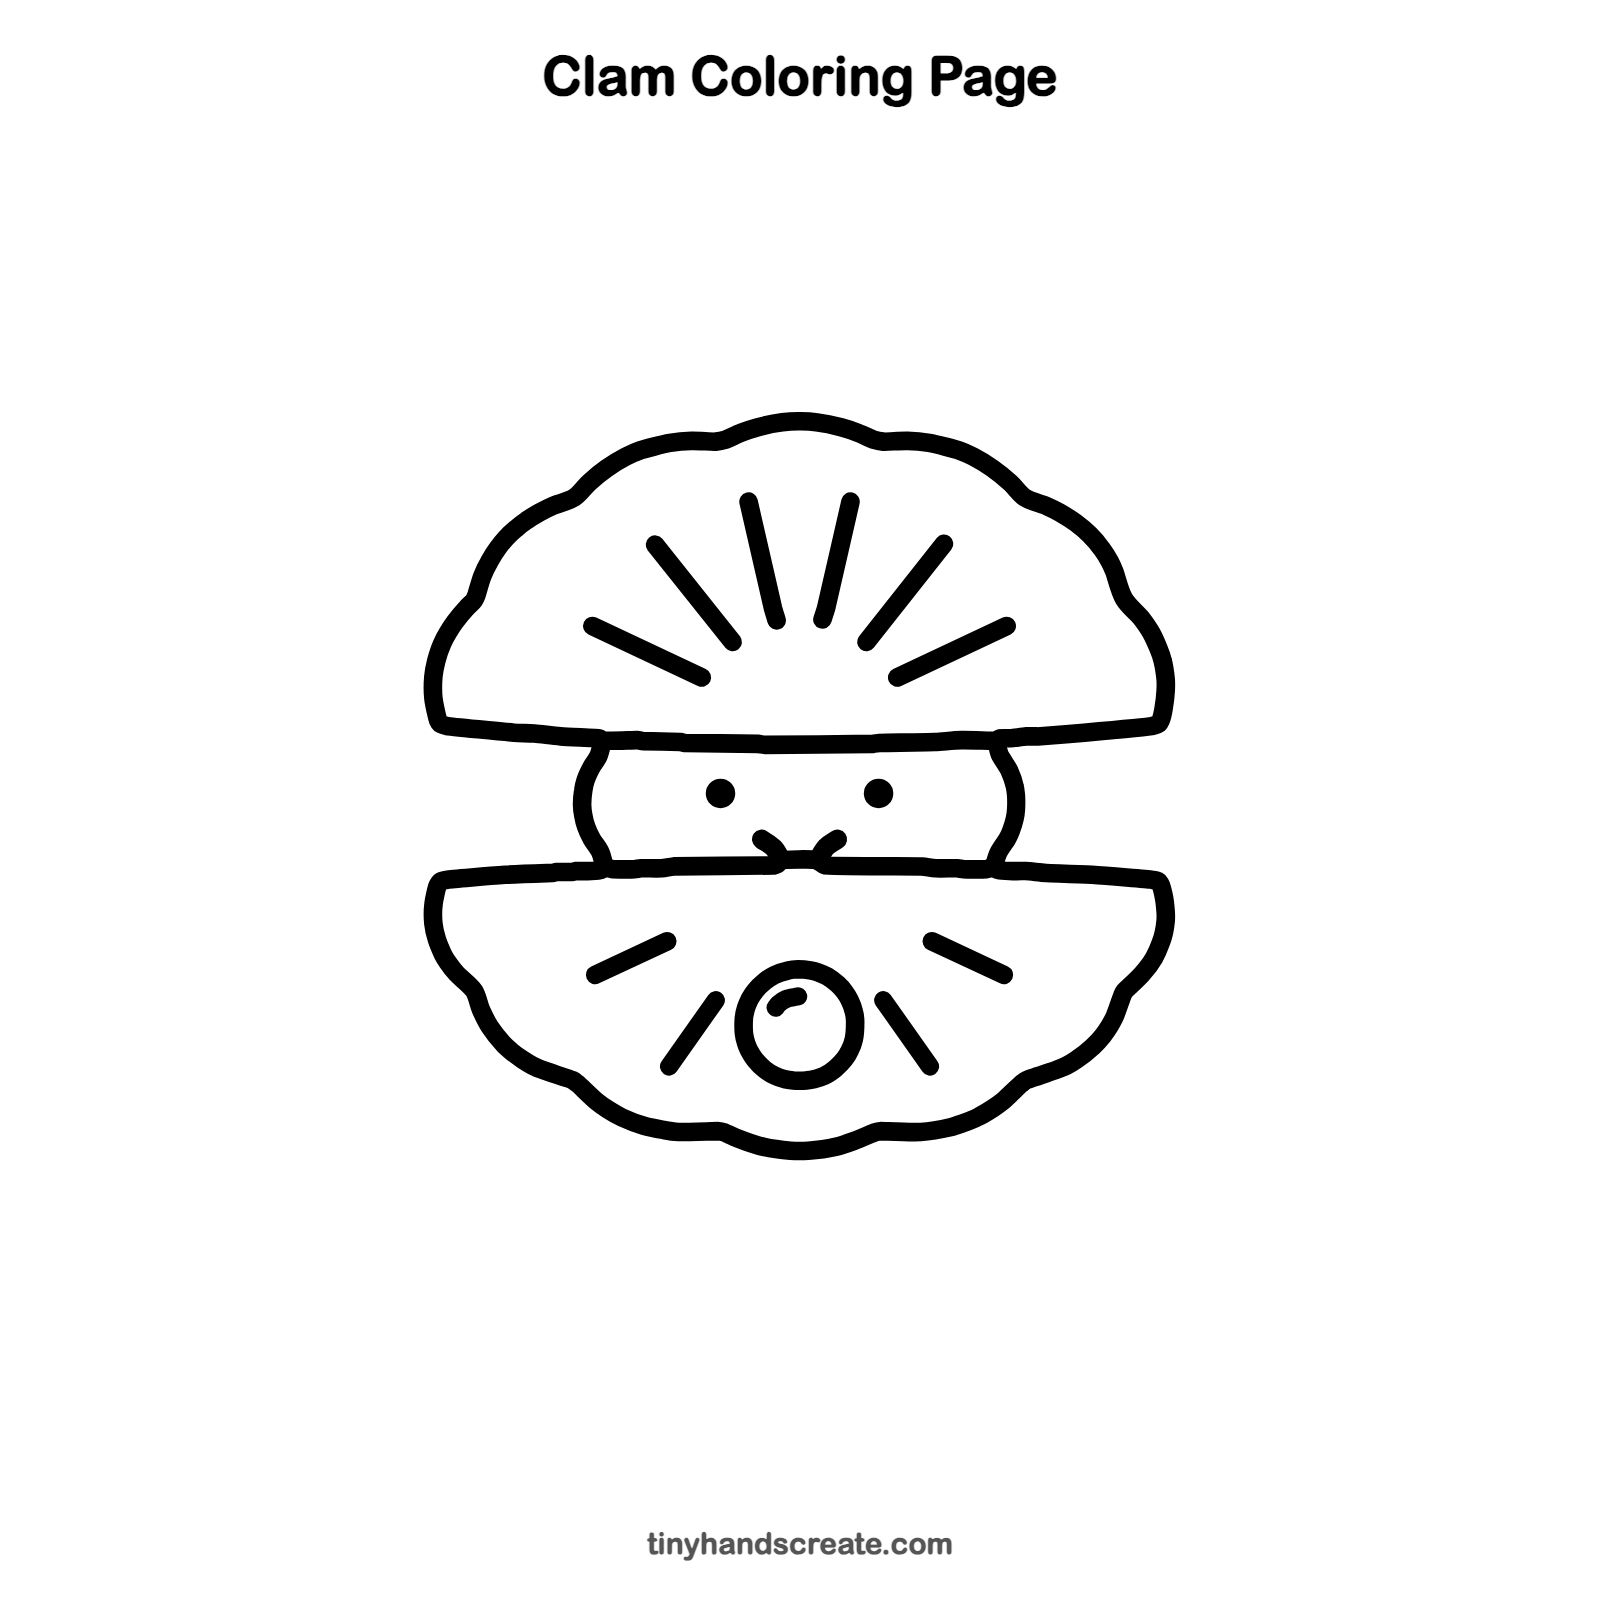
Want to go straight to coloring? Open this clam coloring page at full size and print it. It is the same drawing you just learned, with clean lines ready for crayons or markers.
How to color your clam drawing
Try soft pinks and purples for the shells, a creamy white pearl and a peachy body. For a twist, color the pearl like a rainbow or add a little sandy sea floor underneath.
Clam fun fact for kids
Pearls form when a tiny bit of grit gets inside a clam or oyster, and the animal slowly coats it with smooth layers over many years.
Questions about drawing a clam
What shapes do I need to draw a clam?
You need two half circles with bumpy edges for the shells, a rounded shape for the body, a circle for the pearl, and small dots and lines for the face and ridges.
How do I make my clam look cuter?
Keep the eyes as small round dots and the smile tiny. Color the shells in soft shades and the pearl a creamy white.
How do I draw the wavy shell edge?
Draw a row of small, rounded bumps in a curve, like tiny hills. Go slowly and lift your pencil between bumps if that feels easier.