How to Draw a Handbag (Easy Step by Step)
This post contains affiliate links. As an Amazon Associate I earn from qualifying purchases.
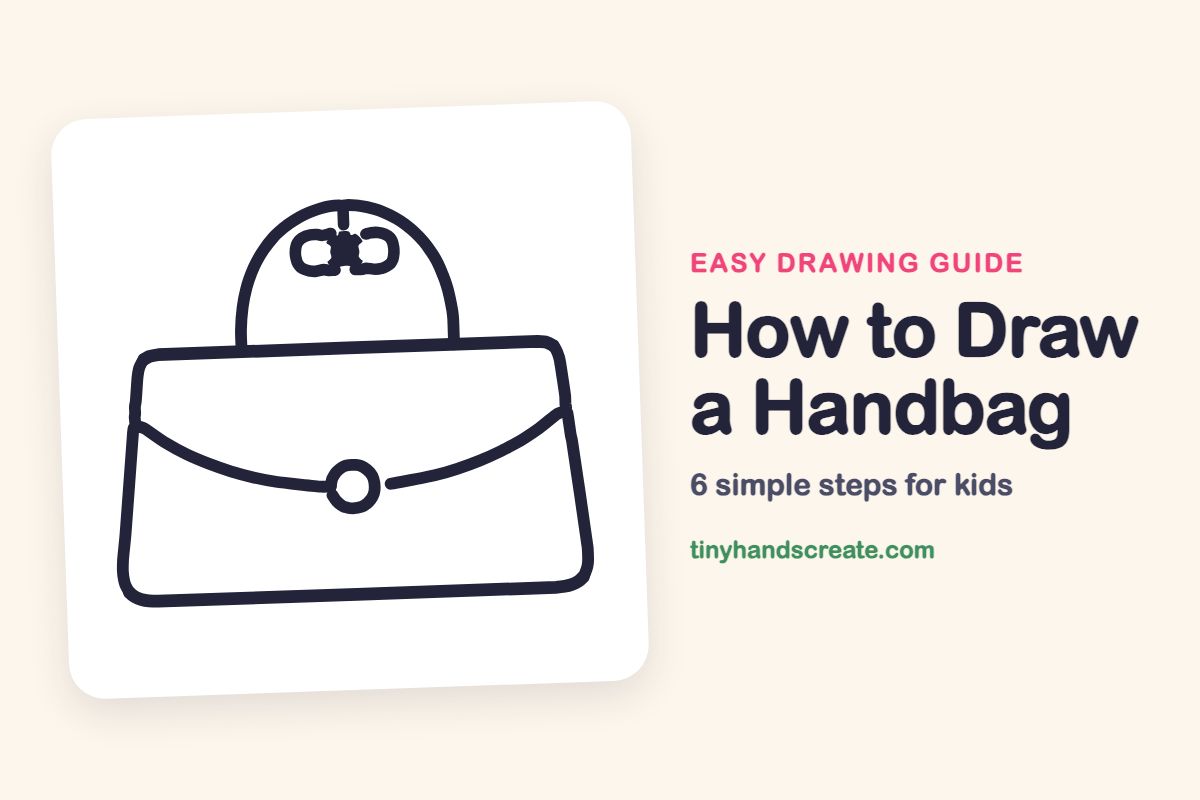
A handbag is a fun first drawing because it is built from just a few simple shapes: a rounded rectangle, an arch, a curved line and a circle. The little bow under the handle gives it personality. Once you know the steps, you can design your own bag with any decoration you like.
- Easy
- 10 minutes
- 6 steps
You need: paper, a pencil, an eraser, and crayons or markers for coloring.
Start drawing
In this article (7 sections)
How to draw a handbag step by step
How to Draw a Handbag · tinyhandscreate.com
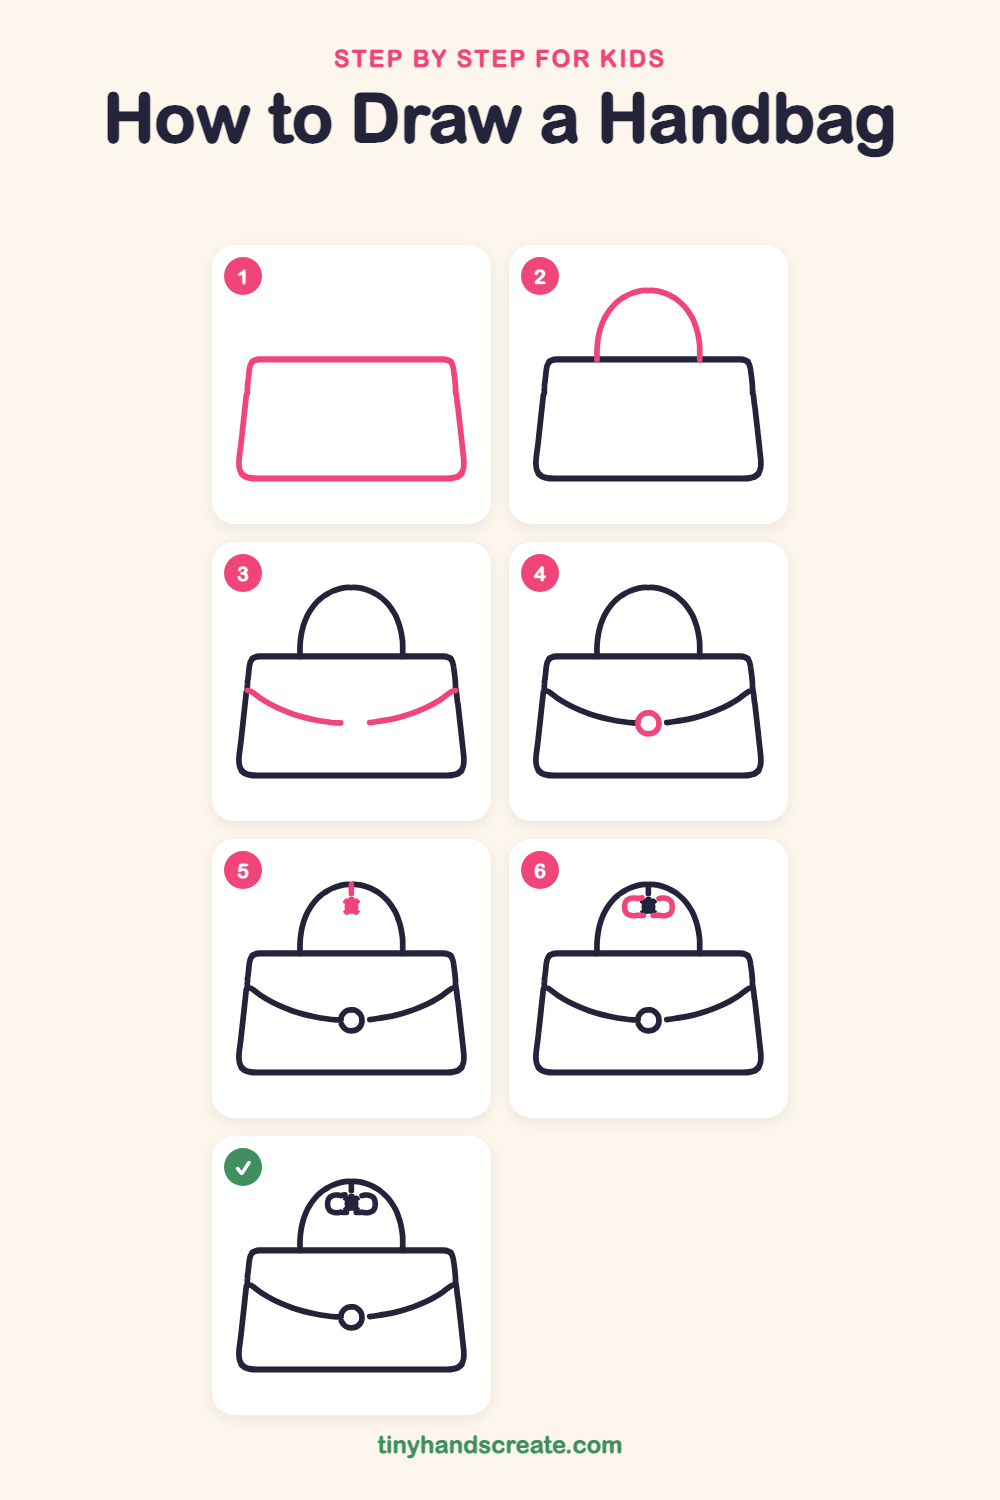
Step 1: The bag body
Draw a wide shape like a rounded rectangle, but make the bottom a little wider than the top so the sides lean outward. Round all four corners softly.
Step 2: The handle
Start on the top edge of the bag and draw a tall arch, like a rainbow, up and back down to the top edge a little farther along. Keep both sides about the same height.
Step 3: The flap curve
Near the top of each side, draw a gentle curved line that sags down toward the middle, like a smile. Stop before the middle and leave a small gap in the center for the clasp.
Step 4: The round clasp
Draw a circle in the gap in the middle of the flap curve, so the two curved lines touch it on each side.
Step 5: The bow knot
Inside the handle, draw a short straight line coming down from the top of the arch. Add a small knot at the bottom of it.
Step 6: The bow loops
On each side of the knot, draw a small rounded loop, so the two loops look like a bow tie.
All done!
Go over your lines with a marker, then color it in.
Finished your handbag? Keep the pencils out and learn how to draw a necktie or how to draw a nose next.
Tips for drawing a handbag
- Make the bottom of the bag a bit wider than the top. That small change makes it look like a real bag that sits on a table.
- Draw the handle arch tall and even. If one side looks lopsided, lightly sketch a pencil line down the middle first and match both sides to it.
- For the bow, draw the knot first and then add a loop on each side. This keeps the two loops about the same size.
Free handbag coloring page
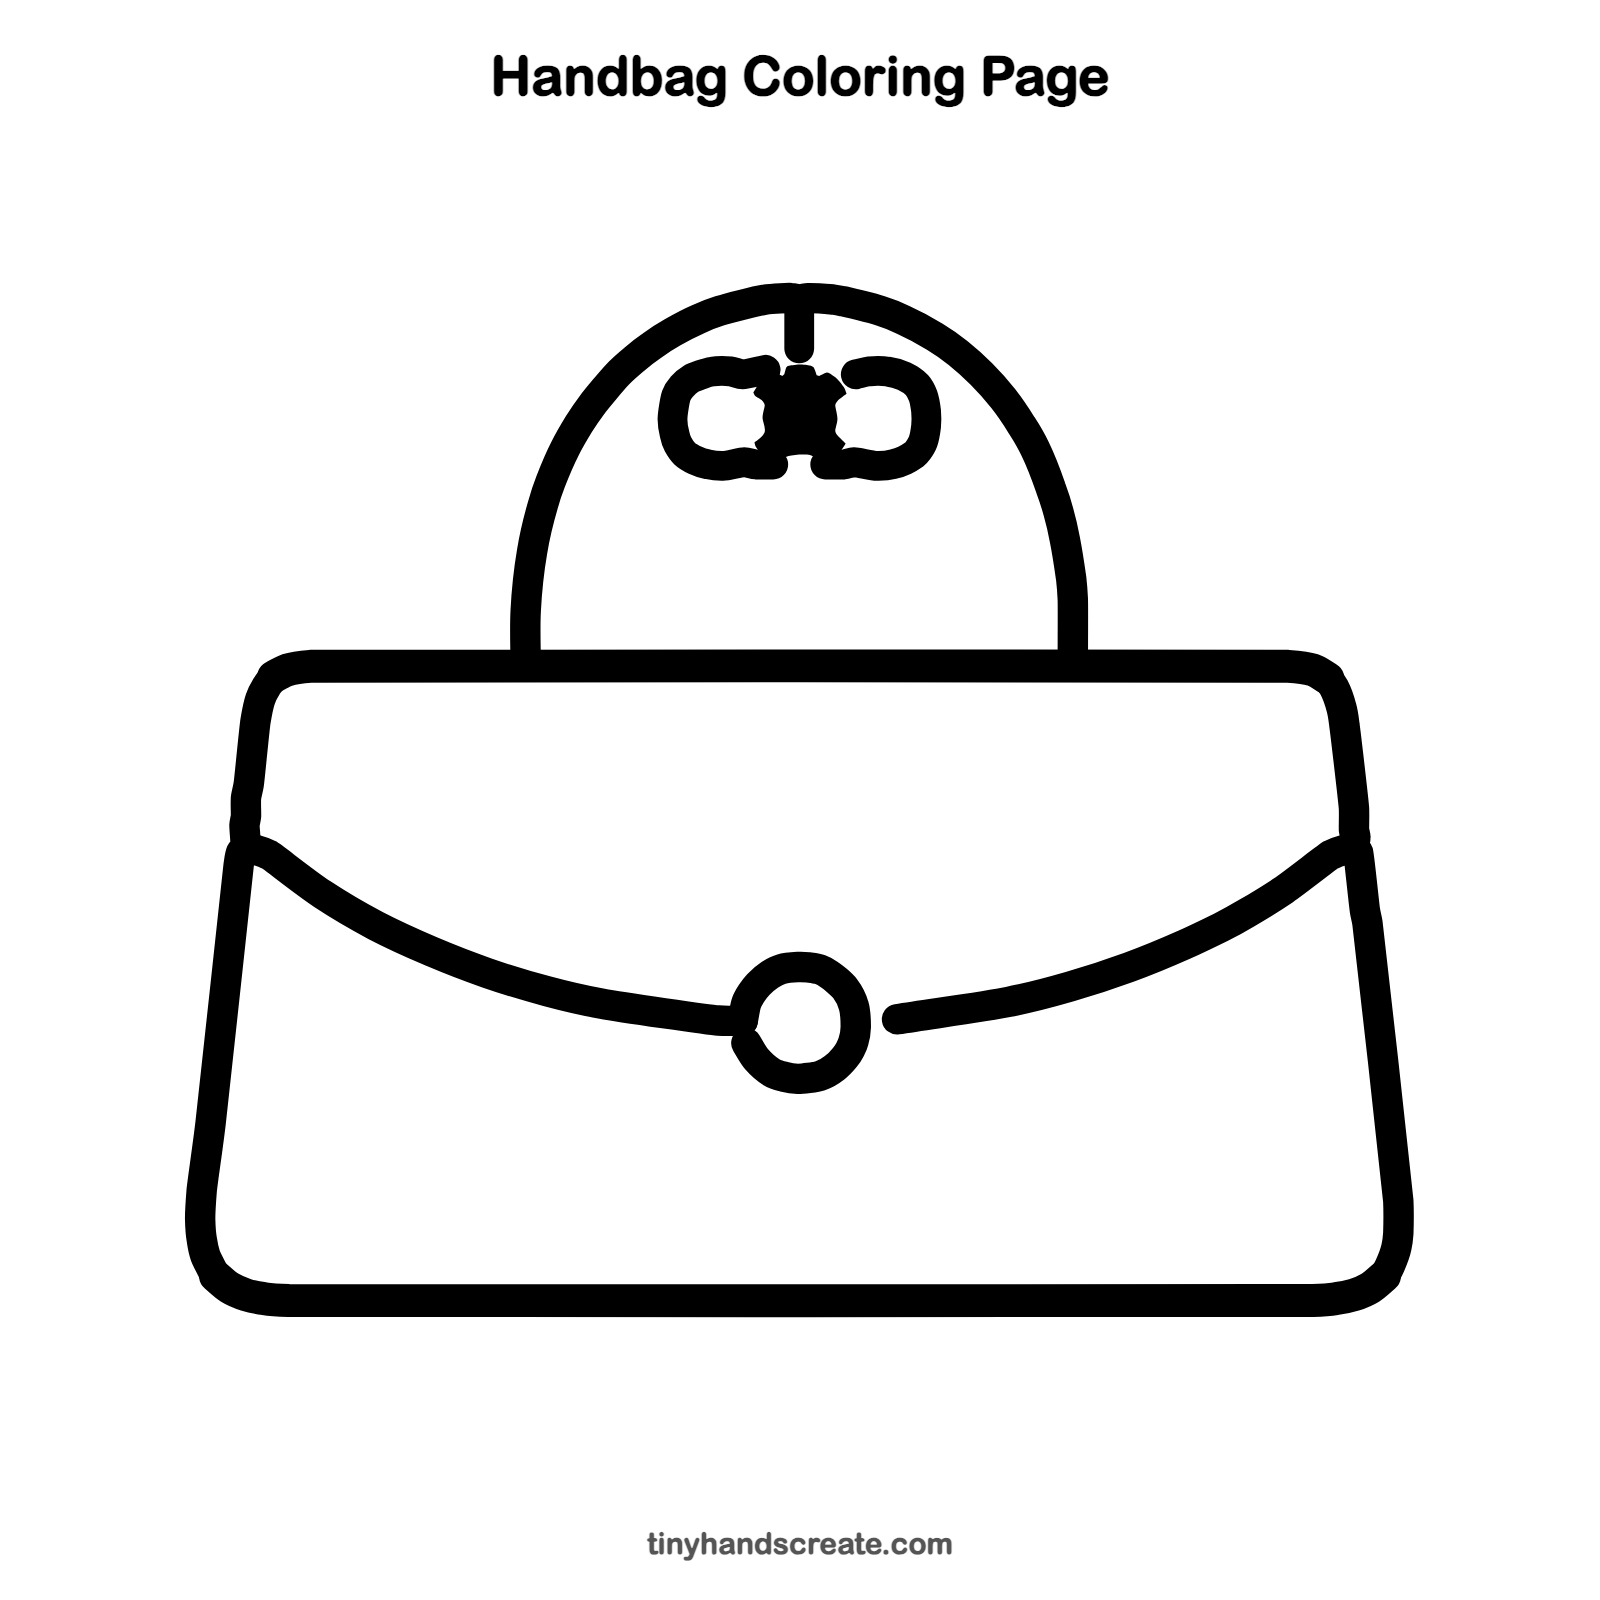
Want to go straight to coloring? Open this handbag coloring page at full size and print it. It is the same drawing you just learned, with clean lines ready for crayons or markers.
How to color your handbag drawing
Try a bright color for the bag, like red, teal or purple, and a different color for the bow. For a creative twist, draw polka dots, stripes or tiny stars all over the bag.
Handbag fun fact for kids
Long ago, people carried their things in small pouches tied to their belts, because clothes did not have pockets. Over time those pouches turned into the handbags we see today.
Questions about drawing a handbag
What shapes do I need to draw a handbag?
You need a rounded rectangle for the body, an arch for the handle, a curved line for the flap, and a circle for the clasp. The bow is a small knot with two little loops.
How do I make my handbag look more fancy?
Add stitching lines along the edges or a pattern like stripes. Coloring the bag in a bold color also makes it stand out.
Why does my handle look crooked?
Try sketching a light line down the center of the bag first. Then draw each side of the arch to match it, and erase the guide line when you are done.