How to Draw a Mail Truck (Easy Step by Step)
This post contains affiliate links. As an Amazon Associate I earn from qualifying purchases.
A mail truck is a fun first vehicle to draw because it is made of simple shapes: boxes, circles, and straight lines. The big envelope on the side tells everyone this truck carries letters and packages. Once you can draw this one, you can make a delivery truck for any town.
- Easy
- 12 minutes
- 7 steps
You need: paper, a pencil, an eraser, and crayons or markers for coloring.
Start drawing
In this article (7 sections)
How to draw a mail truck step by step
How to Draw a Mail Truck · tinyhandscreate.com
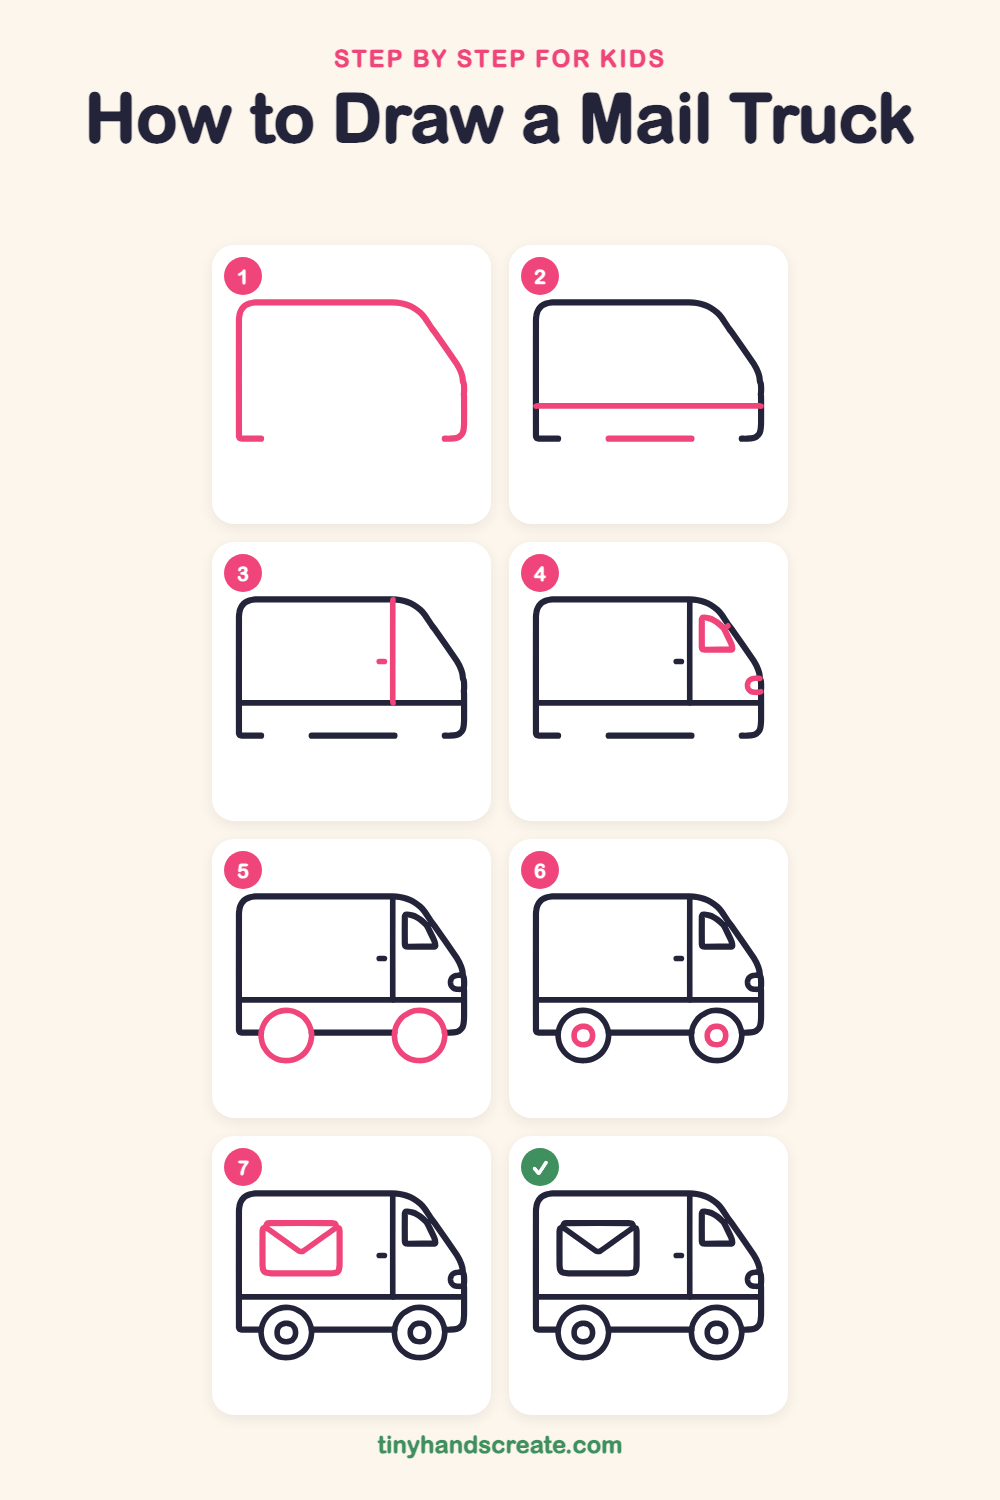
Step 1: Truck body outline
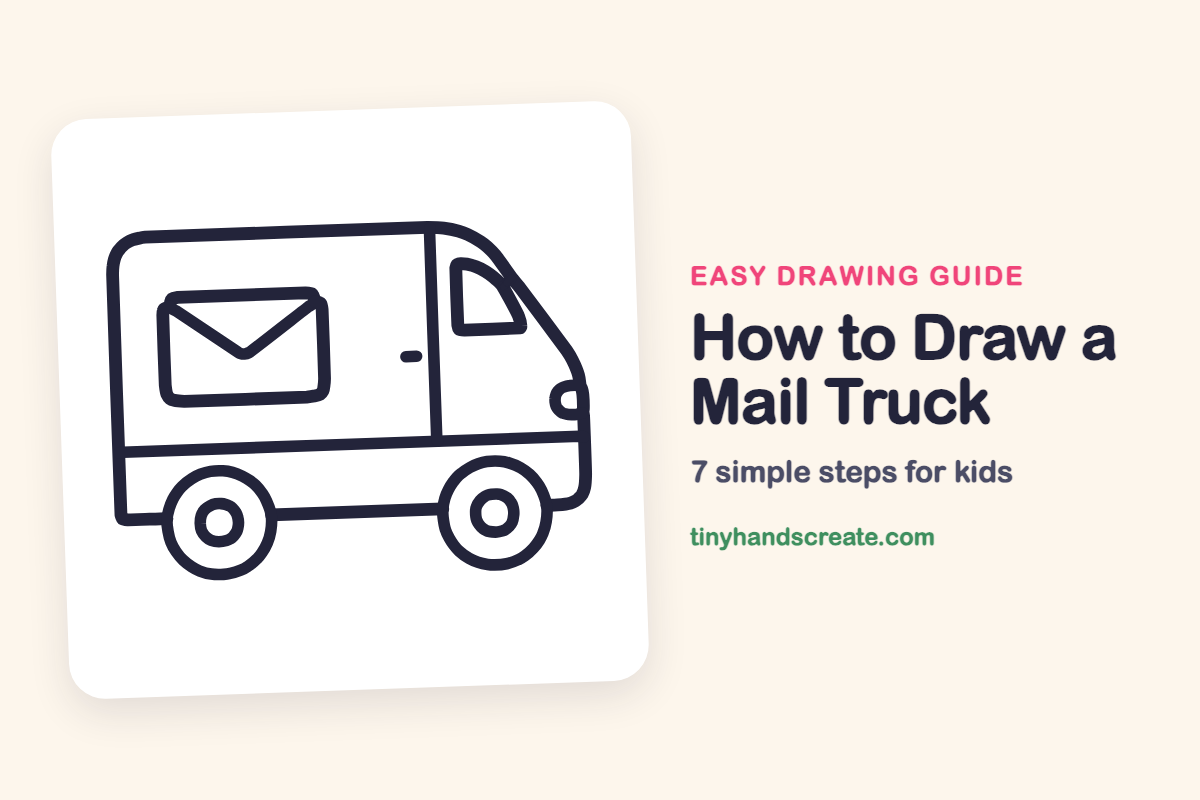
Draw a long rounded box shape for the back of the truck, with a flat top and a straight left side. At the right, slant the top line down to make the nose, then bring the front straight down and curve it around the bottom corner. Stop the lines a little short of the bottom middle, because that part comes later.
Step 2: Stripe and bottom
Draw a long straight line across the truck, near the bottom, from the left edge to the right edge. Then draw a short straight line along the bottom, in the gap between where the two wheels will go.
Step 3: Door and handle
Draw a tall straight line from the top of the truck down to the long line, where the cab begins. Add a tiny dash to the left of it for the door handle.
Step 4: Window and headlight
Draw the window in the cab as a shape like a slice of pie, with a straight left side, a flat bottom, and a curved slope on the right that follows the front of the truck. Then add a small half circle on the front edge for the headlight.
Step 5: The big wheels
Draw two big circles that sit in the gaps along the bottom, one near the back and one near the front. Let the top of each circle poke up over the long line near the bottom.
Step 6: Hubcaps
Draw a smaller circle in the middle of each wheel. Try to keep it centered so the wheel looks round and even.
Step 7: The mail envelope
On the back of the truck, draw a wide rectangle with soft rounded corners. Then draw a V from the top corners down to the middle, like the flap of a letter.
All done!
Go over your lines with a marker, then color it in.
Finished your mail truck? Keep the pencils out and learn how to draw a paddle steamer or how to draw a motor scooter next.
Tips for drawing a mail truck
- Draw the big body shape lightly first. The slanted nose is the trickiest part, so draw it as one smooth sloping line before rounding the bottom corner.
- Make both wheels the same size by tracing around a coin or a bottle cap, then draw the small hubcap circle in the middle of each.
- For the envelope, start with the rectangle and then draw the V from the two top corners. Keep the point of the V in the middle so the flap looks even.
Free mail truck coloring page
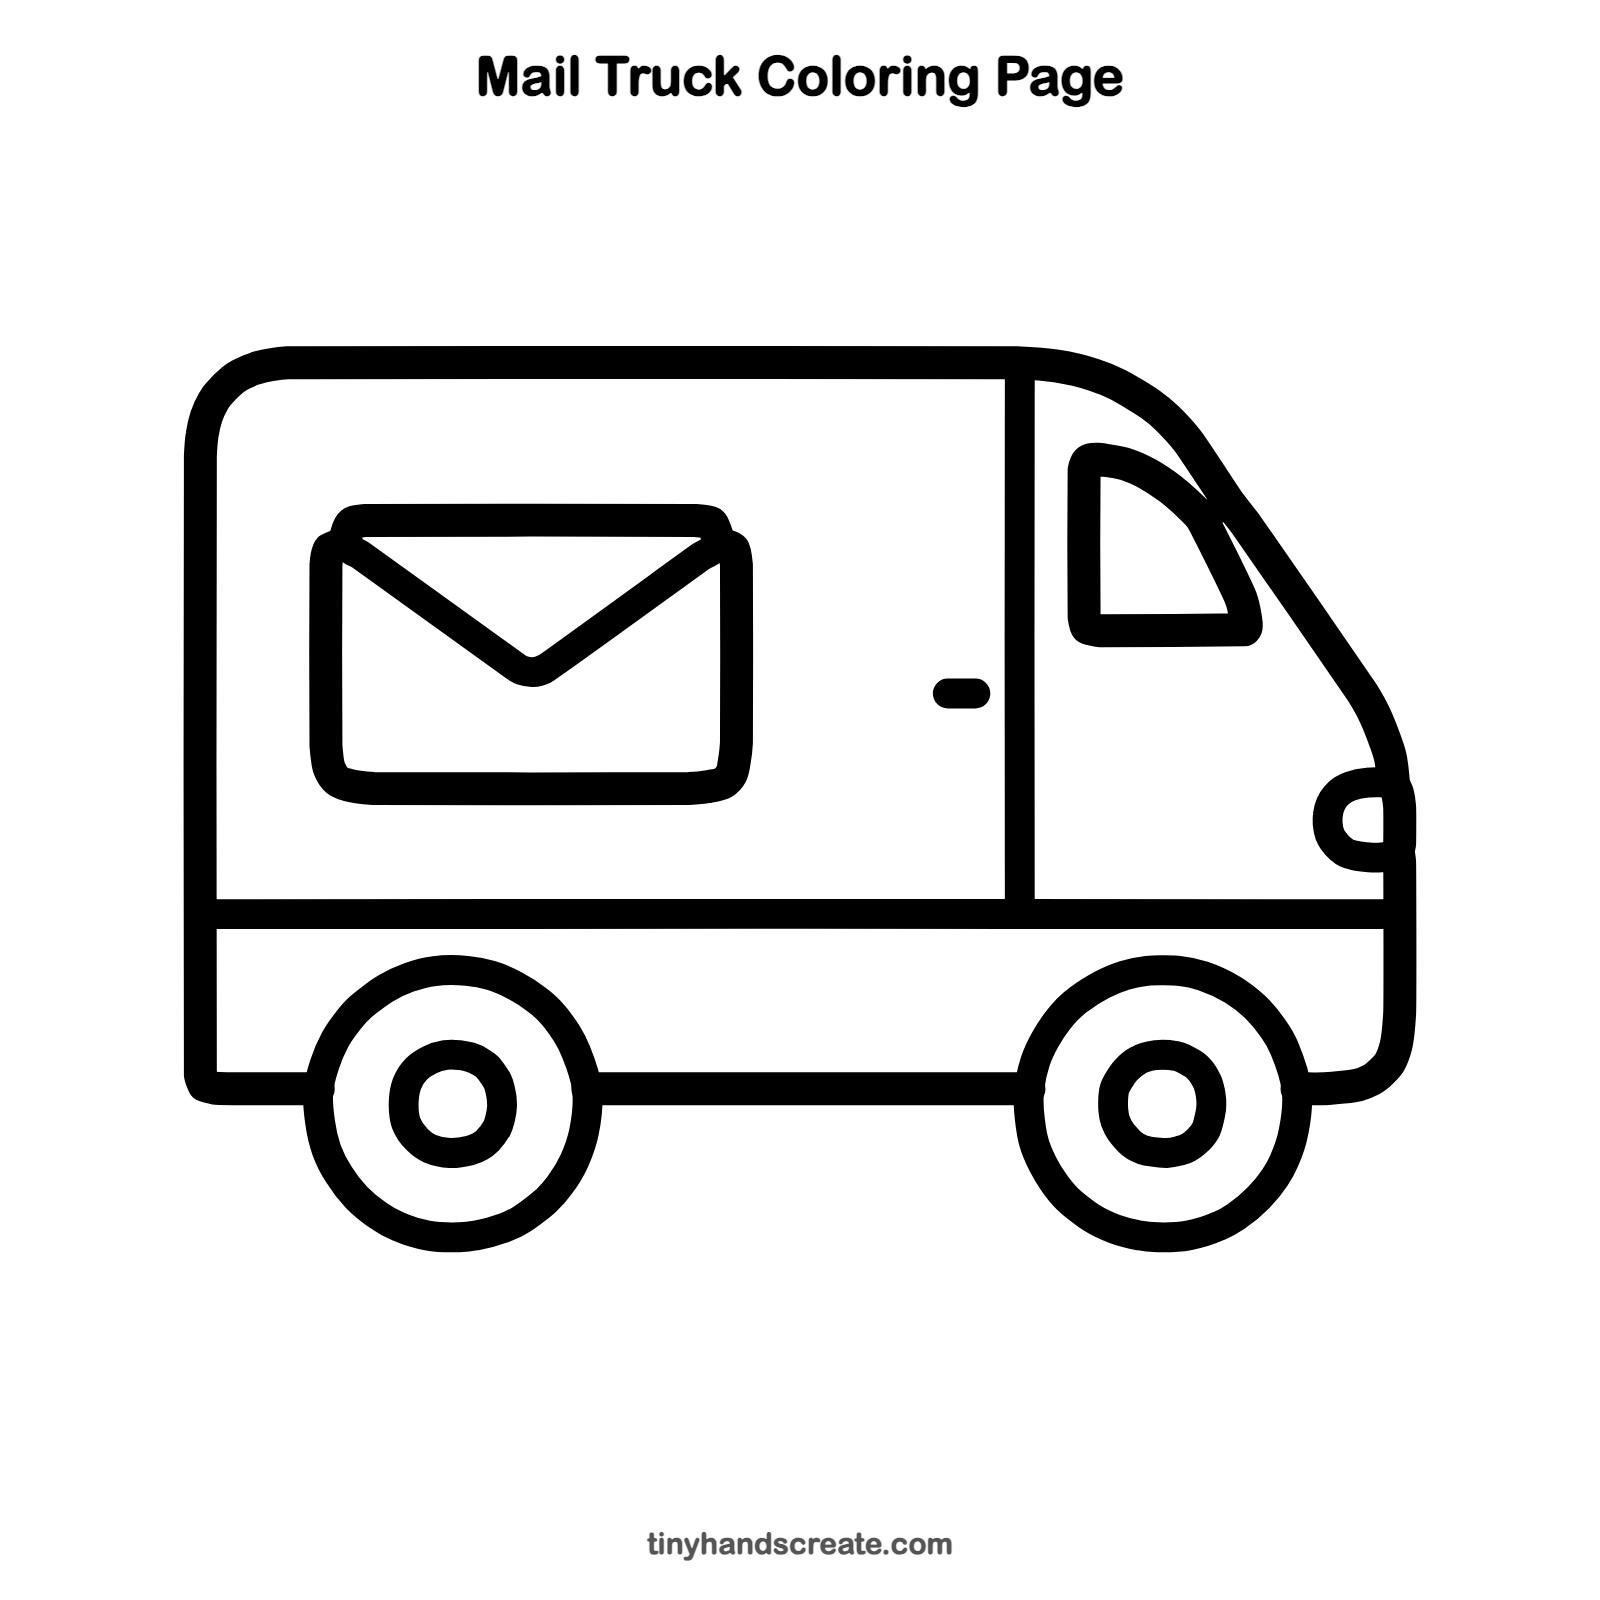
Want to go straight to coloring? Open this mail truck coloring page at full size and print it. It is the same drawing you just learned, with clean lines ready for crayons or markers.
How to color your mail truck drawing
Try bright blue or white for the body, with a red stripe along the long line near the bottom and a yellow envelope. The little headlight can be bright yellow too, and the window can be light blue.
Mail truck fun fact for kids
The United States Postal Service uses many right-hand drive mail trucks, so carriers can reach curbside mailboxes from the driver's seat without getting out.
Questions about drawing a mail truck
What shapes do I need to draw a mail truck?
You need a rounded box for the body, two circles for the wheels, and a rectangle with a V for the envelope. A few straight lines finish the door and the stripe.
How do I make my mail truck wheels look round?
Trace around a coin, a bottle cap, or a small cup to get a perfect circle. Draw a smaller circle inside for the hubcap, and keep it in the middle of the wheel.
How can I make my mail truck look like it is driving?
Add a few short lines behind the truck to show it is zooming along. You can also draw a road underneath the wheels and a mailbox up ahead.