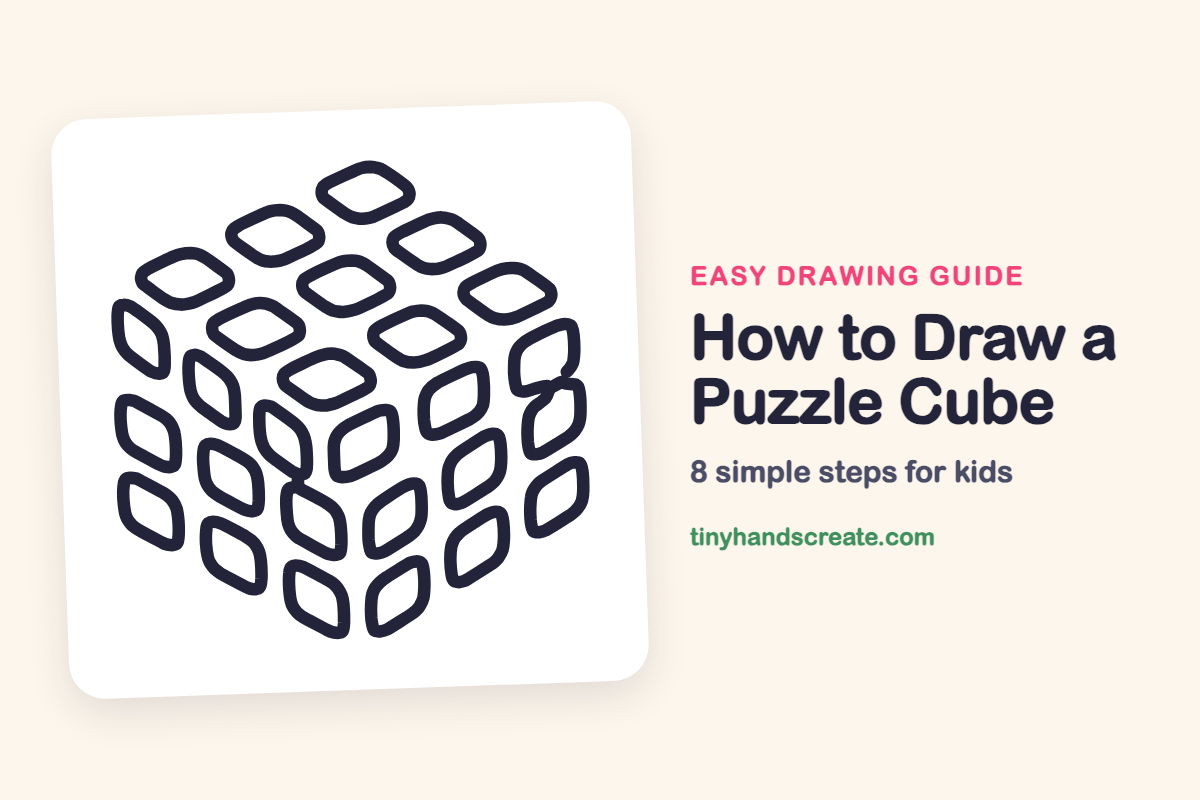
How to Draw a Puzzle Cube (Easy Step by Step)
A puzzle cube is fun to draw because it looks tricky but is really just rounded diamonds repeated again and again. You draw three sides, and each side is a neat 3 by 3 grid of tiles. Once you can draw one tile, you can draw all twenty-seven.
- Medium
- 15 minutes
- 8 steps
You need: paper, a pencil, an eraser, and crayons or markers for coloring.
Start drawingIn this article (7 sections)
How to draw a puzzle cube step by step
How to Draw a Puzzle Cube · tinyhandscreate.com
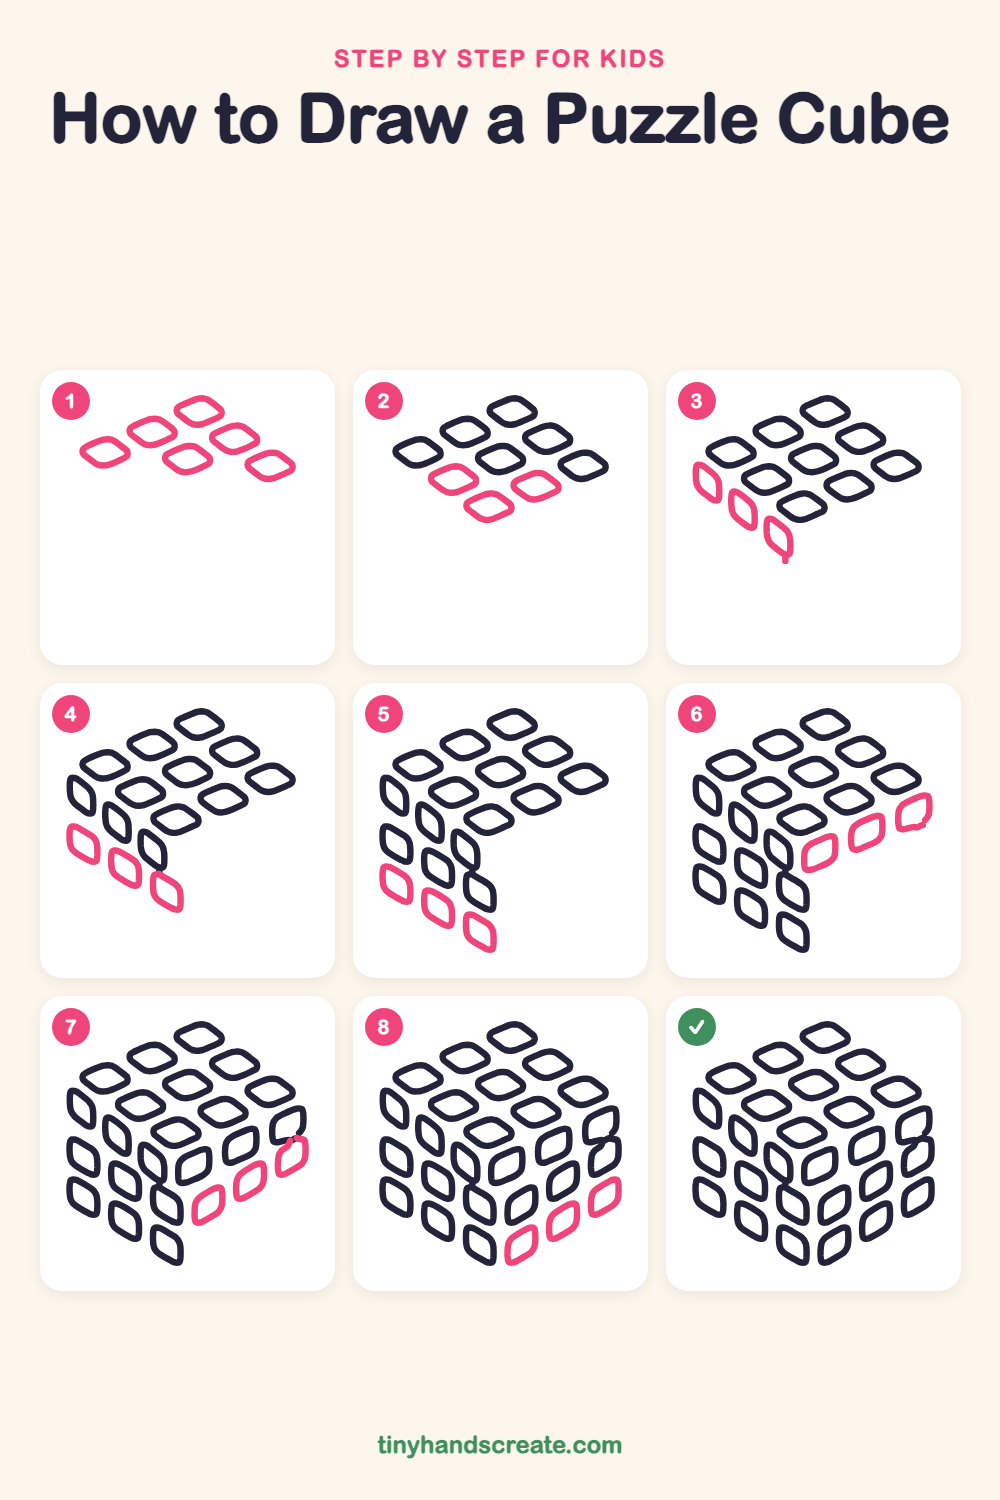
Step 1: Top back tiles
Start near the top of the page. Draw six rounded diamonds in a staggered group: one at the very top, two below it, then three in the next row. Leave a small gap between each one.
Step 2: Top front tiles
Add three more rounded diamonds below the others: two side by side, then one lower in the middle. Now the top face is a flat 3 by 3 grid of nine tiles.
Step 3: Left side first row
Under the lower left edge of the top face, draw three tall, slanted rounded shapes in a line that steps down to the right. Each one leans like a diamond that was gently pushed over.
Step 4: Left side second row
Draw a second line of three slanted shapes right below the first line. Put each one just under its partner so the rows stay neat.
Step 5: Left side third row
Add the last line of three slanted shapes on the left side. Make them about the same size as the ones above, so this side has nine tiles.
Step 6: Right side first row
Now move to the right side. Draw three rounded shapes in a line that climbs up to the right, starting just under the front of the top face. They slant the opposite way from the left side, and the shape at the right edge can touch its neighbor a little.
Step 7: Right side second row
Draw a second line of three slanted shapes under the first. Put each one just below its partner so the rows line up.
Step 8: Right side third row
Finish with the last line of three shapes along the bottom of the right side. Check that all three sides now have nine tiles each.
All done!
Go over your lines with a marker, then color it in.
Finished your puzzle cube? Keep the pencils out and learn how to draw a fidget spinner or how to draw a rocket next.
Tips for drawing a puzzle cube
- Draw the tiles a little smaller than you think you need. Small tiles leave room for the gaps between them.
- The side tiles lean in opposite directions on the left and right. Lean the left ones one way and the right ones the other way, and the cube will look solid.
- Keep the gaps between tiles about the width of your pencil line. If a gap closes up, just redraw that tile slightly smaller.
Free puzzle cube coloring page
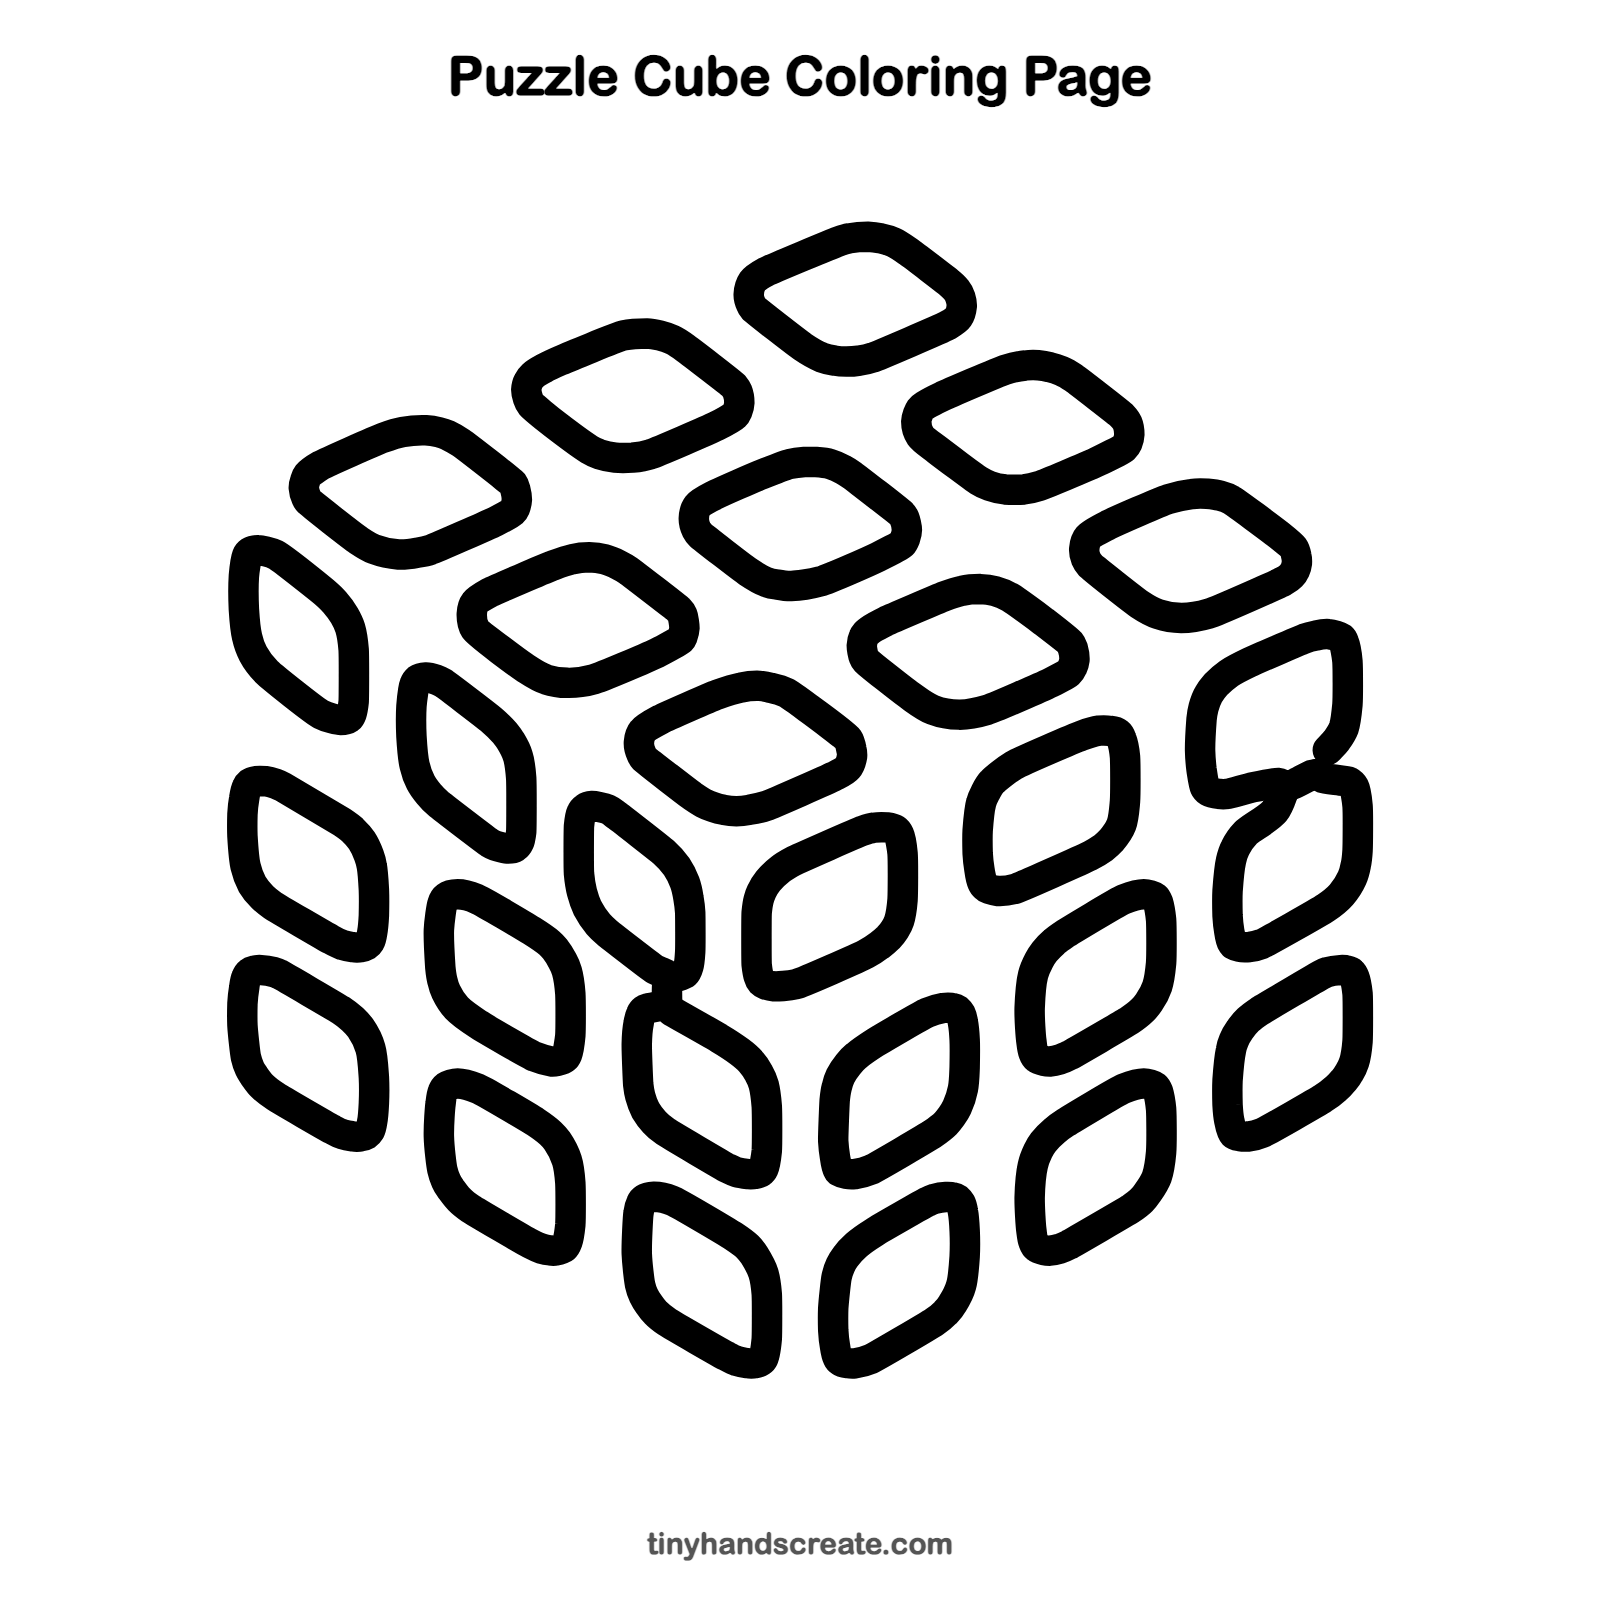
Want to go straight to coloring? Open this puzzle cube coloring page at full size and print it. It is the same drawing you just learned, with clean lines ready for crayons or markers.
How to color your puzzle cube drawing
Use the classic six colors of a real cube: white, yellow, red, orange, blue and green. Mix the tiles so it looks scrambled, or for a twist, color one whole side in a single color to show a solved side.
Puzzle cube fun fact for kids
The twisty puzzle cube was invented in 1974 by Ernő Rubik, a Hungarian professor of architecture. A standard one has 6 sides with 9 small squares on each side.
Questions about drawing a puzzle cube
What shapes do I need to draw a puzzle cube?
You only need rounded diamonds. Use flat ones for the top and tall, slanted ones for the two sides.
How do I make my puzzle cube look 3D?
Make the top tiles flat and wide, and make the side tiles lean in opposite directions. Lining the rows up neatly also helps the cube look solid.
How do I keep my tiles the same size?
Draw one tile first and use it as your guide. Try to make each new tile about the same height and width as its neighbor.