How to Draw an Origami Crane (Easy Step by Step)
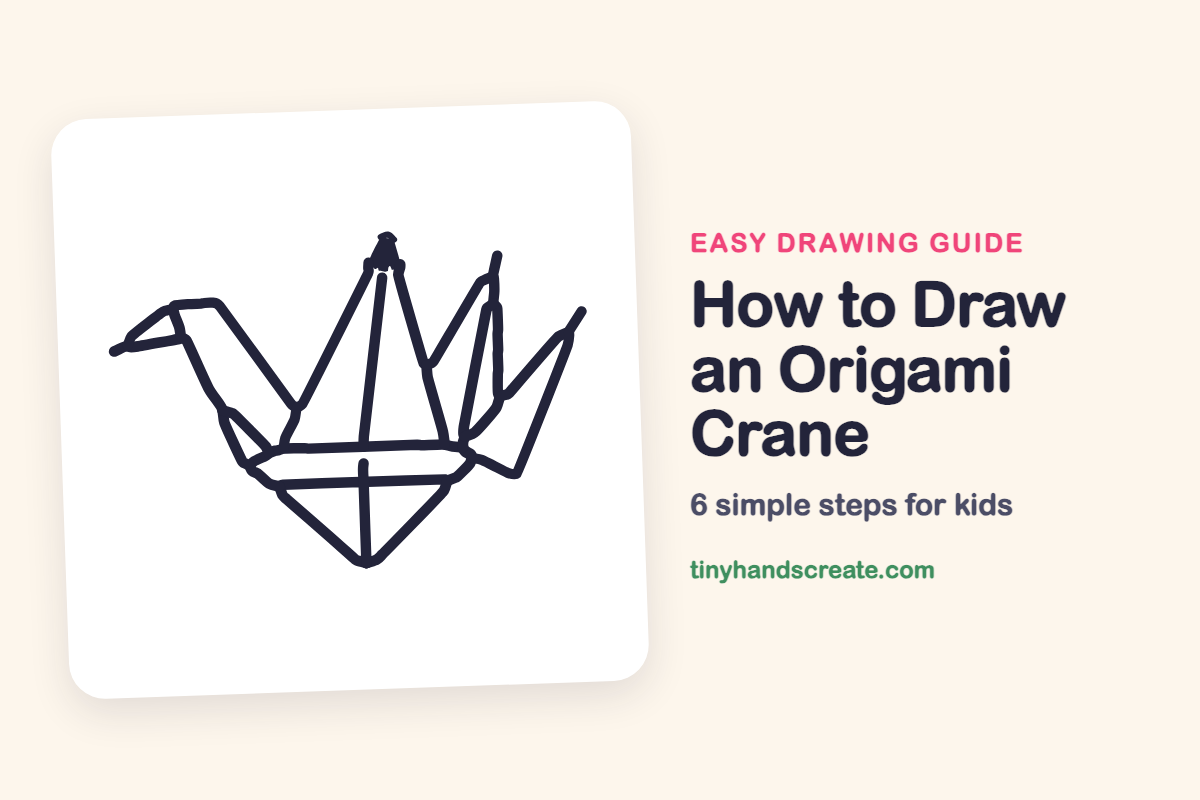
An origami crane is a fun drawing because it is made almost entirely of straight lines and triangles. You start with a flat body shape, then add pointy triangle wings, a tail, and a skinny neck with a little beak. No curves are needed, so it is great practice with a ruler or a steady hand.
- Easy
- 10 minutes
- 6 steps
You need: paper, a pencil, an eraser, and crayons or markers for coloring.
Start drawing


In this article (7 sections)
How to draw an origami crane step by step
How to Draw an Origami Crane · tinyhandscreate.com
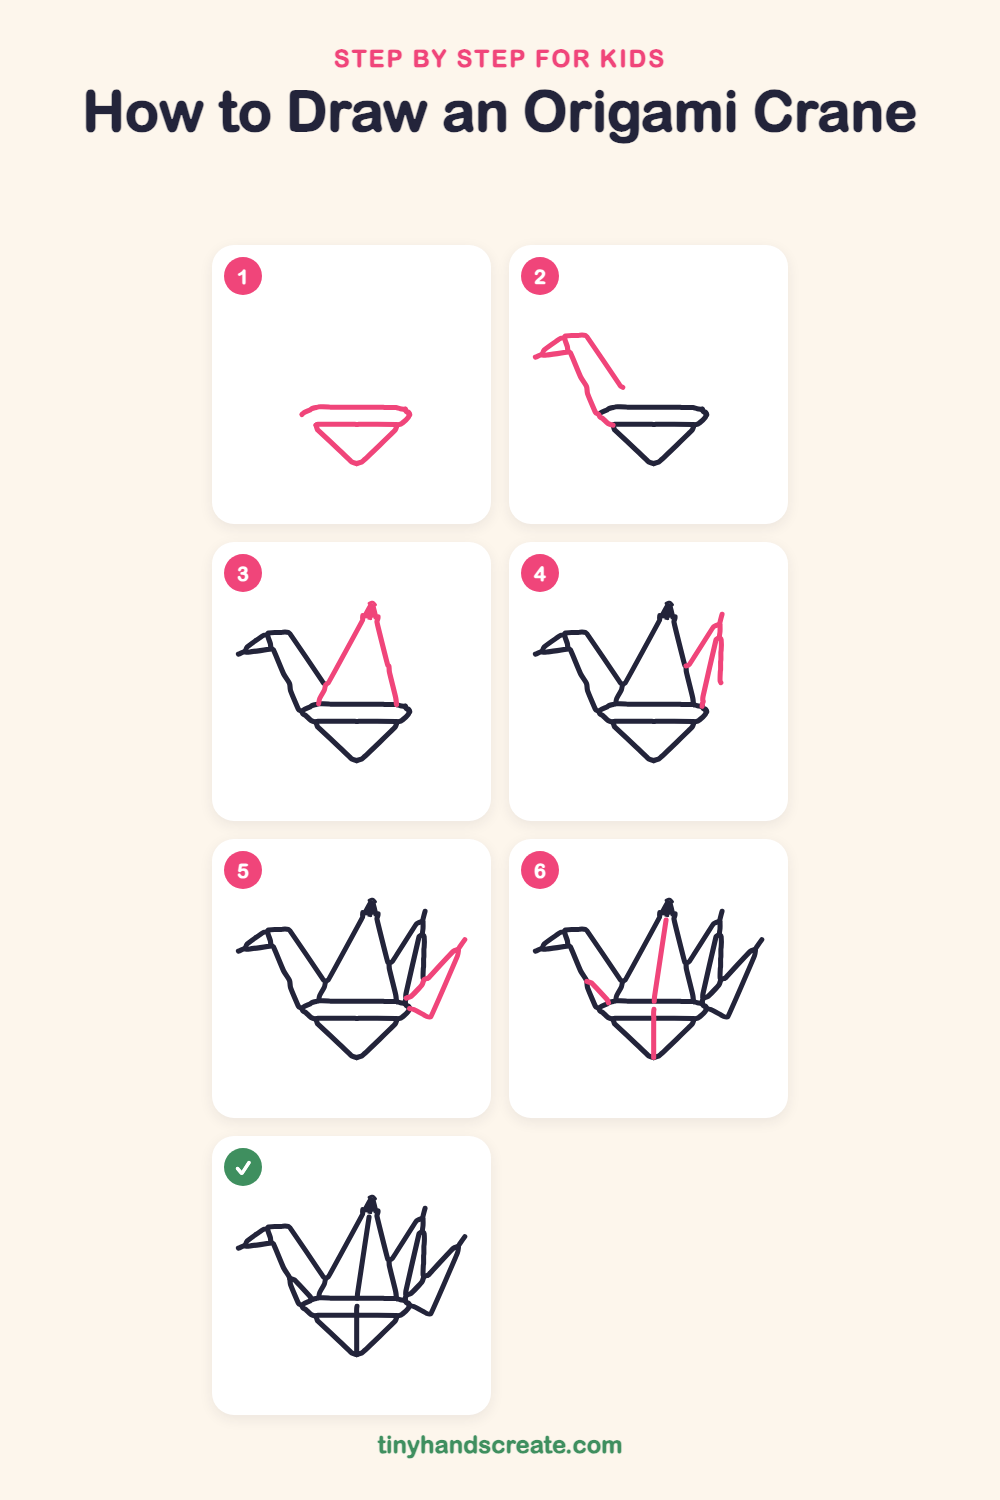
Step 1: The body
Draw a long, flat line for the top edge of the body. Just below it, draw a wide triangle that points down, with a straight line across its top and two slanted lines meeting at a point at the bottom.
Step 2: Neck and beak
From the left end of the body, draw a long slanted line going up for the front of the neck. Add a short flat line for the top of the head, and a small pointy triangle sticking out to the left for the beak. Then draw a second slanted line going down and to the right from the head to finish the neck.
Step 3: The tall center wing
Draw a tall triangle standing on top of the body, with its sharp tip pointing up. Start at the left of the body, go up to the tip, then come back down on the right side. Add a tiny peak where the two sides meet at the top.
Step 4: The back wing
Behind the tall wing on the right, draw a smaller pointy wing. Start at the tall wing's right side and draw a slanted line up to a point. Then draw a straight line going down from that point, and a second slanted line from the body going up to meet it.
Step 5: The tail
At the far right, draw a long slanted line going up from the body to a point. Then bring a line back down and to the left, and finish with a short slanted line that meets the body.
Step 6: Folding lines
Draw a straight line from near the top of the tall wing down to the top of the body. Continue with a straight line from the middle of the body down to the bottom point. Add a short slanted line inside the neck near the body to show the paper folds.
All done!
Go over your lines with a marker, then color it in.
Finished your origami crane? Keep the pencils out and learn how to draw a rocket or how to draw a shooting star next.
Tips for drawing an origami crane
- Draw the body first and keep your lines light. Every other part connects to it, so getting its corners right makes the rest easy.
- The wings are the trickiest part. Draw the tall center wing first, then add the smaller wing behind it so its lines stop where they touch the tall wing.
- Draw the neck and beak together in one step. Keep the beak tip sharp so it looks like folded paper.
Free origami crane coloring page
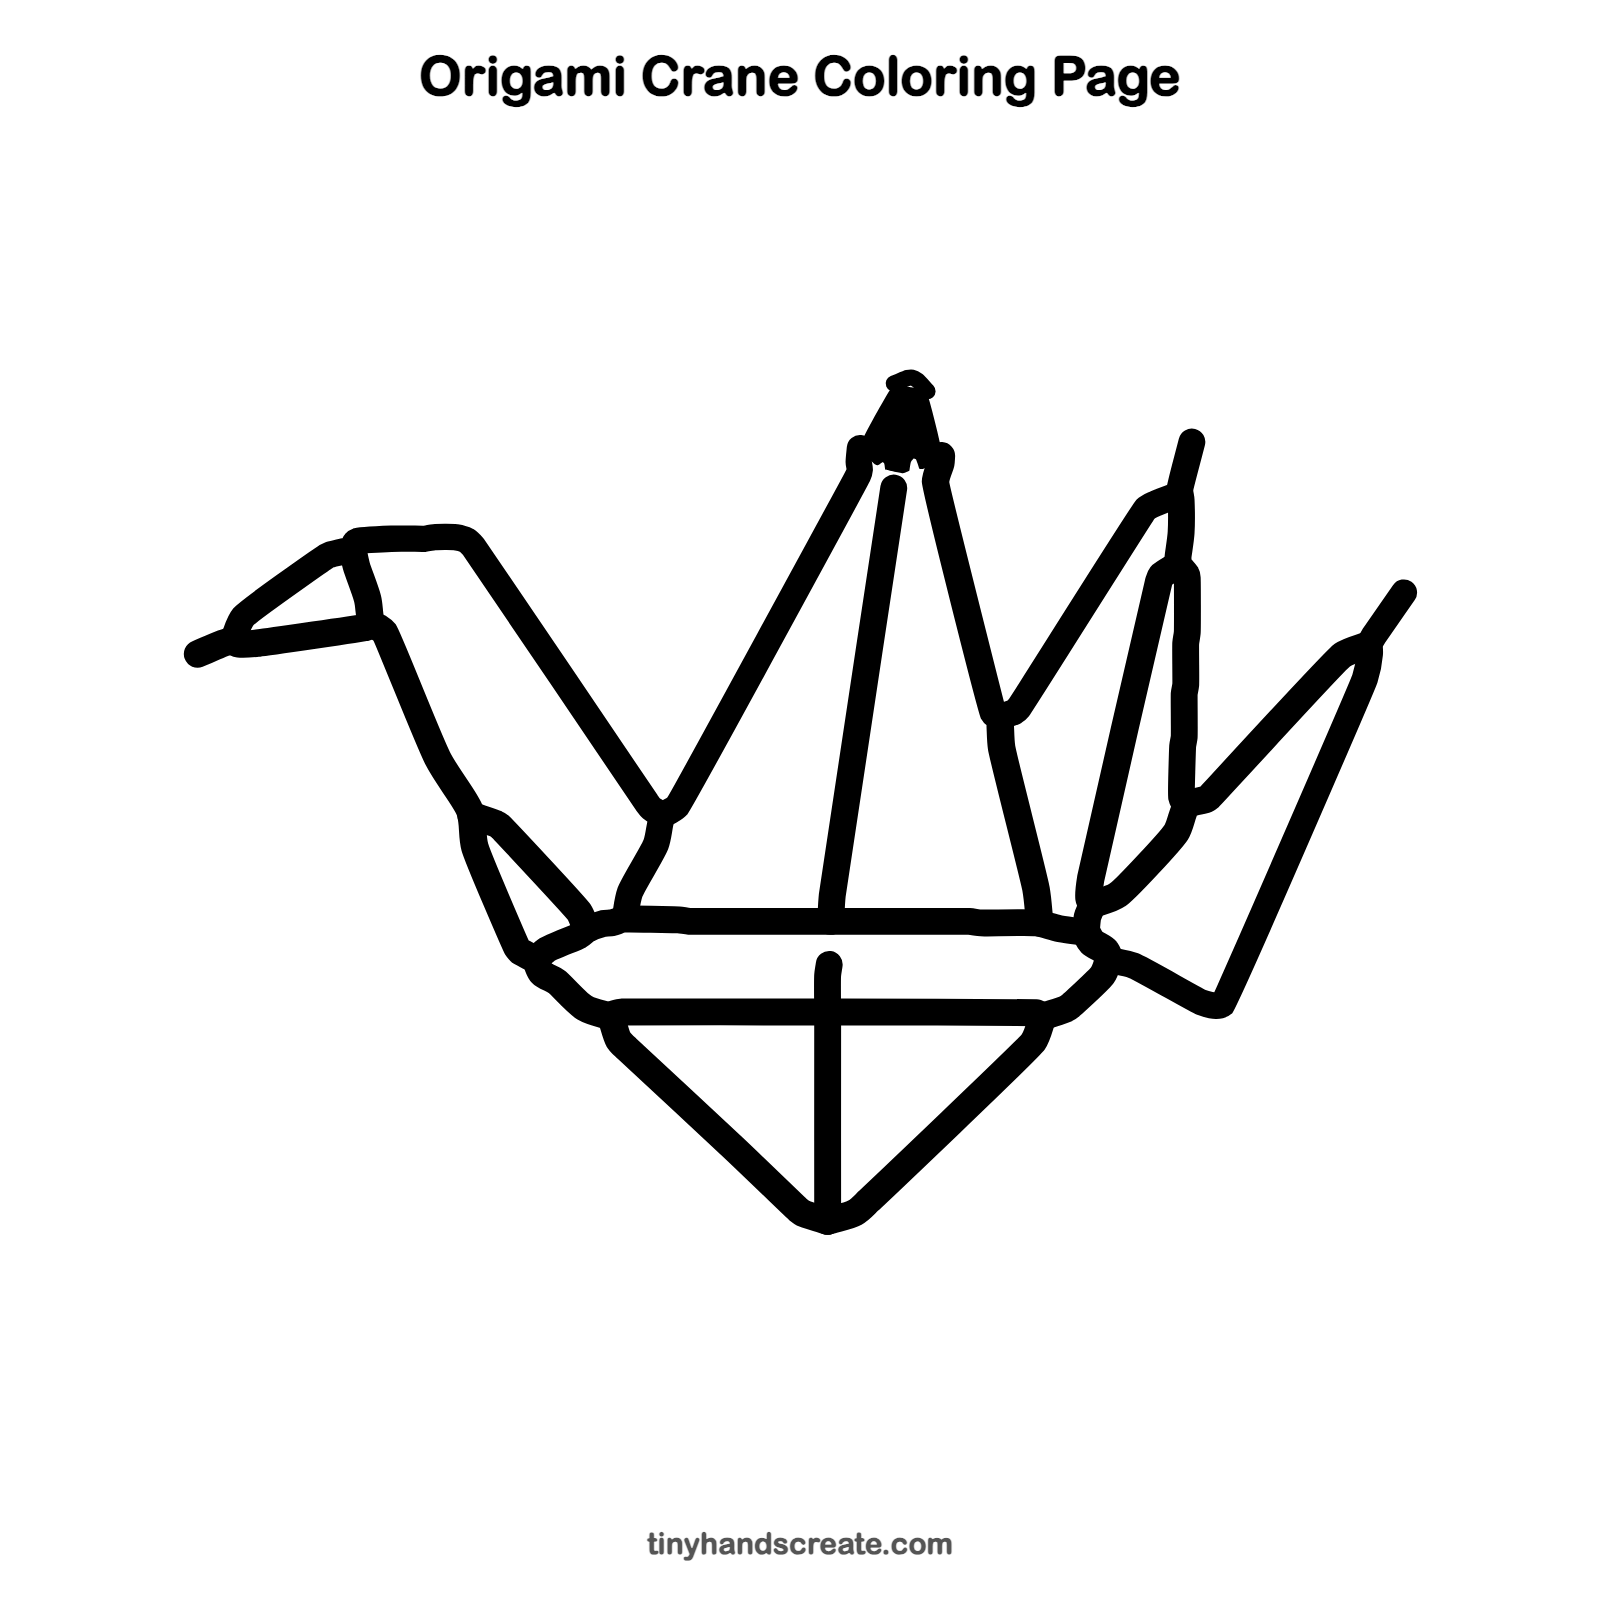
Want to go straight to coloring? Open this origami crane coloring page at full size and print it. It is the same drawing you just learned, with clean lines ready for crayons or markers.
How to color your origami crane drawing
Try bright patterned paper colors like red, blue, or gold, and give each wing a different shade. For a creative twist, fill each triangle with its own pattern such as dots, stripes, or tiny flowers, like real origami paper.
Origami crane fun fact for kids
In Japan, people say that if you fold 1,000 paper cranes, you can make a wish. The story became especially famous through Sadako Sasaki, a girl who folded paper cranes hoping to get well, and the crane is now a symbol of peace.
Questions about drawing an origami crane
What shapes do I need to draw an origami crane?
Mostly triangles. The body has a triangle pointing down, the wings and tail are pointy triangles, and the beak is a small triangle.
How do I make my origami crane look more like folded paper?
Add the fold lines down the middle of the tall wing and the body. Sharp corners and straight lines also help it look like paper.
Do I need a ruler to draw an origami crane?
A ruler can help, but it is not needed. Straight lines drawn with a slow, steady hand look great, and tiny wobbles make it look handmade.