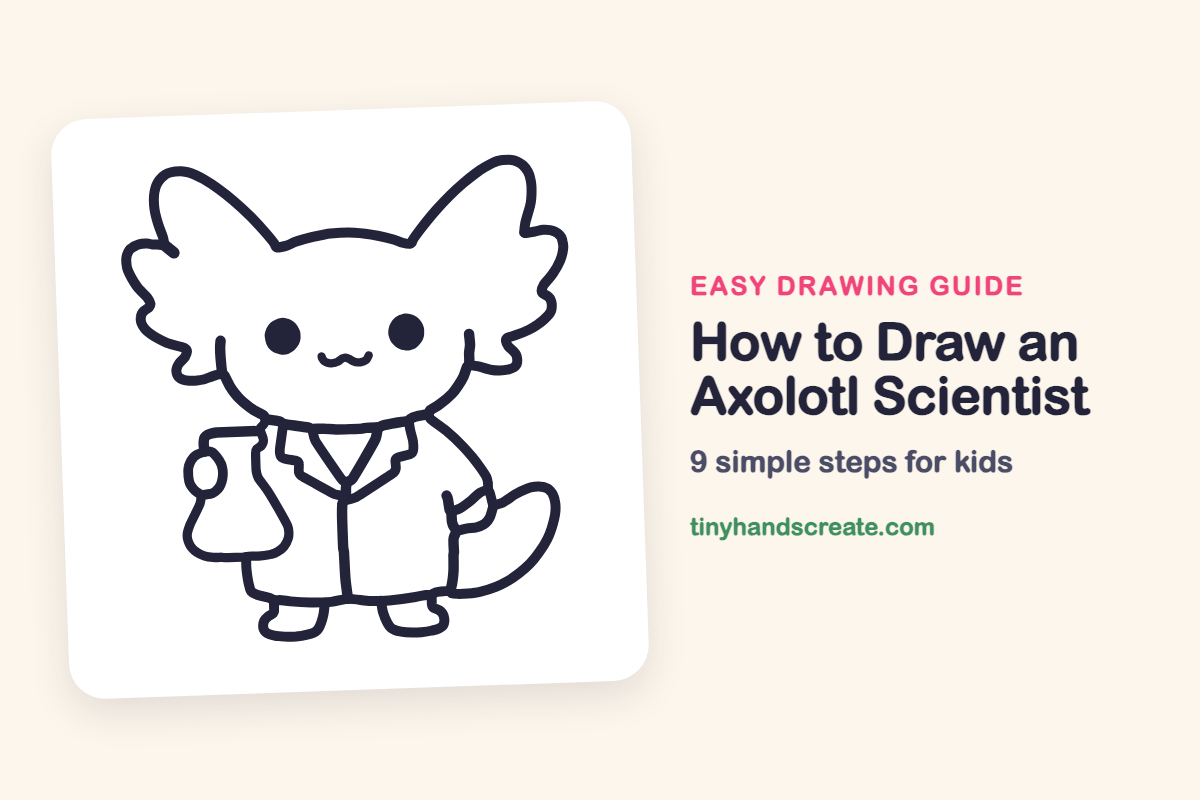
How to Draw an Axolotl Scientist (Easy Step by Step)
This axolotl scientist is a cute mix of round shapes and wavy frills. You start with a rounded head, add big frills on both sides, then dress your axolotl in a lab coat with a tail and little feet. A science flask in its hand finishes the scene.
- Medium
- 20 minutes
- 9 steps
You need: paper, a pencil, an eraser, and crayons or markers for coloring.
Start drawing


In this article (7 sections)
How to draw an axolotl scientist step by step
How to Draw an Axolotl Scientist · tinyhandscreate.com
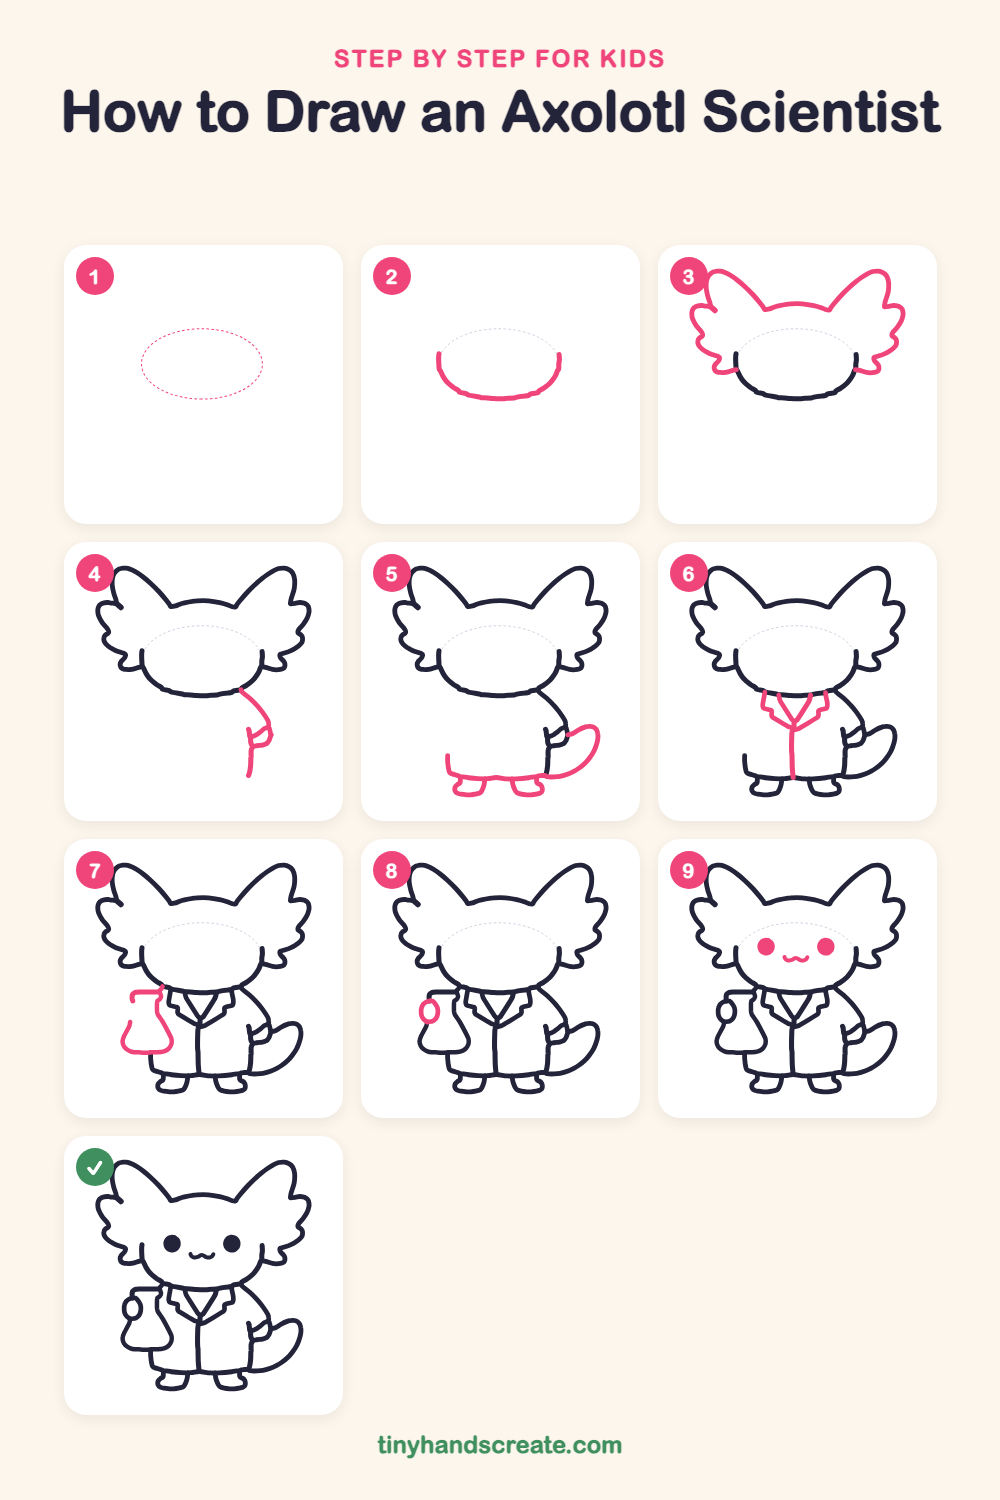
Step 1: Guide shapes
Lightly sketch this oval. It only shows where the big parts go, so press softly. You will erase it at the end.
Step 2: The head
Draw a curved line like the bottom of a bowl for the cheeks and chin. Start on the left side, curve down and around, and stop on the right side, leaving the top open.
Step 3: The frills
Draw a big bumpy frill on each side of the head that sticks up and out like a leafy ear. Start at the top of the head, curve out in wavy bumps, and end by tucking back in next to the cheek. Make the second one match.
Step 4: Coat side and sleeve
Start at the right side of the chin and draw a long curve down and out for the shoulder. Finish with a small cuff for the sleeve, then draw a short line straight down from the cuff.
Step 5: Hem, feet and tail
Draw a wavy line across the bottom for the hem of the coat, starting on the left. Add two little rounded feet under the hem. Then draw a curvy paddle tail that sweeps out from the right side of the coat.
Step 6: Collar and coat front
Draw a V in the middle of the chest, just under the chin. Add a little pointy collar flap on each side of the V. Then draw a straight line from the point of the V down to the hem.
Step 7: The flask
On the left side of the coat, draw a flask with a skinny neck on top and a wide, rounded bottom. Add a small flat rim across the top of the neck.
Step 8: The holding hand
Draw a small oval on the left side of the flask for the hand that holds it.
Step 9: Eyes and smile
Draw two round dots for eyes, spaced apart in the middle of the face. Between them, a little lower, add a tiny wavy smile.
All done!
Erase the guide shapes, go over your lines, then color it in.
Finished your axolotl scientist? Keep the pencils out and learn how to draw a fox or how to draw a hedgehog next.
Tips for drawing an axolotl scientist
- The frills are the trickiest part. Draw one bump at a time, and make the left and right sides about the same size.
- For the flask, draw the skinny neck first, then curve out to a wide, rounded bottom.
- Draw the head and frills first and the coat second, so the coat tucks neatly under the chin.
Free axolotl scientist coloring page
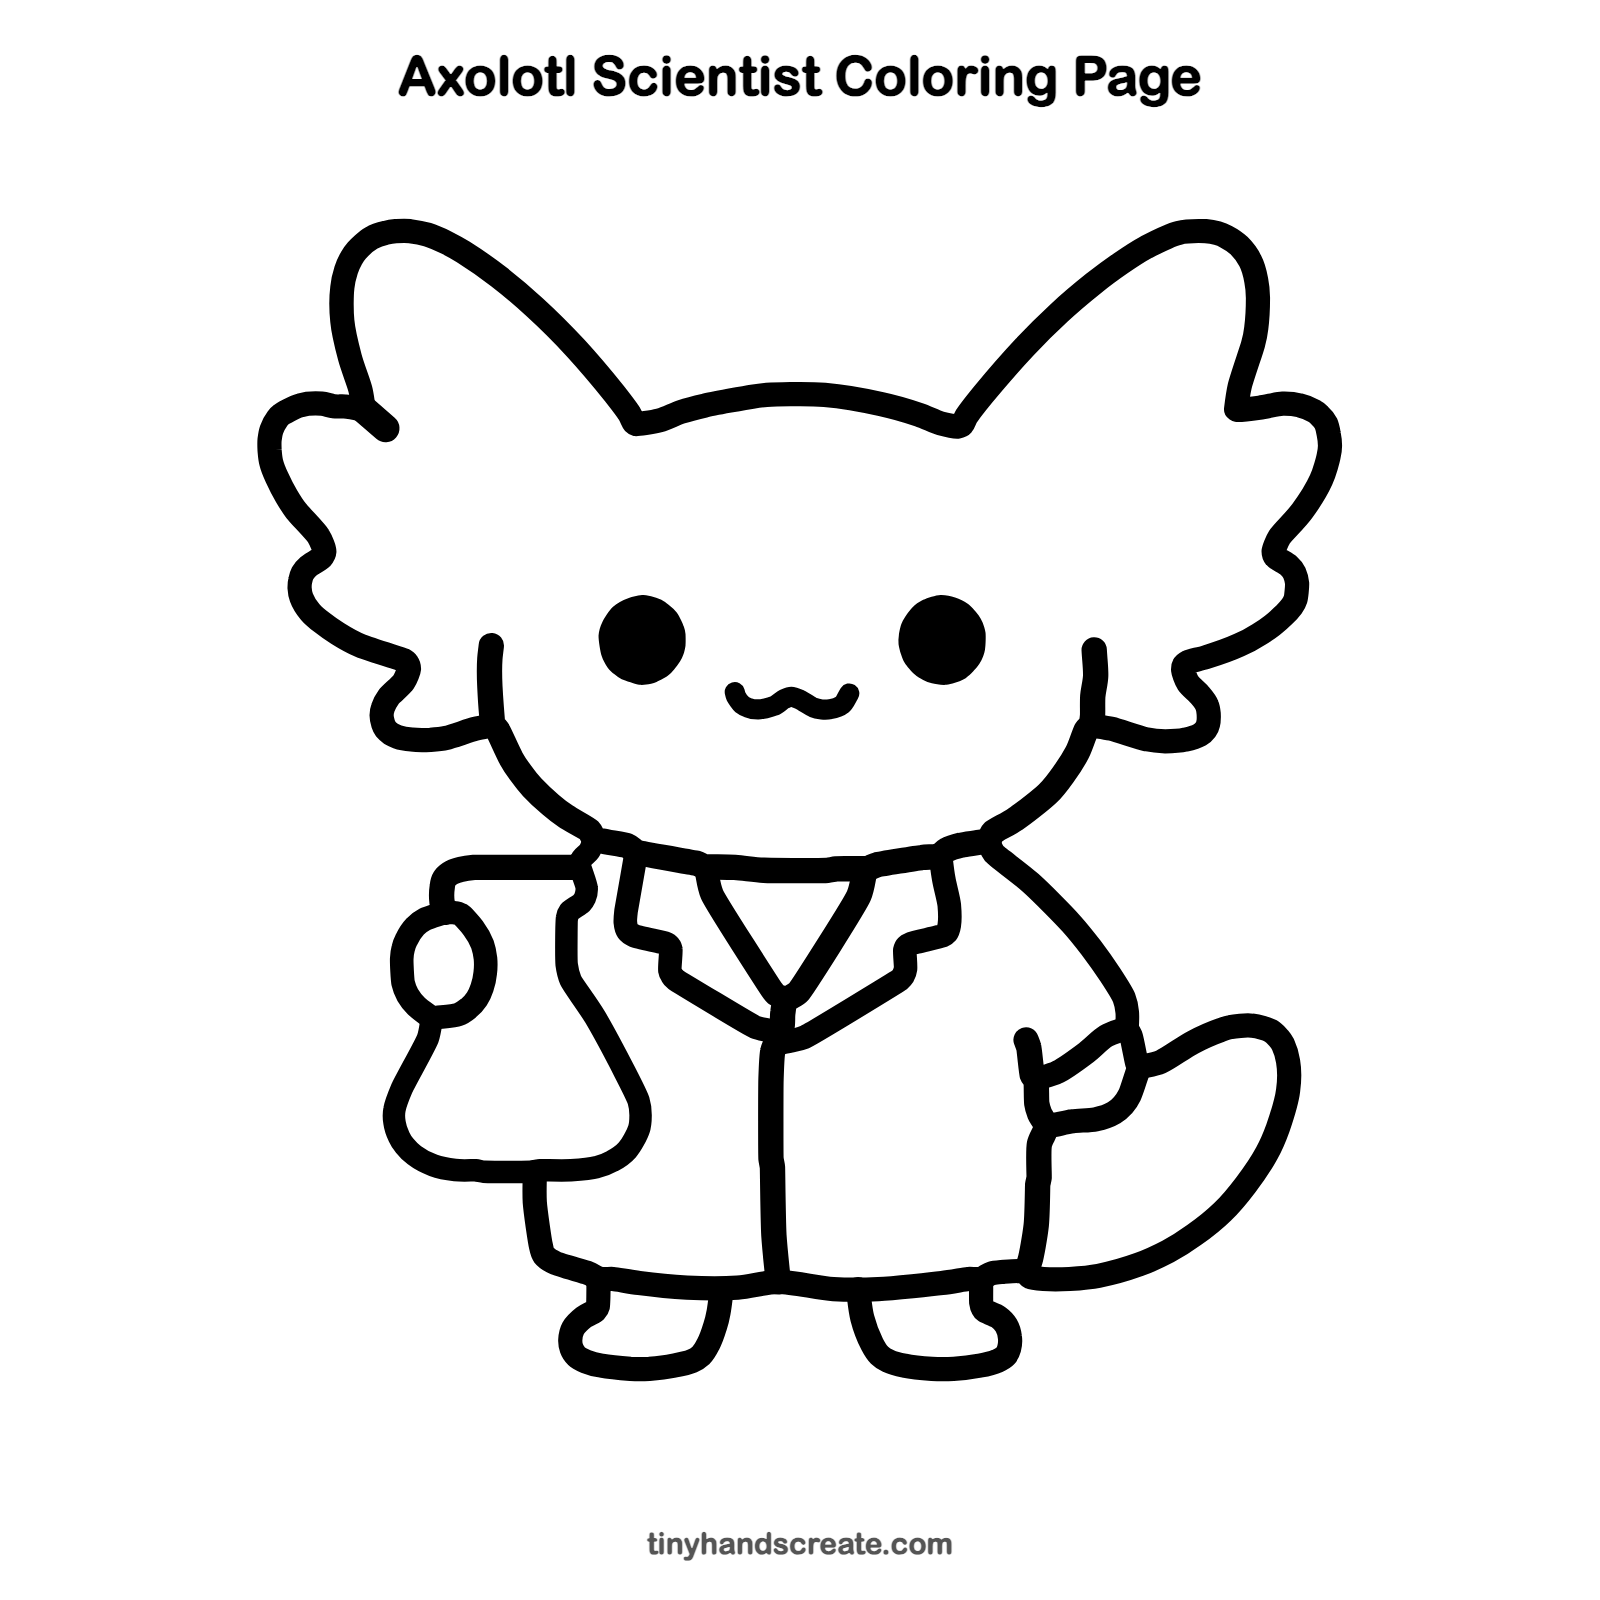
Want to go straight to coloring? Open this axolotl scientist coloring page at full size and print it. It is the same drawing you just learned, with clean lines ready for crayons or markers.
How to color your axolotl scientist drawing
Try pink for the axolotl's skin and frills, a white coat, and a light blue flask. For a creative twist, color the flask a bright glowing green.
Axolotl scientist fun fact for kids
Axolotls can regrow lost body parts, such as legs and even parts of their heart and brain. Scientists around the world study them to learn how that works.
Questions about drawing an axolotl scientist
What shapes do I need to draw an axolotl scientist?
You need a rounded bowl shape for the head, bumpy leaf shapes for the frills, and a long curve for the coat. The flask is a rounded bottle with a skinny neck.
How do I make my axolotl look cuter?
Place the eyes wide apart and keep the smile very small. Big round frills also make it look extra friendly.
How do I draw the lab coat?
Draw a V in the middle of the chest, then add a little pointy collar flap on each side. A straight line down the middle shows where the coat opens.