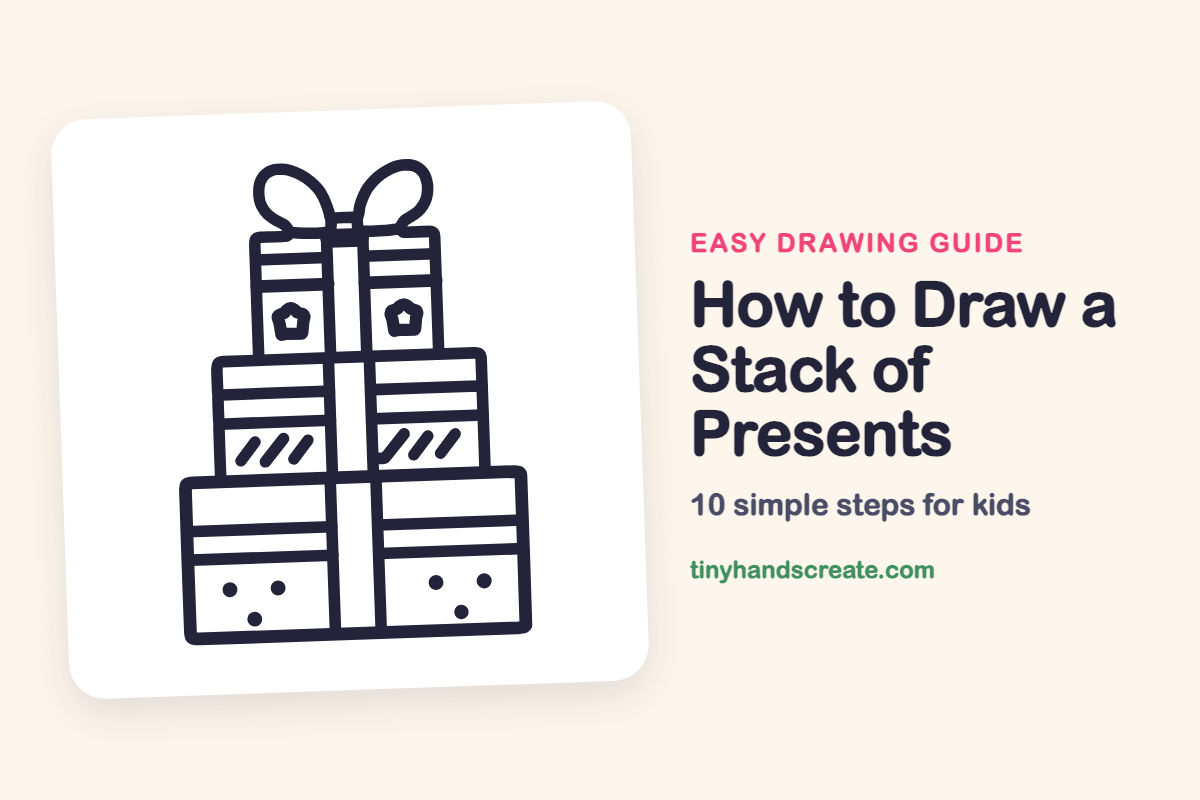
How to Draw a Stack of Presents (Easy Step by Step)
A stack of presents is a great first drawing because it is made almost entirely of rectangles. You stack three boxes from big to small, then add a ribbon, a bow, and fun patterns to make each one special.
- Easy
- 15 minutes
- 10 steps
You need: paper, a pencil, an eraser, and crayons or markers for coloring.
Start drawingIn this article (7 sections)
How to draw a stack of presents step by step
How to Draw a Stack of Presents · tinyhandscreate.com
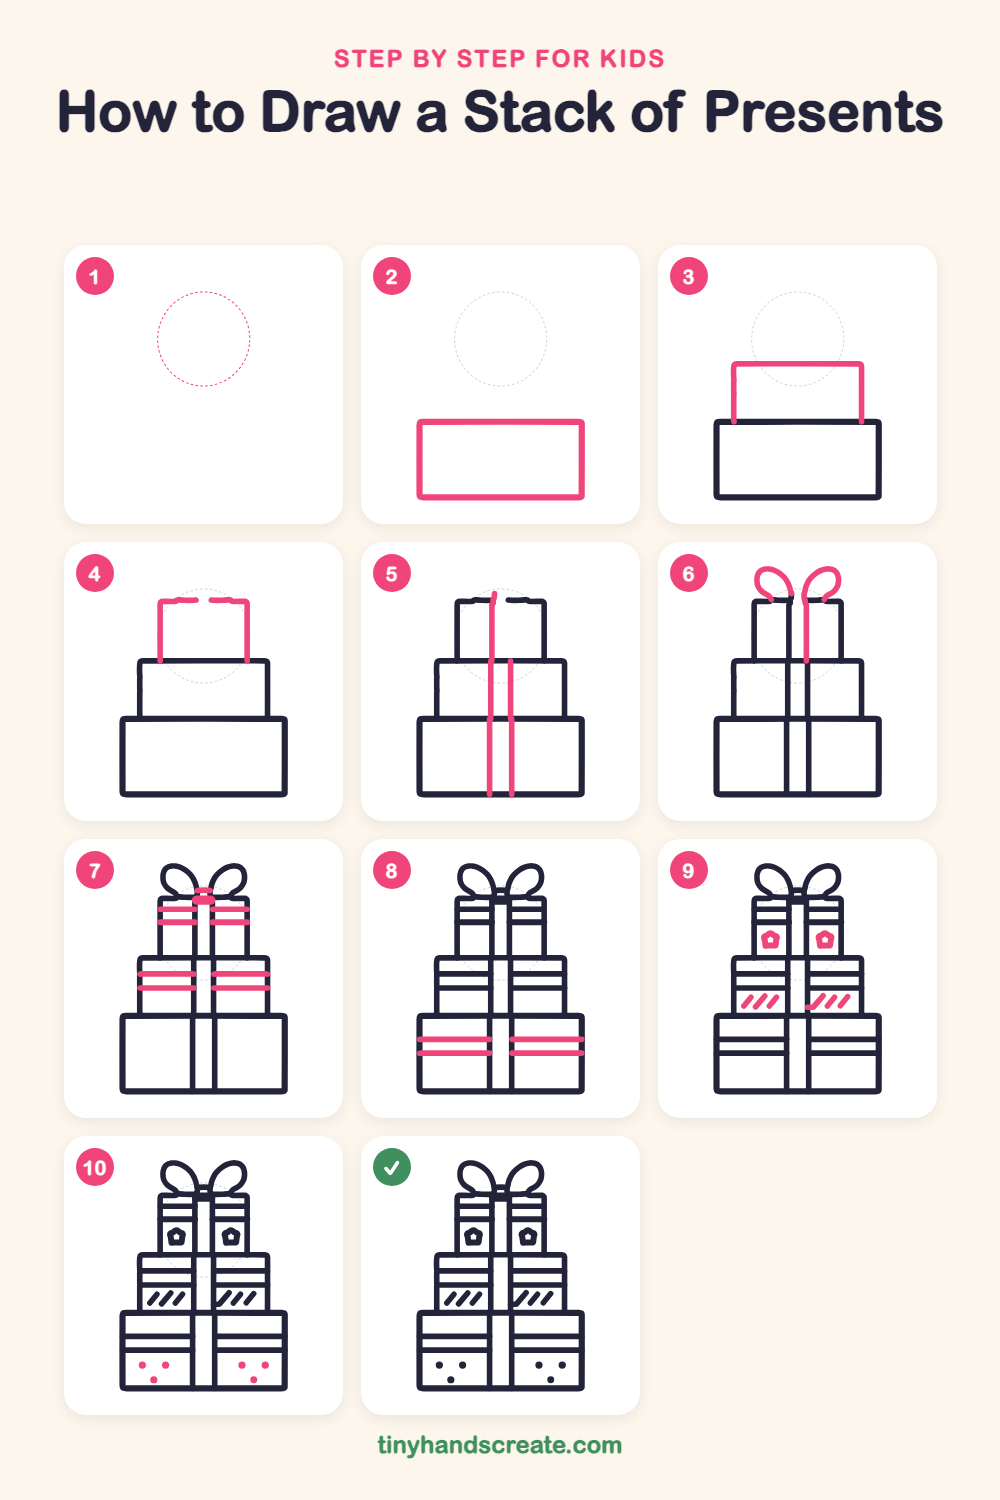
Step 1: Guide shapes
Lightly sketch this oval. It only shows where the big parts go, so press softly. You will erase it at the end.
Step 2: The big bottom box
Draw a wide rectangle near the bottom of the page. This is the biggest present, so leave room above it for two more.
Step 3: The middle box
Draw a smaller rectangle sitting on top of the big box. Its sides should start a little in from the edges of the bottom box.
Step 4: The top box
Draw the smallest box on top of the middle box, centered above it. Draw two short sides going up and a top edge across, leaving a small gap in the top edge for the bow to come later.
Step 5: Ribbons down the middle
On each box, draw two straight lines going from top to bottom, close together in the center. Keep them lined up from box to box so the ribbon looks like one long strip.
Step 6: The two bow loops
On top of the little box, draw two loops that look like rounded teardrops, one leaning left and one leaning right. Start each loop at the center of the top edge and curve it up and outward.
Step 7: Knot and top stripes
Draw a small knot where the two loops meet at the top of the ribbon. Then draw two short straight lines across each side of the top box, and two across each side of the middle box.
Step 8: Stripes on the big box
Draw two long straight lines across each side of the bottom box, starting at the box edge and stopping just before the ribbon.
Step 9: Stars and slashes
On each side of the top box, draw a small rounded star shape with a tiny star inside it. On the middle box, add three slanted lines on each side, like a row of leaning sticks.
Step 10: Polka dots
Near the bottom of each side of the big box, draw three round dots in a triangle shape: two on top and one below.
All done!
Erase the guide shapes, go over your lines, then color it in.
Finished your stack of presents? Keep the pencils out and learn how to draw a Christmas llama or how to draw a candy cane heart next.
Tips for drawing a stack of presents
- Draw the three boxes first and make each one narrower than the box below it. This gives you the stepped, stacked shape.
- Line up the ribbon on all three boxes in the center. Use the middle of the top box as your guide and draw straight down.
- Make the two bow loops about the same size. Draw the left one, then copy it on the right side so they match.
Free stack of presents coloring page
Want to go straight to coloring? Open this stack of presents coloring page at full size and print it. It is the same drawing you just learned, with clean lines ready for crayons or markers.
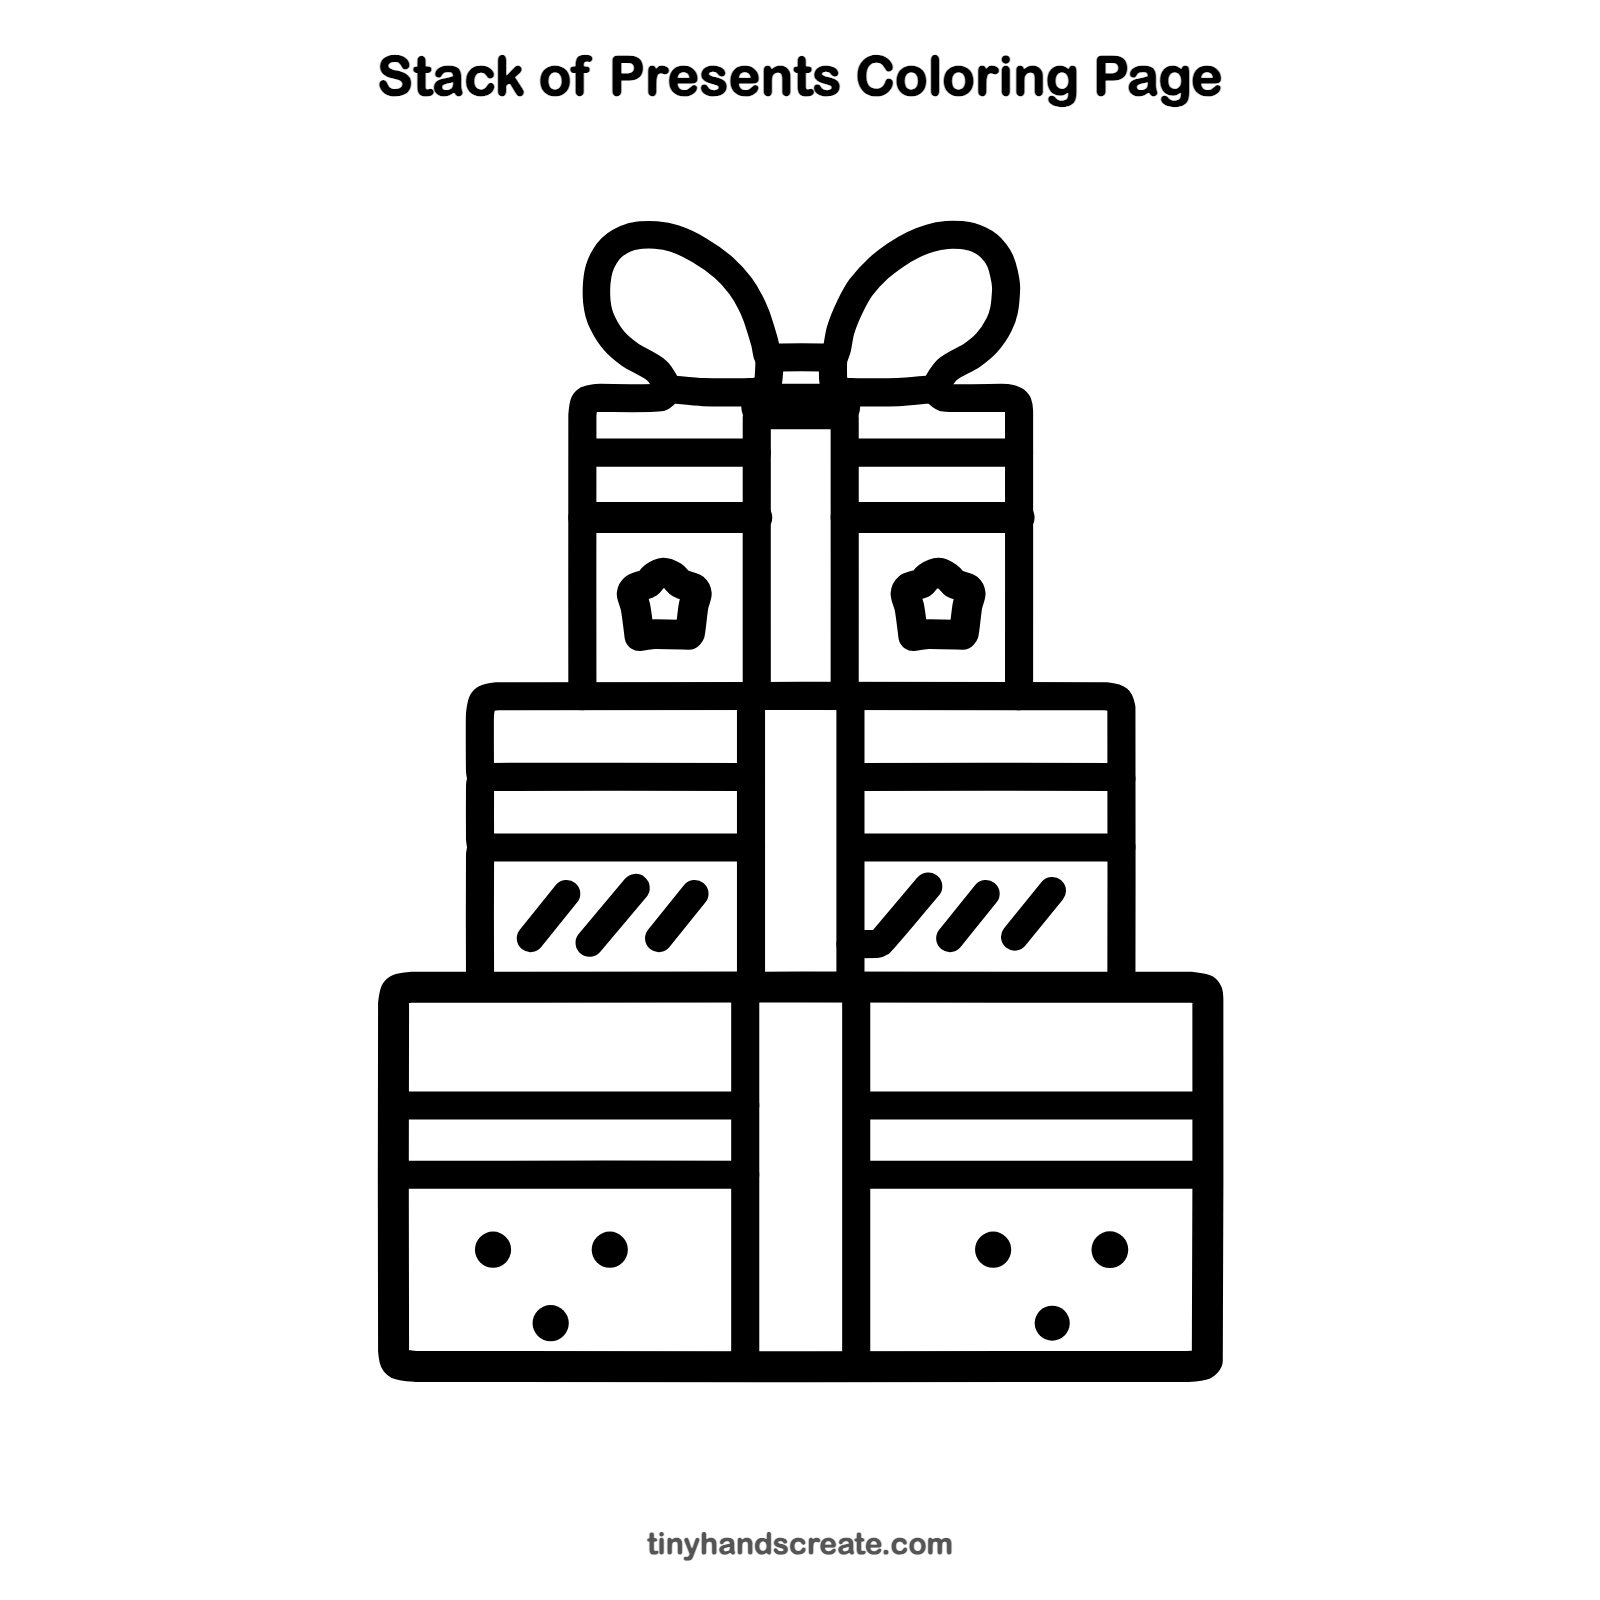
How to color your stack of presents drawing
Try a different color for each box, like red, green, and blue, with a bright ribbon that runs through all three. Give the stripes, stars, slanted lines, and dots their own colors so each box has its own pattern.
Stack of presents fun fact for kids
In 1917, the Hall brothers in Kansas City ran out of plain tissue paper at their card shop and sold fancy envelope liners as gift wrap instead. People liked it so much that decorated wrapping paper caught on.
Questions about drawing a stack of presents
What shapes do I need to draw a stack of presents?
You need rectangles for the boxes, rounded loops for the bow, and small circles for the dots. Straight lines make the ribbon and stripes, and small stars and short slanted lines add the finishing touches.
How do I make my presents look stacked?
Make each box a little smaller than the one beneath it and sit it right on top. Keep all the boxes centered so they line up.
How do I draw a bow that looks good?
Start with two rounded loops that lean away from each other, both starting at the center of the top box. Then add a small knot where they meet in the middle.