How to Draw a Spider in a Witch Hat (Easy Step by Step)
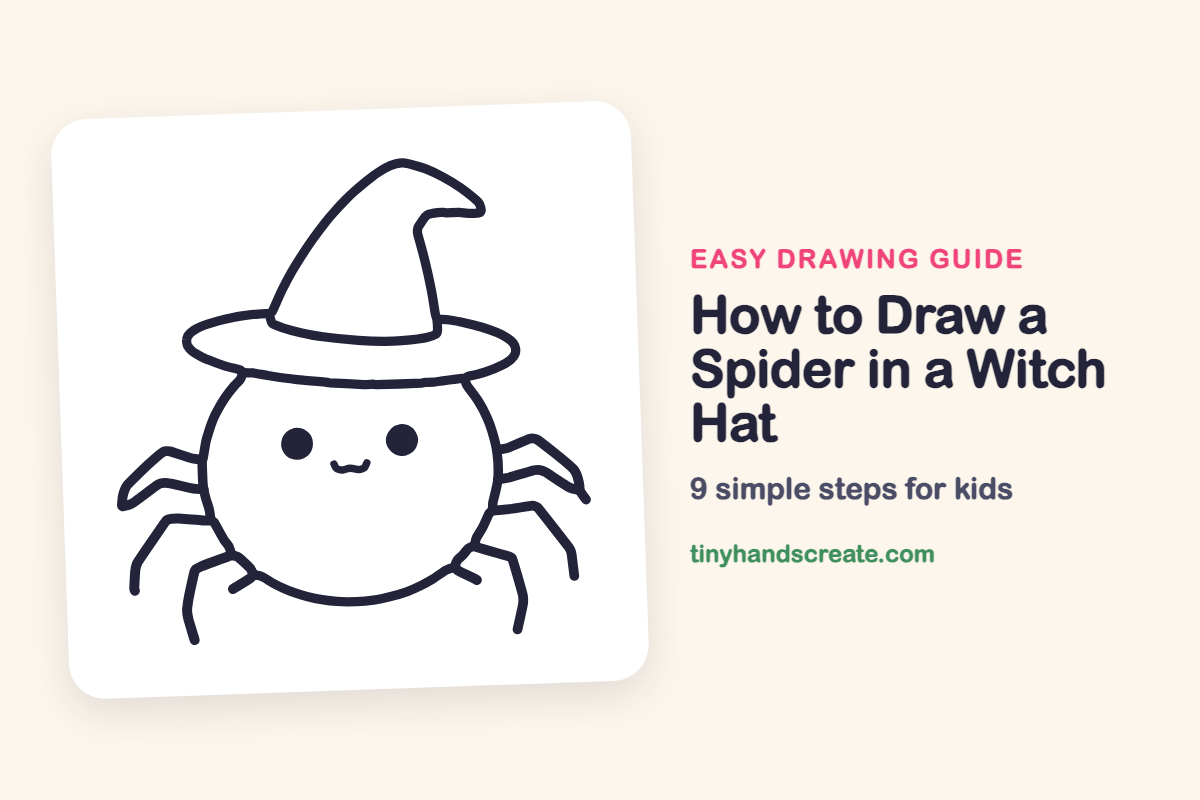
A little spider wearing a pointy witch hat is a perfect Halloween drawing. It is built from simple shapes: a big circle for the body, an oval for the hat brim, a cone for the hat, and bendy lines for the legs. Even beginners can make it look cute.
- Easy
- 10 minutes
- 9 steps
You need: paper, a pencil, an eraser, and crayons or markers for coloring.
Start drawing
In this article (7 sections)
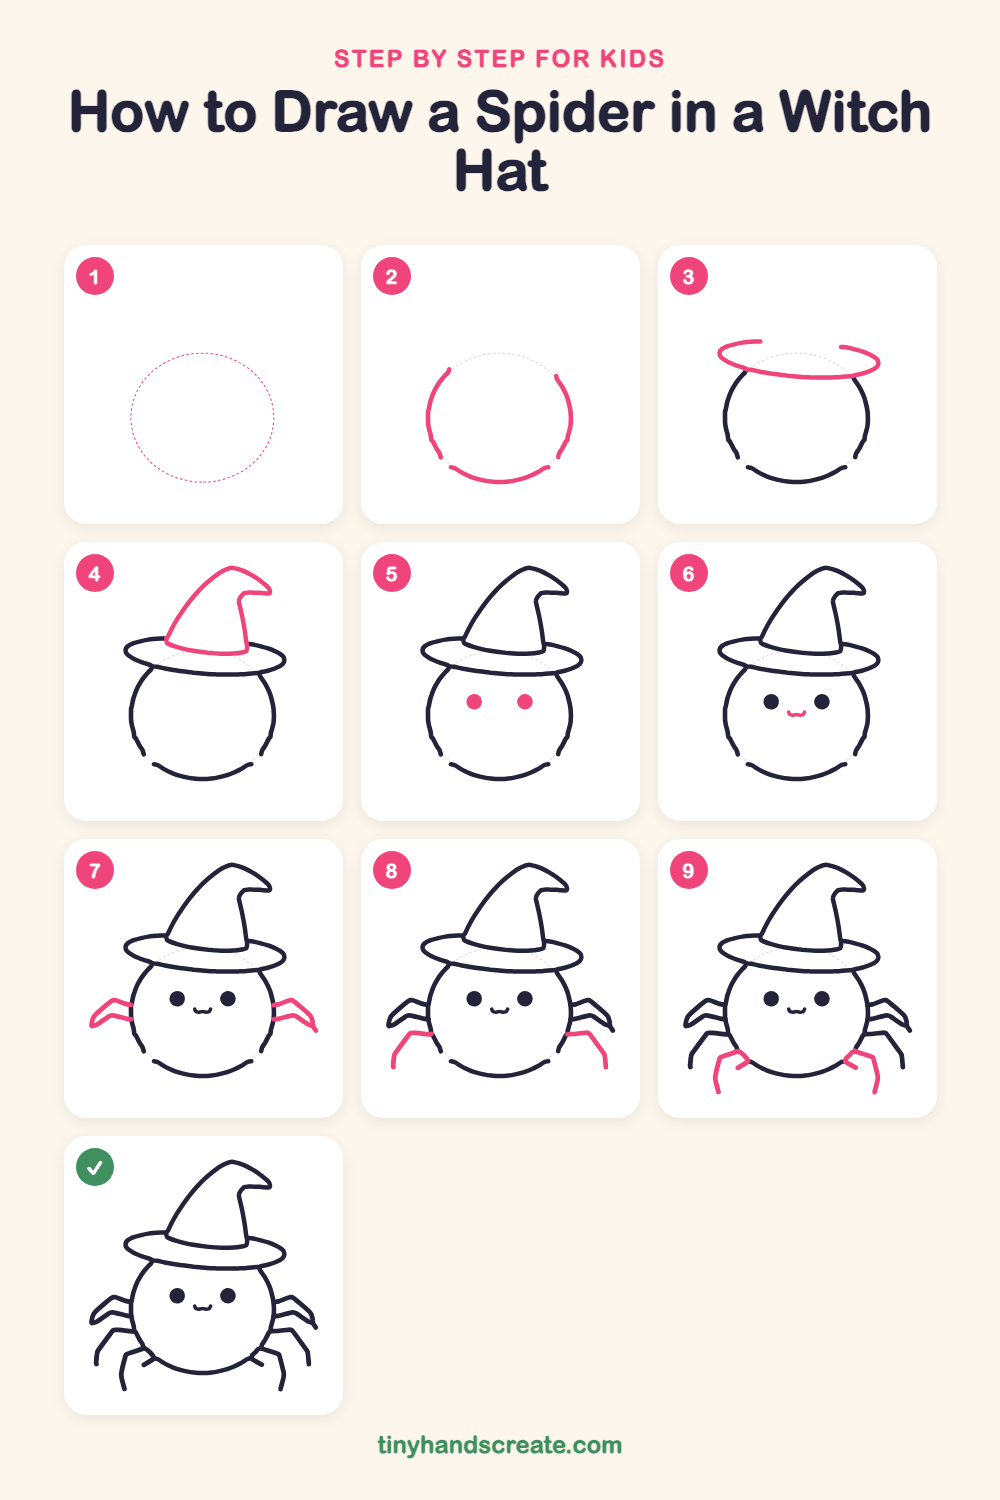
How to draw a spider in a witch hat step by step
How to Draw a Spider in a Witch Hat · tinyhandscreate.com
Step 1: Guide shapes
Lightly sketch this oval. It only shows where the big parts go, so press softly. You will erase it at the end.
Step 2: The round body
Draw a big circle in the middle of your page, a little wider than it is tall. Leave a gap at the top, because the hat will cover it.
Step 3: The hat brim
Draw a wide, flat oval across the top of the body, like a squashed circle. It should sit on the head like a saucer.
Step 4: The pointy hat
On top of the brim, draw a tall cone that starts at the left side of the brim and curves up to a point. Bend the tip over to one side, then come back down and curve the bottom of the cone along the brim.
Step 5: Two round eyes
Draw two big round dots for eyes in the middle of the face. Fill them in solid so they look shiny and bold.
Step 6: A tiny smile
Between and below the eyes, draw a small wavy smile, like a little curvy w. It will make your spider look friendly.
Step 7: The top legs
On each side of the body, draw a pair of bent legs that start at the body and angle up and out. Join their ends so each pair makes a pointy loop.
Step 8: The middle legs
Under the top legs, draw one long leg on each side. Start at the body, go out sideways, then bend down with a straight line.
Step 9: The bottom legs
Near the bottom of the body, draw the last leg on each side. Make it bend like an elbow and point down. Then add a short little line beside each one, tucked under the body.
All done!
Erase the guide shapes, go over your lines, then color it in.
Finished your spider in a witch hat? Keep the pencils out and learn how to draw a menorah or how to draw a dreidel next.
Tips for drawing a spider in a witch hat
- Draw the circle body first and lightly, then place the hat over it. If the brim covers the top of the circle, the hat will look like it is really sitting on the head.
- The legs are the trickiest part. Make each one with two or three straight lines that bend at the elbows, and try to keep both sides about the same length.
- For the top legs, draw both lines from the body first, then close them at the tip. This makes a neat pointy loop that is easy to copy on the other side.
Free spider in a witch hat coloring page
Want to go straight to coloring? Open this spider in a witch hat coloring page at full size and print it. It is the same drawing you just learned, with clean lines ready for crayons or markers.
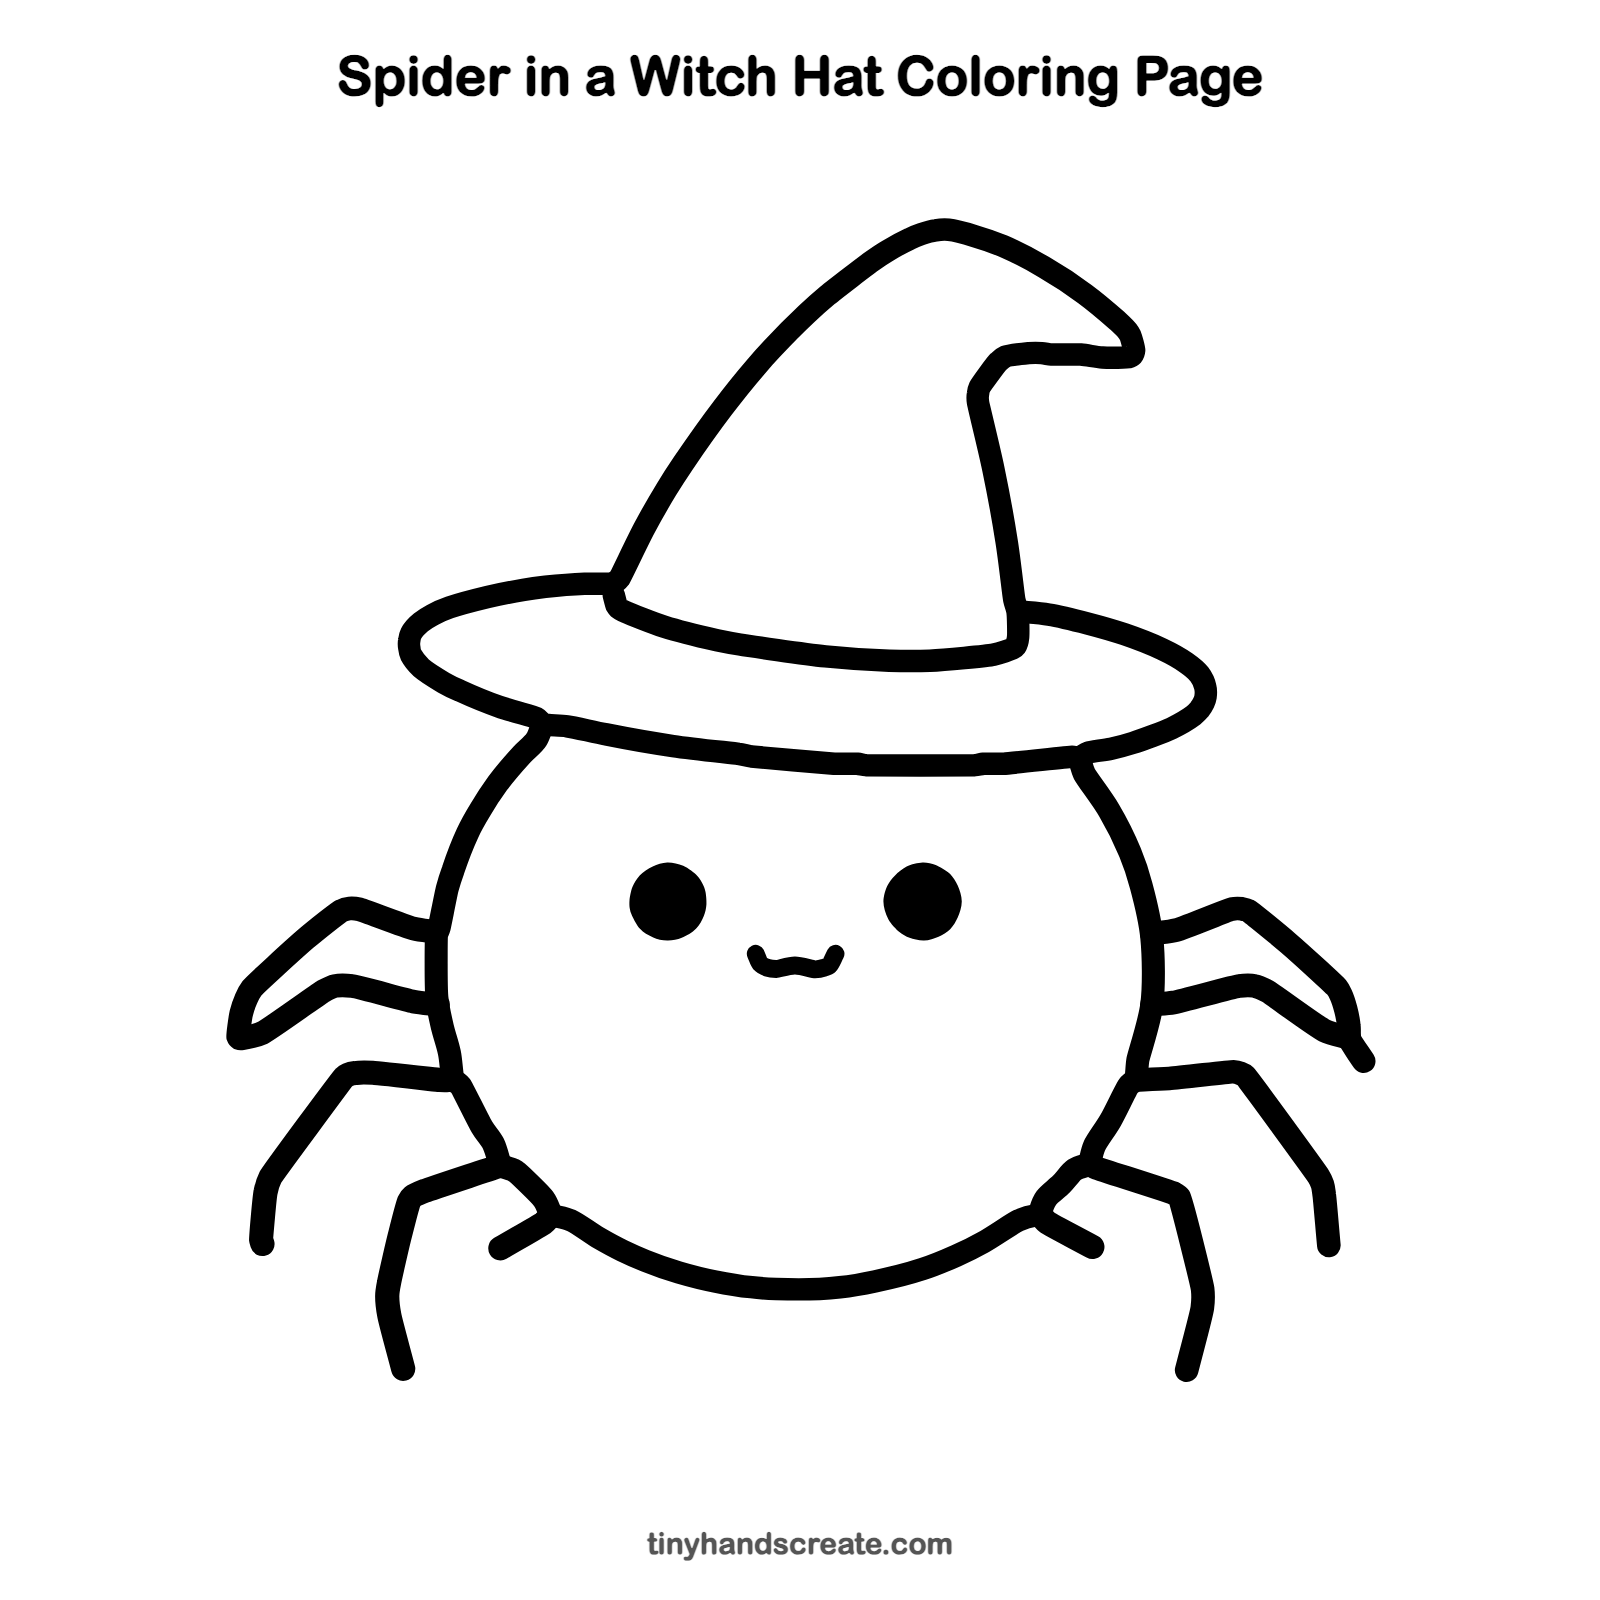
How to color your spider in a witch hat drawing
Try a purple hat and a black or dark gray spider with bright dots for eyes. For a creative twist, give the spider a rainbow of colors on its legs, one color per leg.
Spider in a witch hat fun fact for kids
Spiders have eight legs, and insects only have six. That is one way to tell a spider from an insect. Most spiders also have eight eyes, though our friendly one only needs two.
Questions about drawing a spider in a witch hat
What shapes do I need to draw a spider in a witch hat?
You need a big circle for the body, a flat oval for the hat brim, and a cone for the pointy hat. The legs are just bent lines.
How do I make my spider look cuter?
Draw big round eyes and a tiny smile close together in the middle of the face. A bent hat tip also adds a lot of charm.
How many legs does a spider have?
A spider has eight legs, four on each side. In this drawing each side has a pointy top pair, a middle leg and a bottom leg, plus a short little line tucked under the body.