How to Draw a Ranunculus (Easy Step by Step)
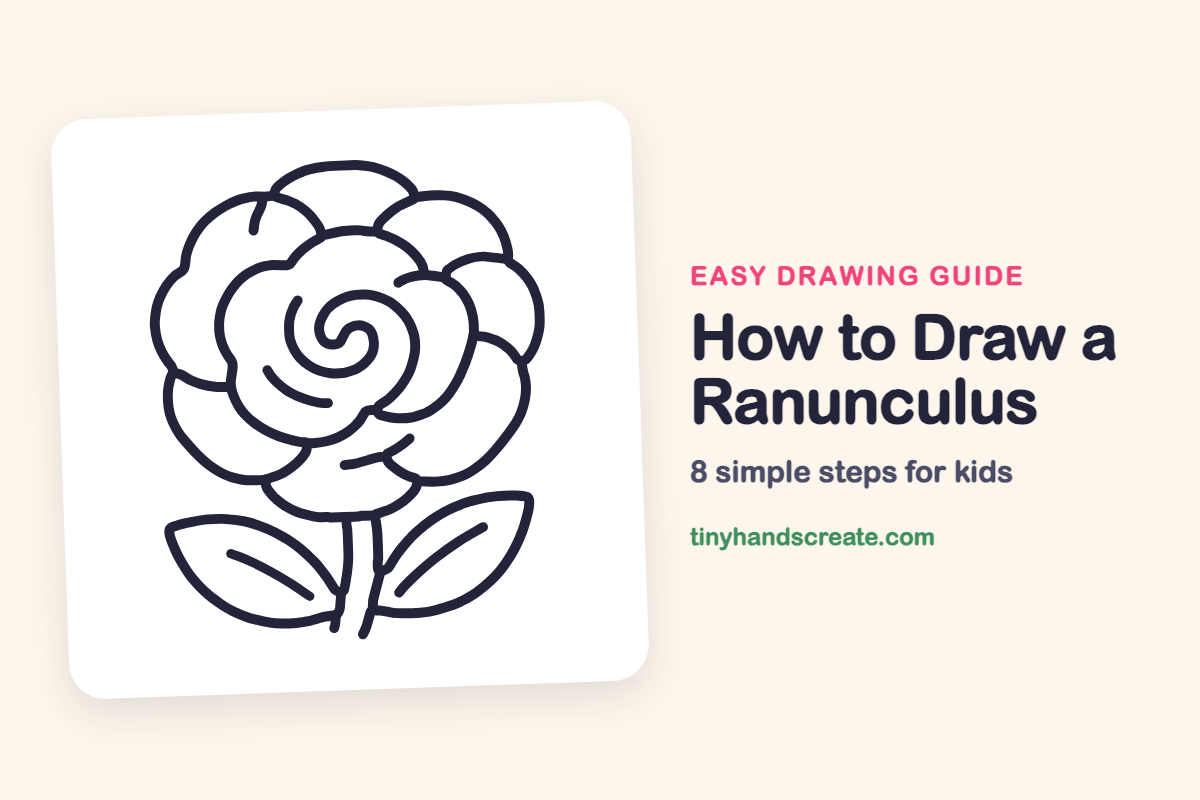
A ranunculus looks fancy, but it is really just a pile of round, bumpy petals wrapped around a swirl. You will use a curvy cloud shape, a spiral, and two pointy leaf shapes. Every petal tucks behind the one before it, so it is easy to build one piece at a time.
- Medium
- 15 minutes
- 8 steps
You need: paper, a pencil, an eraser, and crayons or markers for coloring.
Start drawing
In this article (7 sections)
How to draw a ranunculus step by step
How to Draw a Ranunculus · tinyhandscreate.com
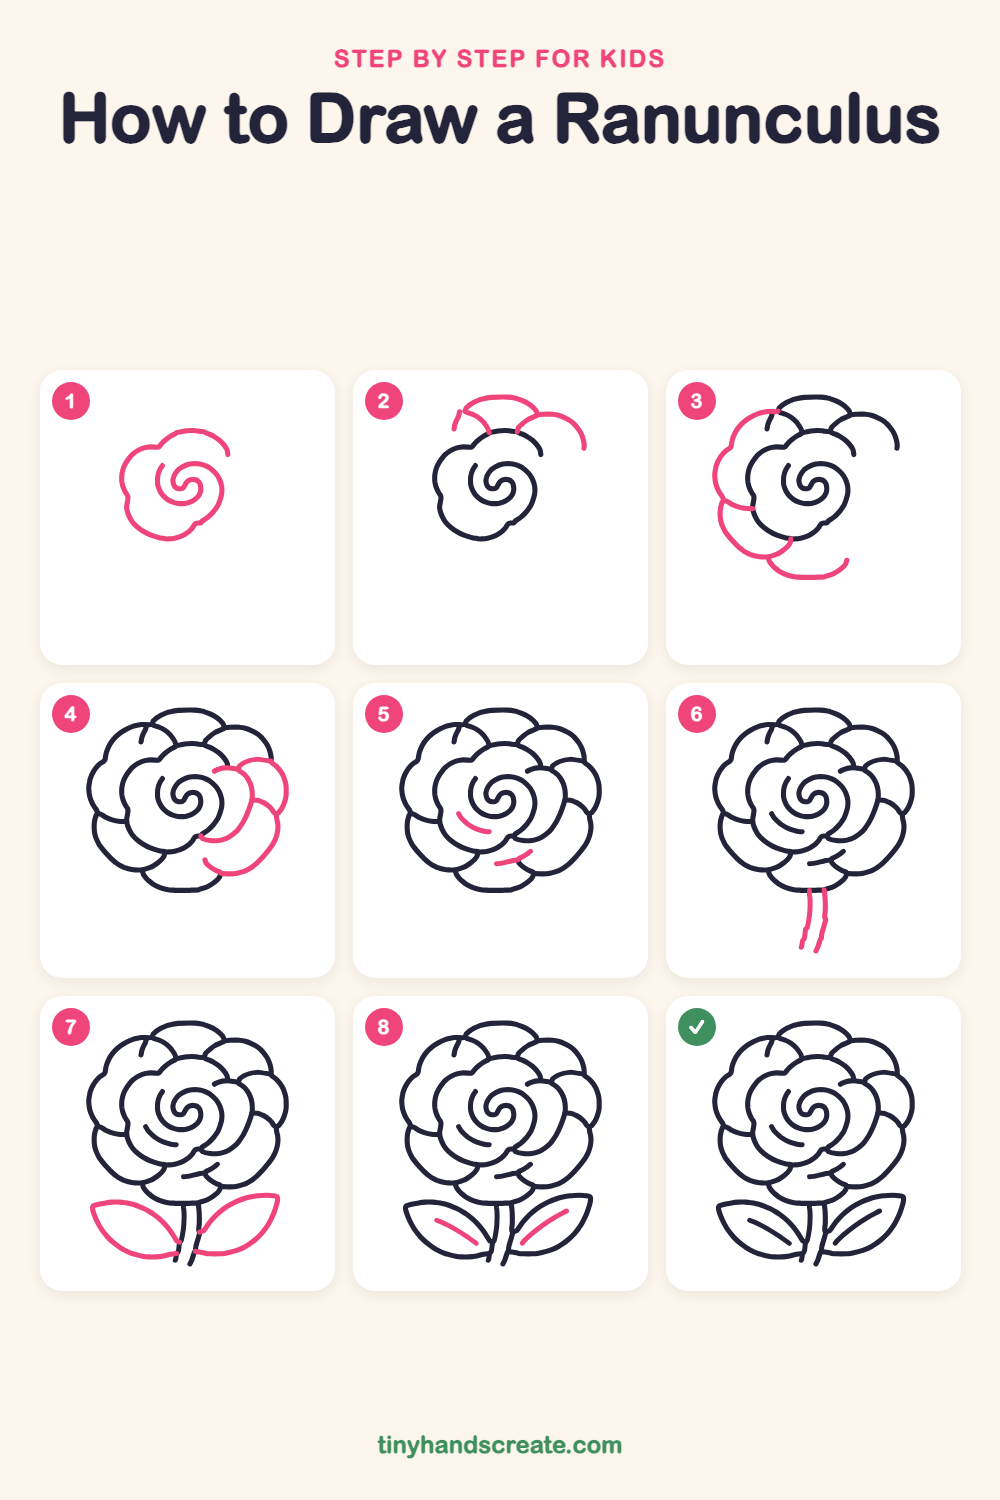
Step 1: The center bloom
Start in the middle of your paper with a big, bumpy cloud shape for the heart of the flower. Then draw a spiral inside it, curling in like a snail shell.
Step 2: Top petals
Draw two round petal curves peeking out above the center, one on the top left and one on the top right. Add a tiny curved line at the left end of the left petal.
Step 3: Left and bottom petals
Add soft, rounded petals down the left side, hugging the center bloom. Finish with a wide, curved petal underneath, like a smile.
Step 4: Right petals
Draw rounded petals down the right side, each one tucked a little behind the one before it. Start each curve where the last petal ends so they overlap.
Step 5: Swirl lines
Add two short, curved lines inside the flower: one to the left of the spiral and one near the bottom petals. These little curves make the flower look soft and layered.
Step 6: The stem
Draw two long, slightly wavy lines going down from the bottom petal, close together, to make a skinny stem. Let them end near the bottom of the page.
Step 7: Two leaves
Draw a leaf on each side of the stem, shaped like a pointy lemon. Start each one at the stem and curve up and out to a point.
Step 8: Leaf veins
Draw one slightly curved line down the middle of each leaf. Start near the pointy tip and stop before you reach the stem.
All done!
Go over your lines with a marker, then color it in.
Finished your ranunculus? Keep the pencils out and learn how to draw a mushroom or how to draw a sunflower next.
Tips for drawing a ranunculus
- Draw the spiral in the center slowly, curling inward. If it gets crowded, make the last turn a little smaller and stop.
- Let petals overlap. Start each new petal line right where the last one ends so it looks tucked behind.
- Make the two leaves about the same size, and let the two stem lines wiggle a little so the flower looks like it is gently swaying.
Free ranunculus coloring page
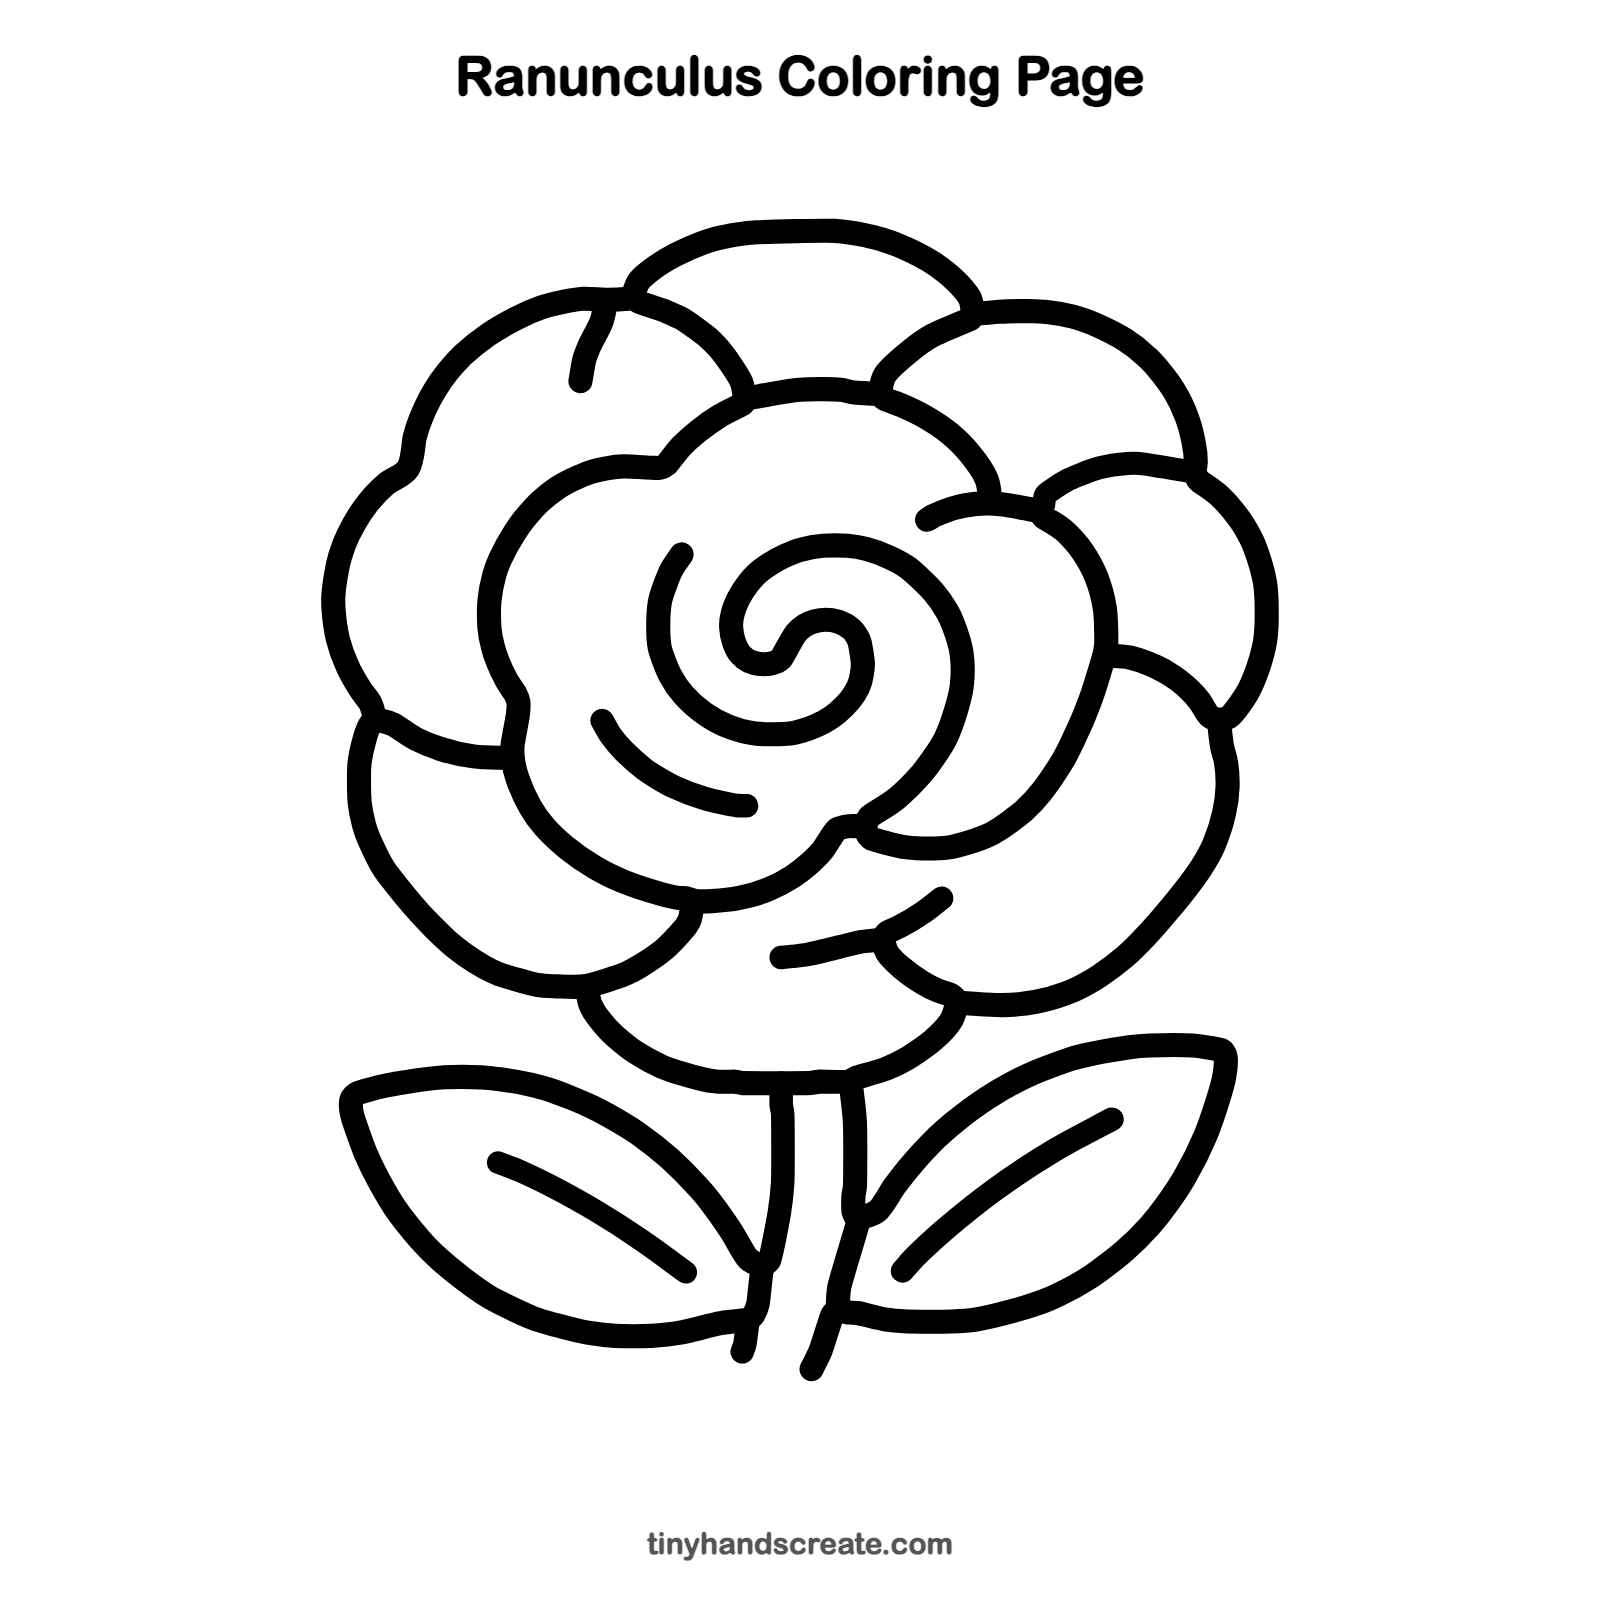
Want to go straight to coloring? Open this ranunculus coloring page at full size and print it. It is the same drawing you just learned, with clean lines ready for crayons or markers.
How to color your ranunculus drawing
Try soft peach, pink, or yellow petals with a deeper shade in the center spiral, and green for the stem and leaves. For a creative twist, color each petal a different shade of one color, like a sunset.
Ranunculus fun fact for kids
The name ranunculus comes from a Latin word meaning "little frog." Many kinds of ranunculus grow in wet places near streams and ponds, where frogs live.
Questions about drawing a ranunculus
What shapes do I need to draw a ranunculus?
You need a bumpy cloud shape for the center, a spiral, and rounded curves for the petals. The leaves are two pointy lemon shapes and the stem is two wavy lines.
How do I make my ranunculus look fuller?
Add more petals around the outside, with each one overlapping the last. The two short curved lines inside the flower also make it look layered.
Is a ranunculus hard to draw?
It looks tricky, but you draw one simple curve at a time. Starting with the center and working outward keeps it easy.