How to Draw a Night Sky (Easy Step by Step)
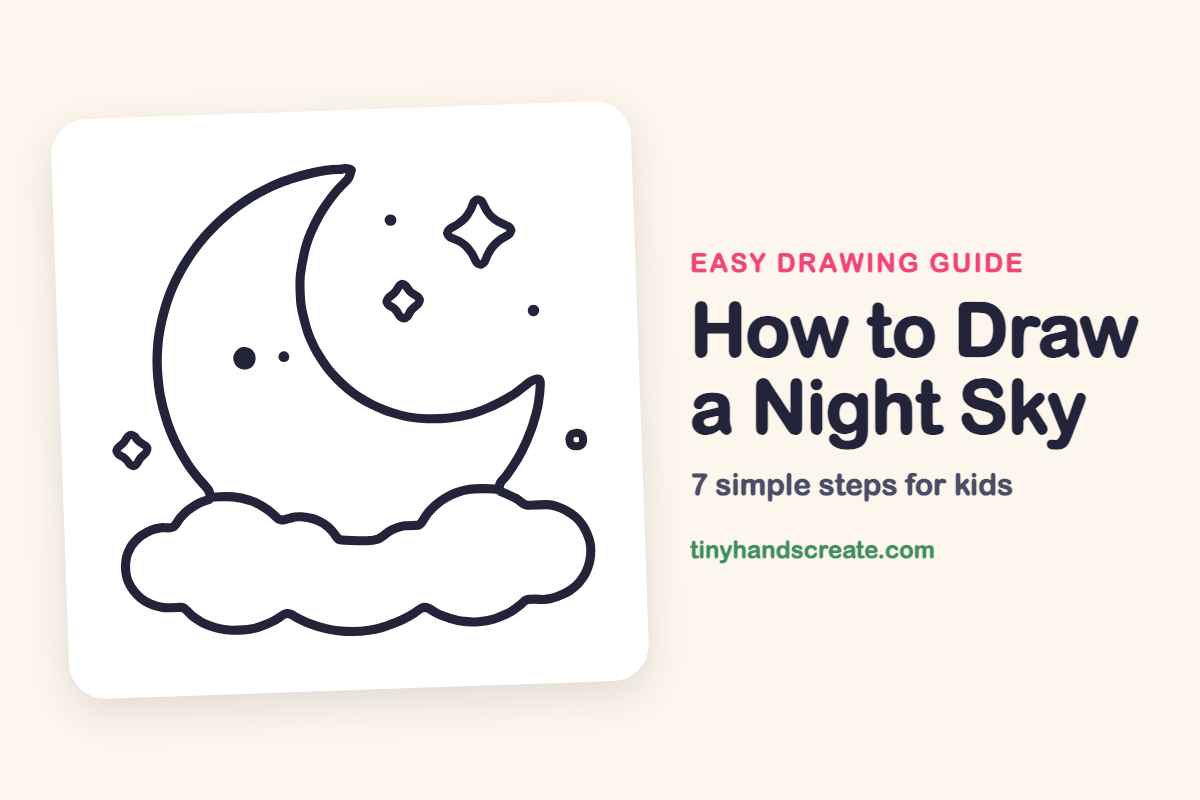
A night sky is a calm, cozy drawing built from just a few simple shapes: a curved crescent, a bumpy cloud, and sparkly stars made from pinched diamonds. It is a great first picture because there are no tricky details, only smooth curves and dots. Once you can draw it, you can make a different sky every time.
- Easy
- 10 minutes
- 7 steps
You need: paper, a pencil, an eraser, and crayons or markers for coloring.
Start drawing


In this article (7 sections)
How to draw a night sky step by step
How to Draw a Night Sky · tinyhandscreate.com
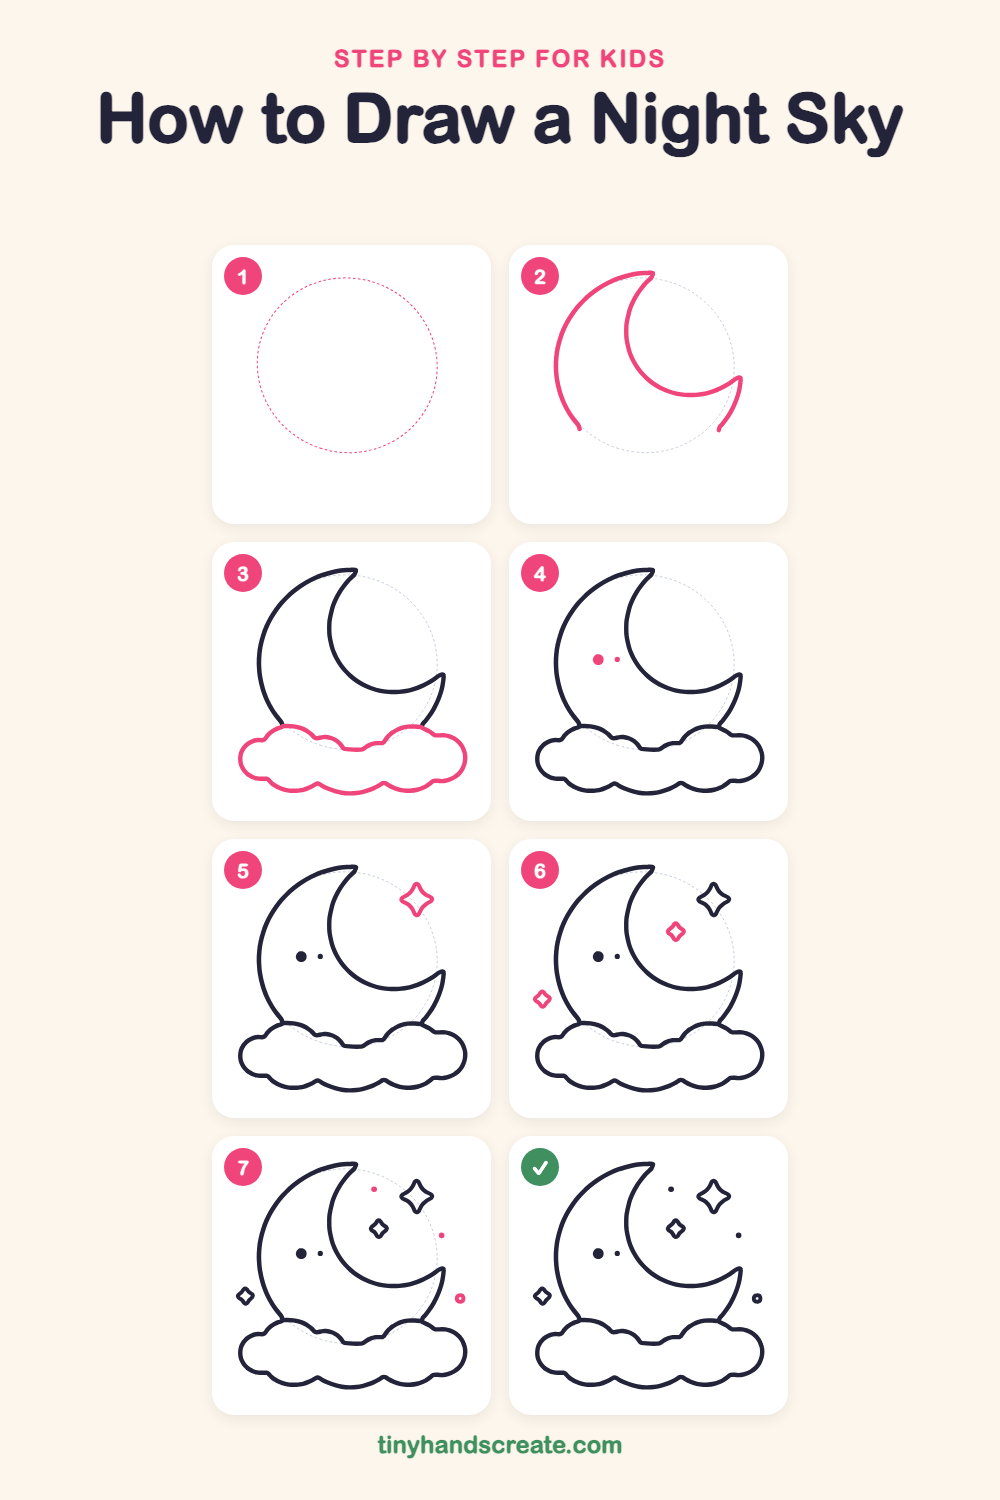
Step 1: Guide shapes
Lightly sketch this oval. It only shows where the big parts go, so press softly. You will erase it at the end.
Step 2: The crescent moon
Start near the top and draw a big curved line down the left side, like the edge of a giant C. Then draw a smaller curve inside it from the same top point, and sweep it down and around to a sharp point at the bottom right to make a crescent.
Step 3: The fluffy cloud
Draw a long, bumpy cloud across the bottom, tucked in front of the moon. Make a row of round bumps along the top and a row of gentle scallops along the bottom, then close the shape on both ends.
Step 4: Moon face dots
Inside the moon, draw one bigger solid dot and one smaller solid dot beside it. They look like a sleepy eye and a tiny cheek.
Step 5: The big star
In the sky to the right of the moon's top, draw a sparkle star with four points: one up, one down, one left and one right. Connect the points with curved lines that bend inward, like a diamond with pinched sides.
Step 6: Two little stars
Draw two more sparkle stars the same way, but smaller. Put a medium one in the curve of the moon below the big star, and a tiny one on the far left, beside the moon.
Step 7: Twinkle dots
Fill the empty sky with tiny dots here and there. Make two small solid dots near the big star, and one little ring like a mini donut near the moon's bottom tip.
All done!
Erase the guide shapes, go over your lines, then color it in.
Finished your night sky? Keep the pencils out and learn how to draw a rocket or how to draw a shooting star next.
Tips for drawing a night sky
- Draw the outside curve of the moon first and take your time, then start the inner curve at the same top point so the two lines meet in a sharp tip.
- For each star, think of four points: up, down, left and right. Then curve the sides inward between them.
- Make the cloud bumps different sizes, with a few big ones and a few small ones, so it looks soft and fluffy instead of like a row of matching circles.
Free night sky coloring page
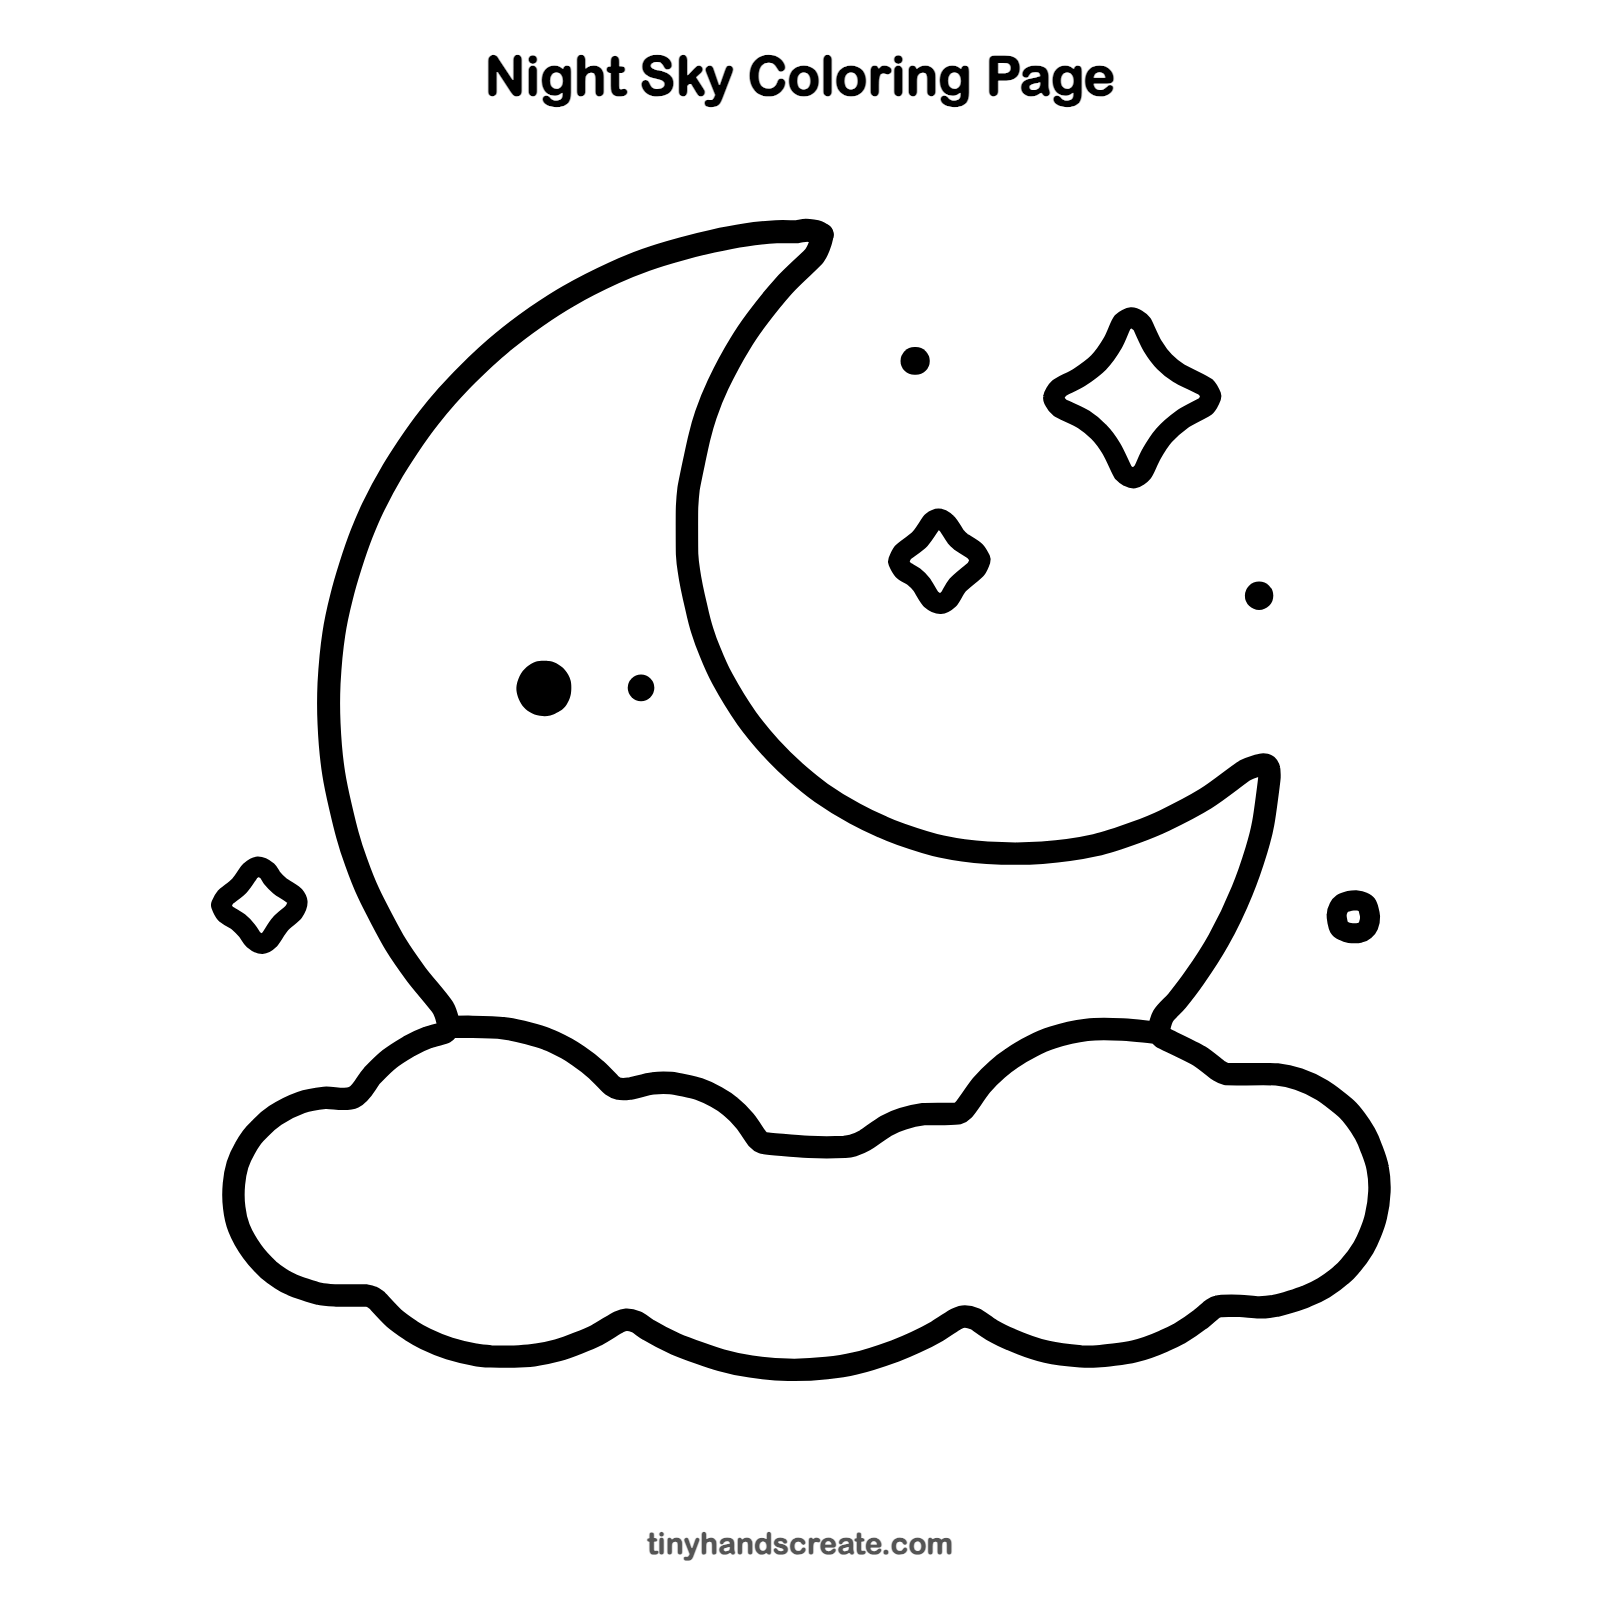
Want to go straight to coloring? Open this night sky coloring page at full size and print it. It is the same drawing you just learned, with clean lines ready for crayons or markers.
How to color your night sky drawing
Try a soft yellow for the moon, light gray or pale blue for the cloud, and bright yellow for the stars, with a deep navy sky around them. For a creative twist, color the sky with a purple to dark blue blend and add glittery dots with a white crayon.
Night sky fun fact for kids
The Moon does not make its own light. It shines because it reflects sunlight, and the part we see changes shape over about a month, from a thin crescent to a full circle and back again.
Questions about drawing a night sky
What shapes do I need to draw a night sky?
You need two curved lines for the crescent moon, a row of round bumps for the cloud, and a four-pointed pinched diamond for each star. Two dots on the moon, a few dots in the sky and a small ring finish the picture.
How do I draw a crescent moon that looks right?
Draw a big C shape first, then draw a smaller curve inside it that starts at the same top point and ends in a sharp tip at the bottom right. The space between the two curves is your crescent.
How do I make my night sky look more magical?
Add more stars in different sizes and sprinkle in tiny dots between them. Coloring the sky dark blue and leaving the stars and moon light makes everything glow.