How to Draw a Mad Hatter Hat (Easy Step by Step)
This post contains affiliate links. As an Amazon Associate I earn from qualifying purchases.
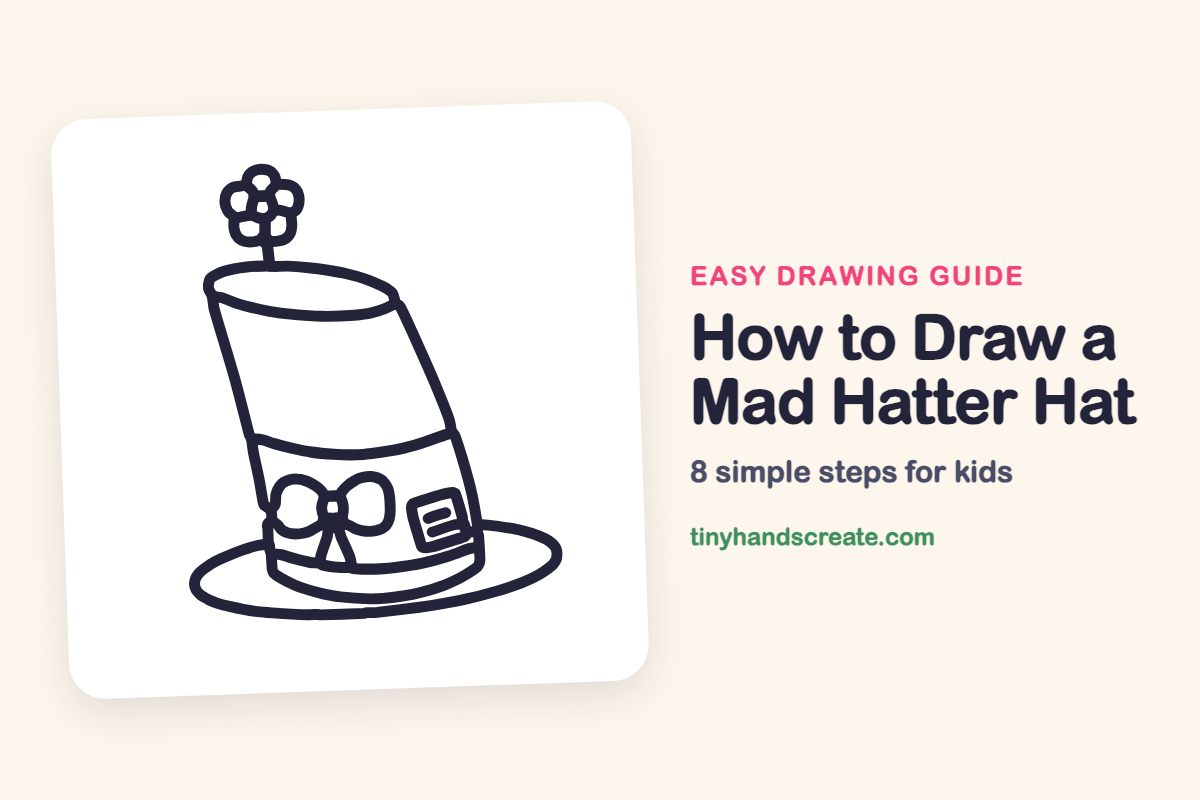
The Mad Hatter's hat is wonky and full of silly details, which makes it a joy to draw. It is built from a tilted tube, ovals for the top and brim, a bow made of two loops, a little price card, and a flower made of circles. Wobbly lines are welcome here, because this hat is supposed to look a little mad.
- Easy
- 15 minutes
- 8 steps
You need: paper, a pencil, an eraser, and crayons or markers for coloring.
Start drawing
In this article (7 sections)
How to draw a mad hatter hat step by step
How to Draw a Mad Hatter Hat · tinyhandscreate.com
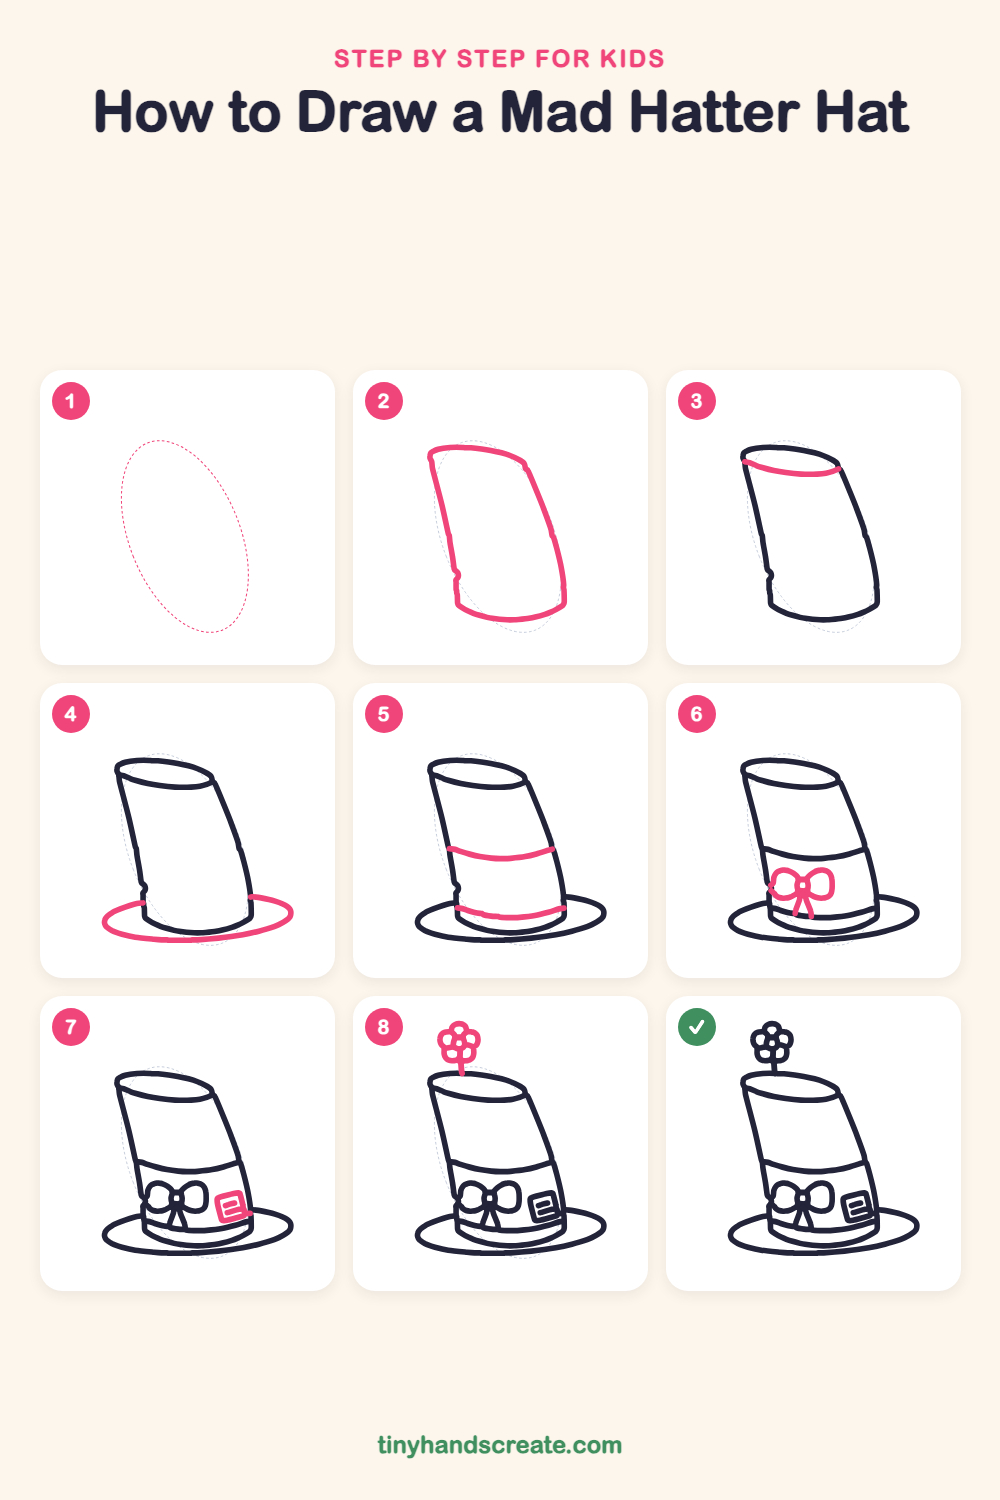
Step 1: Guide shapes
Lightly sketch this oval. It only shows where the big parts go, so press softly. You will erase it at the end.
Step 2: The tilted tube
Draw two long lines that lean a little to the right, like a tipsy chimney. Close the top with a short curved line and join the bottom with a gentle curve.
Step 3: The top opening
Inside the top, draw a curved smile-shaped line from one side to the other. Together with the top edge, it makes an oval opening, like you could peek inside.
Step 4: The wide brim
Draw a big, flat oval around the bottom of the hat. Let the lines stop where they touch the hat on both sides, so the hat sits in the middle of the brim.
Step 5: The hat band
Draw a gently curved line across the hat, about halfway down. Then draw a second curved line near the bottom, just above the brim, to make a wide band.
Step 6: The bow
On the left of the band, draw a small knot. Add a rounded loop on each side of it, like a bow tie, and two short ribbon tails hanging down from the knot.
Step 7: The price card
On the right side of the band, draw a small tilted square. Inside it, add two short lines, like the writing on a tag.
Step 8: The flower on top
Draw a short stem rising from the top opening. At the end, draw a tiny circle and wrap round petals around it, like a little cloud.
All done!
Erase the guide shapes, go over your lines, then color it in.
Finished your mad hatter hat? Keep the pencils out and learn how to draw a wooden puppet boy or how to draw Thumbelina next.
Tips for drawing a mad hatter hat
- Start the hat as a tube that leans to one side. If the two side lines tilt the same way, the whole hat will look wonderfully wonky.
- Draw the brim right after the tube, and stop the brim lines where they touch the hat. This makes the hat look like it sits inside the brim.
- For the bow, draw the small knot first and then add one loop on each side. Try to make both loops about the same size.
Free mad hatter hat coloring page
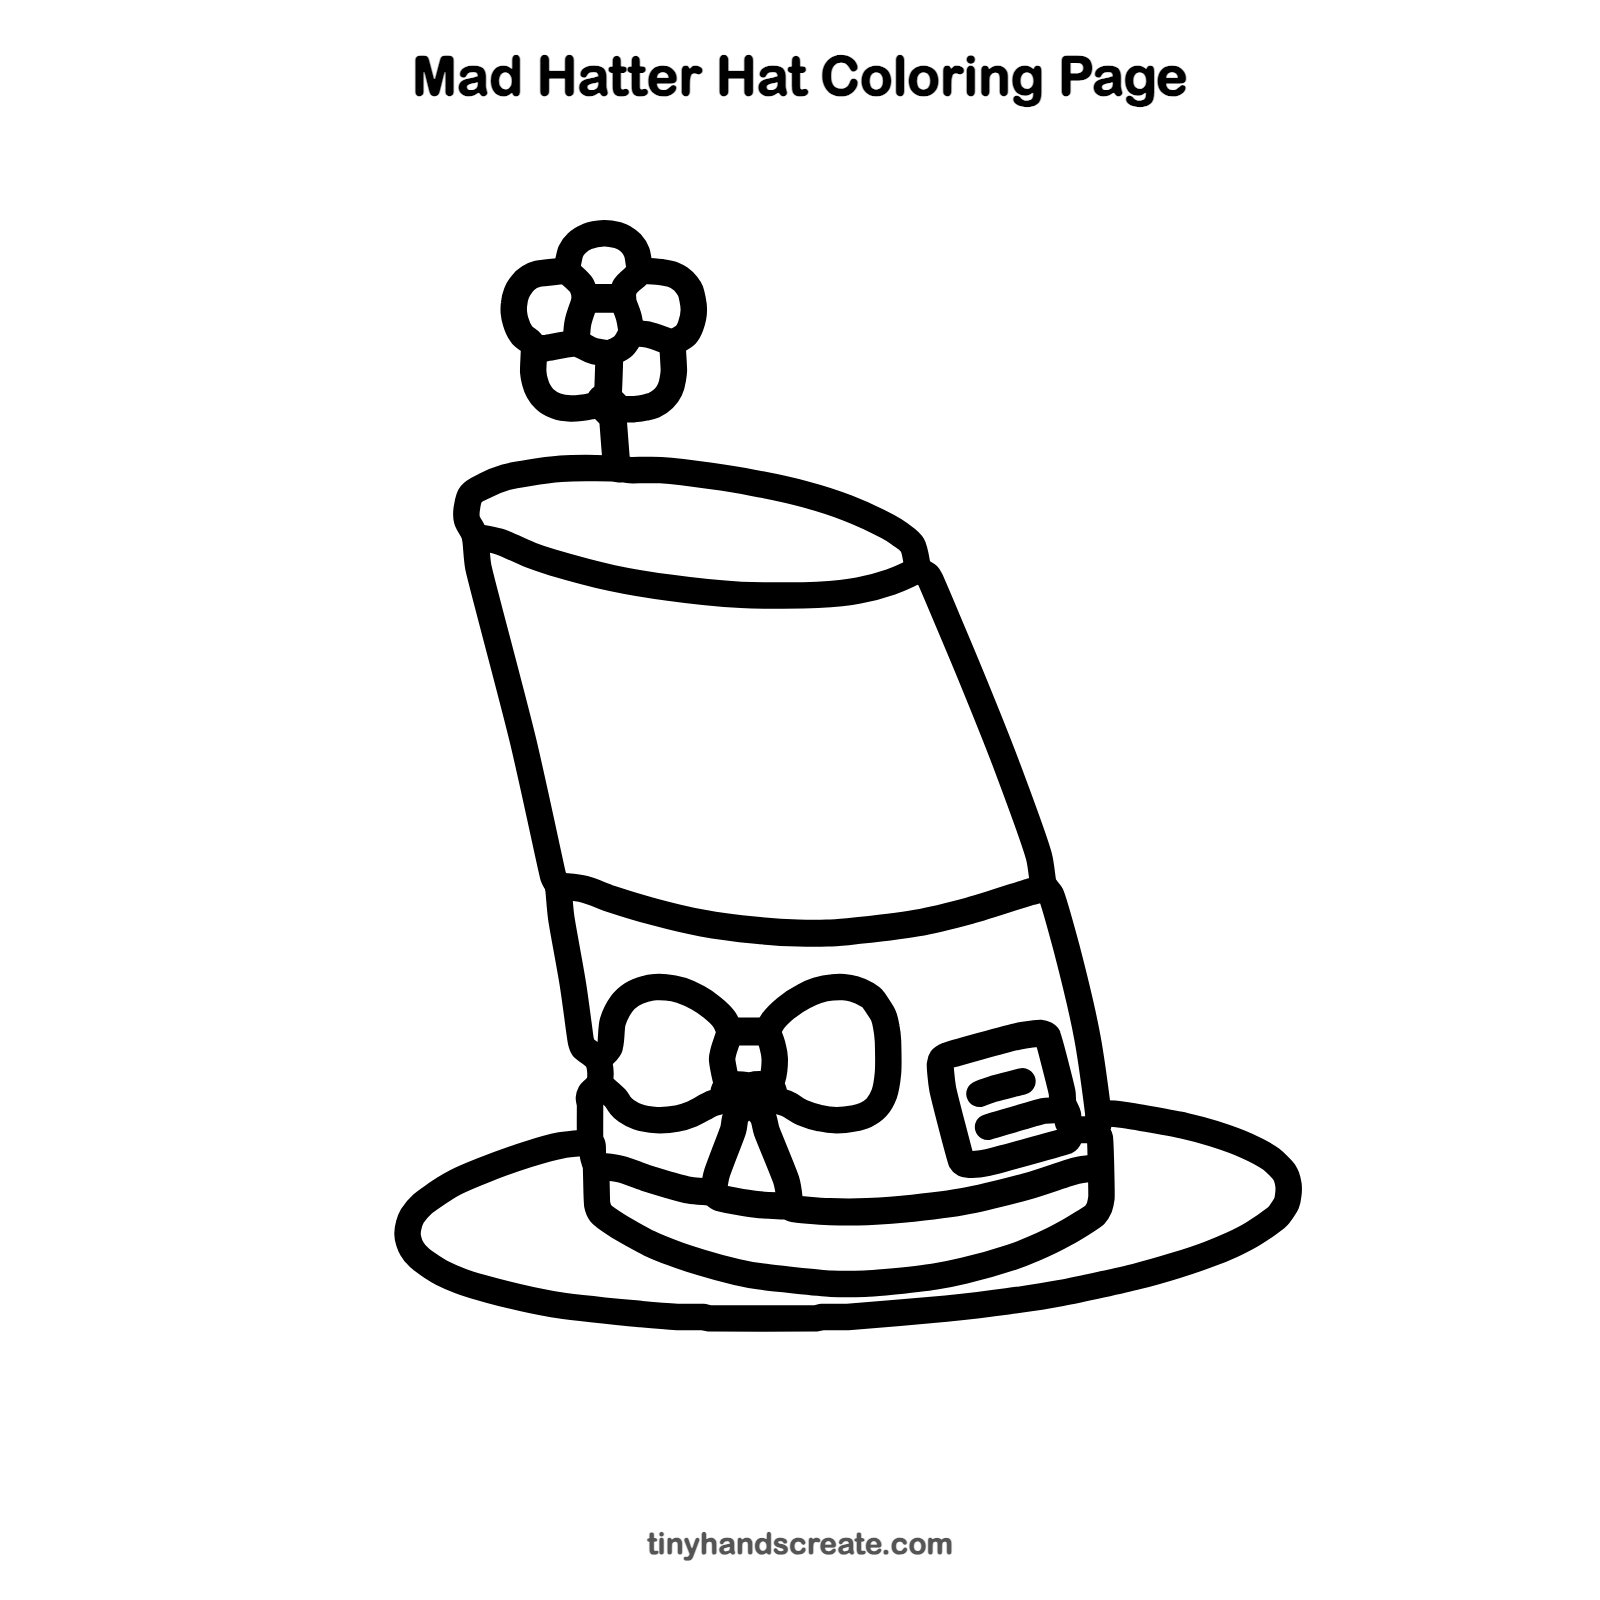
Want to go straight to coloring? Open this mad hatter hat coloring page at full size and print it. It is the same drawing you just learned, with clean lines ready for crayons or markers.
How to color your mad hatter hat drawing
Try a deep green or purple for the hat, a bright ribbon for the bow, and a yellow card. For a creative twist, color the band in a different pattern, like polka dots or checks.
Mad hatter hat fun fact for kids
The Mad Hatter comes from Lewis Carroll's 1865 book Alice's Adventures in Wonderland. In John Tenniel's illustrations, his hat has a card tucked in the band that reads 10/6, which was the price of the hat.
Questions about drawing a mad hatter hat
What shapes do I need to draw a Mad Hatter hat?
You need a tilted tube, a few ovals for the top and brim, a small square for the card, and two loops for the bow. The flower on top is just a few little petals around a small circle.
How do I make my hat look more mad?
Tilt the hat more, make the bow extra big, and add polka dots or stripes. Crooked lines make this hat look even better.
How do I draw the brim so it goes around the hat?
Draw the hat first, then draw a wide oval around its bottom. Stop the brim lines where they meet the hat, so the hat looks like it is in front of the brim.