How to Draw a Leaf Friend (Easy Step by Step)
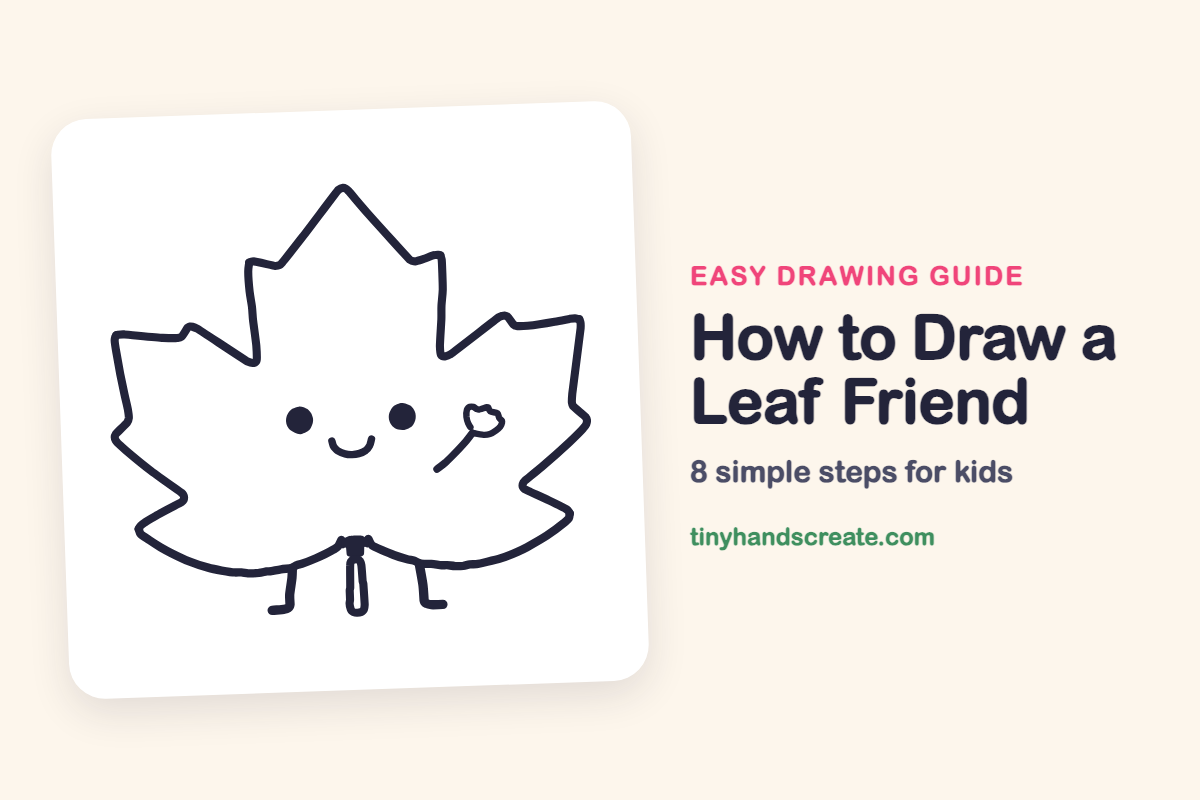
This leaf friend is a maple leaf with a happy face, two tiny feet and a flower to hold. It is built from a pointy top, zigzag sides, a curved bottom, two dots and a smile. Once you can draw zigzag points, you can make a whole forest of friends.
- Medium
- 15 minutes
- 8 steps
You need: paper, a pencil, an eraser, and crayons or markers for coloring.
Start drawing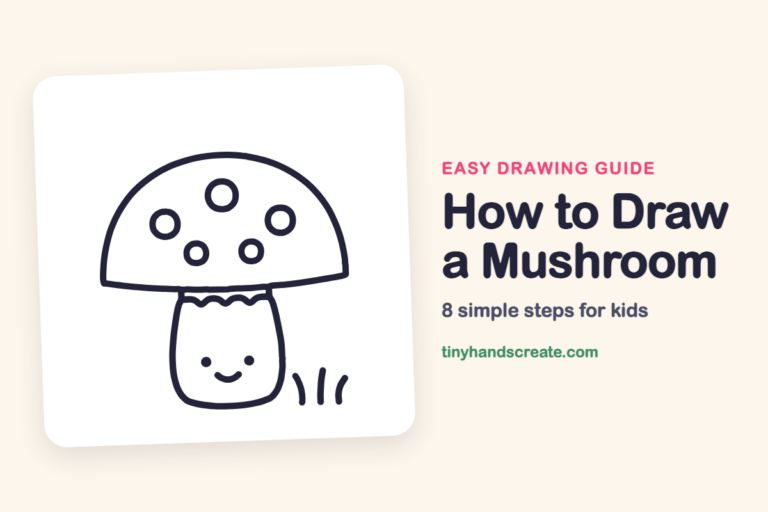
In this article (7 sections)
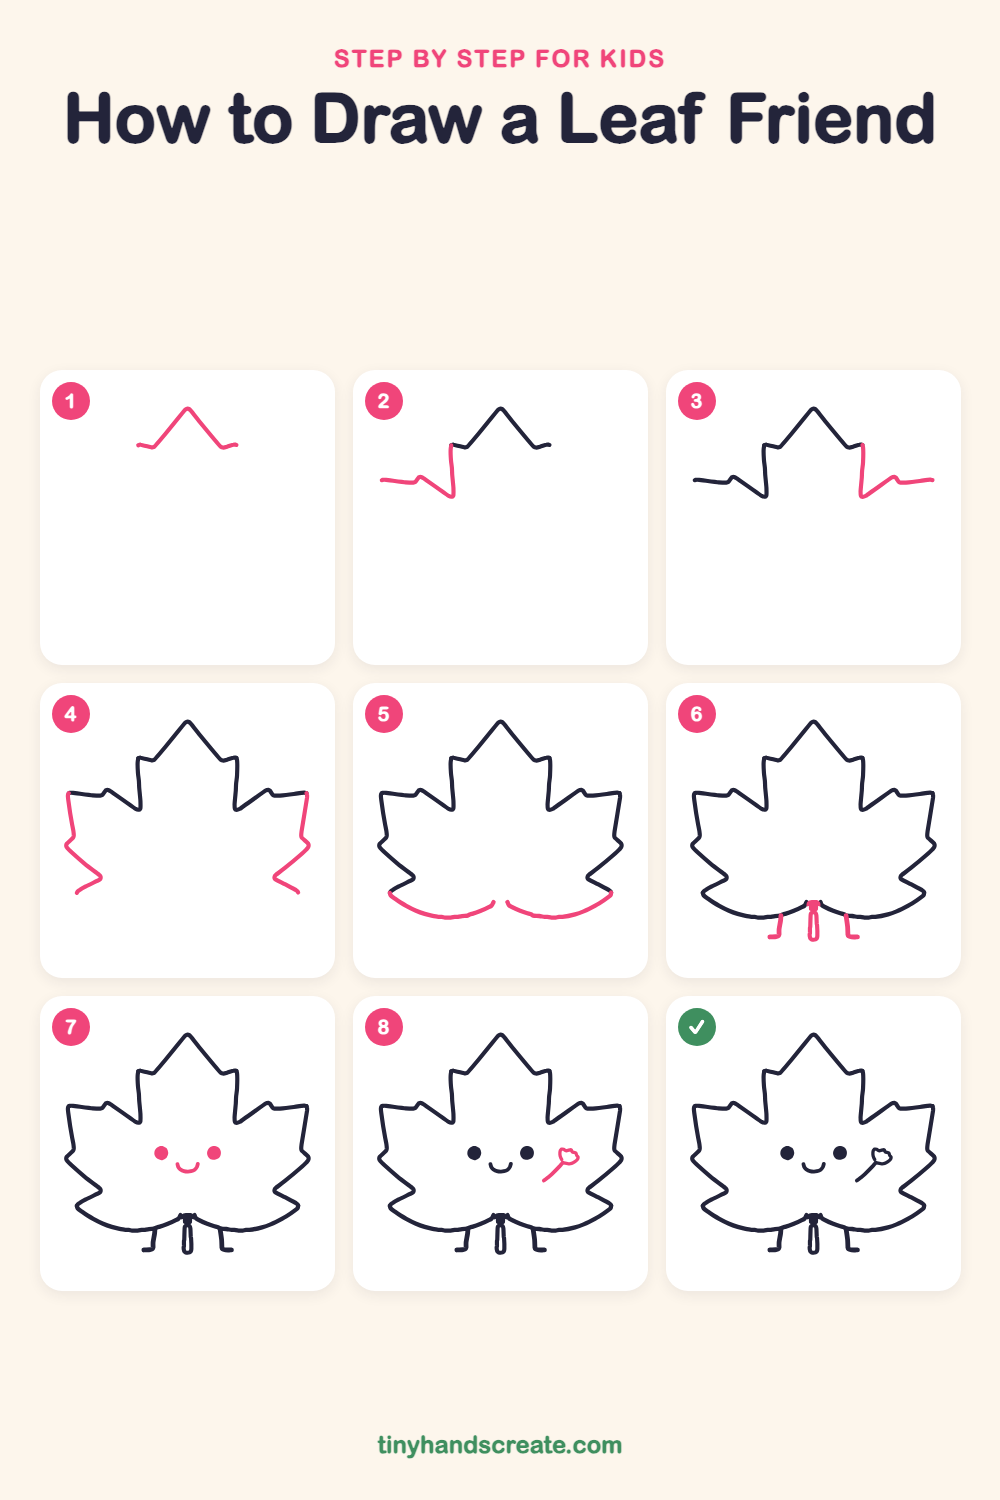
How to draw a leaf friend step by step
How to Draw a Leaf Friend · tinyhandscreate.com
Step 1: The top point
Start near the middle of the page and draw a tall pointy peak, like a little mountain. At each bottom end of the peak, add a tiny bend so the lines turn outward.
Step 2: Left side points
On the left, draw a short line straight down from the peak's end, then a zigzag with a small bump, going out to the far left in a flat corner.
Step 3: Right side points
Do the same on the right, matching the left: a short line straight down, then a zigzag with a small bump going out to the far right.
Step 4: Lower side points
On each side, draw a long line going down from the far corner, then a zigzag of pointy corners, like the teeth of a saw. Try to make the left and right match.
Step 5: Curved bottom
Draw a smile-shaped curve on each side along the bottom, joining the lowest points. Leave a small gap in the middle where the stem will go.
Step 6: Stem and feet
At the bottom middle, draw a small cap, then a long thin loop hanging down for the stem. Add a short leg with a little foot on each side, bending outward.
Step 7: Eyes and smile
Draw two round dots for eyes, side by side in the middle of the leaf. Draw a small curved smile between them, a little lower down.
Step 8: A tiny flower
On the right side of the leaf, draw a short slanted stick. Top it with a tiny bumpy flower shape, like a little flower the leaf is holding.
All done!
Go over your lines with a marker, then color it in.
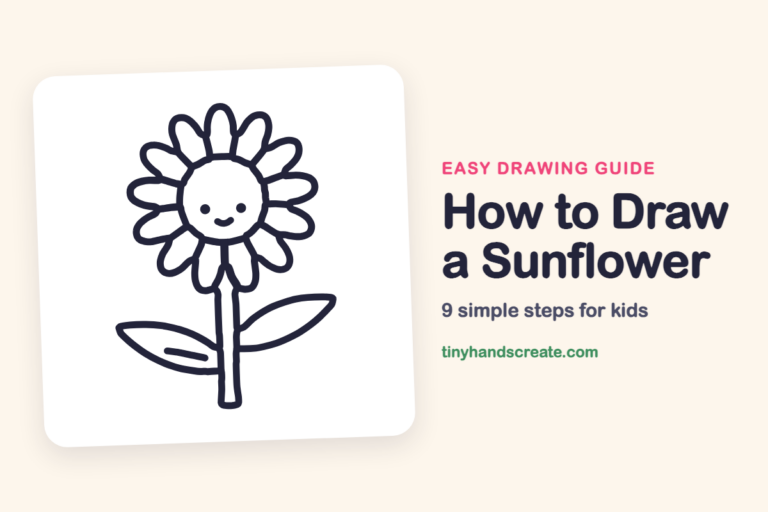
Finished your leaf friend? Keep the pencils out and learn how to draw a mushroom or how to draw a sunflower next.
Tips for drawing a leaf friend
- The zigzag edges are the trickiest part. Draw them slowly and aim for sharp corners, not curves.
- Make a tiny dot on each side at the same height as you go, so the left and right sides come out about the same.
- Place the eyes close to the middle of the leaf and the smile between them, a little lower, for the cutest face.
Free leaf friend coloring page
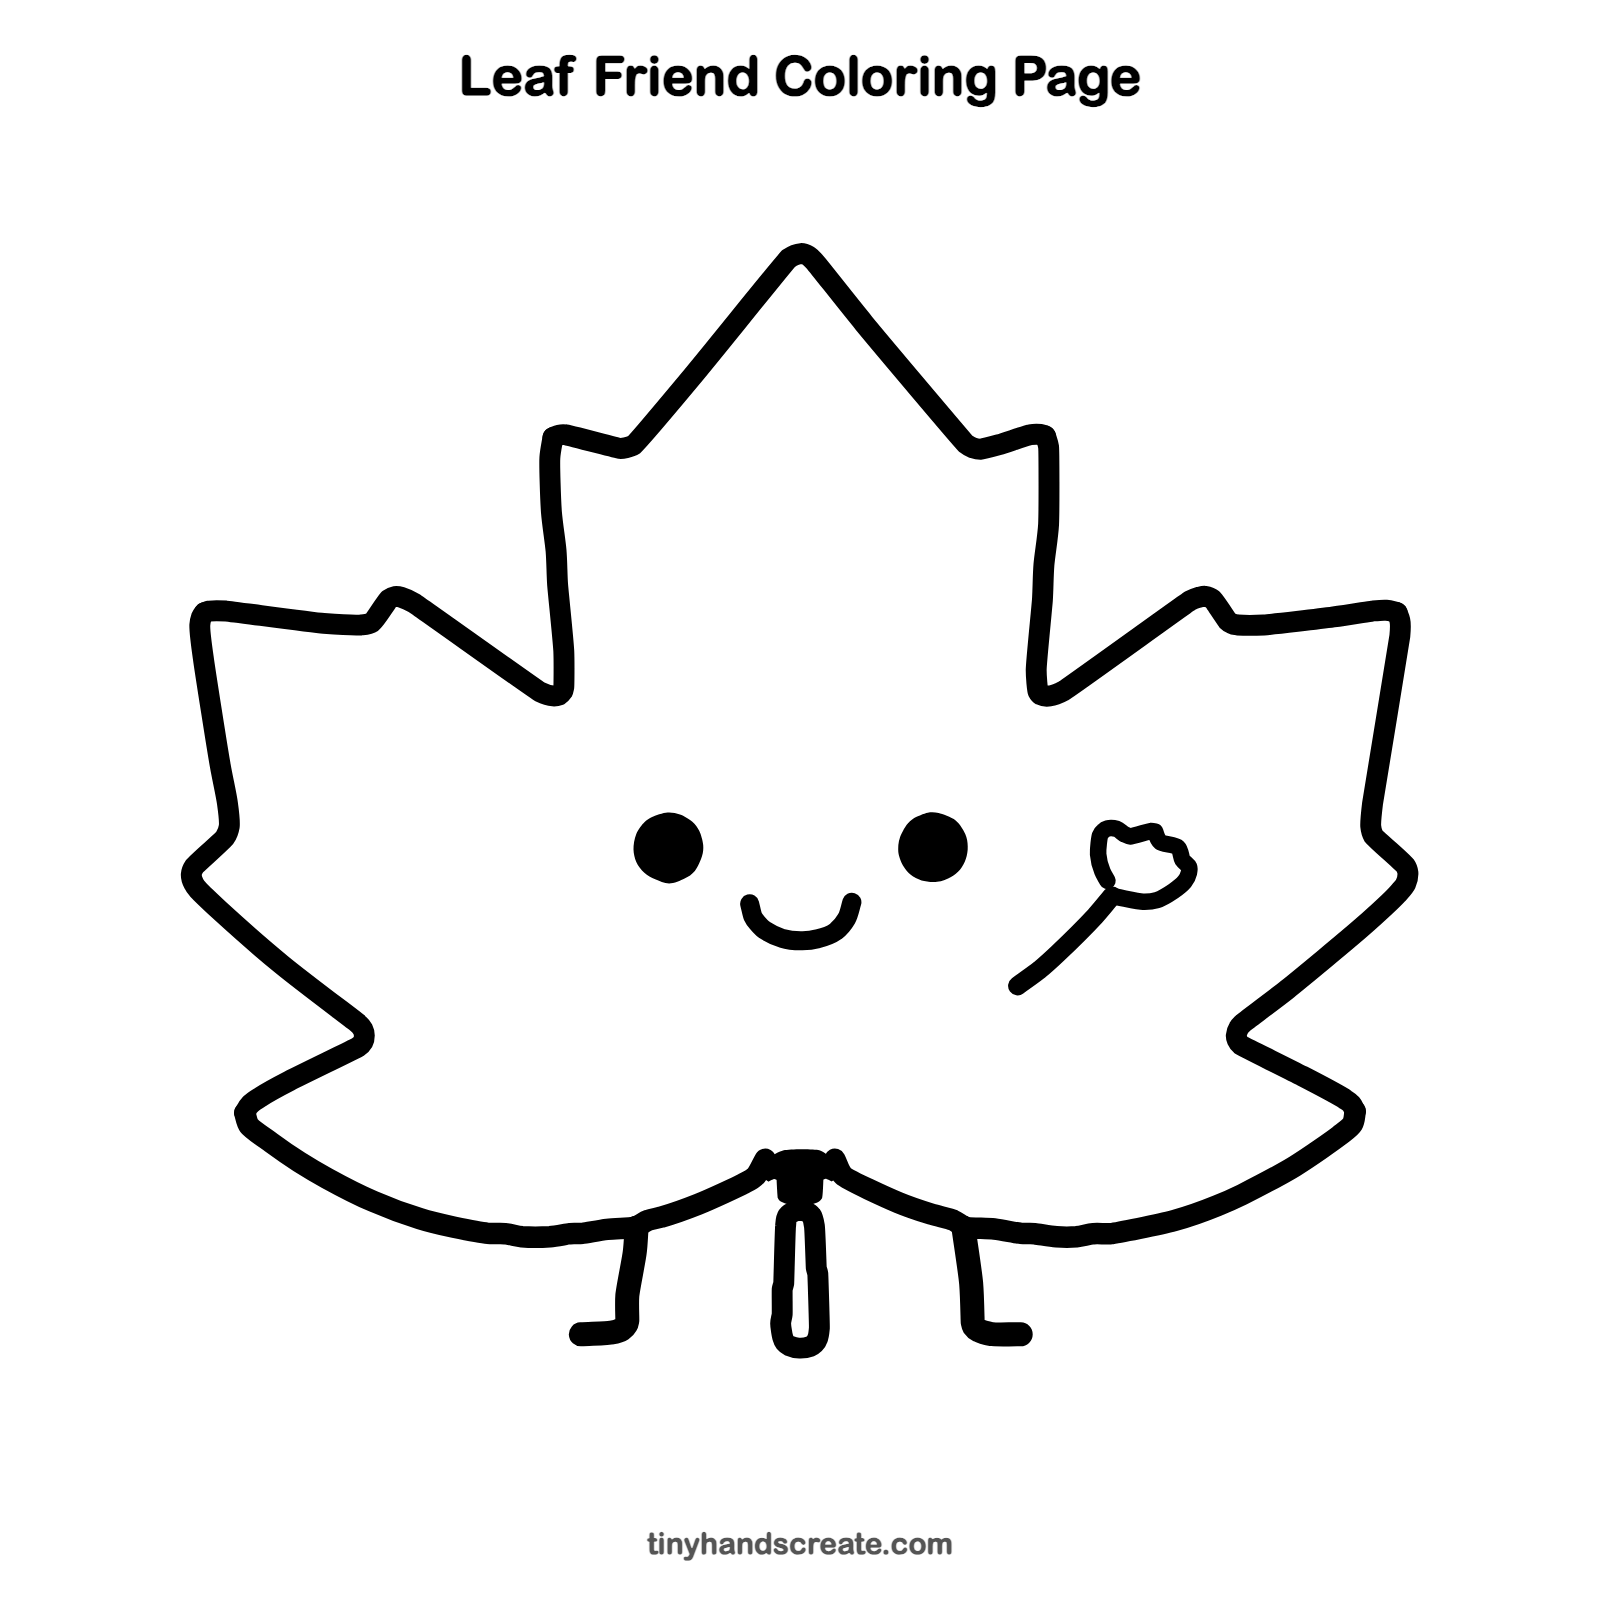
Want to go straight to coloring? Open this leaf friend coloring page at full size and print it. It is the same drawing you just learned, with clean lines ready for crayons or markers.
How to color your leaf friend drawing
Try red, orange and yellow for a classic fall leaf, with a bright pink flower. For a creative twist, color each point of the leaf a different shade so it looks like a rainbow of autumn.
Leaf friend fun fact for kids
Maple leaves turn red, orange and yellow in autumn because the green color, called chlorophyll, fades away and the other colors that were hiding underneath finally show.
Questions about drawing a leaf friend
What shapes do I need to draw a maple leaf?
You need a pointy peak for the top, zigzag lines down each side and a smile-shaped curve along the bottom. Add a small stem and two little legs to finish the friend.
How do I make my leaf friend look cuter?
Use two round dots for eyes and a small smile, and keep the face in the middle of the leaf. Tiny feet and a little flower make it even sweeter.
How do I get the points on both sides to match?
Draw each point on one side, then copy it on the other side at the same height. Counting the points on each side helps too.