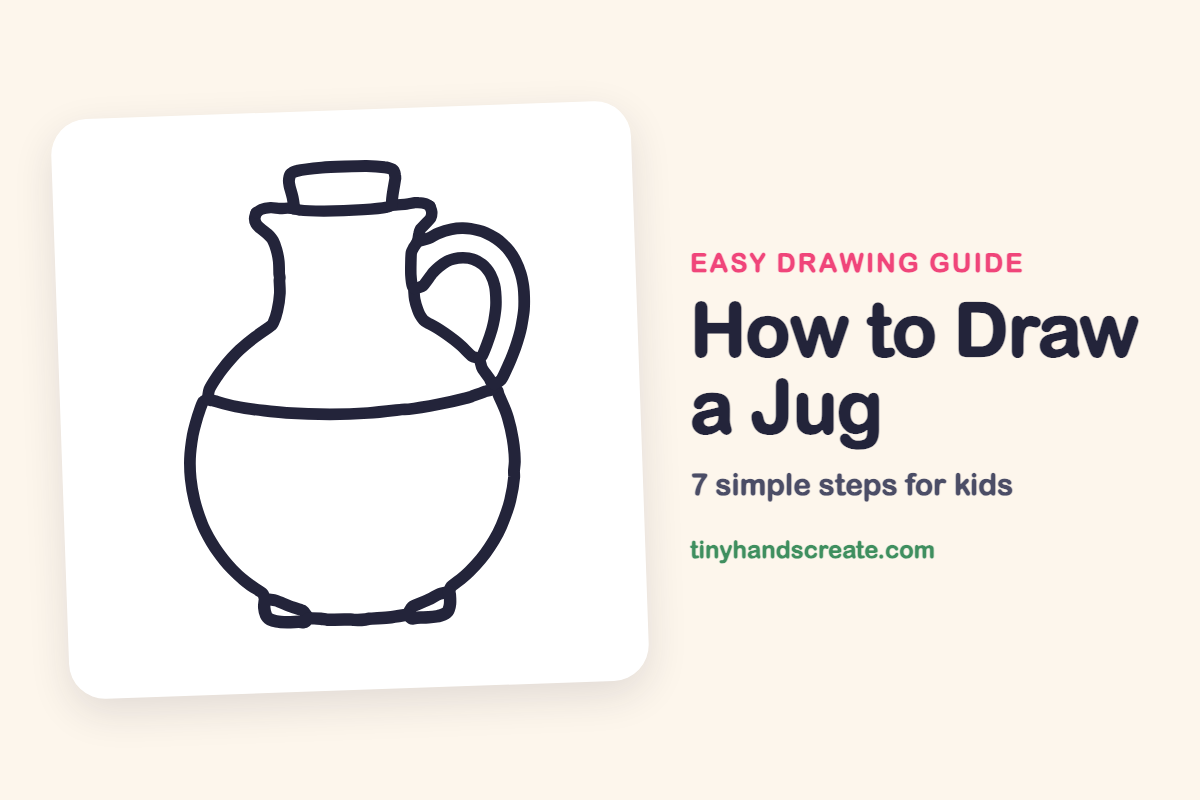
How to Draw a Jug (Easy Step by Step)
Learn how to draw a jug easily by following simple, step-by-step instructions. You'll combine basic shapes like a round belly, tall neck, handle, and feet to create your drawing.
- Start by drawing a round belly and tall neck for the jug's main body.
- Add specific details like a curved band, a little cork, and a curvy handle.
- Finish your jug by adding two small feet at the base.
- Use these foundational drawing skills to tackle pots, vases, and bottles.
This post contains affiliate links. As an Amazon Associate I earn from qualifying purchases.
A jug is a friendly object to draw because it is built from just a few simple shapes. You draw a round belly with a tall neck, add a curved band, then finish with a little cork, a curvy handle, and two small feet. It is a great first step toward drawing pots, vases, and bottles.
- Easy
- 10 minutes
- 7 steps
You need: paper, a pencil, an eraser, and crayons or markers for coloring.
Start drawing


In this article (7 sections)
How to draw a jug step by step
How to Draw a Jug · tinyhandscreate.com
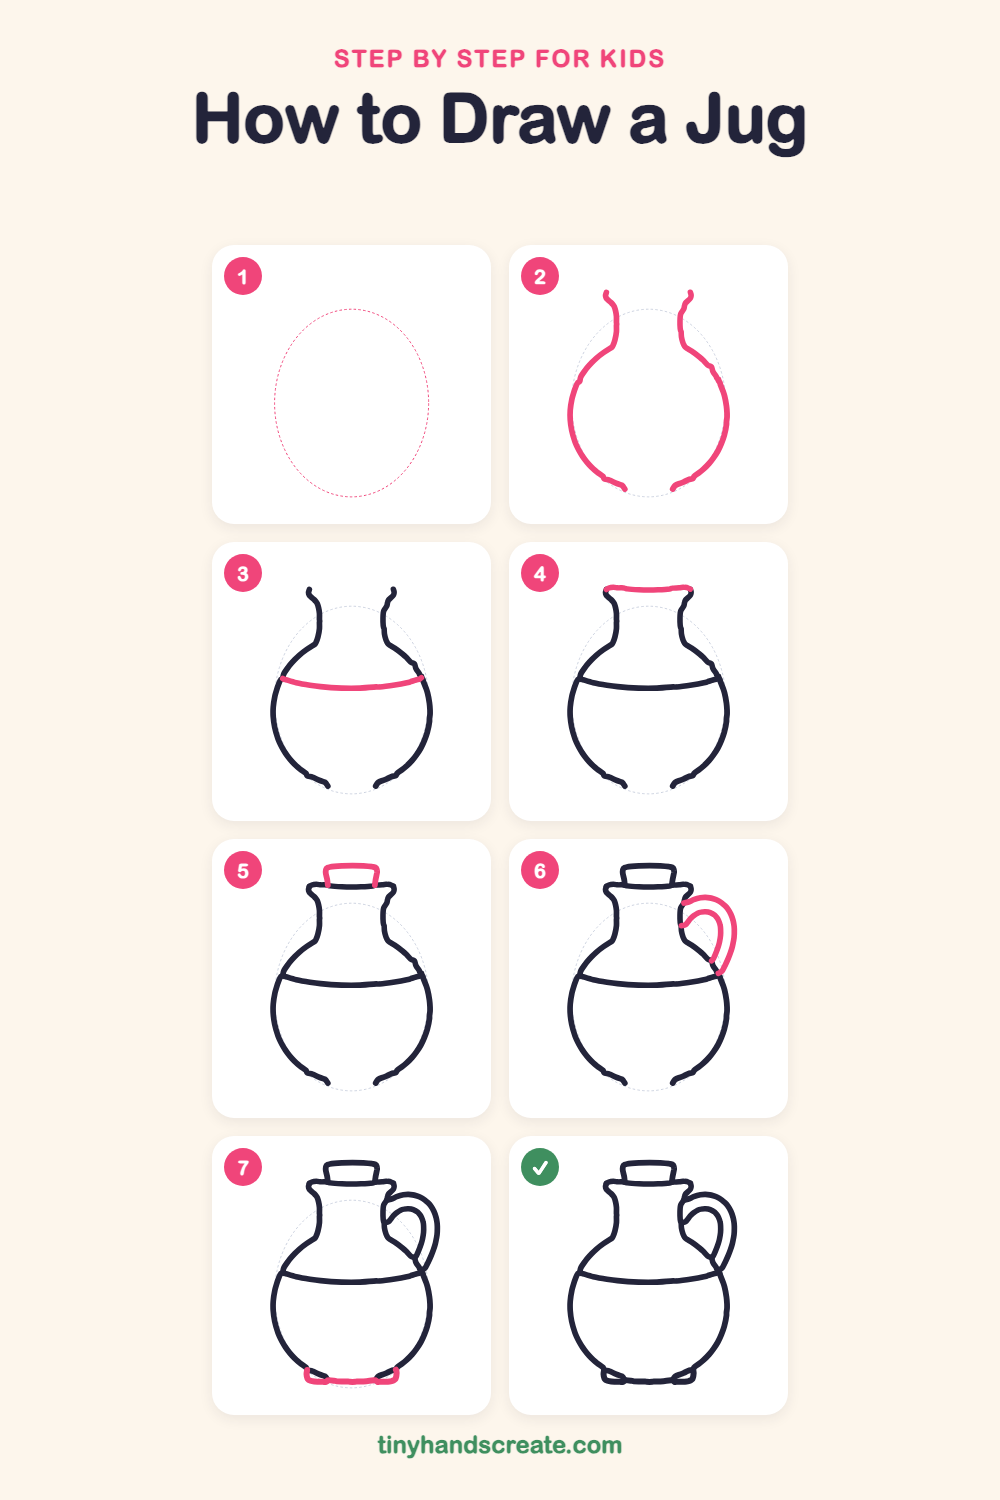
Step 1: Guide shapes
Lightly sketch this oval. It only shows where the big parts go, so press softly. You will erase it at the end.
Step 2: Belly and neck sides
Draw two curved lines that make the sides of the jug. Each one swoops out into a round belly, then curves in to a narrow neck that flares out a little at the top. Leave the top and bottom open.
Step 3: The curved band
Draw a gently curved line across the belly, from one side to the other, just below where the neck meets the belly. It dips down a little in the middle like a smile.
Step 4: The rim
At the top of the neck, draw a nearly flat line across the opening. Let both ends curl up a tiny bit to make the lip of the jug.
Step 5: The cork
On top of the rim, draw a short wide shape with a flat top and two sides, like an upside-down cup. This is the cork stopper.
Step 6: The handle
On the right side, draw a big curved loop that starts at the neck and ends on the belly. Add a second loop inside it, the same shape, to make the handle thick.
Step 7: The little feet
At the bottom, draw a flat line that joins the two lower ends of the belly. Give each end a small curved corner that turns up, so the jug has two little feet to stand on.
All done!
Erase the guide shapes, go over your lines, then color it in.
Finished your jug? Keep the pencils out and learn how to draw a rocket or how to draw a shooting star next.
Tips for drawing a jug
- Draw the round belly slowly and keep both sides about the same. If one side looks flatter, curve it out a little more.
- The handle is the trickiest part. Draw the outer loop first, then draw the inner loop the same shape but a bit smaller so the handle stays an even thickness.
- Keep the cork short and wide so it looks like it sits snugly on top of the rim.
Free jug coloring page
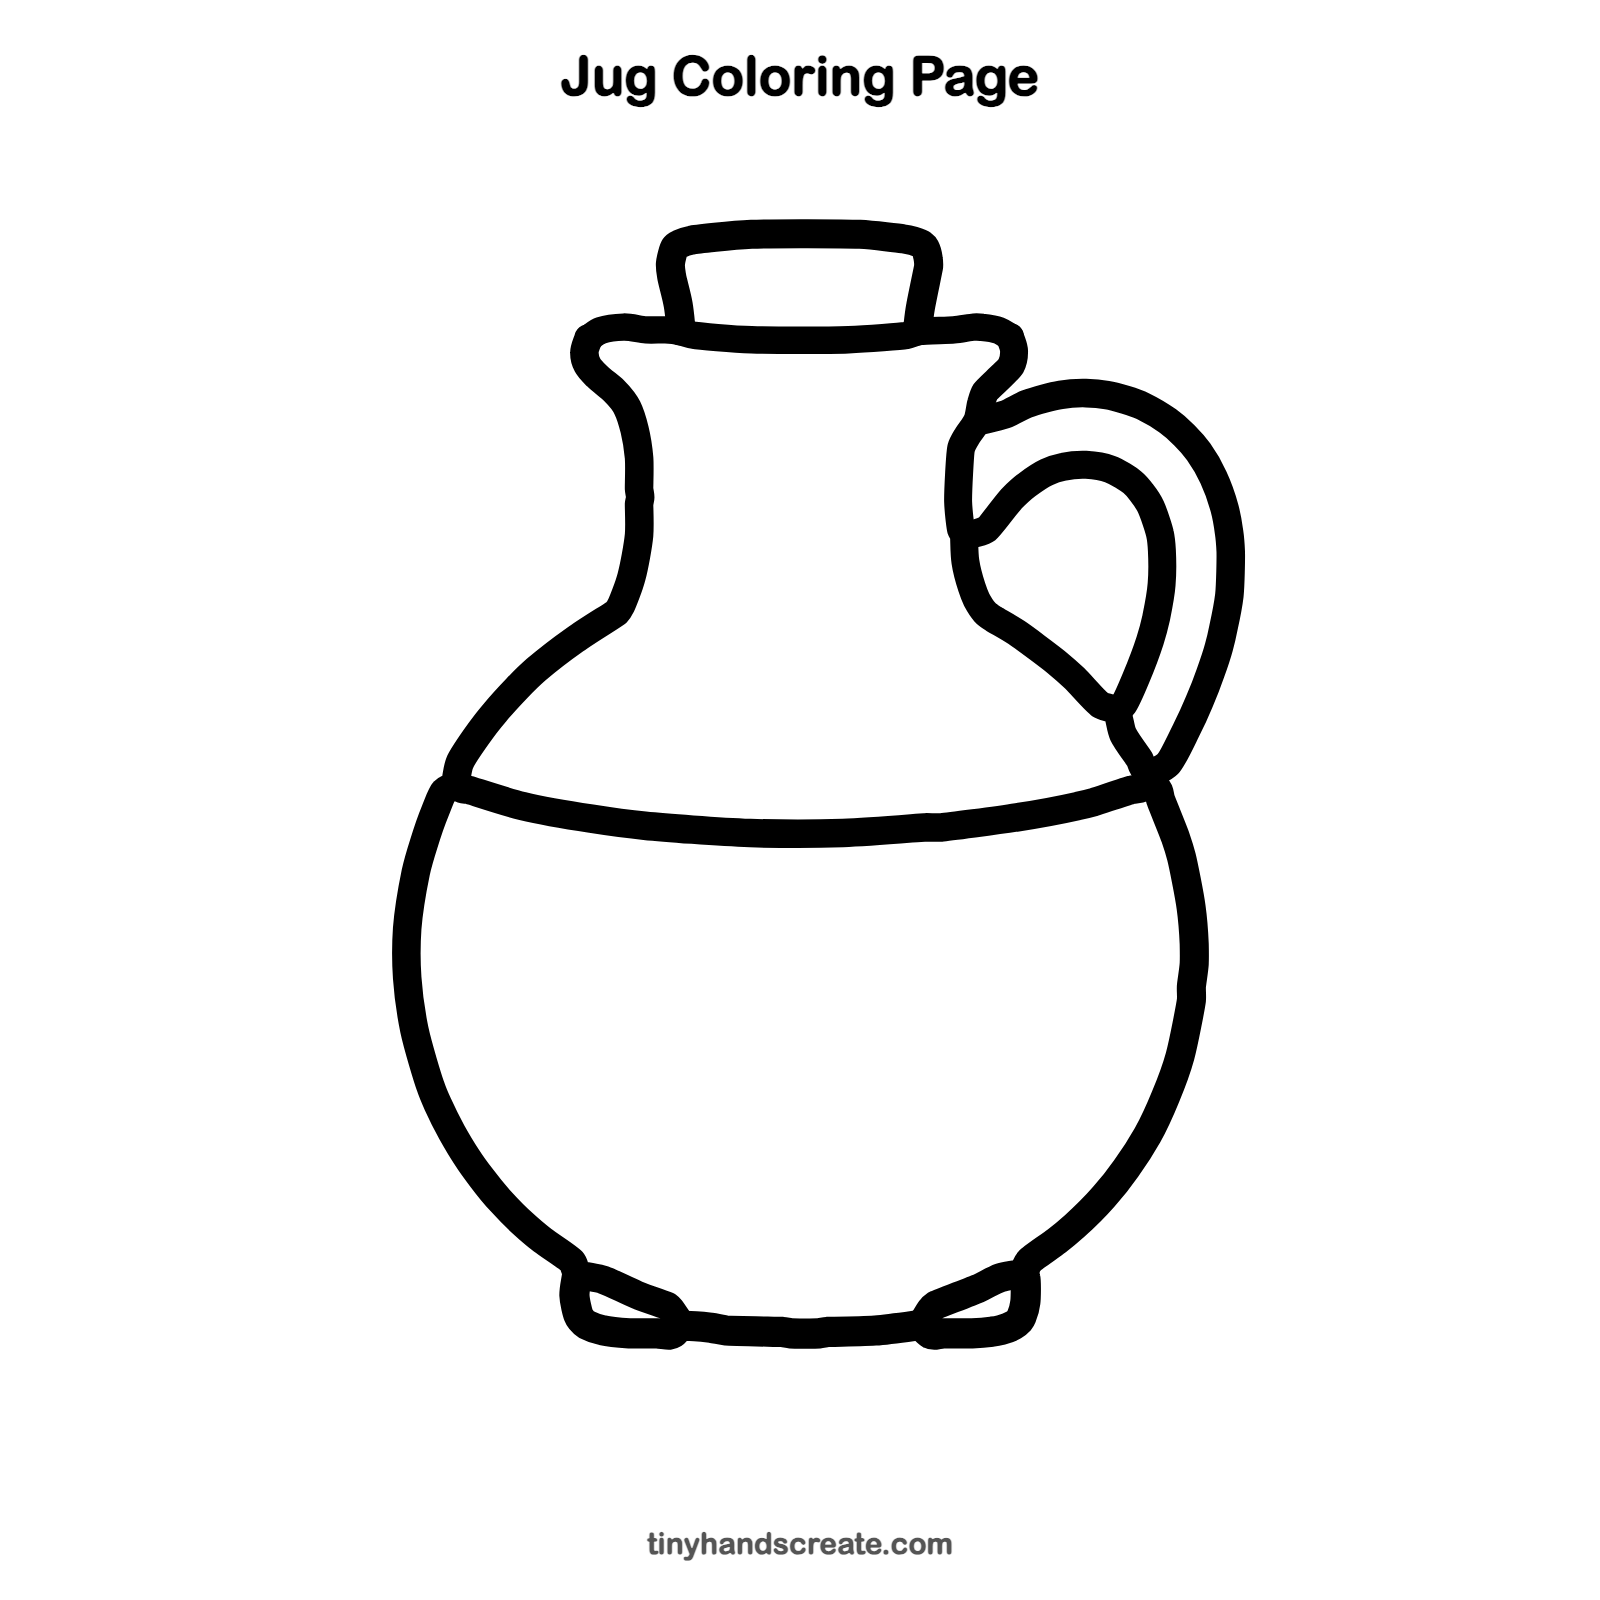
Want to go straight to coloring? Open this jug coloring page at full size and print it. It is the same drawing you just learned, with clean lines ready for crayons or markers.
How to color your jug drawing
Try a warm clay orange or brown for the body and a light tan for the cork. For a creative twist, paint the curved band with stripes or zigzags, or color the top half as if it is full of juice.
Jug fun fact for kids
People have made jugs from clay for thousands of years, long before there were plastic bottles. Farmers and families used them to carry water, milk, and oil.
Questions about drawing a jug
What shapes do I need to draw a jug?
You need a round shape for the belly, a tall narrow shape for the neck, and a short wide shape for the cork. The handle is just a curved loop.
How do I make my jug look round?
Draw the two sides of the belly with slow, smooth curves, and turn your paper as you draw to keep each curve even. Try to make the left and right sides match.
How do I make my jug look more special?
Add patterns on the belly, like dots, stripes, or flowers. You can also draw a fruit or flower next to the jug.