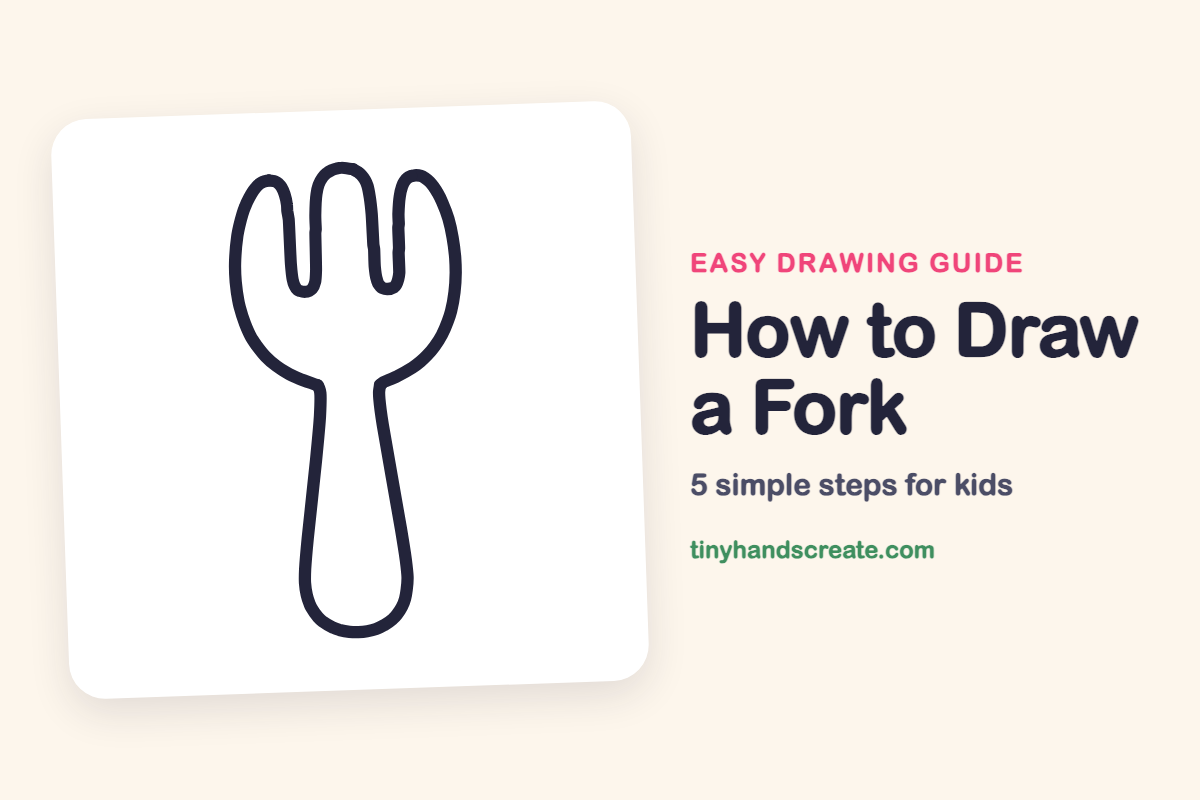
How to Draw a Fork (Easy Step by Step)
A fork looks tricky, but it is really one long handle with a rounded, scooped top and three tall prongs. Kids get to practice smooth curves and drawing two sides that match. It is a great first drawing for the kitchen table.
- Easy
- 8 minutes
- 5 steps
You need: paper, a pencil, an eraser, and crayons or markers for coloring.
Start drawing


In this article (7 sections)
How to draw a fork step by step
How to Draw a Fork · tinyhandscreate.com
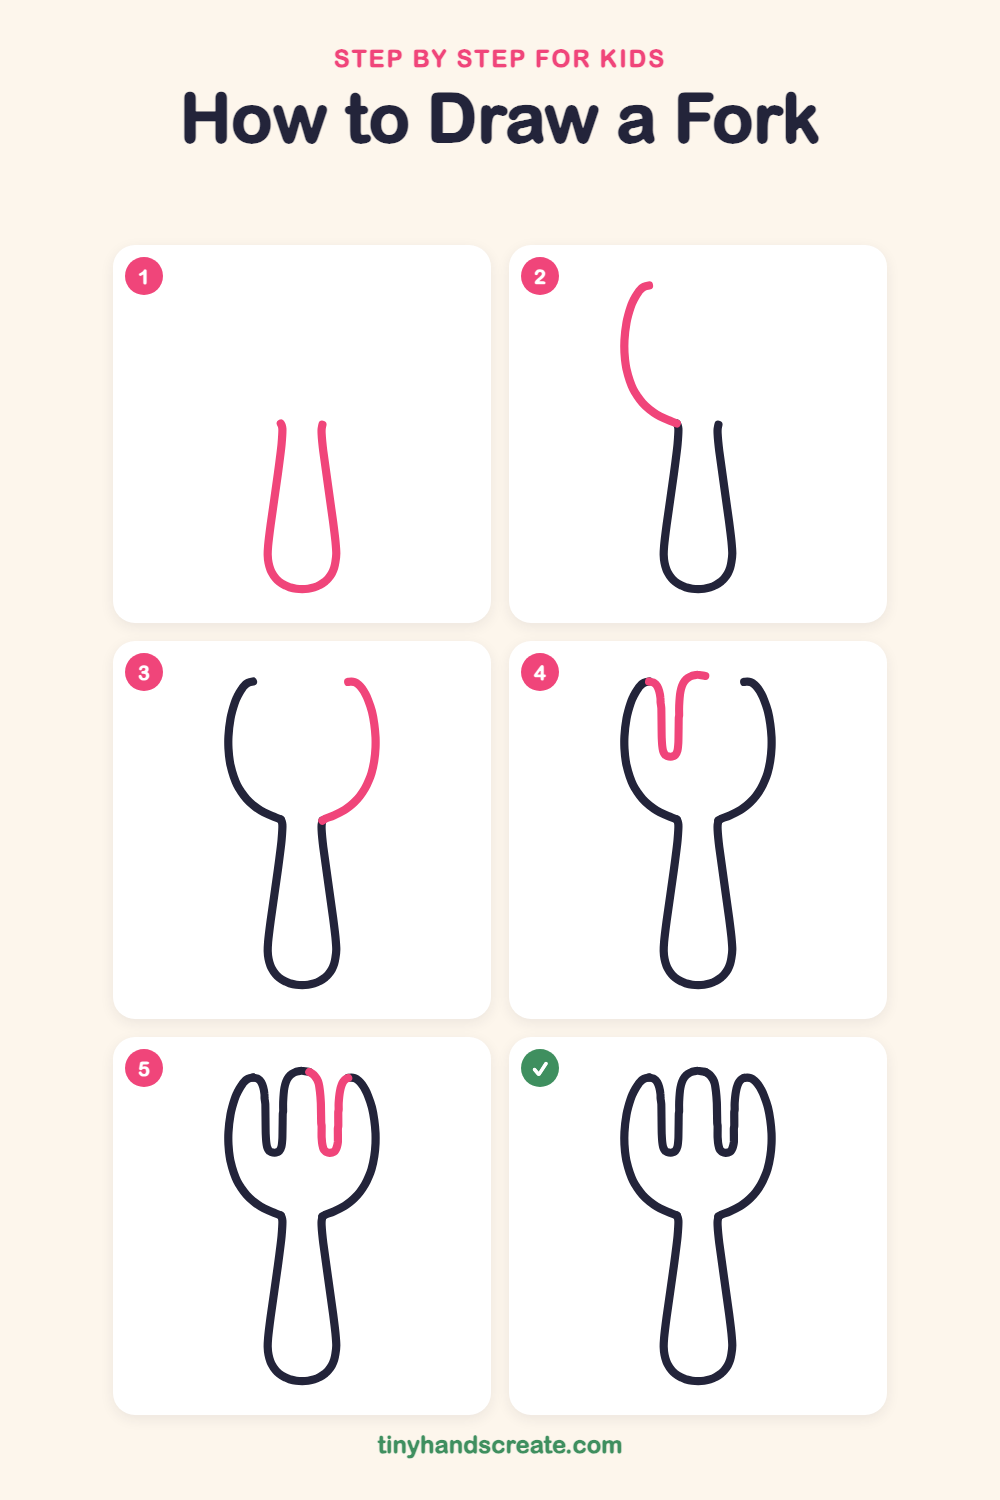
Step 1: The handle
Draw a long, narrow U shape for the handle. Start with two lines close together at the top, let them spread apart a little as they go down, and join them with a round bottom.
Step 2: Left side of the head
Start at the top left of the handle and curve a line out to the left and up in a big round swoop. Stop when the line is about as high as the top of the fork.
Step 3: Right side of the head
Do the same on the other side. Start at the top right of the handle and curve a line out to the right and up so it matches the left side.
Step 4: Left prong and middle curve
At the top of the left curve, draw a line down into a tall, skinny U shape and bring it back up. Then curve a line up and over to the right to start the top of the middle prong.
Step 5: Right prong
Start where the middle prong's top curve ends and draw a line down into another tall, skinny U. Bring it back up to meet the right curve, so the fork has three prongs.
All done!
Go over your lines with a marker, then color it in.
Finished your fork? Keep the pencils out and learn how to draw a rocket or how to draw a shooting star next.
Tips for drawing a fork
- Draw the handle first and keep it light. Make the top narrower than the round bottom.
- The prongs are the trickiest part. Make each one a tall, skinny U with a rounded bottom, and keep them about the same width.
- Look at both sides of the fork head and try to make them match. If one side looks too big, gently erase it and curve it again.
Free fork coloring page
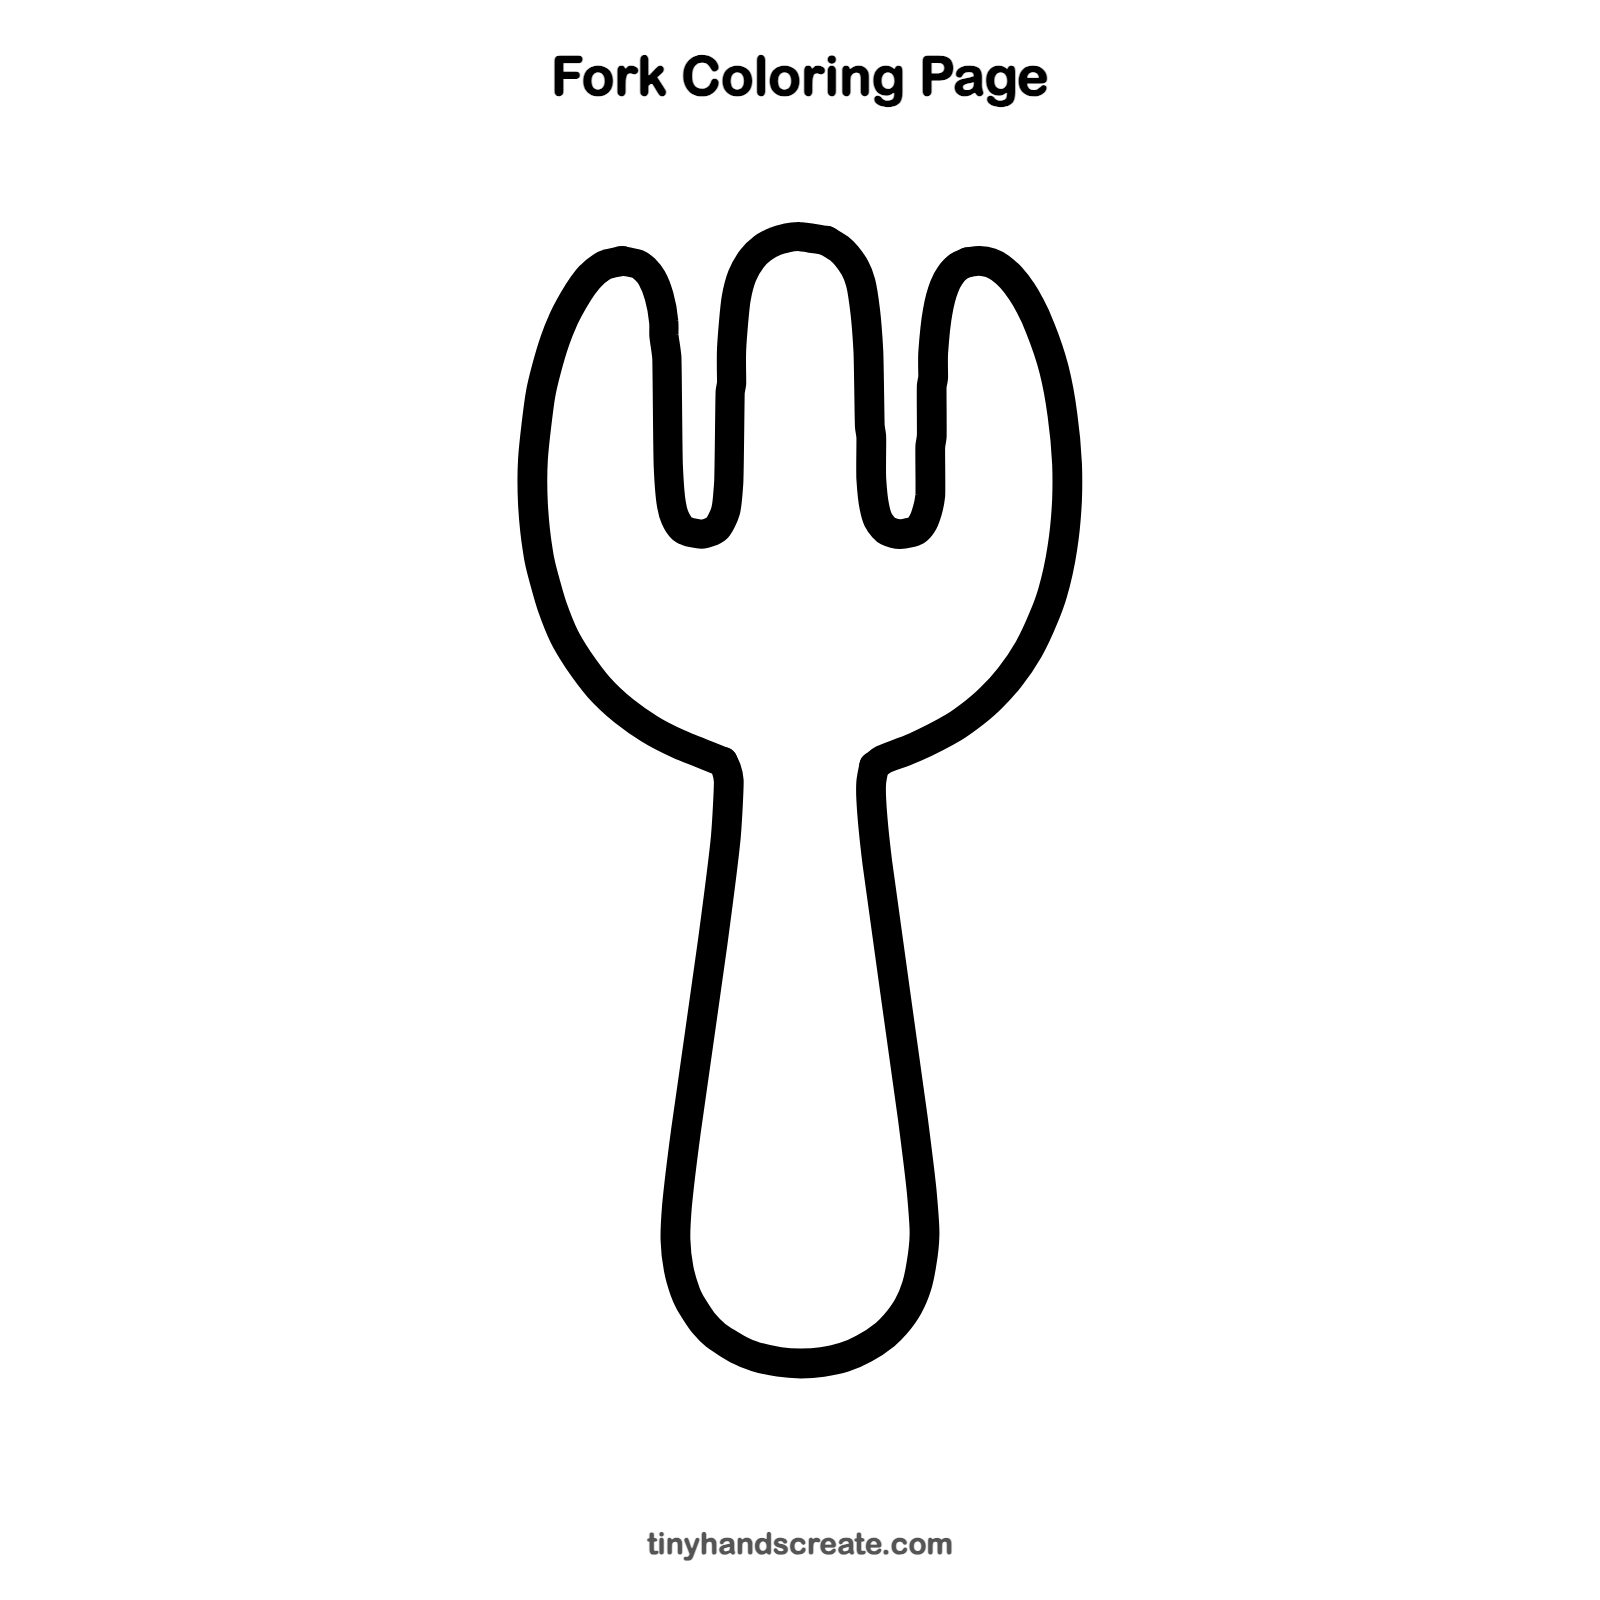
Want to go straight to coloring? Open this fork coloring page at full size and print it. It is the same drawing you just learned, with clean lines ready for crayons or markers.
How to color your fork drawing
Try shiny silver and gray, with a pale blue shine along the handle. For a creative twist, give your fork a rainbow handle or a pattern of dots and stripes.
Fork fun fact for kids
Forks were not common at the dinner table in much of Europe until a few hundred years ago. For a long time, most people ate with their hands and a knife or spoon.
Questions about drawing a fork
What shapes do I need to draw a fork?
You need a long narrow U shape for the handle, two big rounded curves for the sides of the head, and three tall, skinny prongs.
How do I make the prongs look even?
Make the three prongs about the same height and width. Draw the left one first, then the middle one, then the right one, and compare them as you go.
How can I make my fork look more fun?
Color the handle with stripes or dots, or draw some spaghetti twirled around the prongs. Colorful patterns look great too.