How to Draw a Cherry Pie (Easy Step by Step)
Learn how to draw a cute cherry pie step by step using basic ovals, wavy crust lines, and simple pencil strokes.
- Build your pie starting with a wide oval and a bowl shape.
- Form the pie crust using curvy, wavy pencil outlines.
- Create the classic lattice top with simple crossing strips.
- Top off your cute illustration with a pair of cherries.
This post contains affiliate links. As an Amazon Associate I earn from qualifying purchases.
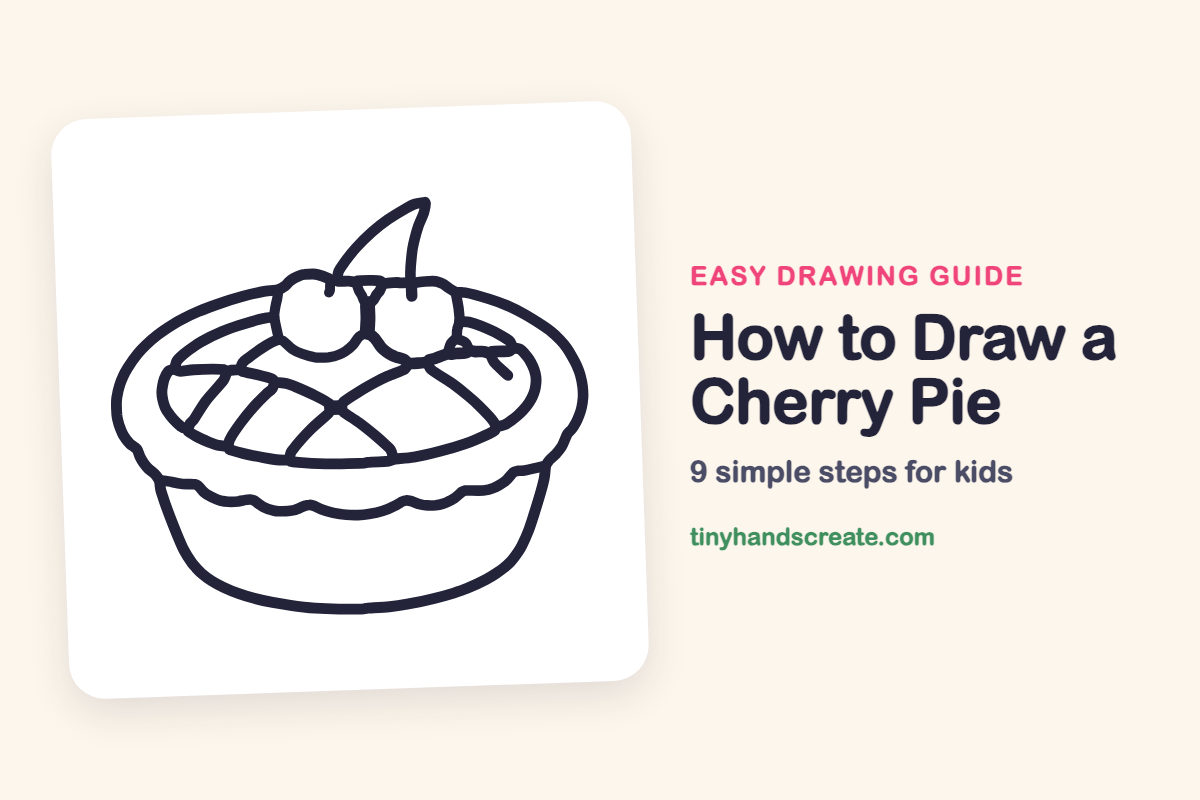
A cherry pie is a fun drawing because it is mostly ovals and curvy lines, with two cherries on top. Kids build it from a wide oval, a wavy crust, a bowl shape, and a few crossing strips. It is a pie you can finish with just a pencil.
- Medium
- 15 minutes
- 9 steps
You need: paper, a pencil, an eraser, and crayons or markers for coloring.
Start drawing
In this article (7 sections)
How to draw a cherry pie step by step
How to Draw a Cherry Pie · tinyhandscreate.com
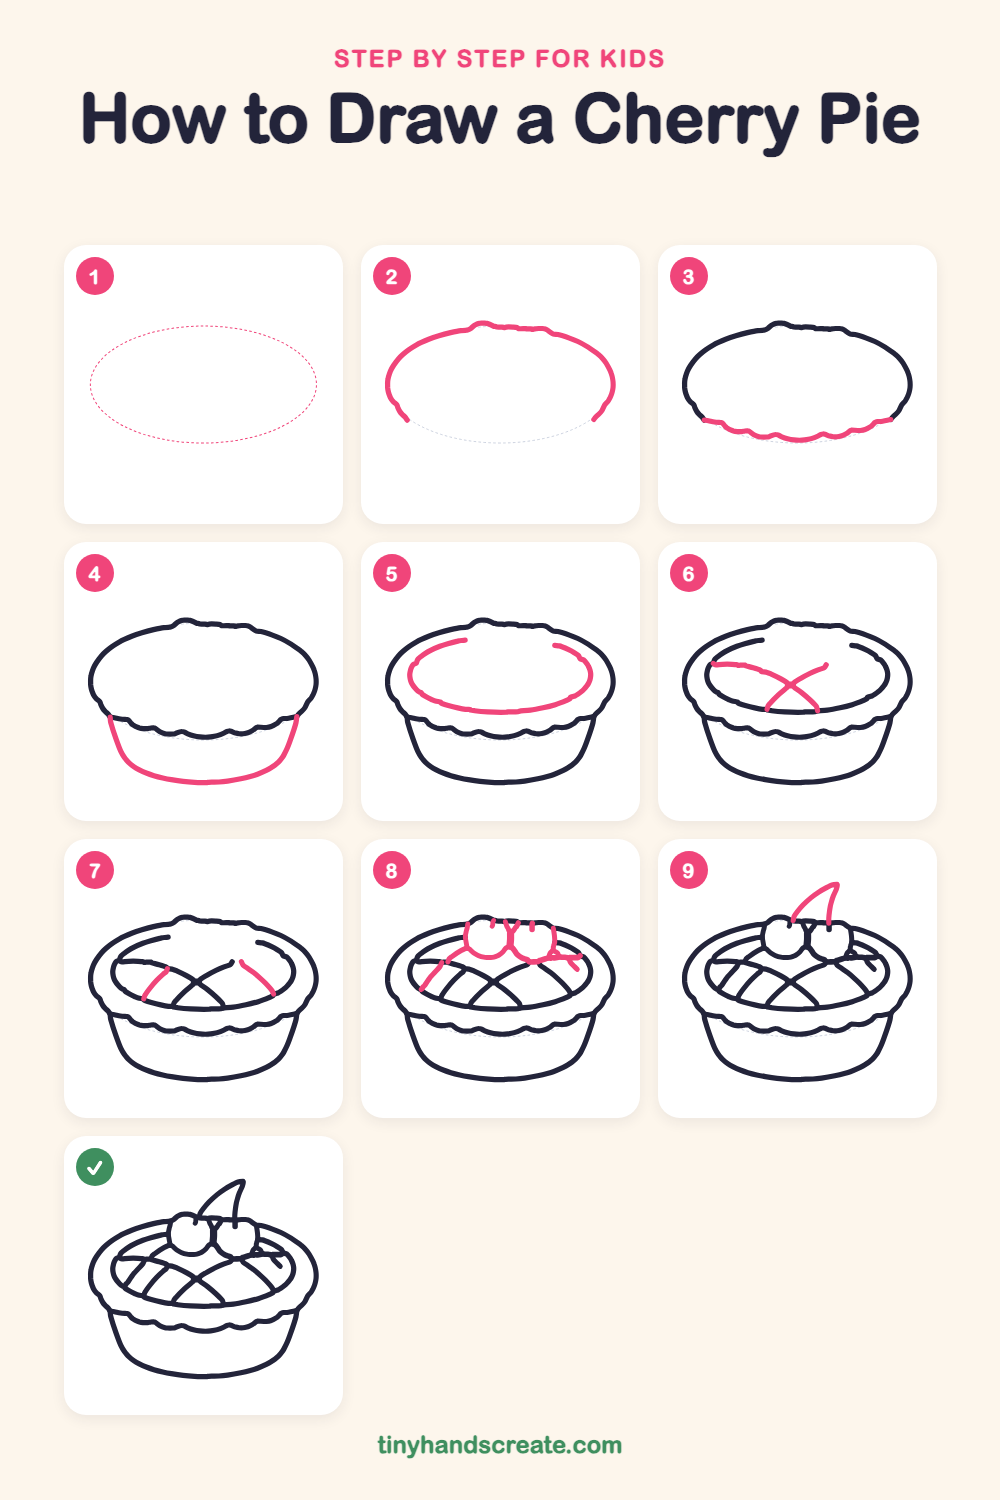
Step 1: Guide shapes
Lightly sketch this oval. It only shows where the big parts go, so press softly. You will erase it at the end.
Step 2: Top of the pie
Draw a wide oval shape for the top of the pie, with a few small bumps along the top edge. Stop a little short at the bottom on each side, so the bottom of the oval stays open.
Step 3: The wavy crust
Start at the end of the oval on the left and draw a wavy line of little bumps along the bottom. Finish where the oval ends on the right, so the top is closed.
Step 4: The pie dish
From each end of the wavy line, draw a line curving down and inward. Join them with a smooth curve along the bottom, like a shallow bowl.
Step 5: The filling oval
Inside the big oval, draw a smaller oval that follows the same shape. Leave a little space all the way around for the crust, and leave a small gap at the top.
Step 6: Crossing crust strips
Draw two long curved strips that cross like an X in the middle of the filling. Add one more curved strip that starts at the left edge of the filling and curves into the X.
Step 7: Side crust strips
Add one short curved strip on the left and one on the right, each starting at the bottom edge of the filling and leaning toward the middle.
Step 8: Cherries and more strips
Draw two round cherries side by side at the top of the pie, touching a little. Add a few tiny lines on top of them, then add a couple more curved strips on the left and right of the filling.
Step 9: The cherry stems
Draw two curved lines going up from the cherries, one from each. Let them meet in a point at the top, like a tall thin triangle.
All done!
Erase the guide shapes, go over your lines, then color it in.
Finished your cherry pie? Keep the pencils out and learn how to draw boba tea or how to draw a cupcake next.
Tips for drawing a cherry pie
- Draw the first oval wide and flat, not tall. A wide oval makes the pie look like you are seeing it from above and a little to the side.
- For the wavy crust, make the bumps about the same size. Go slowly and let your pencil bounce up and down in a gentle rhythm.
- Draw the cherries after the strips. Stop the strip lines where they touch a cherry so the cherries look like they sit in front.
Free cherry pie coloring page
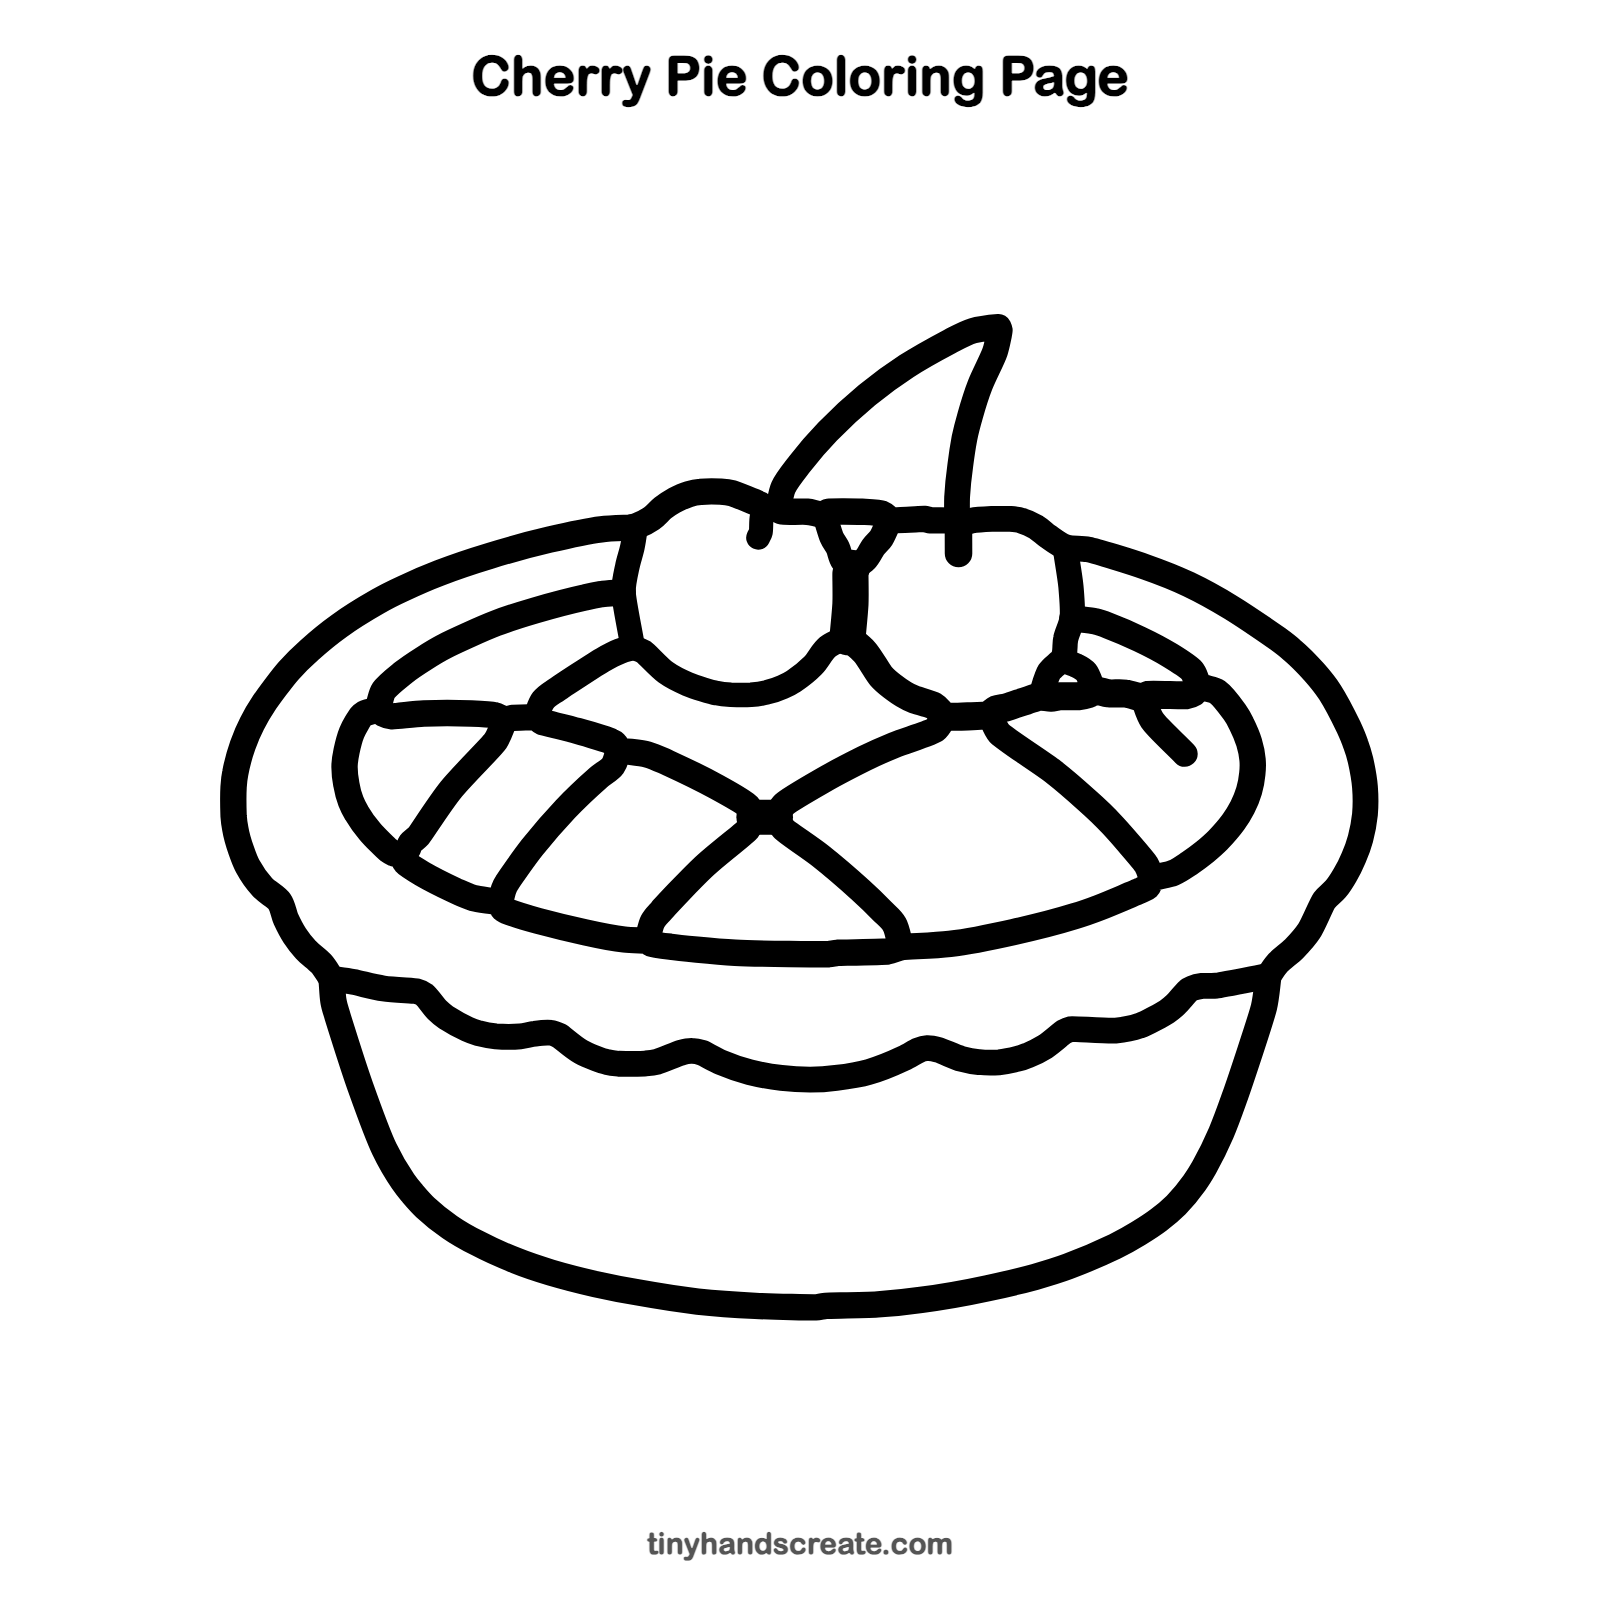
Want to go straight to coloring? Open this cherry pie coloring page at full size and print it. It is the same drawing you just learned, with clean lines ready for crayons or markers.
How to color your cherry pie drawing
Color the cherries bright red, the crust golden brown, and the strips a lighter tan. For a creative twist, add a scoop of vanilla ice cream next to the pie.
Cherry pie fun fact for kids
Cherries grow on trees, and each cherry hangs from a long, thin stem. Cherries often grow in pairs joined at the top of their stems.
Questions about drawing a cherry pie
What shapes do I need to draw a cherry pie?
You need two ovals for the top and the filling, two circles for the cherries, and a wavy line for the crust. The dish is a curved bowl shape under the crust.
How do I make the crust strips look neat?
Draw them lightly first, and make them all curve the same way. Let a pair cross in the middle so they look woven.
How do I make my cherries look round?
Draw each cherry as a nearly perfect circle and let the two touch a little. Then add the stems on top so they look like they hang together.