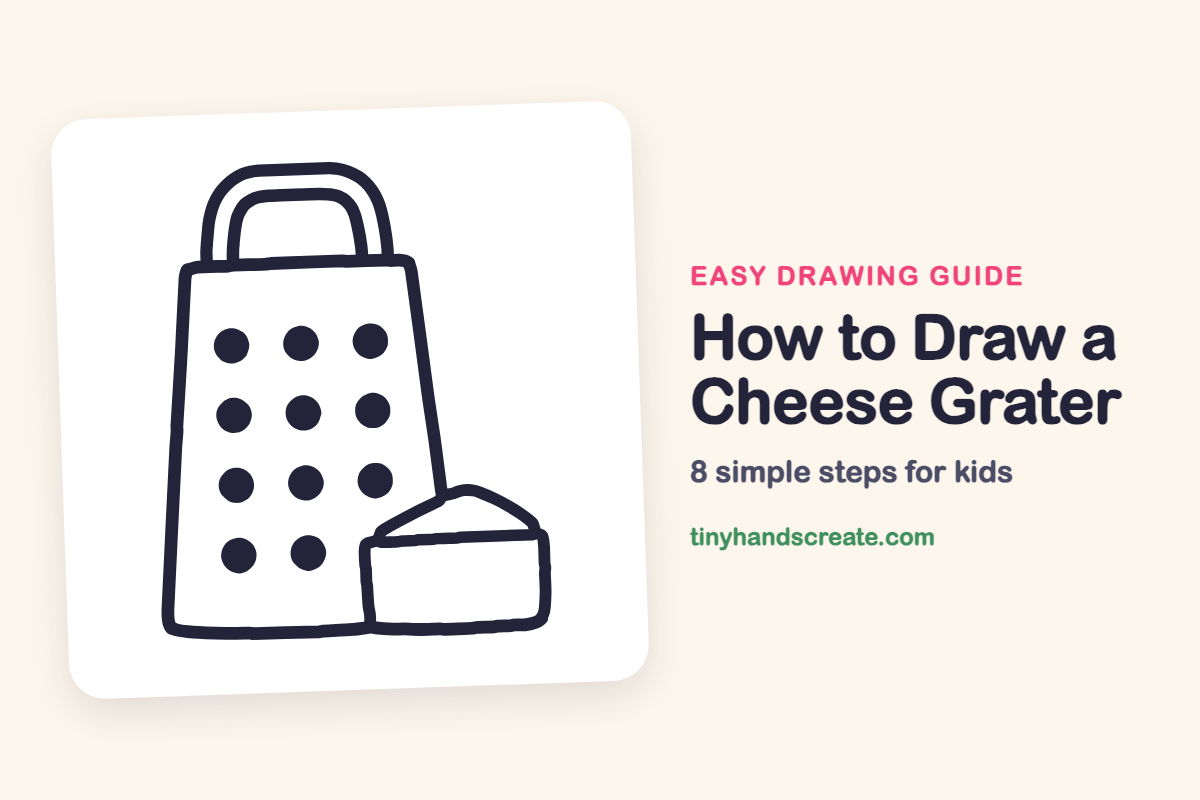
How to Draw a Cheese Grater (Easy Step by Step)
Learn to draw a cheese grater using simple shapes. You'll start with slanted sides, a curved bottom, a flat top, and an arch handle, then add dots and a block of cheese to complete your drawing.
- Start your grater drawing with two slanted sides and a curved bottom.
- Add a flat top and an arch handle to form the top of the grater.
- Fill the front of your grater with rows of simple round dots.
- Complete your picture by adding a small block of cheese at the bottom right.
This post contains affiliate links. As an Amazon Associate I earn from qualifying purchases.
A cheese grater is a great first kitchen drawing because it is built from simple shapes. You start with two slanted sides and a curved bottom, add a flat top and an arch handle, and fill the front with rows of round dots. A little block of cheese sitting at the bottom right finishes the picture.
- Easy
- 12 minutes
- 8 steps
You need: paper, a pencil, an eraser, and crayons or markers for coloring.
Start drawing


In this article (7 sections)
How to draw a cheese grater step by step
How to Draw a Cheese Grater · tinyhandscreate.com
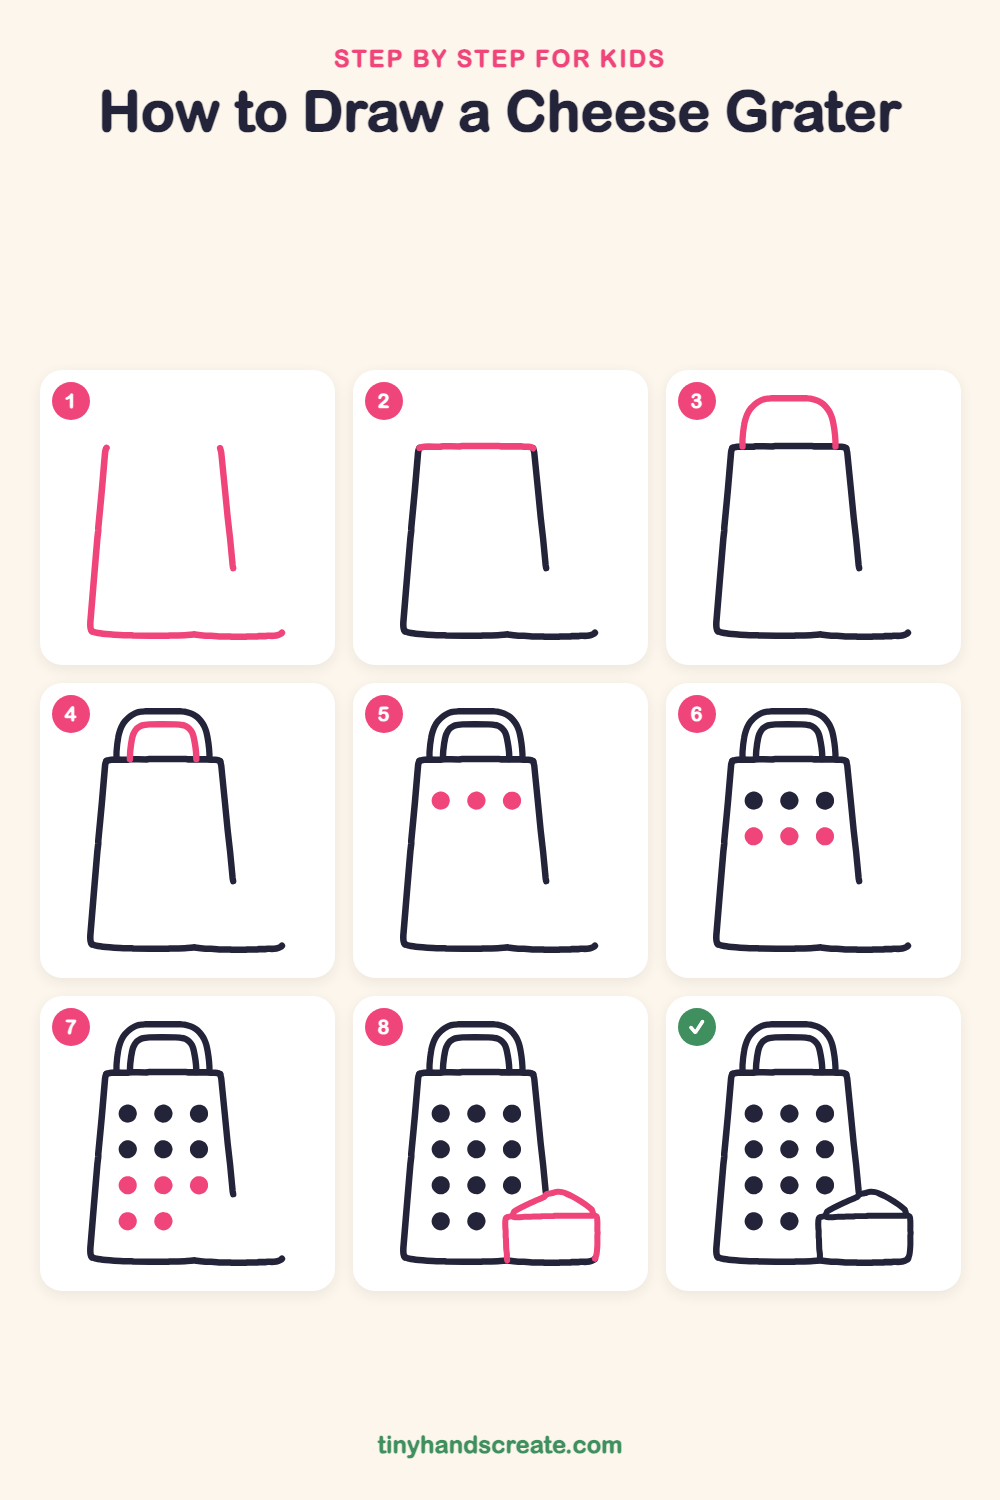
Step 1: Sides and bottom
Draw two slanted lines that start near the top and spread apart as they go down, the left one taller than the right one. Then draw a long, gently curved line along the bottom that joins the left side and stretches out to the right.
Step 2: The top bar
Draw a short, straight line across the top that connects the tops of the two slanted sides.
Step 3: The big handle
Draw a tall arch, like an upside-down U with rounded corners, sitting on the top bar. Start on the left end of the bar and finish on the right end.
Step 4: The inner handle
Draw a smaller arch inside the big one, with its two legs ending on the top bar. This makes the handle look thick.
Step 5: Top row of holes
Draw three round dots in a row near the top of the grater body. Space them evenly, like three buttons.
Step 6: Second row of holes
Draw three more dots in a row under the first ones. Line each one up right below the dot above it.
Step 7: Lower rows of holes
Add another row of three dots, then a last row of two dots under it. Leave empty space at the bottom right.
Step 8: The cheese block
At the bottom right, draw a short box with a flat front. Add a peaked, roof-like shape on top, and let the cheese overlap the grater's lower right corner.
All done!
Go over your lines with a marker, then color it in.
Finished your cheese grater? Keep the pencils out and learn how to draw a rocket or how to draw a shooting star next.
Tips for drawing a cheese grater
- Draw the two sides lightly first, so the top is narrower than the bottom and both sides slant the same amount.
- Make the two handle arches follow the same curve, with the smaller one tucked inside the big one, and keep the space between them even.
- For the dots, draw the first row, then place each new dot right below the one above it so the rows stay neat. Stop the last row after two dots to make room for the cheese.
Free cheese grater coloring page
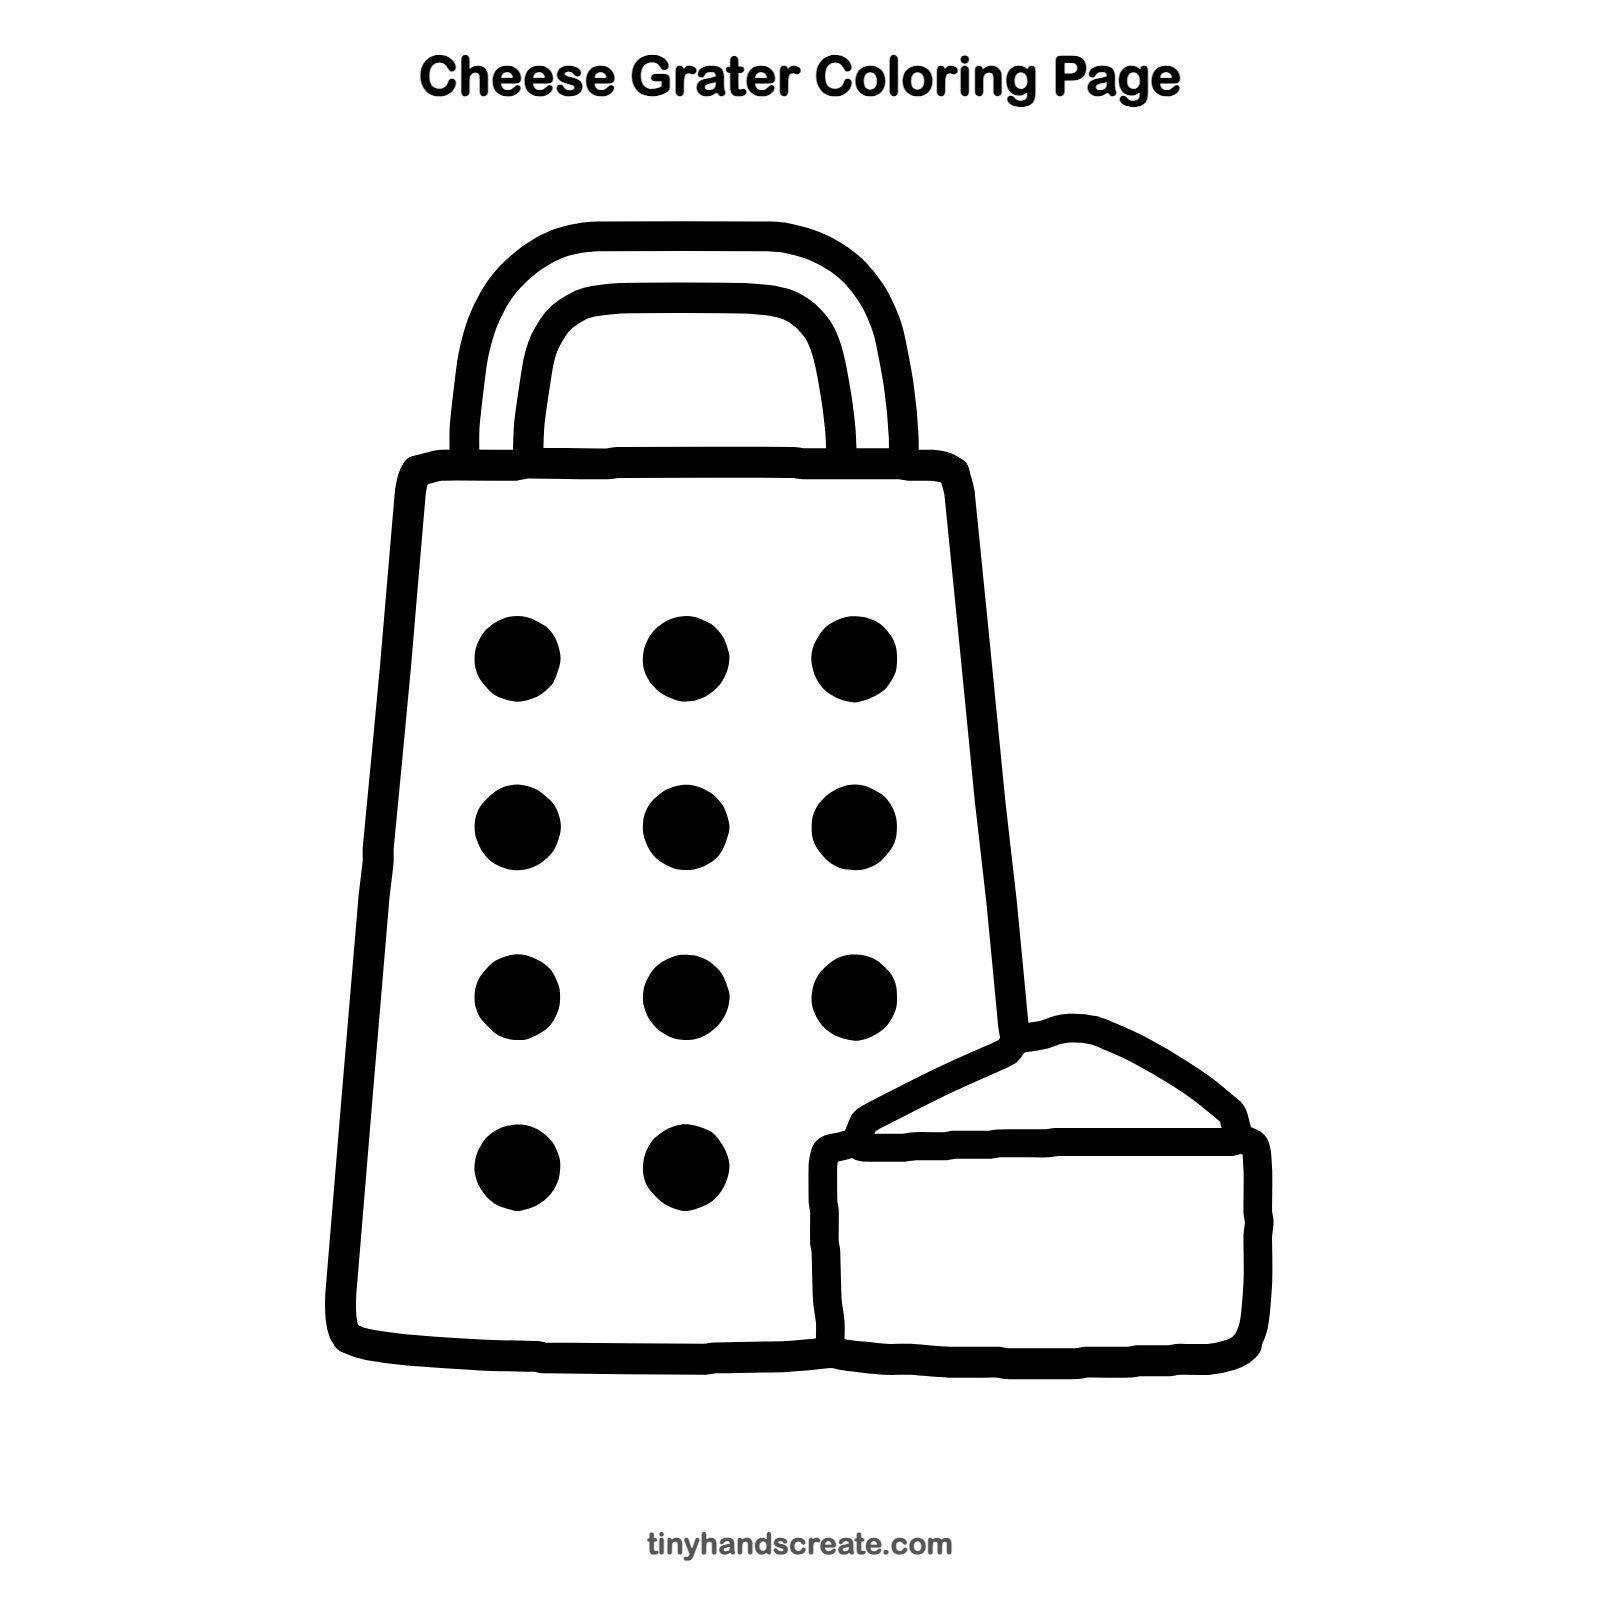
Want to go straight to coloring? Open this cheese grater coloring page at full size and print it. It is the same drawing you just learned, with clean lines ready for crayons or markers.
How to color your cheese grater drawing
Color the grater silver or light gray and the cheese a warm yellow or orange. For a creative twist, give the handle a bright color or turn each dot a different color.
Cheese grater fun fact for kids
Cheese graters are kitchen tools with lots of small sharp-edged holes that shave hard cheese into thin shreds.
Questions about drawing a cheese grater
What shapes do I need to draw a cheese grater?
You need two slanted lines and a curved line for the body, a flat line for the top, two arches for the handle, and round dots for the holes. The cheese is a short box with a peaked top.
How do I make the dots on my grater look even?
Draw the first row, then use it as a guide for the rows below. Put each new dot straight under the one above and keep the gaps about the same size.
How do I make my cheese grater look more real?
Make the body a little wider at the bottom than at the top, and draw a double-line handle so it looks thick. Coloring the cheese a soft yellow also helps it stand out.