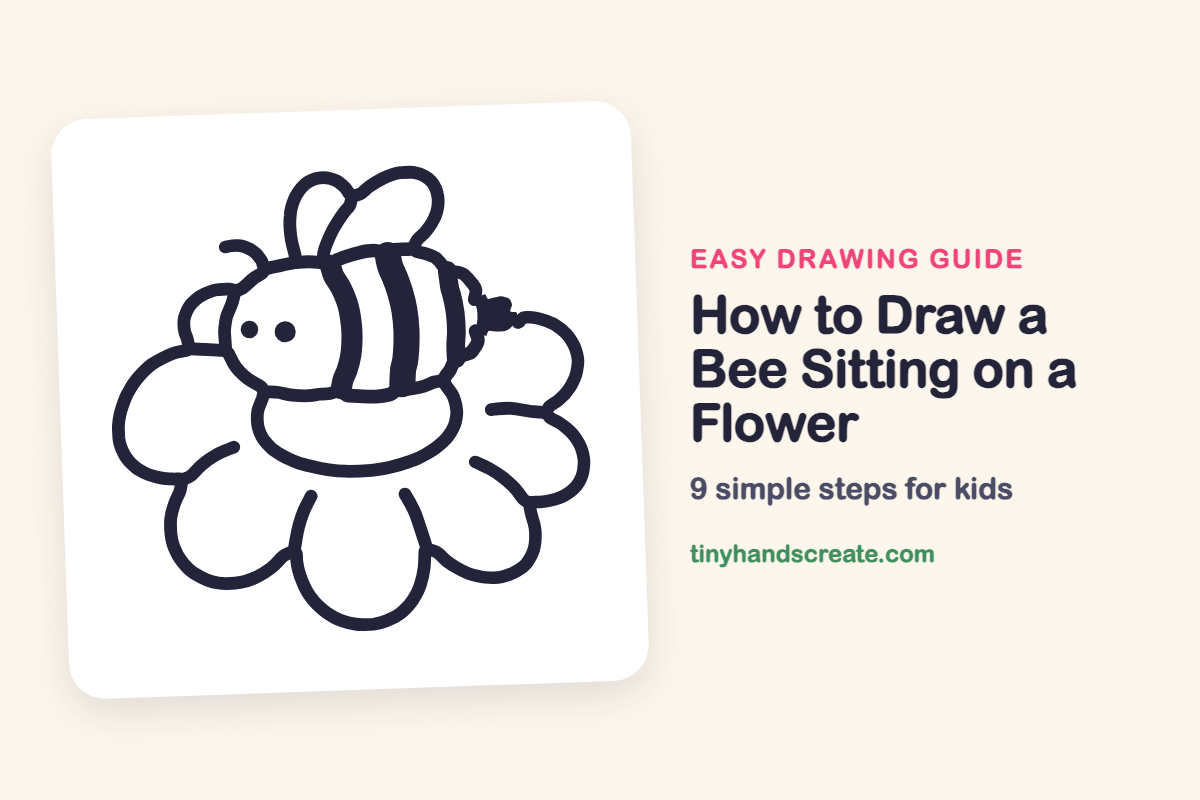
How to Draw a Bee Sitting on a Flower (Easy Step by Step)
A bee sitting on a big, happy flower is a fun way to practice drawing with simple shapes. The bee is a fuzzy oval with a curly antenna, two leaf-shaped wings, and three curved stripes. The flower is a round bowl for the center with bumpy petals all around it.
- Easy
- 15 minutes
- 9 steps
You need: paper, a pencil, an eraser, and crayons or markers for coloring.
Start drawing


In this article (7 sections)
How to draw a bee sitting on a flower step by step
How to Draw a Bee Sitting on a Flower · tinyhandscreate.com
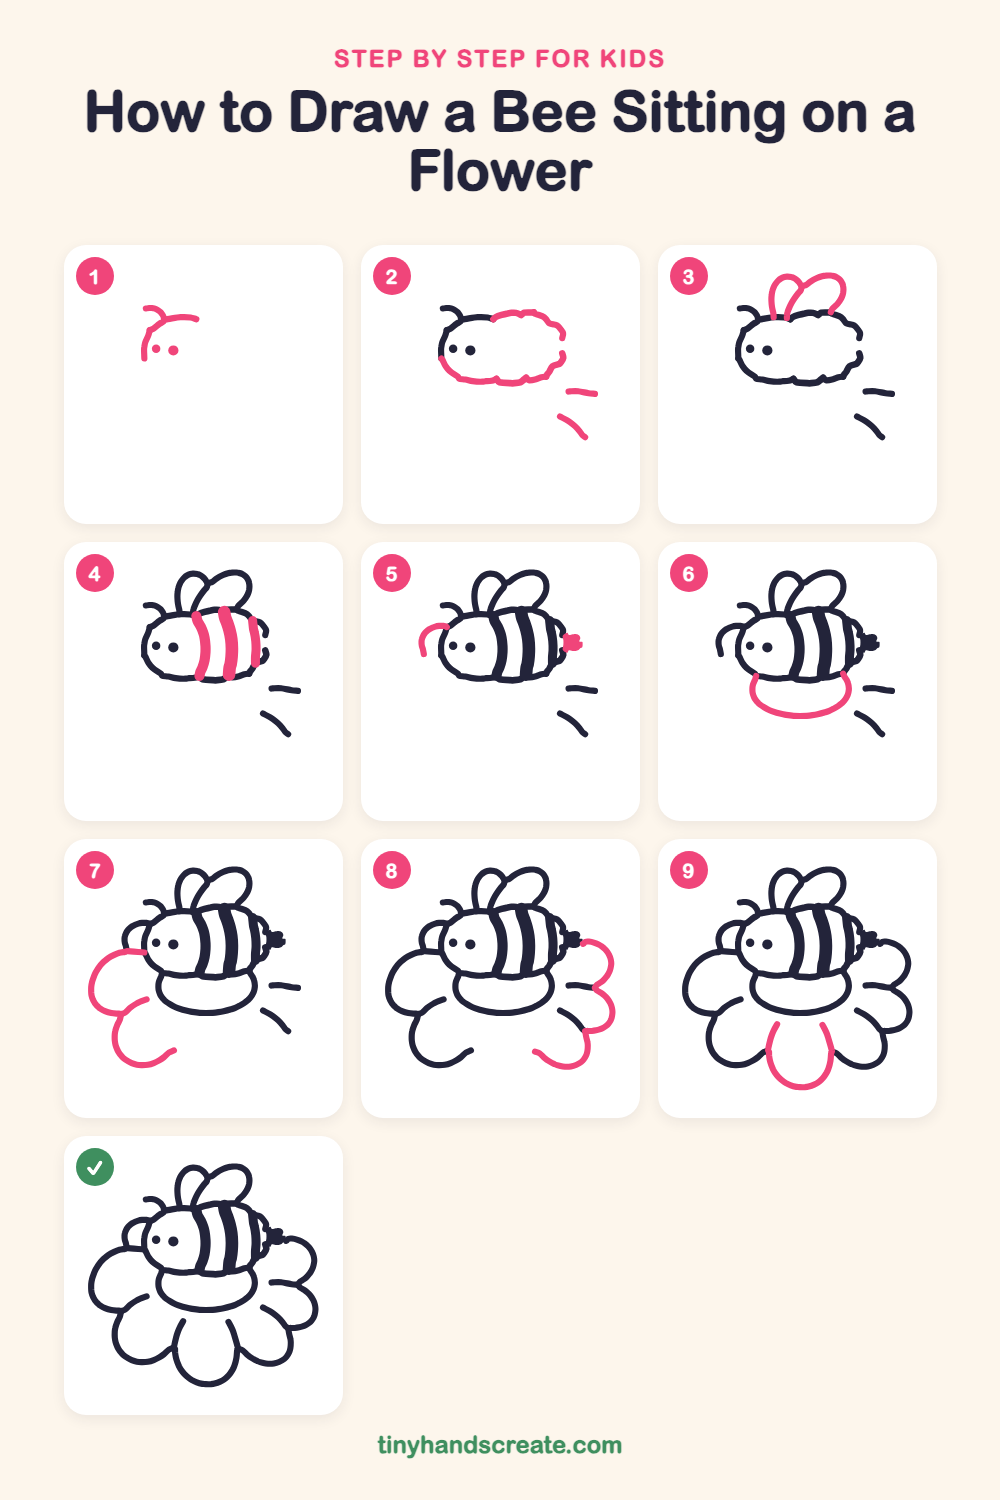
Step 1: Face start and eyes
Draw a short curved line for the top left of the face, with a little curl on top for the antenna. Then add two small dots below it for the eyes.
Step 2: Fuzzy body and speed lines
Finish the outline by drawing a big, bumpy oval that wraps around the eyes from the face line, like a fuzzy round head and body in one. Then add two short curved lines at the lower right.
Step 3: Two wings
On top of the body, draw two skinny loops that lean toward each other, like two leaves. Let them start and end on the top edge of the body.
Step 4: Bee stripes
Draw three curved stripes across the body from top to bottom, like bendy bars. Make them bend the same way.
Step 5: Side curve and stinger
Draw a small curved line on the left side of the face. Then add a tiny stinger, a little blob, at the right end of the body.
Step 6: Flower center
Under the bee, draw a curved bowl shape like the bottom half of an oval. Start and end it on the bee's body so it looks like a cushion.
Step 7: Left petals
On the left, draw one big round loop that starts near the bee's face and bumps outward. Then draw a second round loop just below it, so the two petals touch.
Step 8: Right petals
On the right, draw two round, bumpy loops, one above the other, starting near the stinger. Then add a curve at the bottom right that starts a new petal.
Step 9: The bottom petal
Finish with one big U-shaped petal at the bottom, between the other petals. Start both ends of the curve under the flower center.
All done!
Go over your lines with a marker, then color it in.
Finished your bee sitting on a flower? Keep the pencils out and learn how to draw a fox or how to draw a hedgehog next.
Tips for drawing a bee sitting on a flower
- Draw the face and eyes first, then wrap the bumpy oval around them. The bee will look like one fuzzy little creature.
- Draw the stripes as curved lines that bend the same way. Straight lines would make the body look flat.
- For the petals, think of big, fat loops with rounded ends. If one comes out lopsided, it still looks like a real flower.
Free bee sitting on a flower coloring page
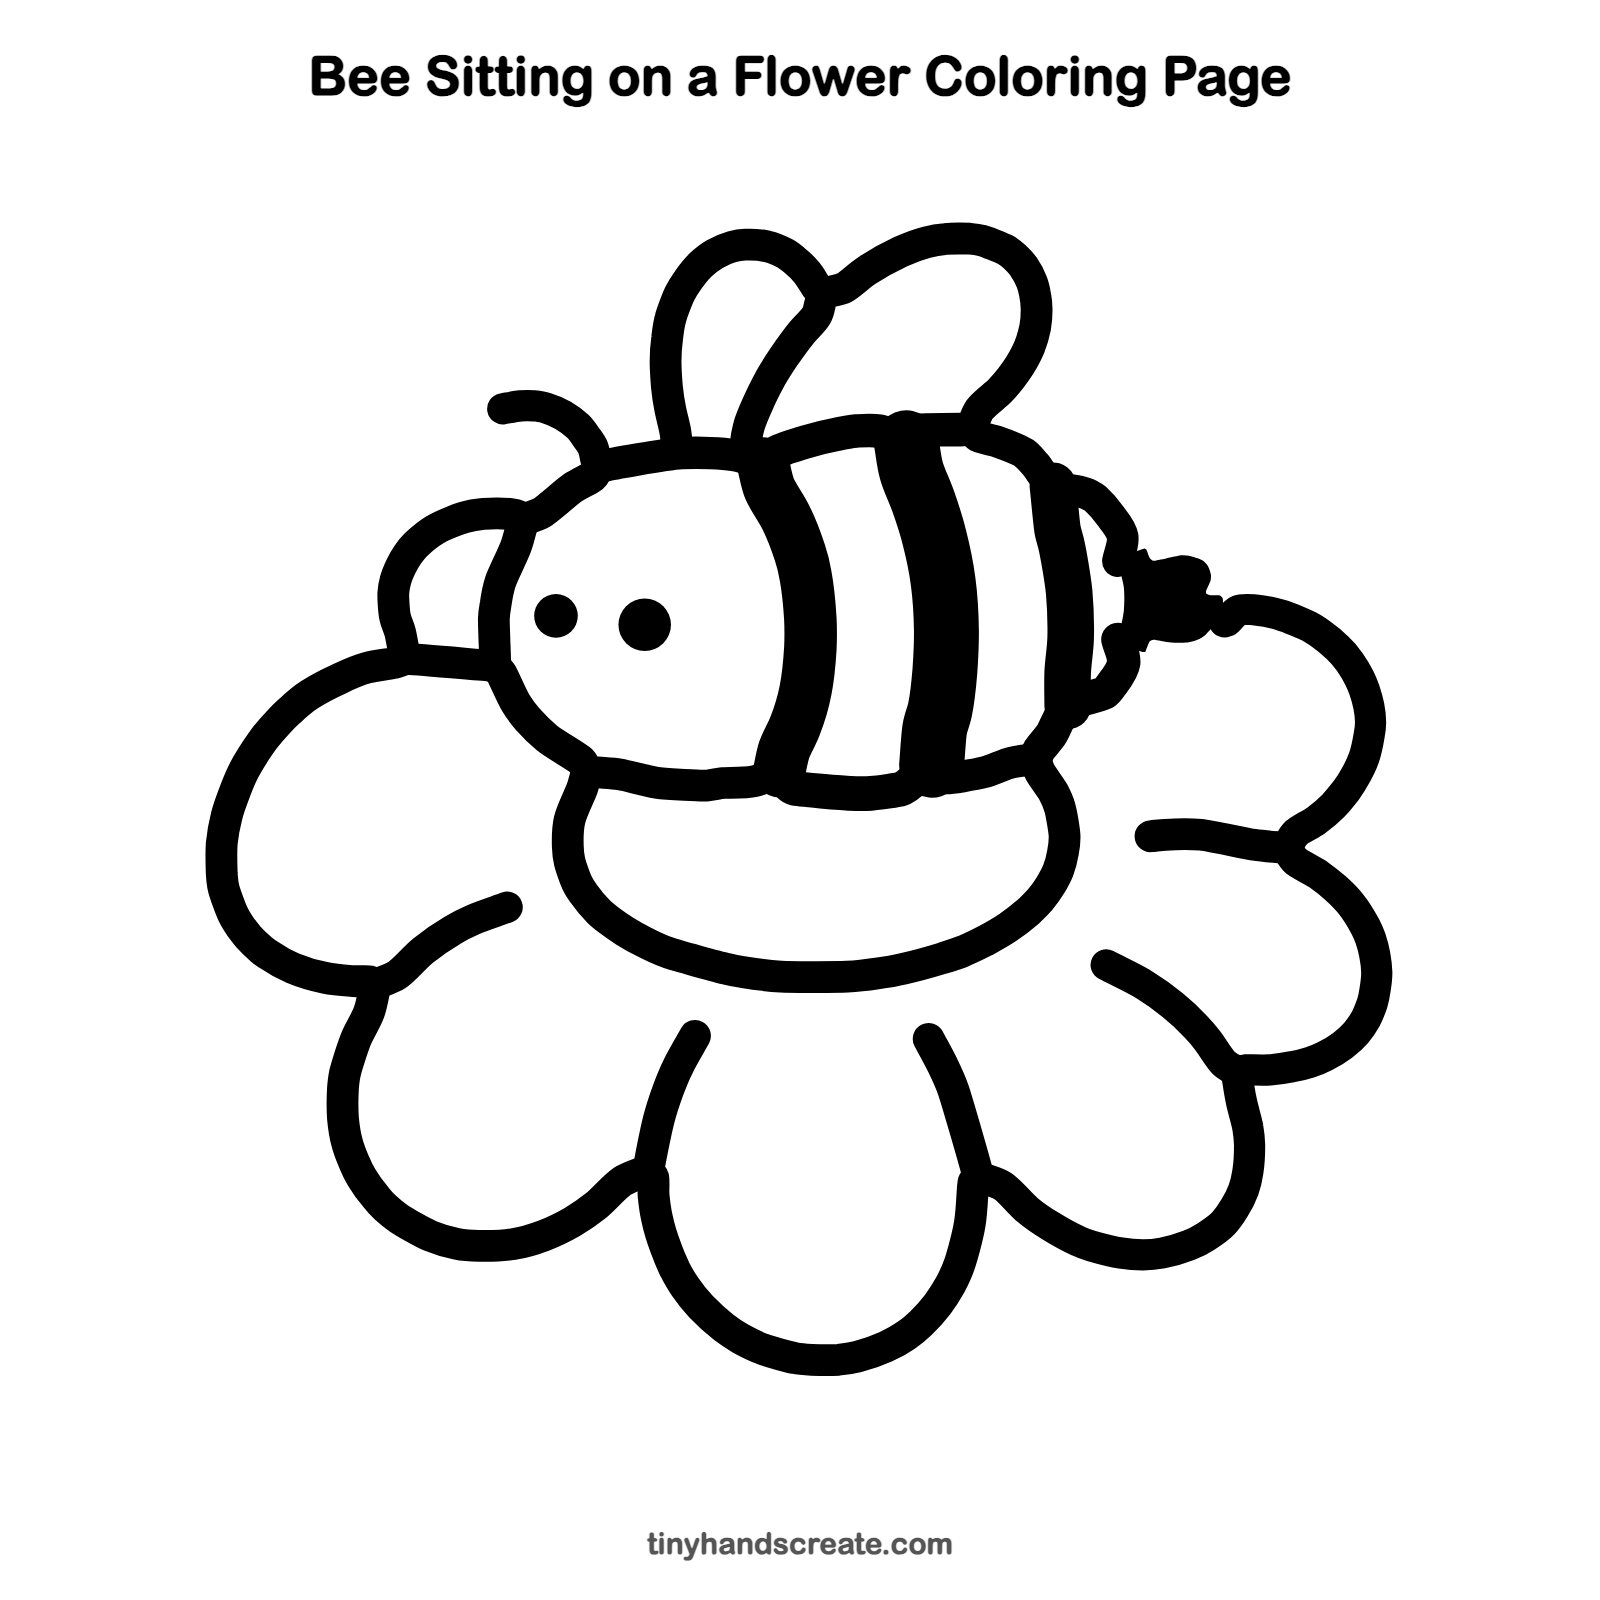
Want to go straight to coloring? Open this bee sitting on a flower coloring page at full size and print it. It is the same drawing you just learned, with clean lines ready for crayons or markers.
How to color your bee sitting on a flower drawing
Color the bee yellow and black, and make the flower pink, purple, or bright orange. For a creative twist, give each petal a different color so the flower looks like a rainbow.
Bee sitting on a flower fun fact for kids
A honeybee has five eyes: two large ones on the sides of its head and three tiny ones on top.
Questions about drawing a bee sitting on a flower
What shapes do I need to draw a bee on a flower?
You need a bumpy oval for the body, two loops for the wings, and curved lines for the stripes. The flower uses a round bowl shape for the center and rounded loops for the petals.
How do I make my bee look cuter?
Make the eyes small, round dots near the front of the face. A curly antenna and a bumpy, fuzzy outline also help.
Why do my petals look uneven?
Every flower has petals that are a little different, so uneven ones are fine. Try drawing them one at a time, and let them touch each other.