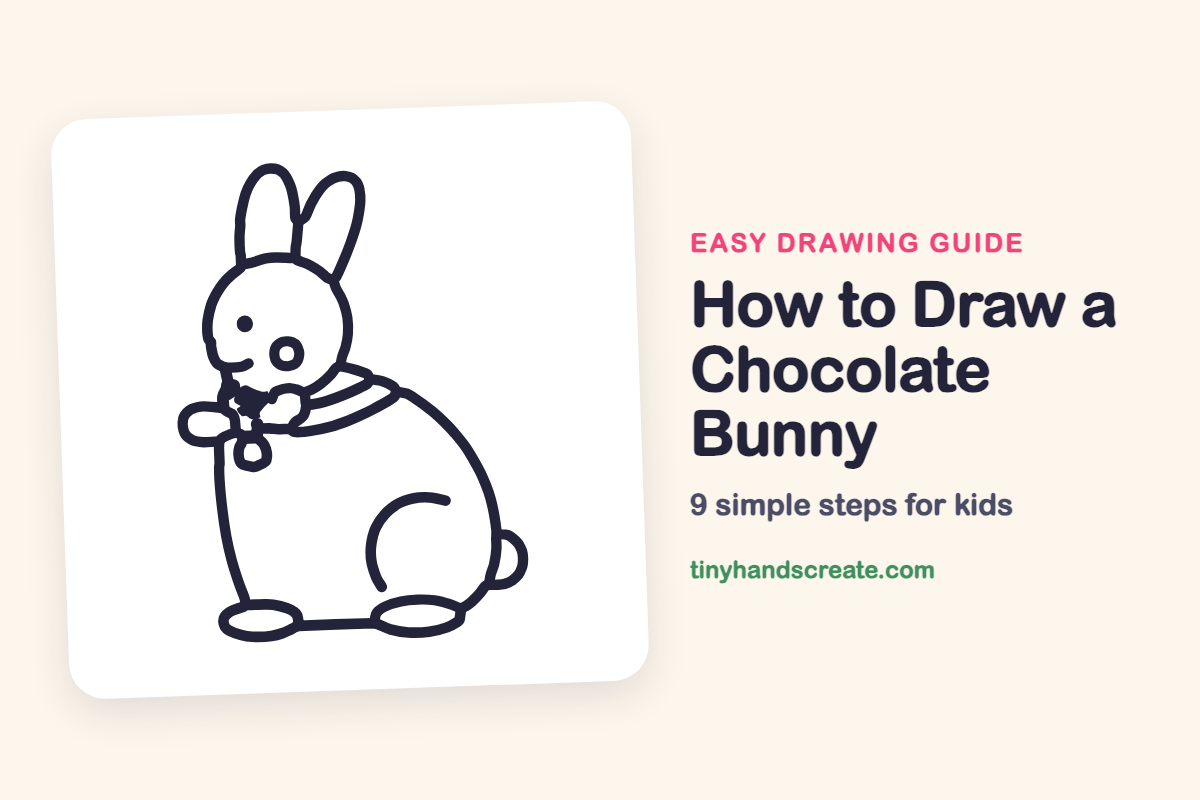
How to Draw a Chocolate Bunny (Easy Step by Step)
A chocolate bunny is a fun first animal to draw because it is made of just a few simple shapes. You will use a circle for the head, long ears, flat ovals for the feet and a round curve for the back. A bow with a little charm makes it look ready for a holiday treat.
- Easy
- 15 minutes
- 9 steps
You need: paper, a pencil, an eraser, and crayons or markers for coloring.
Start drawingIn this article (7 sections)
How to draw a chocolate bunny step by step
How to Draw a Chocolate Bunny · tinyhandscreate.com
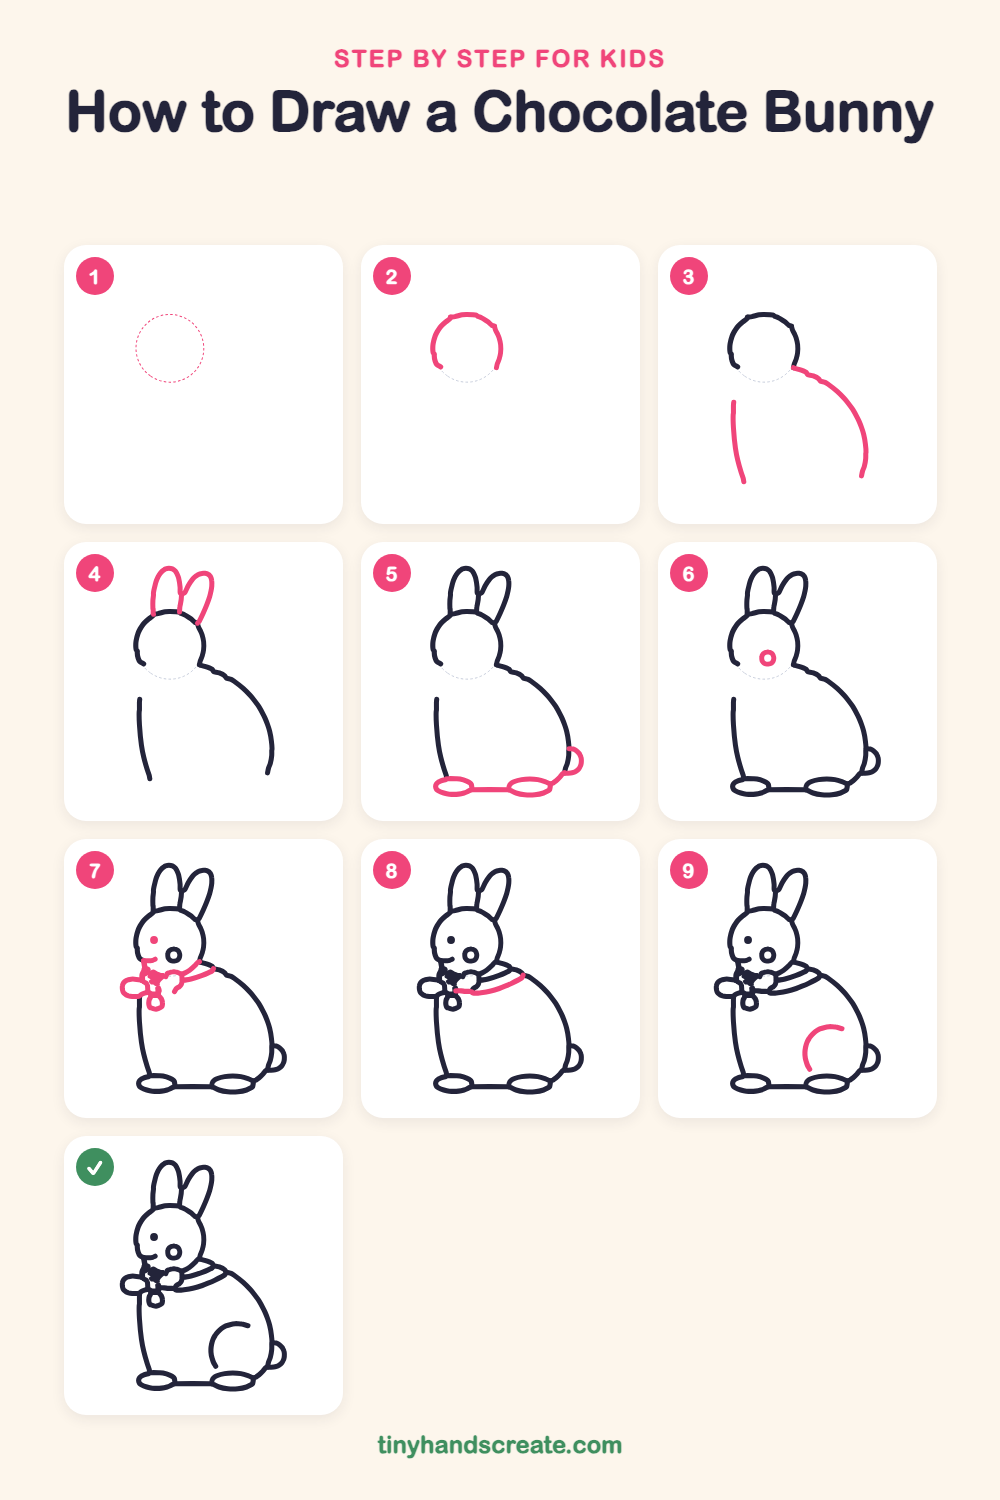
Step 1: Guide shapes
Lightly sketch this oval. It only shows where the big parts go, so press softly. You will erase it at the end.
Step 2: The head
Draw most of a big circle for the bunny's head, a little to the left of the page. Stop before you close it and leave a gap along the bottom, where the neck will go.
Step 3: Back and front line
Start at the right side of the head and draw a long curve that bulges out and down to make the bunny's back. Then draw a straight, slightly curved line going down from the left side, below the head, for the front of the body.
Step 4: The long ears
Draw two tall, skinny ears standing up from the top of the head. Make the right ear lean a little outward and tuck it behind the left ear.
Step 5: Feet and tail
Draw two flat ovals at the bottom for the feet and join them with a straight line. Add a small round tail, like a half circle, on the right side where the back meets the ground.
Step 6: The nose
Draw a small ring on the face, near the left side of the head, for the nose.
Step 7: Eye, smile and bow
Add a small dot for the eye above the nose and a tiny curved smile on the left. Under the chin, draw a bow with a loop on the left, a little knot in the middle and a small charm hanging below. Then draw a curved line from the bow to the right side of the neck.
Step 8: The collar
Draw a second curved line below the first one, from the bow across to the right side of the neck, so the collar looks like a double band.
Step 9: The back leg
Inside the body, near the bottom right, draw a curved line shaped like a letter C turned on its side to show the bunny's round back leg.
All done!
Erase the guide shapes, go over your lines, then color it in.
Finished your chocolate bunny? Keep the pencils out and learn how to draw a jar of jelly beans or how to draw a duckling next.
Tips for drawing a chocolate bunny
- Draw the head circle lightly and leave a gap along the bottom, so the neck and body can join it smoothly.
- Make the bow with a loop on the left, a small knot in the middle and a charm hanging down. Take your time, because it is the smallest part of the drawing.
- Draw the back leg as one smooth curve. Try it lightly in pencil first, then trace over it when it looks right.
Free chocolate bunny coloring page
Want to go straight to coloring? Open this chocolate bunny coloring page at full size and print it. It is the same drawing you just learned, with clean lines ready for crayons or markers.
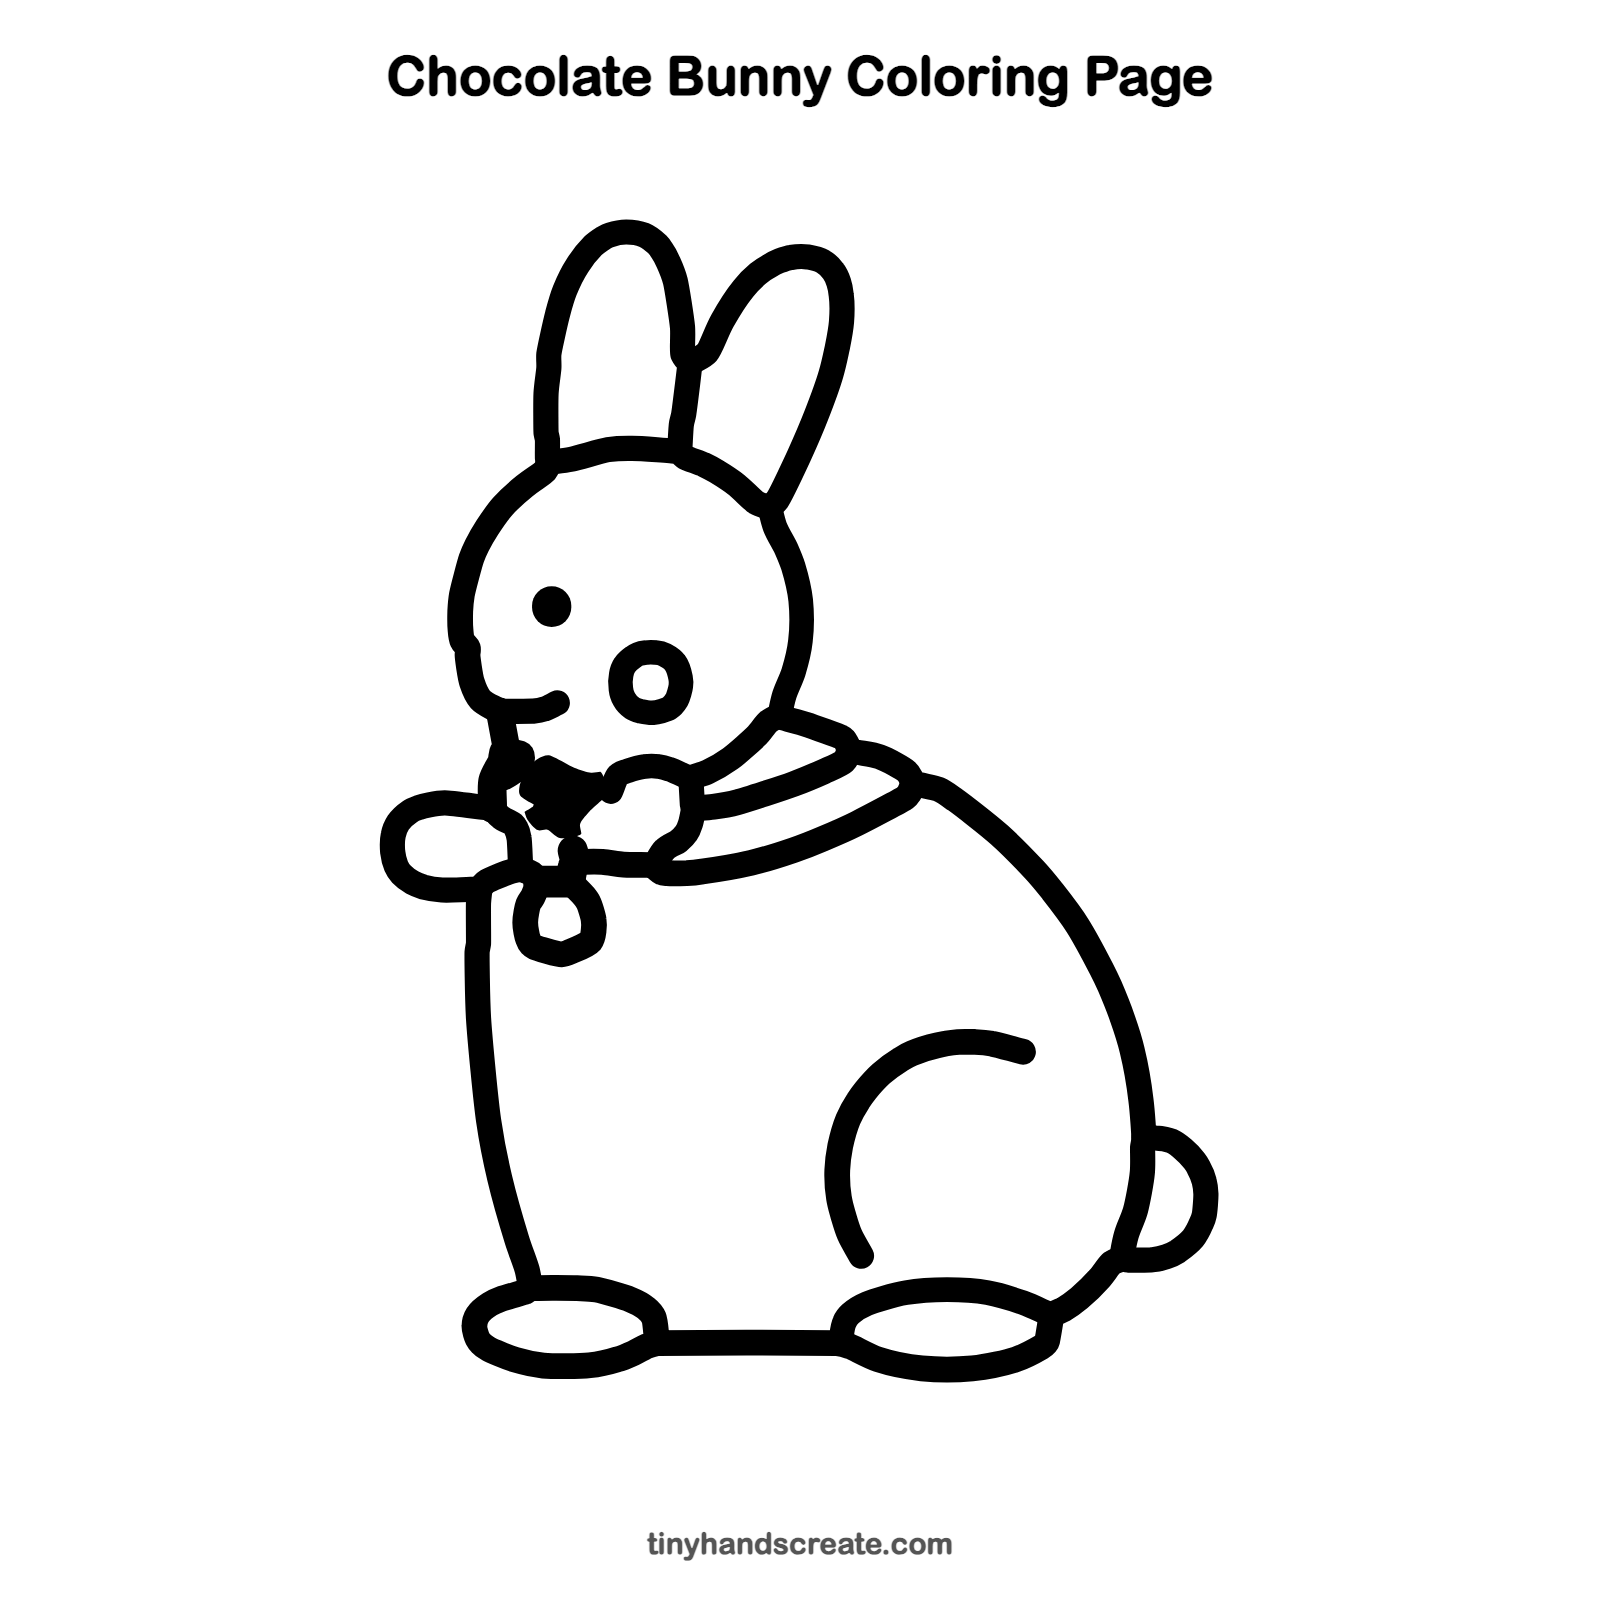
How to color your chocolate bunny drawing
Color the whole bunny in shades of brown, like milk chocolate, and make the bow a bright color like red or blue. For a creative twist, color the bunny in shiny foil colors, like a real candy.
Chocolate bunny fun fact for kids
Chocolate bunnies are often made in a hollow mold, so the bunny is chocolate on the outside and empty on the inside. Many families enjoy them at Easter in the spring.
Questions about drawing a chocolate bunny
What shapes do I need to draw a chocolate bunny?
You need a circle for the head, two long ears, two flat ovals for the feet and a big curve for the back. A small half circle makes the tail.
How do I make my chocolate bunny look cuter?
Make the eye a small round dot and the nose a little ring. Tall ears and a neat bow with a charm also help the bunny look sweet.
Why does my bunny's body look lopsided?
Try drawing the back as one smooth curve from the head down to the ground, and keep the front line close to straight. Sketch both lightly first, then go over them once the shape looks even.