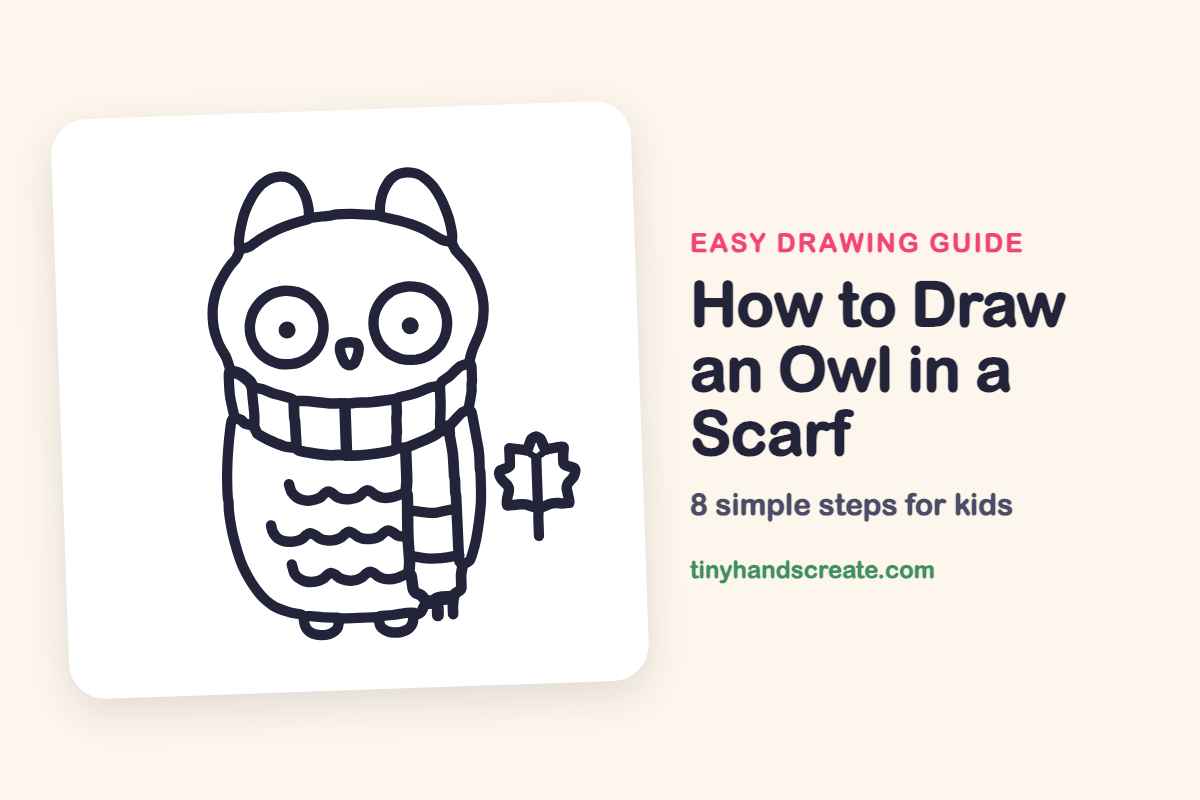
How to Draw an Owl in a Scarf (Easy Step by Step)
This owl is cozy, round, and a little silly, with huge eyes and a striped scarf. It starts with one simple body outline, then adds circles, a tiny beak, and a few wavy lines, so it is a friendly first drawing for young artists. The small maple leaf next to it adds a fall feeling.
- Medium
- 15 minutes
- 8 steps
You need: paper, a pencil, an eraser, and crayons or markers for coloring.
Start drawingIn this article (7 sections)
How to draw an owl in a scarf step by step
How to Draw an Owl in a Scarf · tinyhandscreate.com
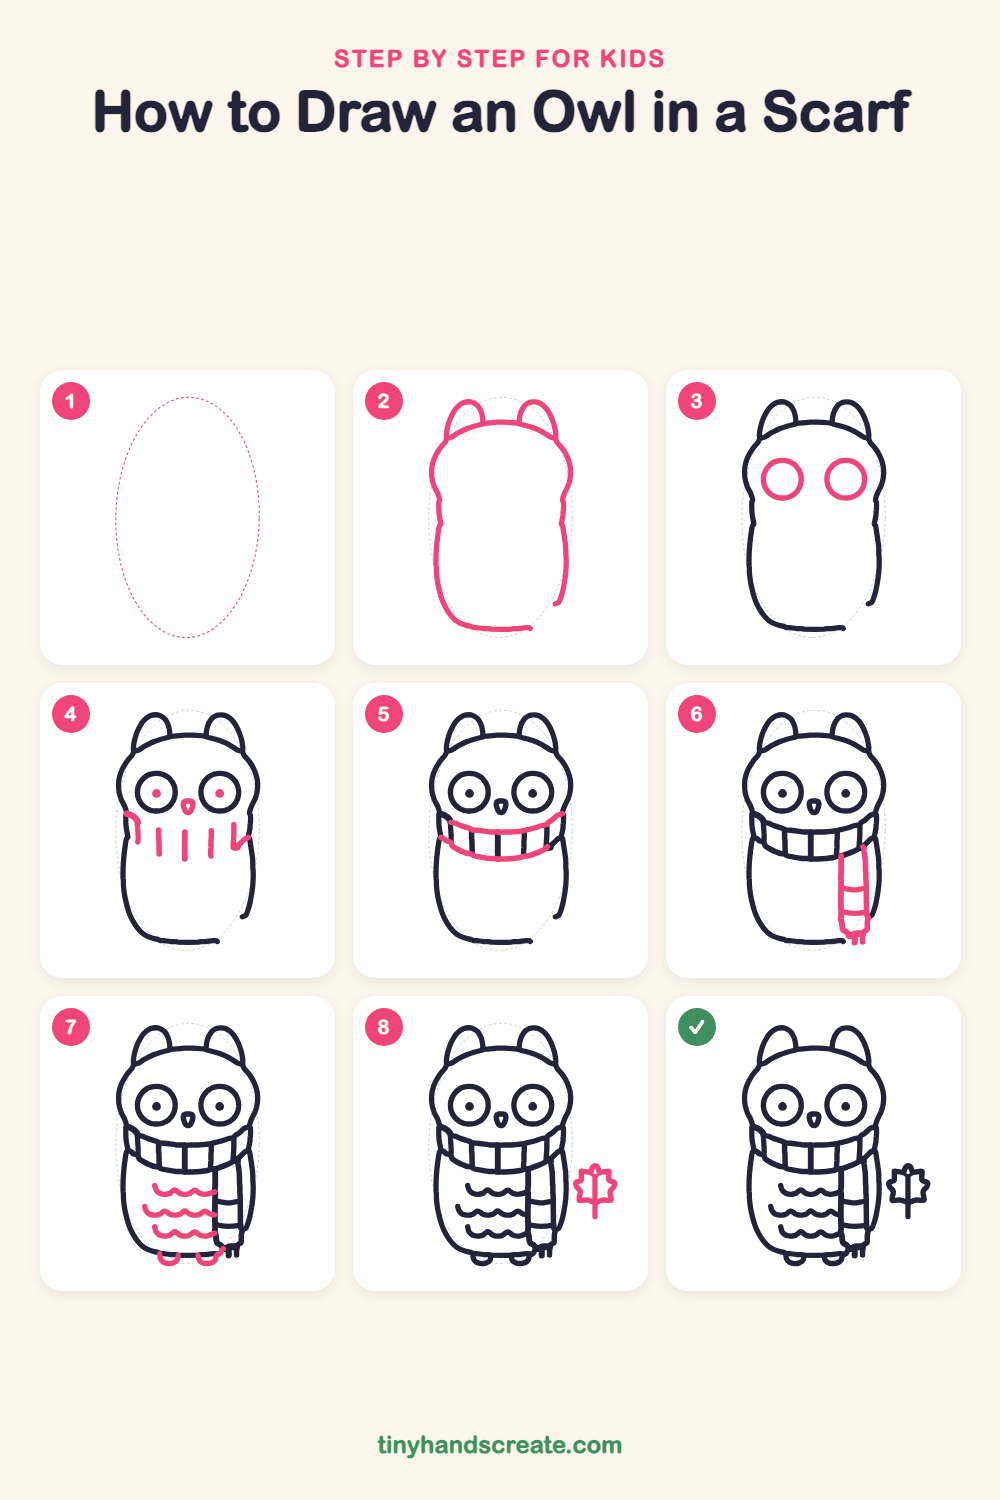
Step 1: Guide shapes
Lightly sketch this oval. It only shows where the big parts go, so press softly. You will erase it at the end.
Step 2: Head, ears and body
Draw one long outline that starts with a wide rounded head. Add a small pointy ear on each side of the top, then keep going down into a plump, round body that stops near the bottom.
Step 3: Big eyes
Draw two big circles side by side in the middle of the head. Keep them empty for now and try to make them the same size.
Step 4: Pupils, beak and stripes
Put a small dot in the middle of each eye. Draw a tiny rounded triangle pointing down between the eyes for the beak, then add a row of short up-and-down lines under the face for the scarf stripes.
Step 5: The scarf band
Draw one curved line across the owl's neck from side to side, and a second curve below it. The short up-and-down lines from before sit between them to make a striped band.
Step 6: The hanging scarf
On the owl's right side, draw a narrow strip hanging down from the scarf. Add two short lines across it for stripes, and finish with little fringe lines at the bottom.
Step 7: Feathers and feet
Draw three rows of little wavy lines across the tummy for feathers. Then add two small curved feet at the bottom of the body.
Step 8: A maple leaf
Next to the owl, draw a leaf with pointy zigzag edges. Add a short stem at the bottom and a line up the middle.
All done!
Erase the guide shapes, go over your lines, then color it in.
Finished your owl in a scarf? Keep the pencils out and learn how to draw a kid raking leaves or how to draw a kid with a pumpkin next.
Tips for drawing an owl in a scarf
- Draw the head and body as one smooth outline. Take it slowly and let the line curve gently around the plump tummy.
- Draw the two eye circles at the same height. Try making the first one, then match the second one beside it.
- For the feather waves, make little humps in a row, like a sleepy caterpillar. Three short rows are enough.
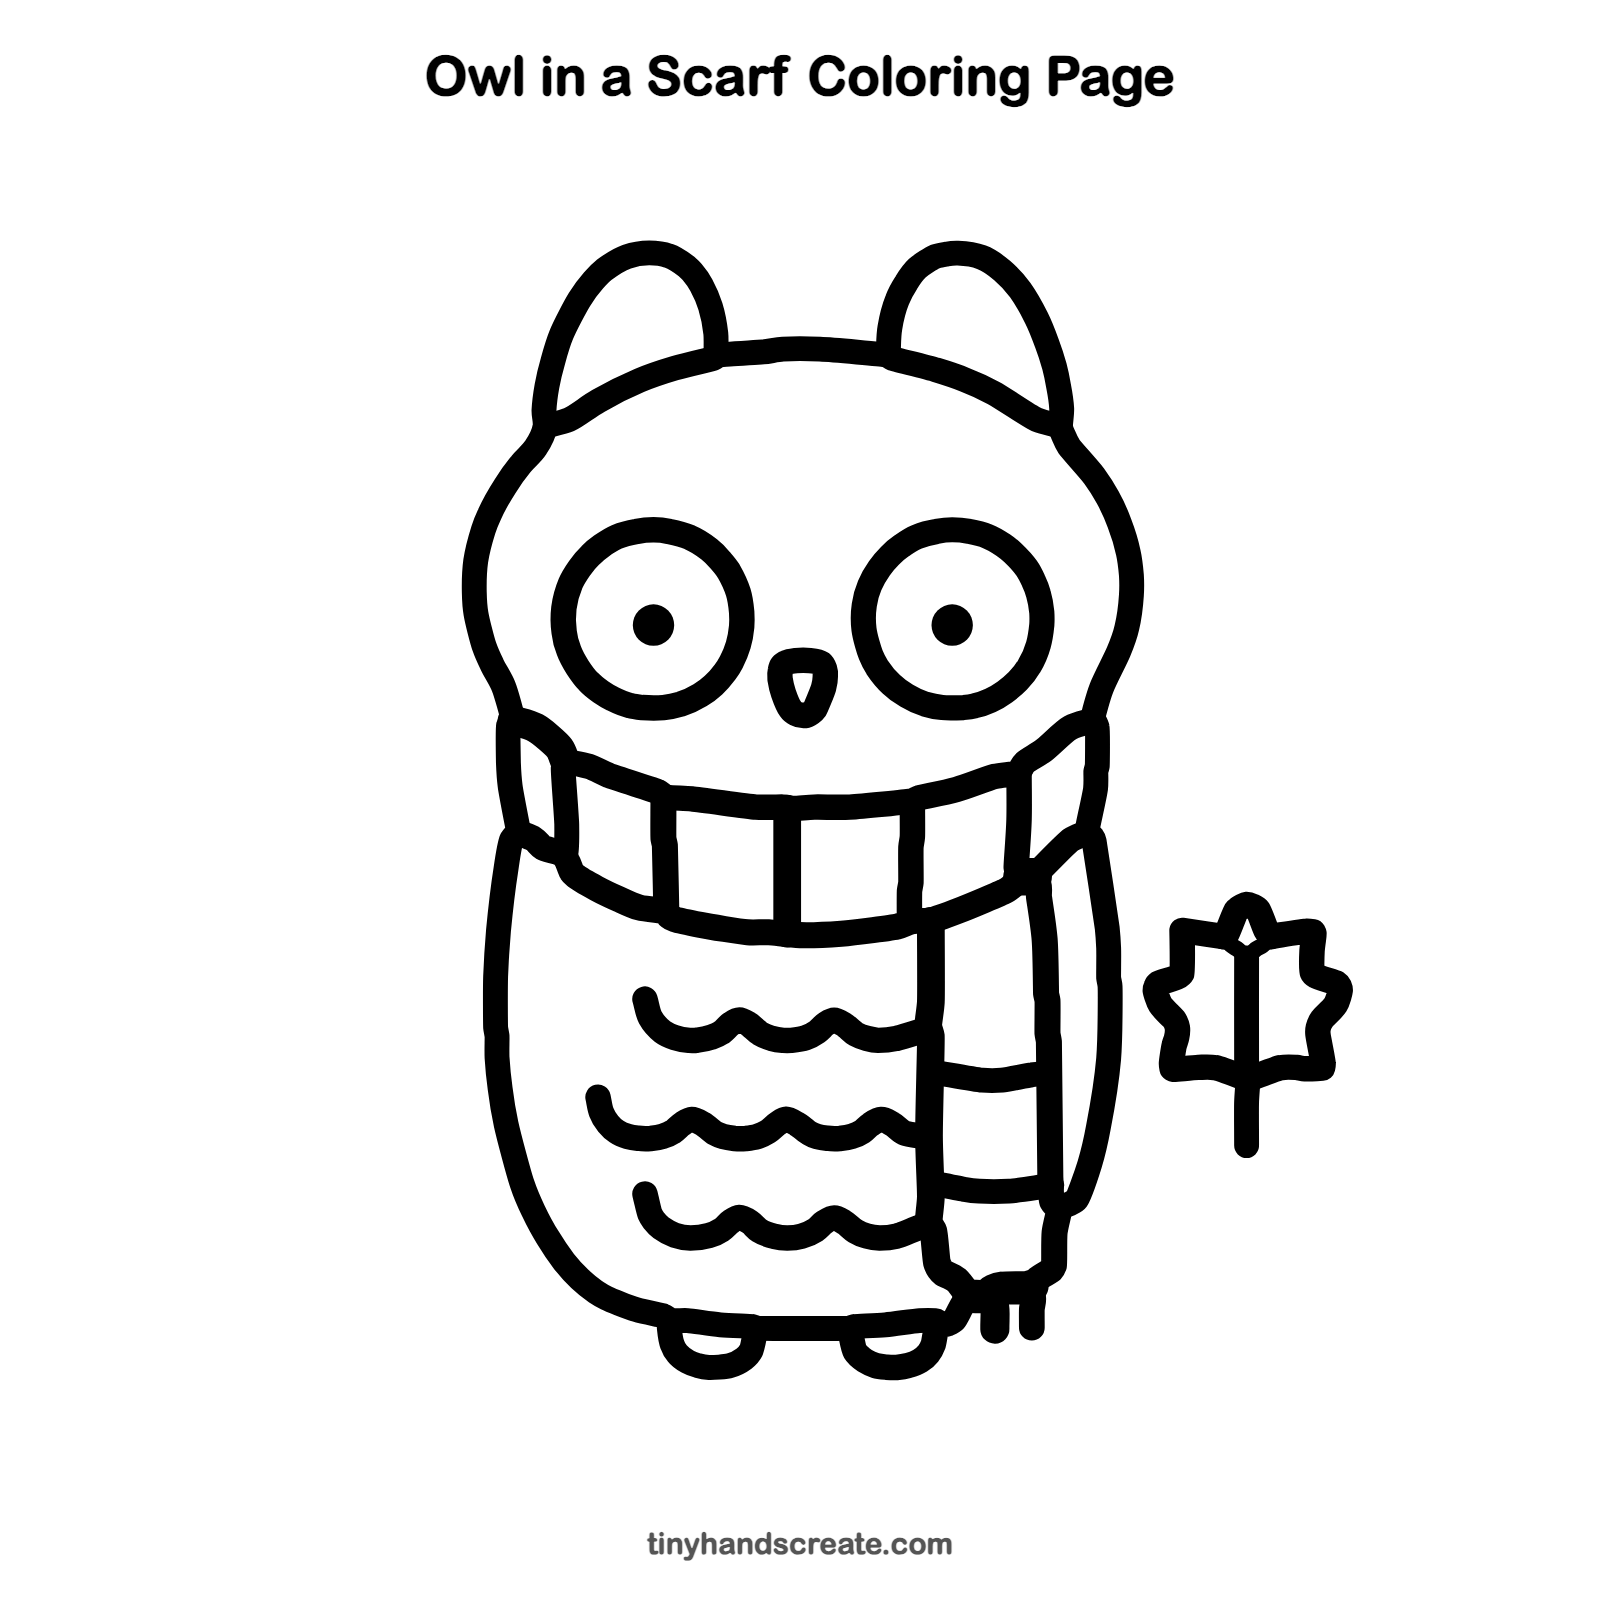
Free owl in a scarf coloring page
Want to go straight to coloring? Open this owl in a scarf coloring page at full size and print it. It is the same drawing you just learned, with clean lines ready for crayons or markers.
How to color your owl in a scarf drawing
Try warm browns and tan for the owl, with a scarf in red and cream stripes, and an orange maple leaf. For a creative twist, give the scarf rainbow stripes.
Owl in a scarf fun fact for kids
Owls cannot move their eyes in their sockets, so they turn their heads instead. Some owls can turn their heads about three quarters of the way around.
Questions about drawing an owl in a scarf
What shapes do I need to draw an owl in a scarf?
You need a rounded outline for the head and body, two circles for the eyes, and a small triangle for the beak. The scarf is made from curved lines and short straight stripes.
How do I make my owl look cuter?
Draw the eyes extra large and put the pupils near the middle. A round, plump body also makes the owl look soft and cuddly.
How long does it take to draw this owl?
Most kids finish in about 15 minutes. Take your time on the scarf stripes, since they have the most small lines.