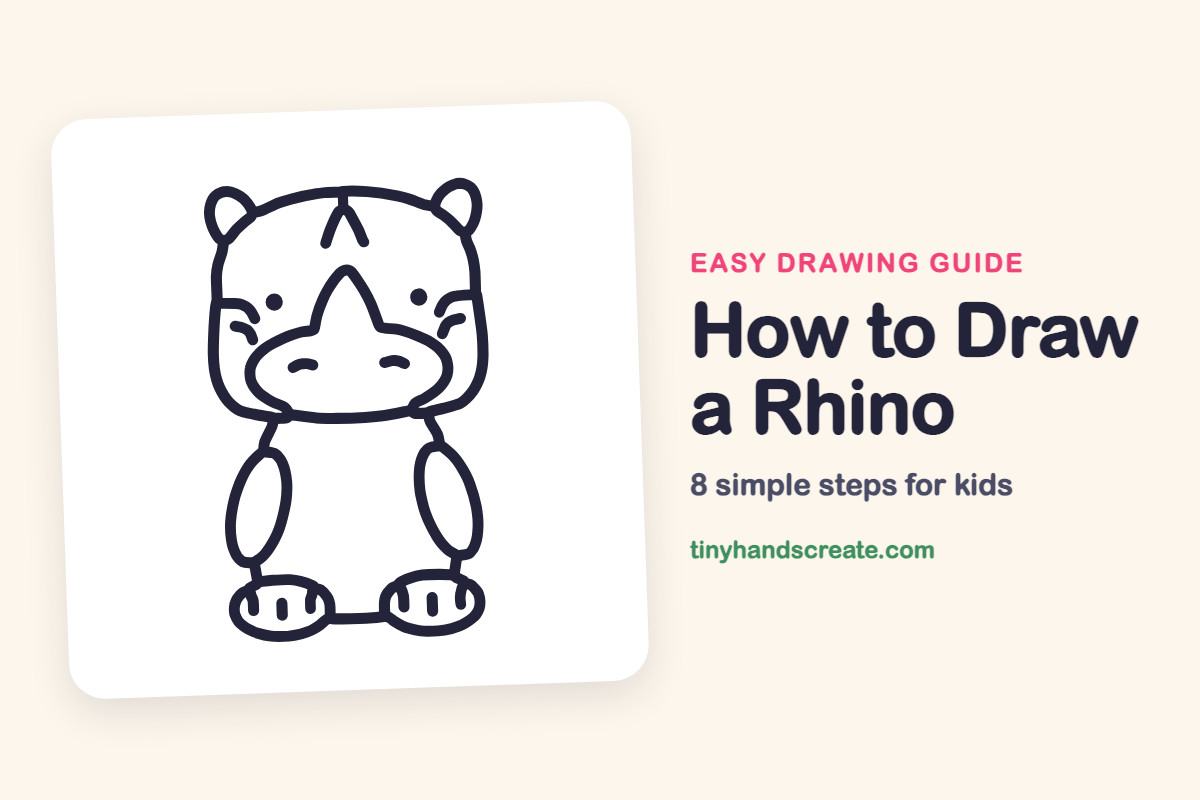
How to Draw a Rhino (Easy Step by Step)
This little rhino is built almost entirely from ovals and curved lines, which makes it a friendly drawing for beginners. You start with a wide head, add a pointy horn, then draw simple oval arms and feet below. The small dot eyes and wrinkle lines give it lots of personality.
- Easy
- 15 minutes
- 8 steps
You need: paper, a pencil, an eraser, and crayons or markers for coloring.
Start drawingIn this article (7 sections)
How to draw a rhino step by step
How to Draw a Rhino · tinyhandscreate.com
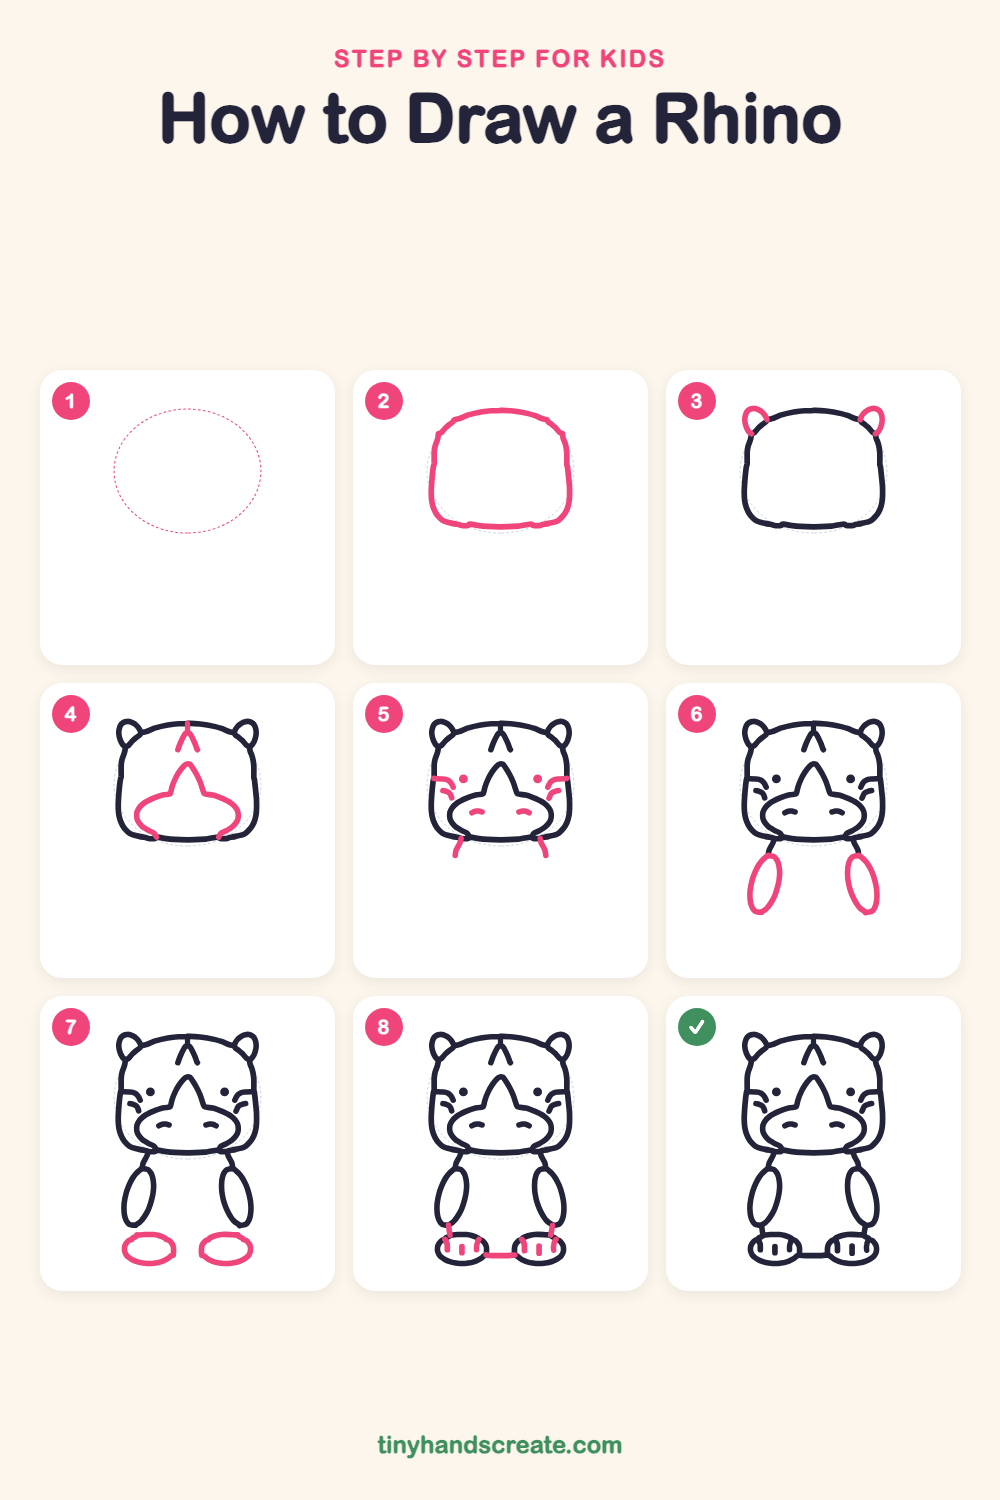
Step 1: Guide shapes
Lightly sketch this oval. It only shows where the big parts go, so press softly. You will erase it at the end.
Step 2: The big head
Draw a wide, rounded shape for the head, like a soft rectangle with a gently curved top and a flat bottom. Keep the sides nice and smooth.
Step 3: Two small ears
Add a small curved ear on each top corner of the head. Each one looks like a little half oval tucked into the corner.
Step 4: Snout and horn
Draw a wide oval snout at the bottom of the face. Then draw a pointy horn rising from the top of the snout like a little mountain, and add a small upside-down V on the forehead.
Step 5: Face and neck
Put a round dot for each eye above the snout. Add two small curved wrinkle lines beside each eye, then draw a tiny curved mark on each side of the snout. Finish with a short line going down from each bottom corner of the head for the neck.
Step 6: Chubby arms
Draw a tall oval on each side below the head for the arms. Tilt them a little so the tops lean in toward the middle.
Step 7: Round feet
Draw a wide, flat oval below each arm for the feet. Leave a gap between them.
Step 8: Toes and tummy
Add three short lines on each foot for toes. Draw a short line from the bottom of each arm down to its foot. Then connect the two feet with a short, straight line to make the bottom of the tummy.
All done!
Erase the guide shapes, go over your lines, then color it in.
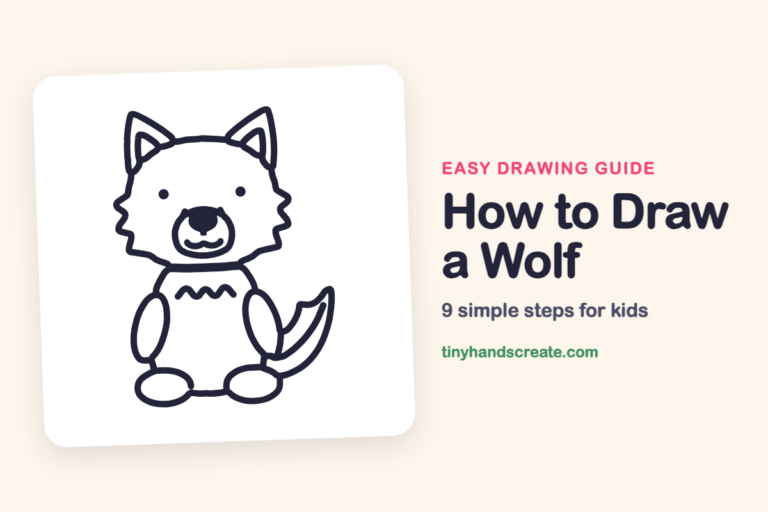
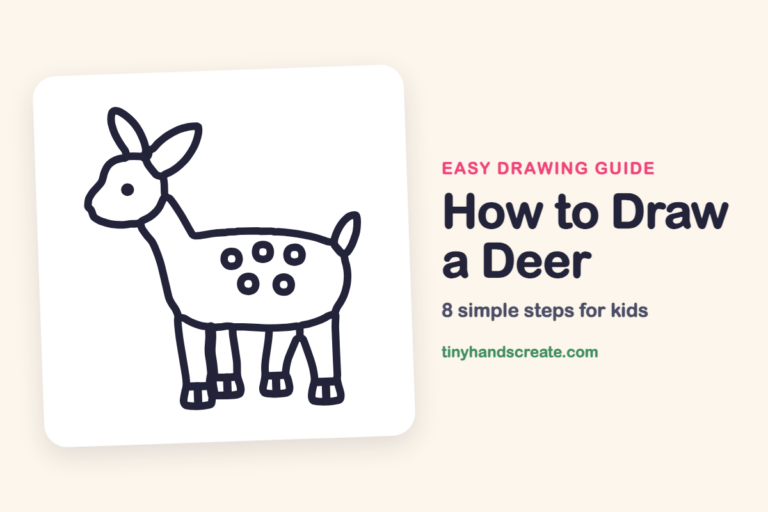
Finished your rhino? Keep the pencils out and learn how to draw a wolf or how to draw a deer next.
Tips for drawing a rhino
- Draw the head wide and short, like a soft rectangle. A wide head is what makes this rhino look cute.
- The horn is the trickiest part. Sketch a small triangle first, then round the sides so it grows out of the top of the snout.
- Draw both arms and both feet at the same height, and check that the two sides look about the same size.
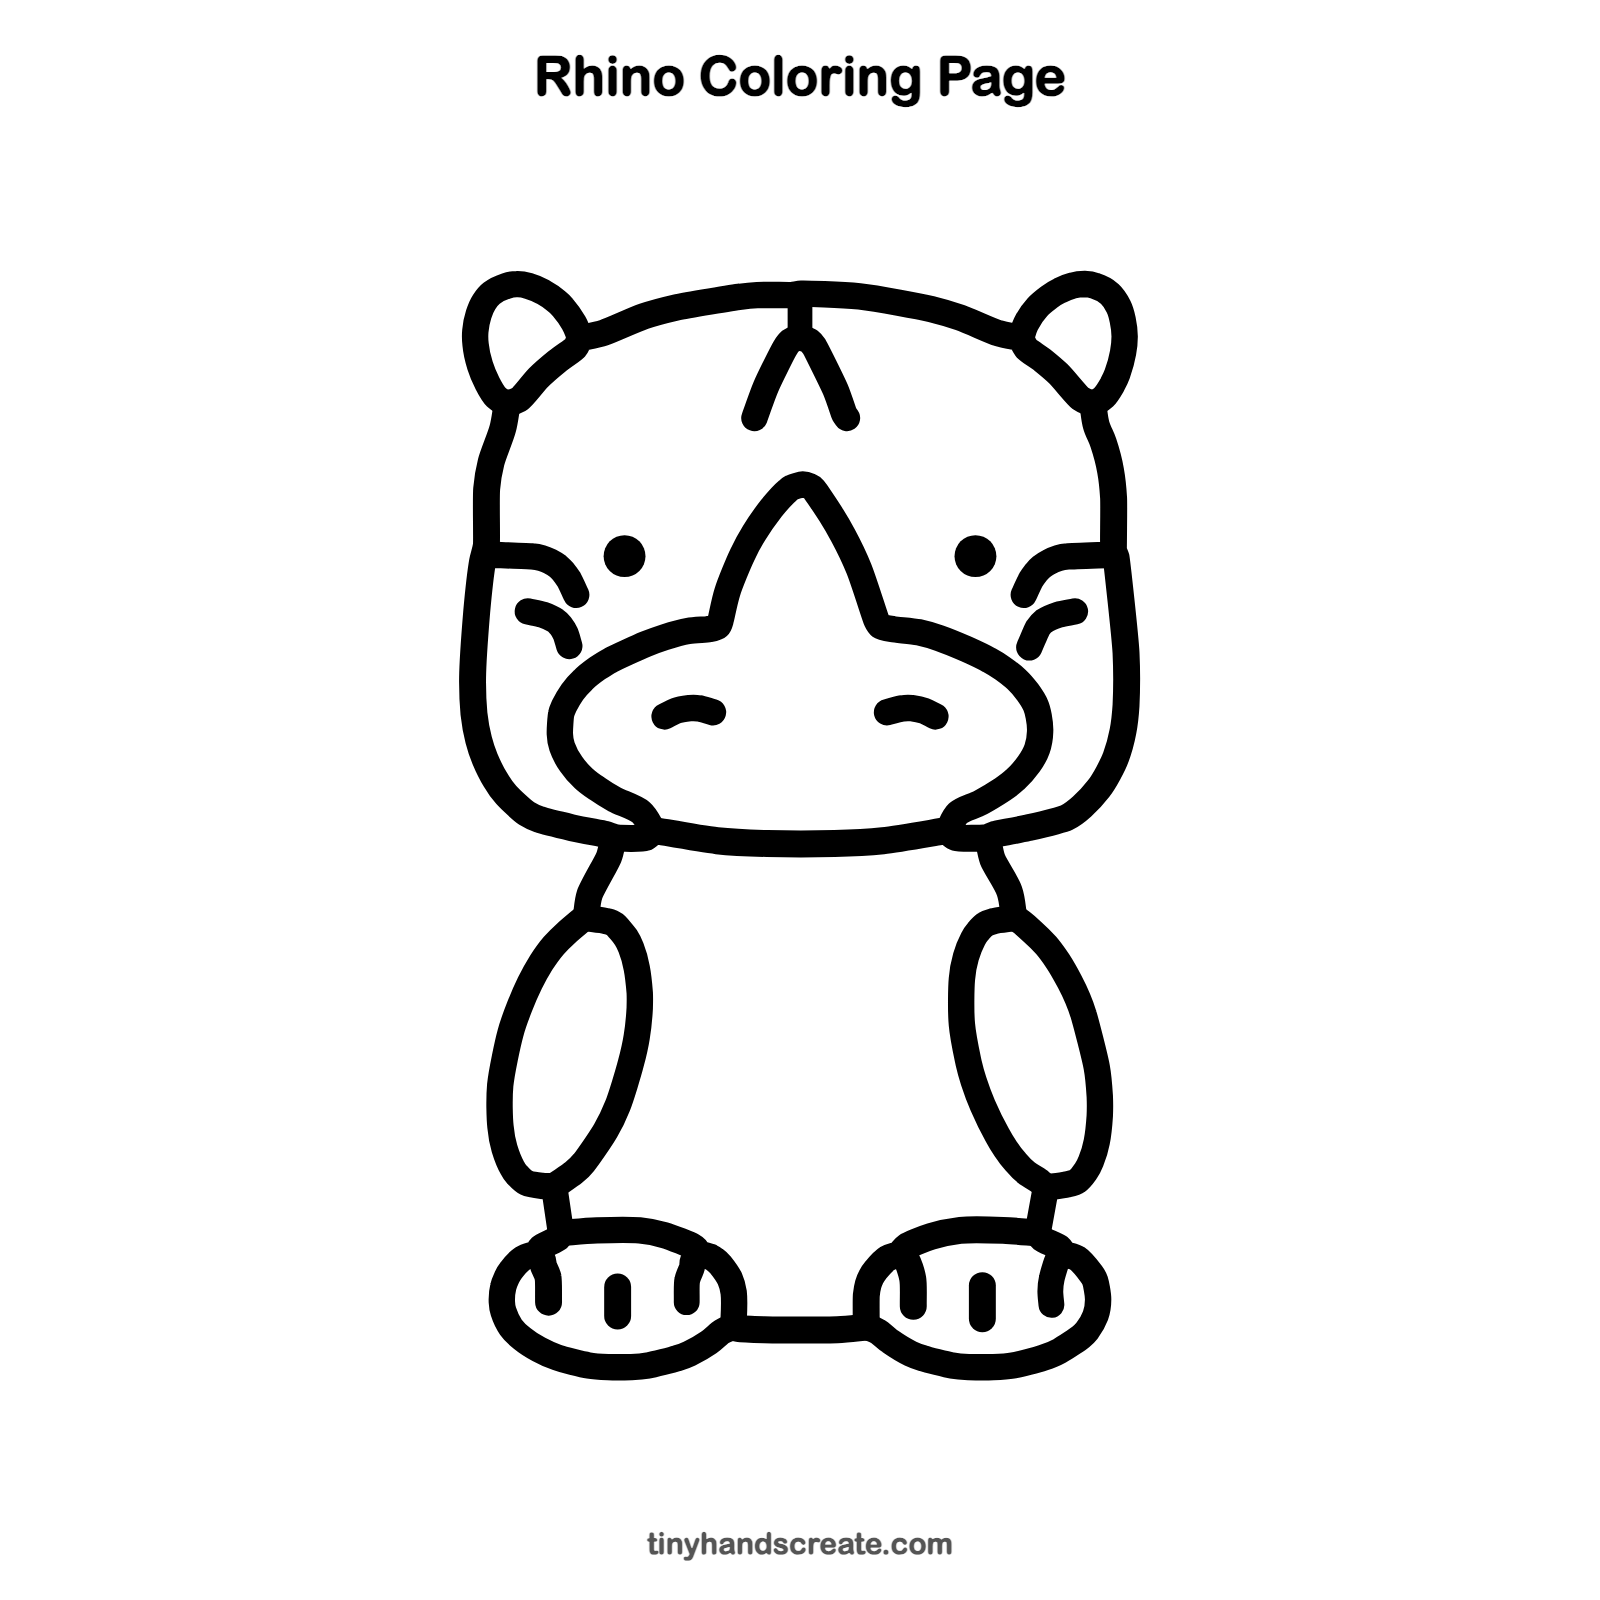
Free rhino coloring page
Want to go straight to coloring? Open this rhino coloring page at full size and print it. It is the same drawing you just learned, with clean lines ready for crayons or markers.
How to color your rhino drawing
Try soft gray or blue for the body and a lighter color for the snout and horn. For a creative twist, add polka dots on the tummy.
Rhino fun fact for kids
A rhino's horn is not bone. It is made of keratin, the same material as your fingernails and hair.
Questions about drawing a rhino
What shapes do I need to draw a rhino?
You need a rounded rectangle for the head, ovals for the snout, arms, and feet, and a triangle for the horn. Small curves make the ears, wrinkles, and toes.
How do I make my rhino look cuter?
Make the head big and wide, and keep the eyes small and far apart. The small wrinkle lines beside the eyes add a friendly look.
How do I draw a rhino horn?
Start with a small triangle on top of the snout, then round the point a little. Add a small upside-down V on the forehead for a second horn mark.