How to Draw a Baker (Easy Step by Step)
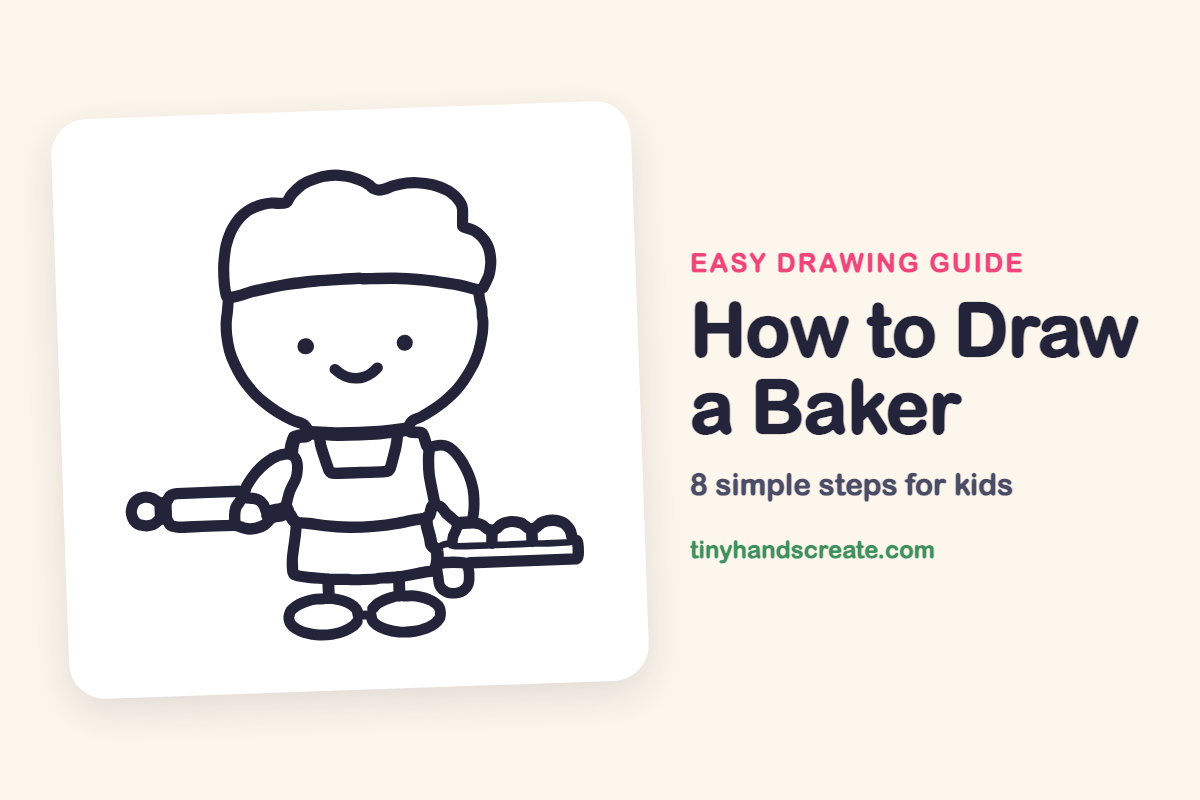
A baker is a friendly drawing because almost everything is a simple shape. The head is a circle, the hat is a puffy cloud, and the tray and rolling pin are long rectangles. Once you add a smile and a few fresh rolls, your baker looks ready for a busy morning in the kitchen.
- Medium
- 15 minutes
- 8 steps
You need: paper, a pencil, an eraser, and crayons or markers for coloring.
Start drawingIn this article (7 sections)
How to draw a baker step by step
How to Draw a Baker · tinyhandscreate.com
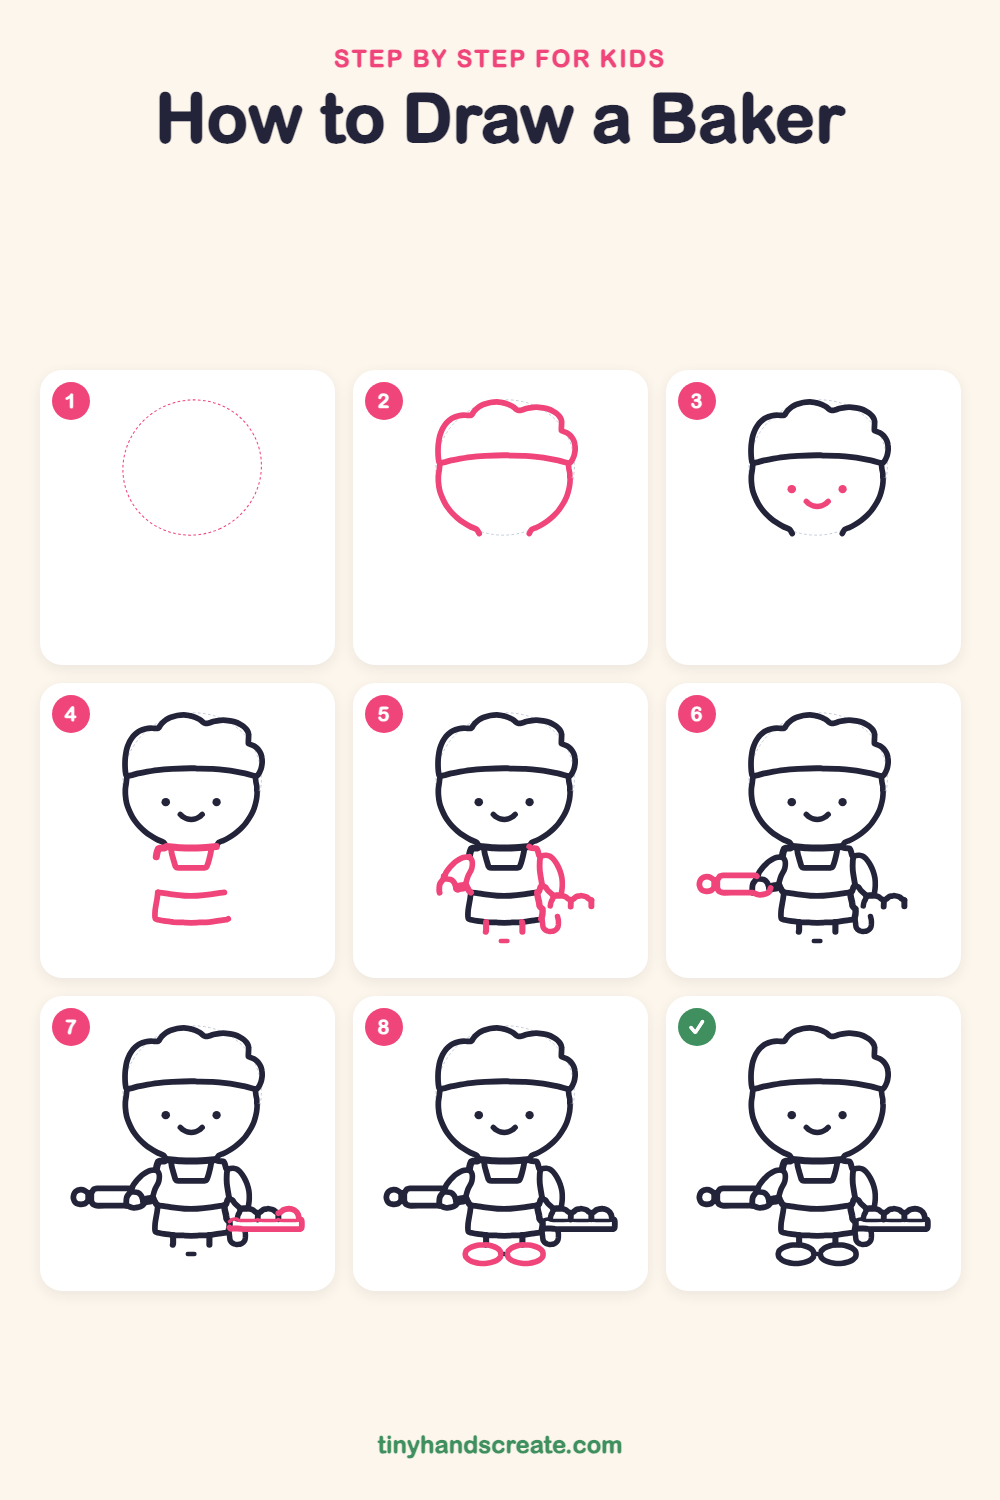
Step 1: Guide shapes
Lightly sketch this oval. It only shows where the big parts go, so press softly. You will erase it at the end.
Step 2: Head and chef hat
Start with a big round head outline that stays open at the bottom. Add a puffy, cloud-shaped chef hat on top, and draw a gently curved band across the forehead where the hat meets the head.
Step 3: The happy face
Add two small round dots for eyes in the middle of the face. Under them, draw a little curved smile like a tiny bowl.
Step 4: Collar and apron
Just below the head, draw a small bib shaped like a trapezoid with a short collar line across the top. Lower down, draw a wide, flat band for the top of the apron skirt.
Step 5: Arms and apron skirt
Draw a curved arm on each side of the apron, ending in a small hand. Then finish the apron with a skirt that flares out below the band, and add tiny short marks at the bottom for the legs.
Step 6: The rolling pin
On the baker's right side of the page, the left of your drawing, draw a long rounded rectangle for the rolling pin. Put a small circle at the far end for the handle, and add a hand wrapped over the pin.
Step 7: The baking tray
On the other side, draw a long flat rectangle for the tray held by the hand. Then add a row of small round bumps on top for fresh rolls.
Step 8: Shoes
At the bottom of the apron, draw an oval for each shoe. Make them side by side, like two little boats.
All done!
Erase the guide shapes, go over your lines, then color it in.
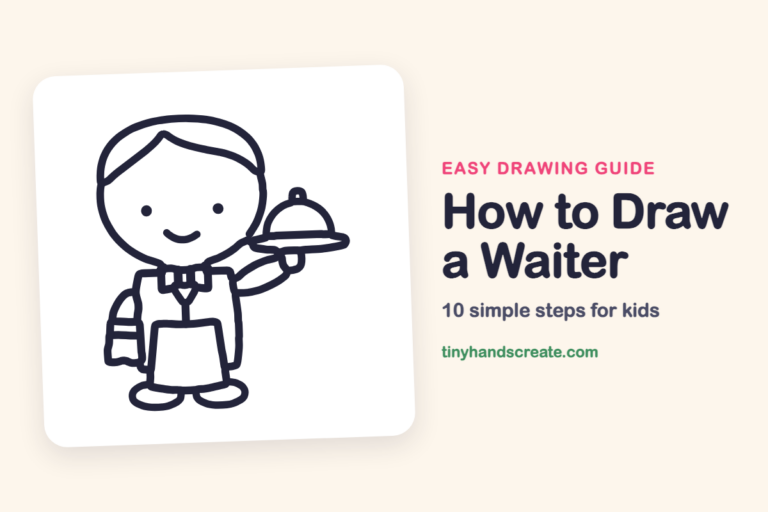
Finished your baker? Keep the pencils out and learn how to draw a waiter or how to draw a pizza chef next.
Tips for drawing a baker
- Draw the chef hat as three or four soft bumps, like a cloud. Do not worry if the bumps are uneven, because that makes the hat look puffy.
- Keep the rolling pin and the tray near the hands so the baker looks like they are really holding them.
- Draw the tray as a flat rectangle first, then add the rolls on top. This way the bumps sit neatly side by side.
Free baker coloring page
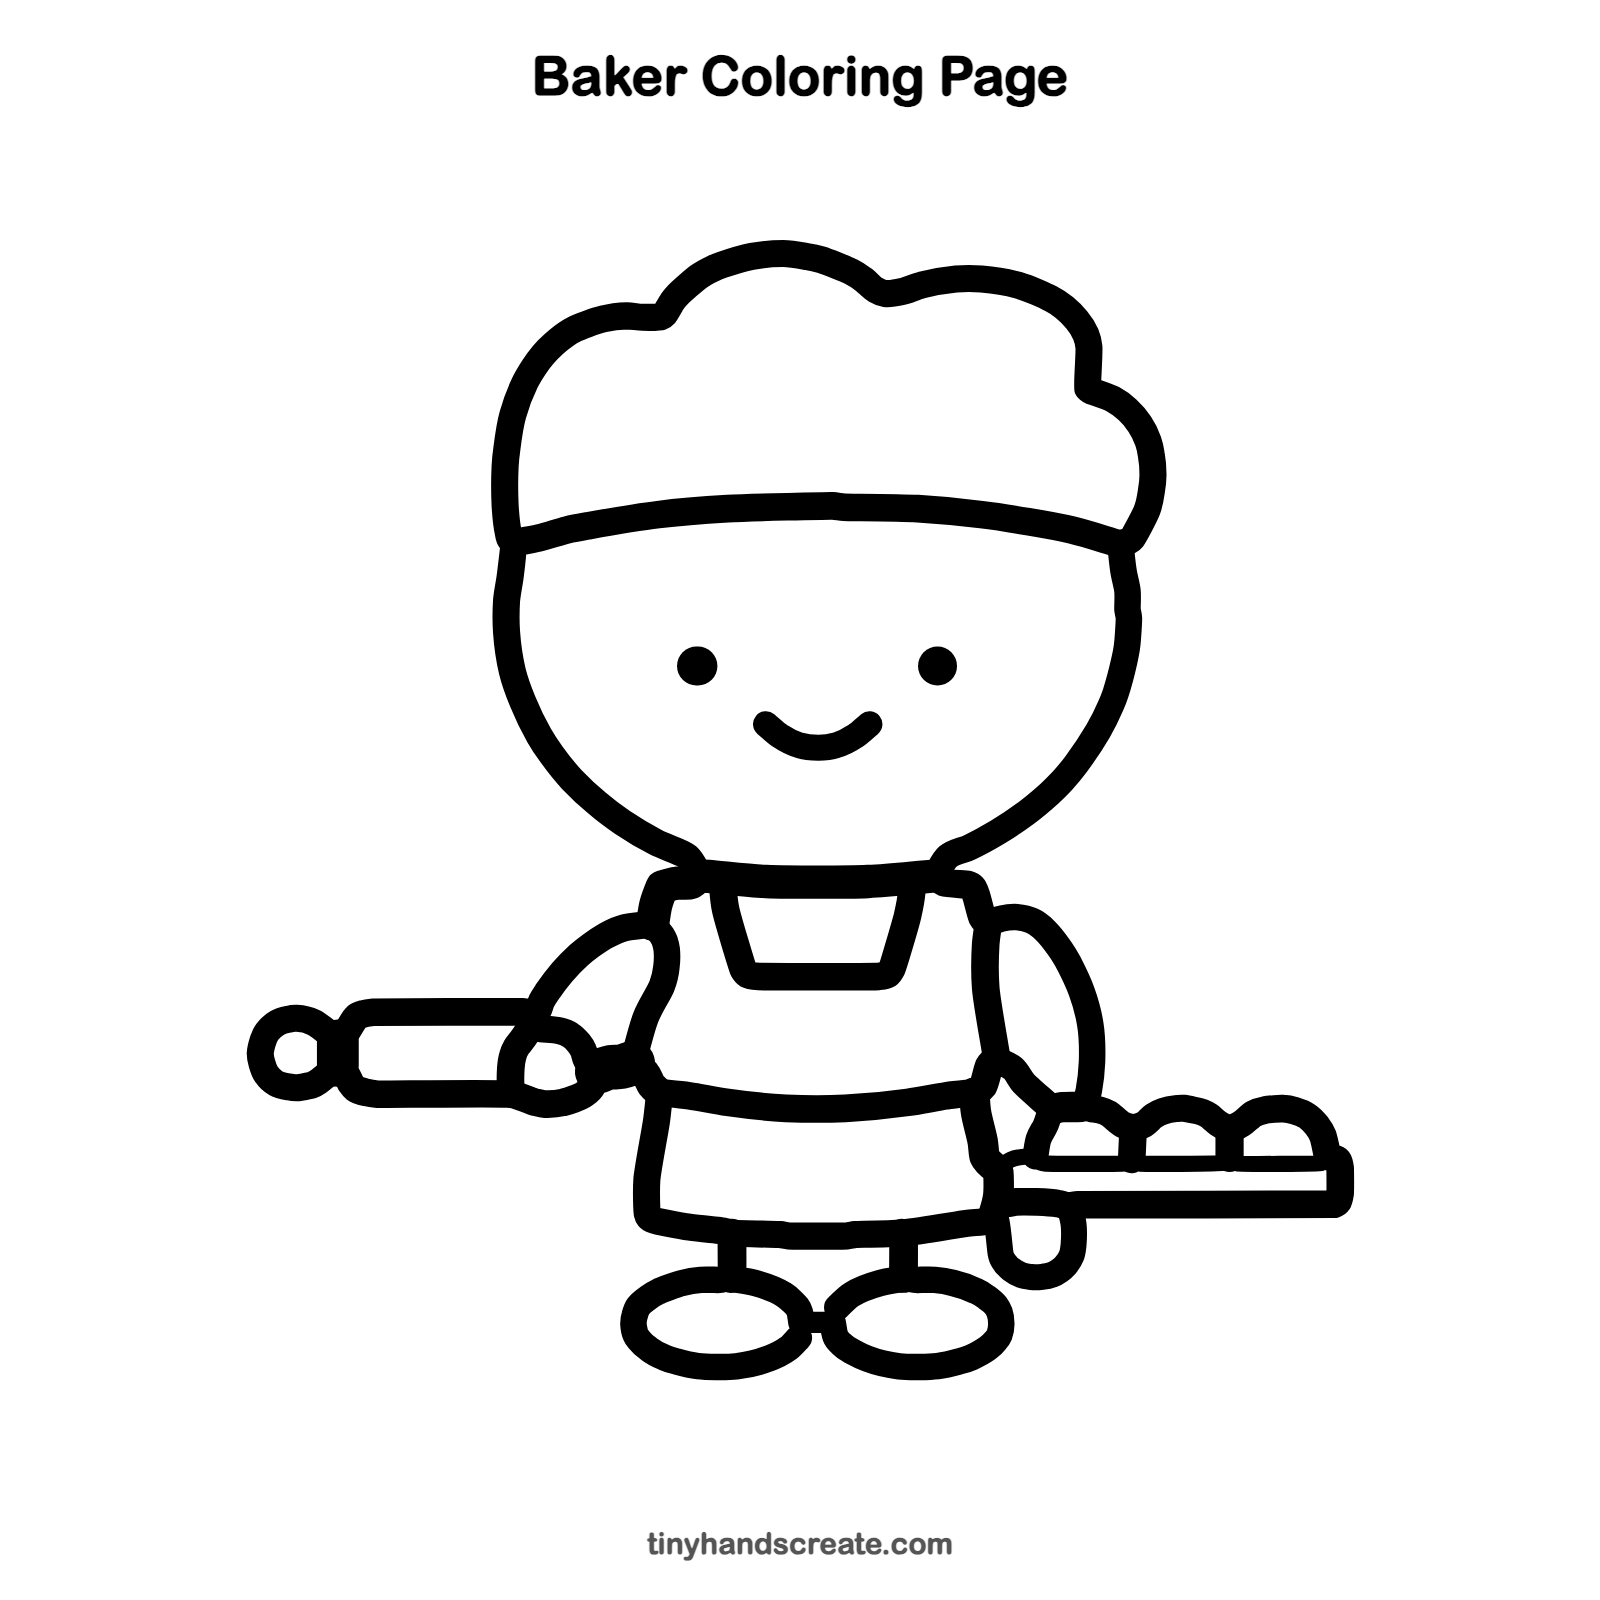
Want to go straight to coloring? Open this baker coloring page at full size and print it. It is the same drawing you just learned, with clean lines ready for crayons or markers.
How to color your baker drawing
Try a white hat and apron with a warm tan for the rolls, and a bright color for the shoes. A light brown rolling pin looks like real wood.
Baker fun fact for kids
Bakers often start work in the middle of the night so that bread is warm and fresh when the shop opens in the morning.
Questions about drawing a baker
What shapes do I need to draw a baker?
You need a circle for the head, a cloud shape for the hat, a small trapezoid for the bib, ovals for the shoes, and rectangles for the rolling pin and tray.
How do I make my baker look cuter?
Keep the eyes small and wide apart, and curve the smile up at the ends. A big, puffy hat also makes the baker look extra friendly.
How do I draw a chef hat?
Draw a puffy, cloud-like outline of bumps on top of the head, then close it with a gently curved band across the forehead.