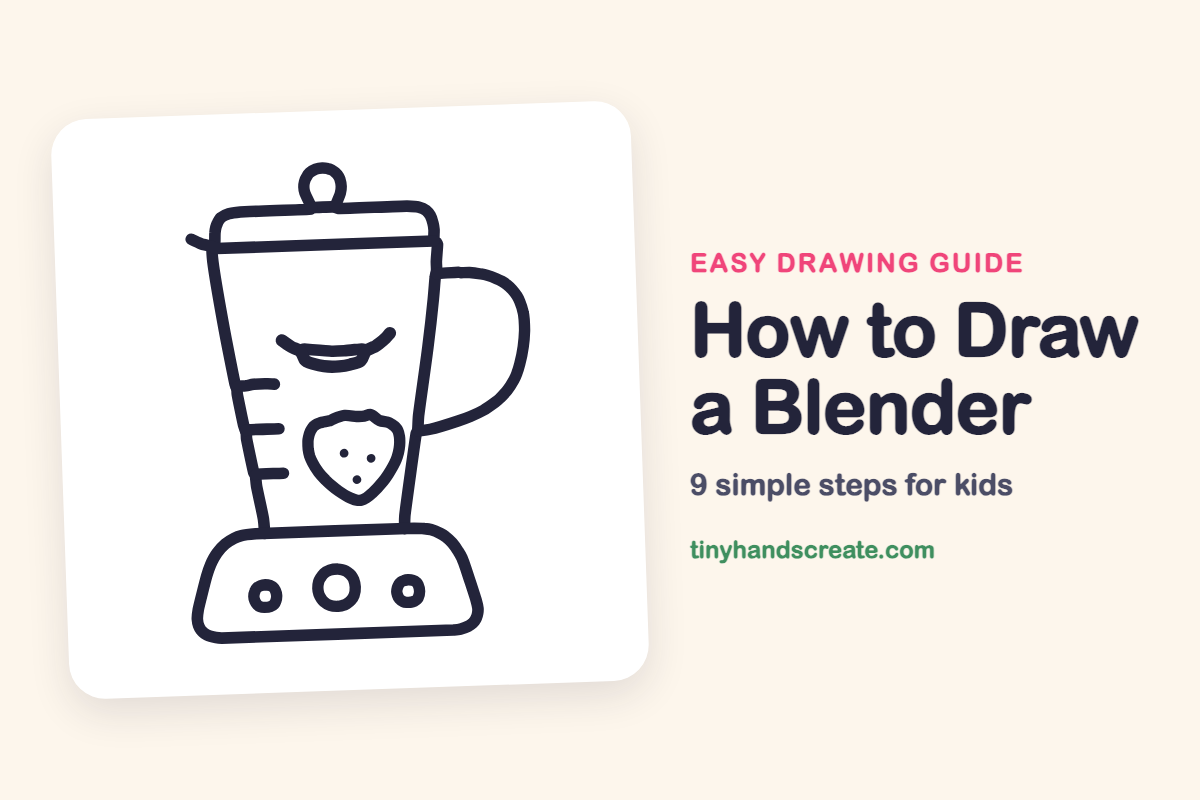
How to Draw a Blender (Easy Step by Step)
A blender is a friendly kitchen helper, and it is made from shapes you already know. You will draw a tall jar that is wider at the top, a wide base, a curvy handle and some round buttons. A smiling face and a little strawberry make it feel ready to whip up a smoothie.
- Easy
- 12 minutes
- 9 steps
You need: paper, a pencil, an eraser, and crayons or markers for coloring.
Start drawingIn this article (7 sections)
How to draw a blender step by step
How to Draw a Blender · tinyhandscreate.com
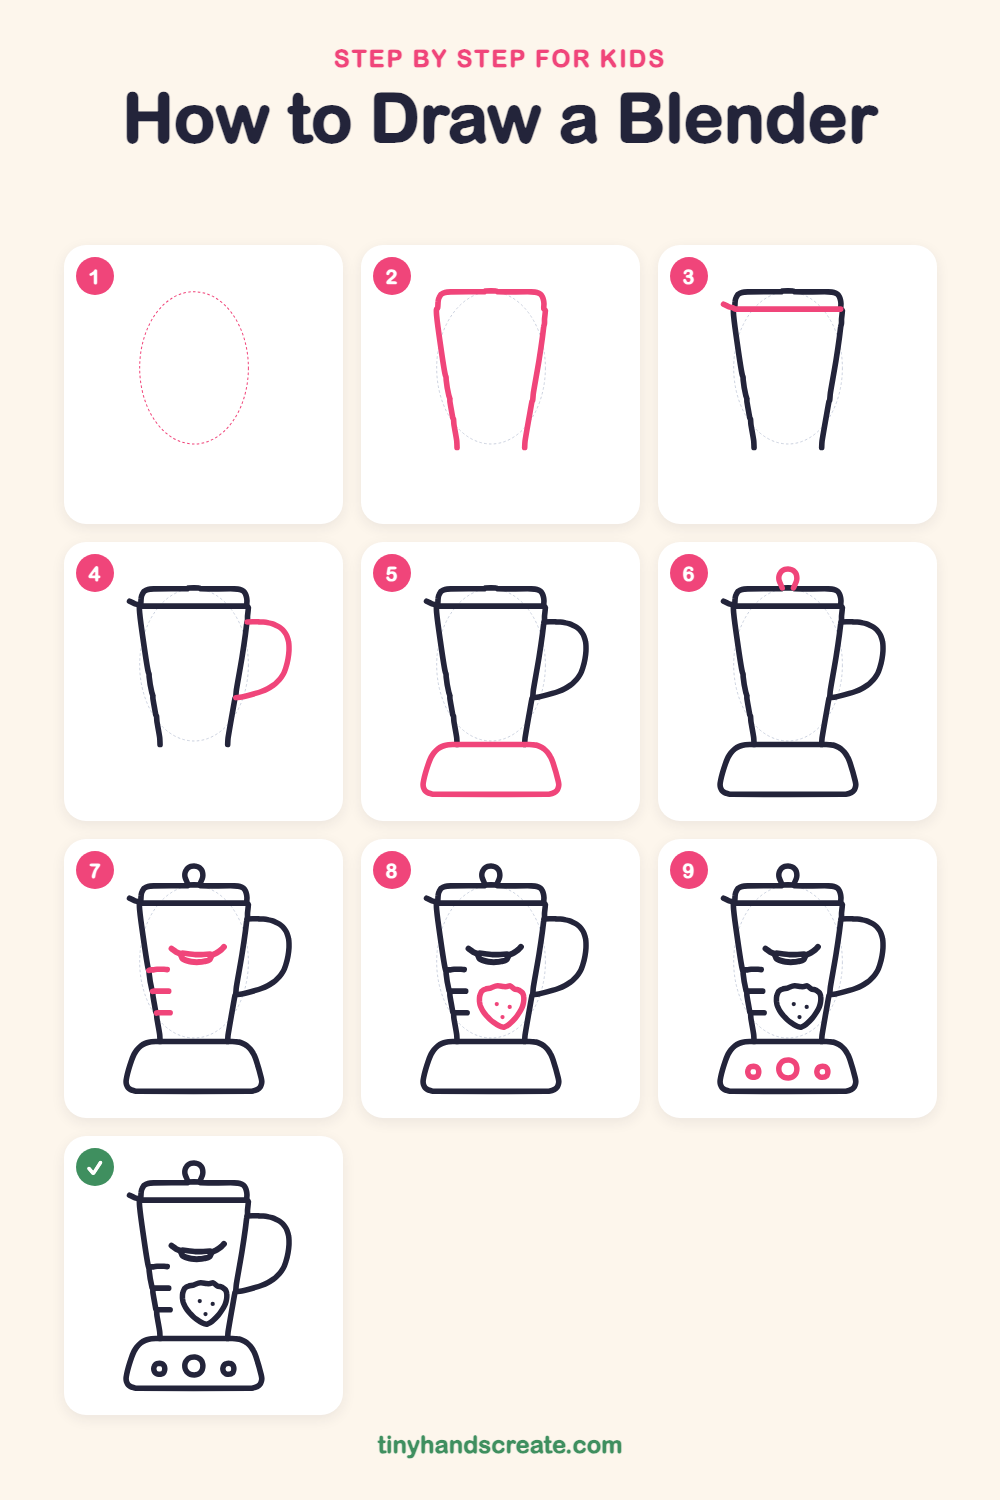
Step 1: Guide shapes
Lightly sketch this oval. It only shows where the big parts go, so press softly. You will erase it at the end.
Step 2: The lid and jar
Draw a wide rounded rectangle at the top for the lid. From its two sides, draw two long lines going down that lean toward each other, so the jar gets narrower toward the bottom.
Step 3: The lid band
Draw a straight line across the lid, close to its bottom edge, from one side to the other. Add a tiny slanted line sticking out on the left end.
Step 4: The handle
On the right side of the jar, start a line a little below the lid and curve it out and around like a big letter C. Bring it back in to meet the jar lower down.
Step 5: The base
Under the jar, draw a wide rounded shape that is flat on top and a bit wider at the bottom, like a short, squished trapezoid with soft corners. The jar sits right on top of it.
Step 6: The lid knob
On top of the lid, draw a small loop, like a tiny ring, sitting on the middle of the top edge. It is the handle for lifting the lid.
Step 7: The smile and marks
In the middle of the jar, draw a curved smile that bends up at both ends, and add a thin curve inside it. Then draw three short lines on the left side of the jar, one under the other, for measuring.
Step 8: The strawberry
Below the smile, draw a rounded heart-like shape with a bumpy top edge that comes to a point at the bottom. Dot three small seeds inside.
Step 9: The buttons
On the base, draw three circles in a row: a big one in the middle and a smaller one on each side. Put a tiny circle inside each of the small ones.
All done!
Erase the guide shapes, go over your lines, then color it in.
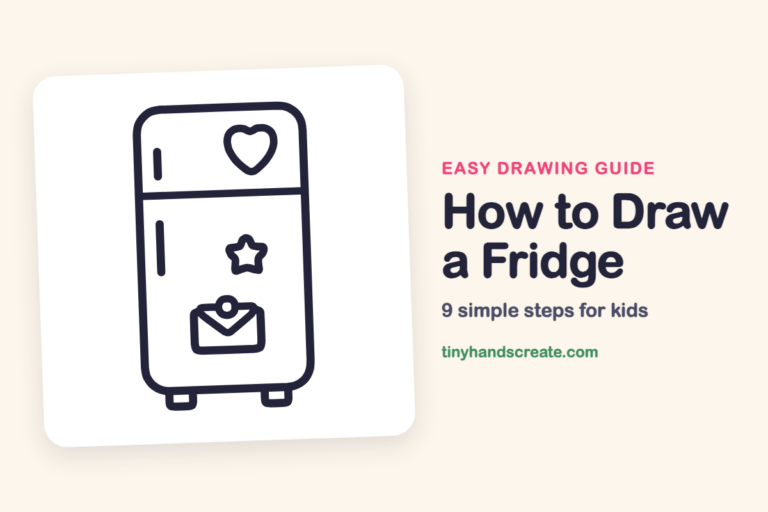
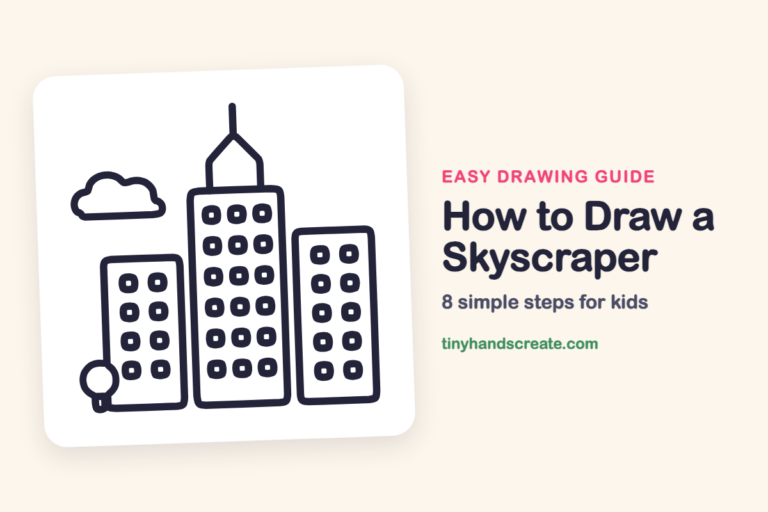
Finished your blender? Keep the pencils out and learn how to draw a fridge or how to draw a skyscraper next.
Tips for drawing a blender
- Draw the jar's two side lines so they lean toward each other. If they are too straight, the jar will look like a box instead of a cone.
- Make the handle in one smooth swoop. Start a little below the lid, curve out, and let your pencil come back in slowly.
- Draw the three buttons in a row after the base is done, with the middle one biggest, so they fit and stay evenly spaced.
Free blender coloring page
Want to go straight to coloring? Open this blender coloring page at full size and print it. It is the same drawing you just learned, with clean lines ready for crayons or markers.
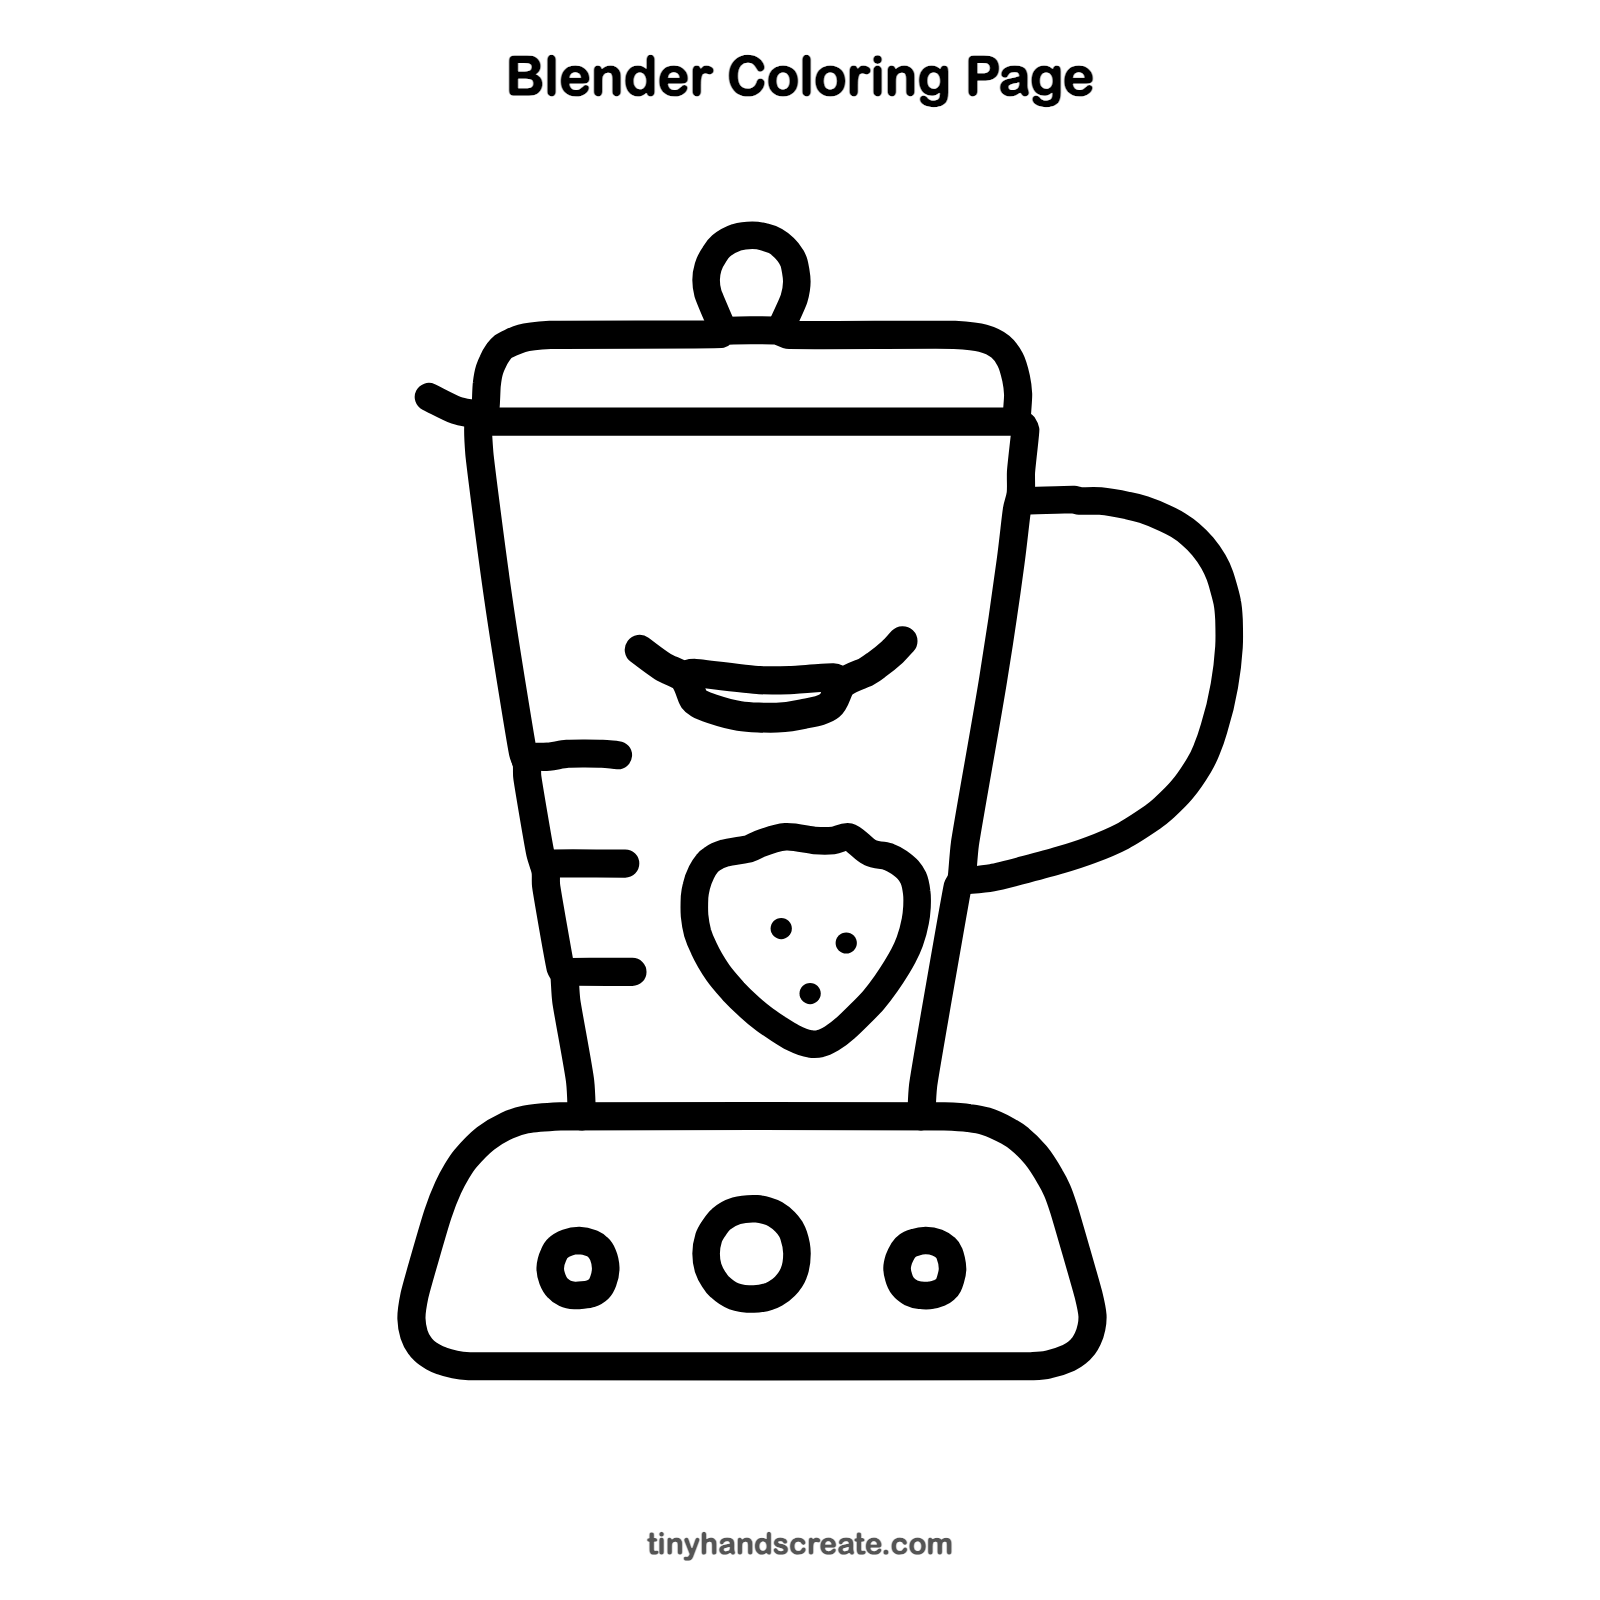
How to color your blender drawing
Try a pink or red strawberry on a pale blue jar with a gray or bright red base. For a creative twist, color the jar like a rainbow smoothie with stripes of different fruit colors.
Blender fun fact for kids
The first electric blender was invented in 1922 by Stephen Poplawski, and it was used at soda fountains to mix malted milkshakes.
Questions about drawing a blender
What shapes do I need to draw a blender?
You need a rounded rectangle for the lid, a cone-like shape for the jar, a squished trapezoid for the base, and a few circles for the knob and buttons. A curved C shape makes the handle.
How do I make my blender look cuter?
Add a smile on the jar, like in this guide, and draw a little strawberry inside. You can also give the buttons different colors.
How do I draw the jar so it is wider at the top?
Start with the lid, then draw two lines from its sides that lean inward as they go down. Check that both sides lean the same amount.