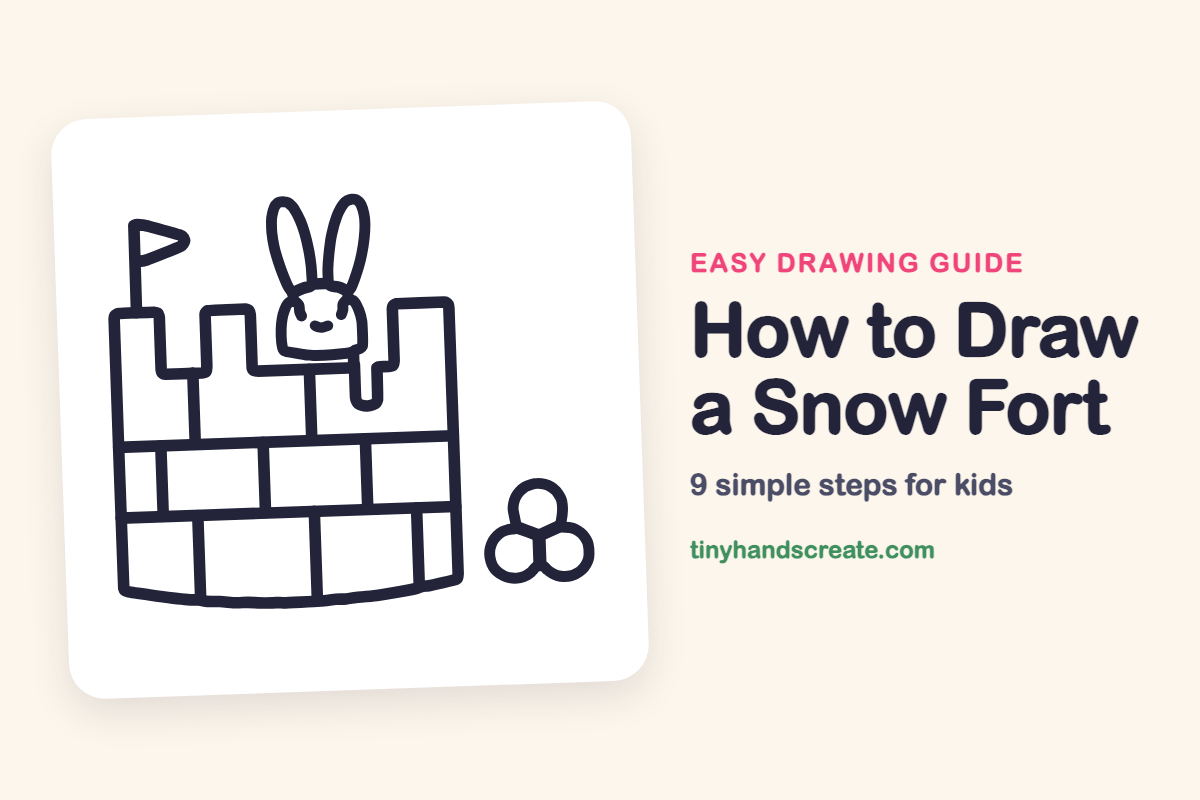
How to Draw a Snow Fort (Easy Step by Step)
A snow fort is a cozy winter drawing with a surprise inside: a bunny peeking over the wall. It is built from squares, a dome, long ovals, and a few circles, so you can draw it one shape at a time.
- Easy
- 15 minutes
- 9 steps
You need: paper, a pencil, an eraser, and crayons or markers for coloring.
Start drawingIn this article (7 sections)
How to draw a snow fort step by step
How to Draw a Snow Fort · tinyhandscreate.com
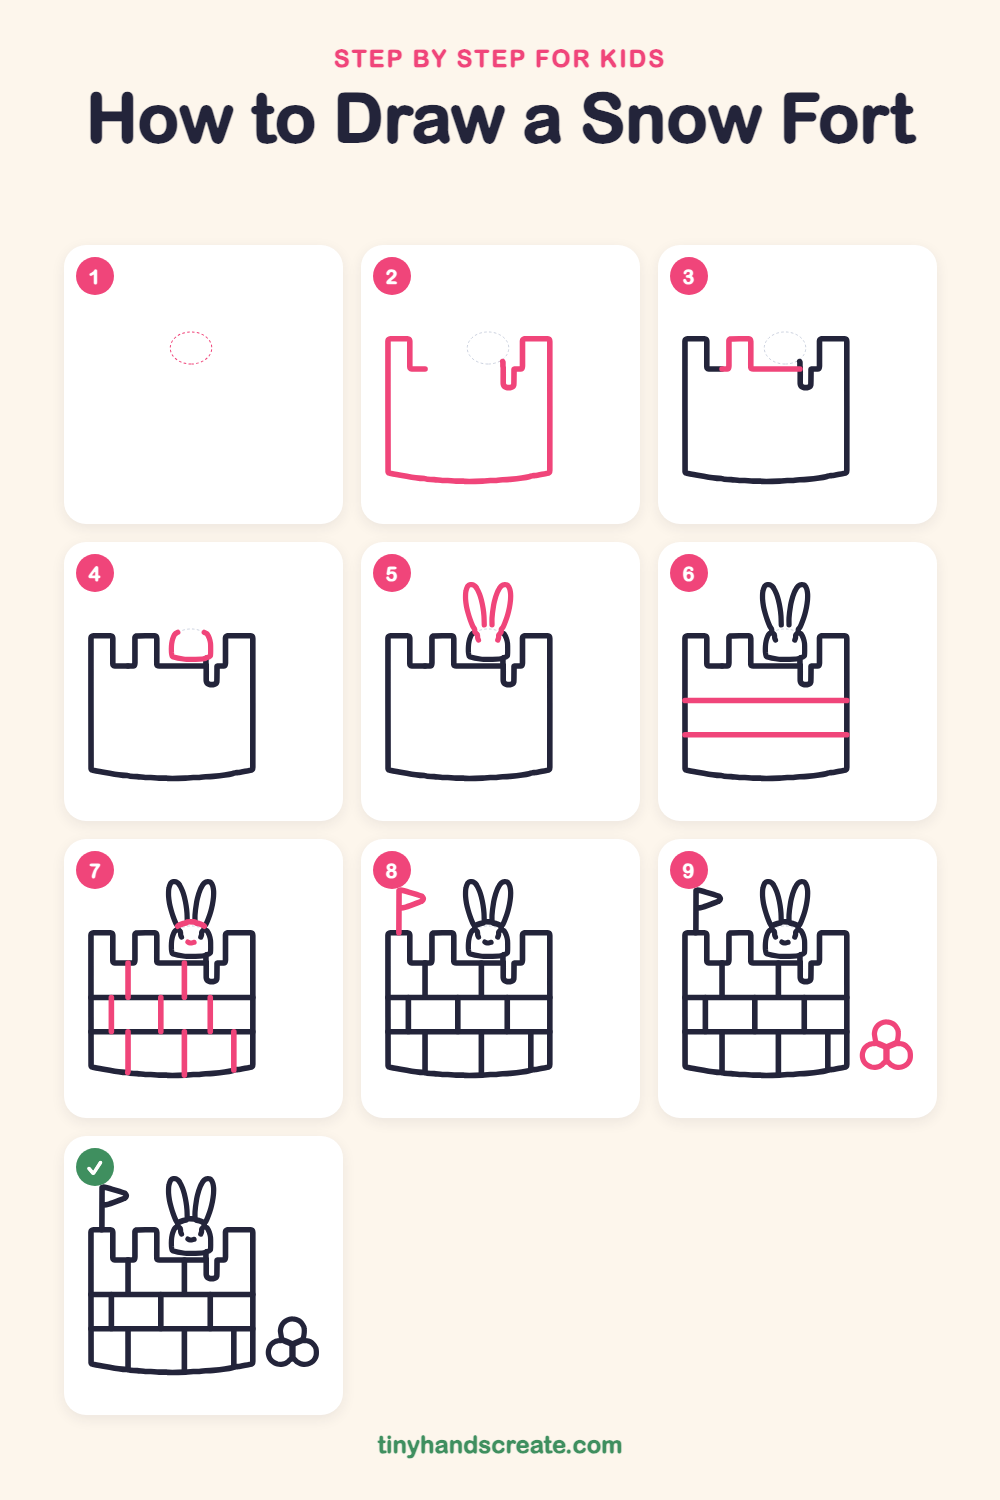
Step 1: Guide shapes
Lightly sketch this oval. It only shows where the big parts go, so press softly. You will erase it at the end.
Step 2: The fort wall
Draw a tall U-shaped wall with a gently curved bottom. At the top, make a square tower on the left and a square tower on the right, leaving a wide gap between them. Add a small snow drip hanging down inside the right tower.
Step 3: The middle notch
In the gap between the towers, draw a small square bump that sticks up. Then draw a straight line from the bump across to the right tower, so the top of the wall is closed.
Step 4: The bunny head
Above the middle of the wall, draw a round dome for the bunny's head. Make the bottom of the dome flat, like a bowl turned upside down, and let it sit on the wall line.
Step 5: Long bunny ears
Draw two tall, skinny ovals going up from the top of the head. Let them lean a little away from each other.
Step 6: Two snow rows
Draw two straight lines across the wall from the left side to the right side, one in the middle and one near the bottom. They make three rows for snow blocks.
Step 7: Blocks and bunny face
Draw short up-and-down lines in each row to make blocks, putting each row's lines in different spots. Then add a tiny smile and a small curved line across the top of the bunny's head.
Step 8: The flag
Draw a tall straight pole standing on the top of the left tower. Add a small triangle flag at the top of the pole that points to the right.
Step 9: Pile of snowballs
Next to the fort, draw three circles that touch each other: one on top and two underneath, like a little pyramid.
All done!
Erase the guide shapes, go over your lines, then color it in.
Finished your snow fort? Keep the pencils out and learn how to draw a Christmas caroler or how to draw an ice skater next.
Tips for drawing a snow fort
- Draw the wall first, with a wide gap between the two towers, so there is room for the bunny to peek over the middle.
- The block lines look best when each row has its lines in different spots, like real bricks. Try not to line them up.
- For the snowball pile, draw three circles that just touch each other, with one on top and two underneath.
Free snow fort coloring page
Want to go straight to coloring? Open this snow fort coloring page at full size and print it. It is the same drawing you just learned, with clean lines ready for crayons or markers.
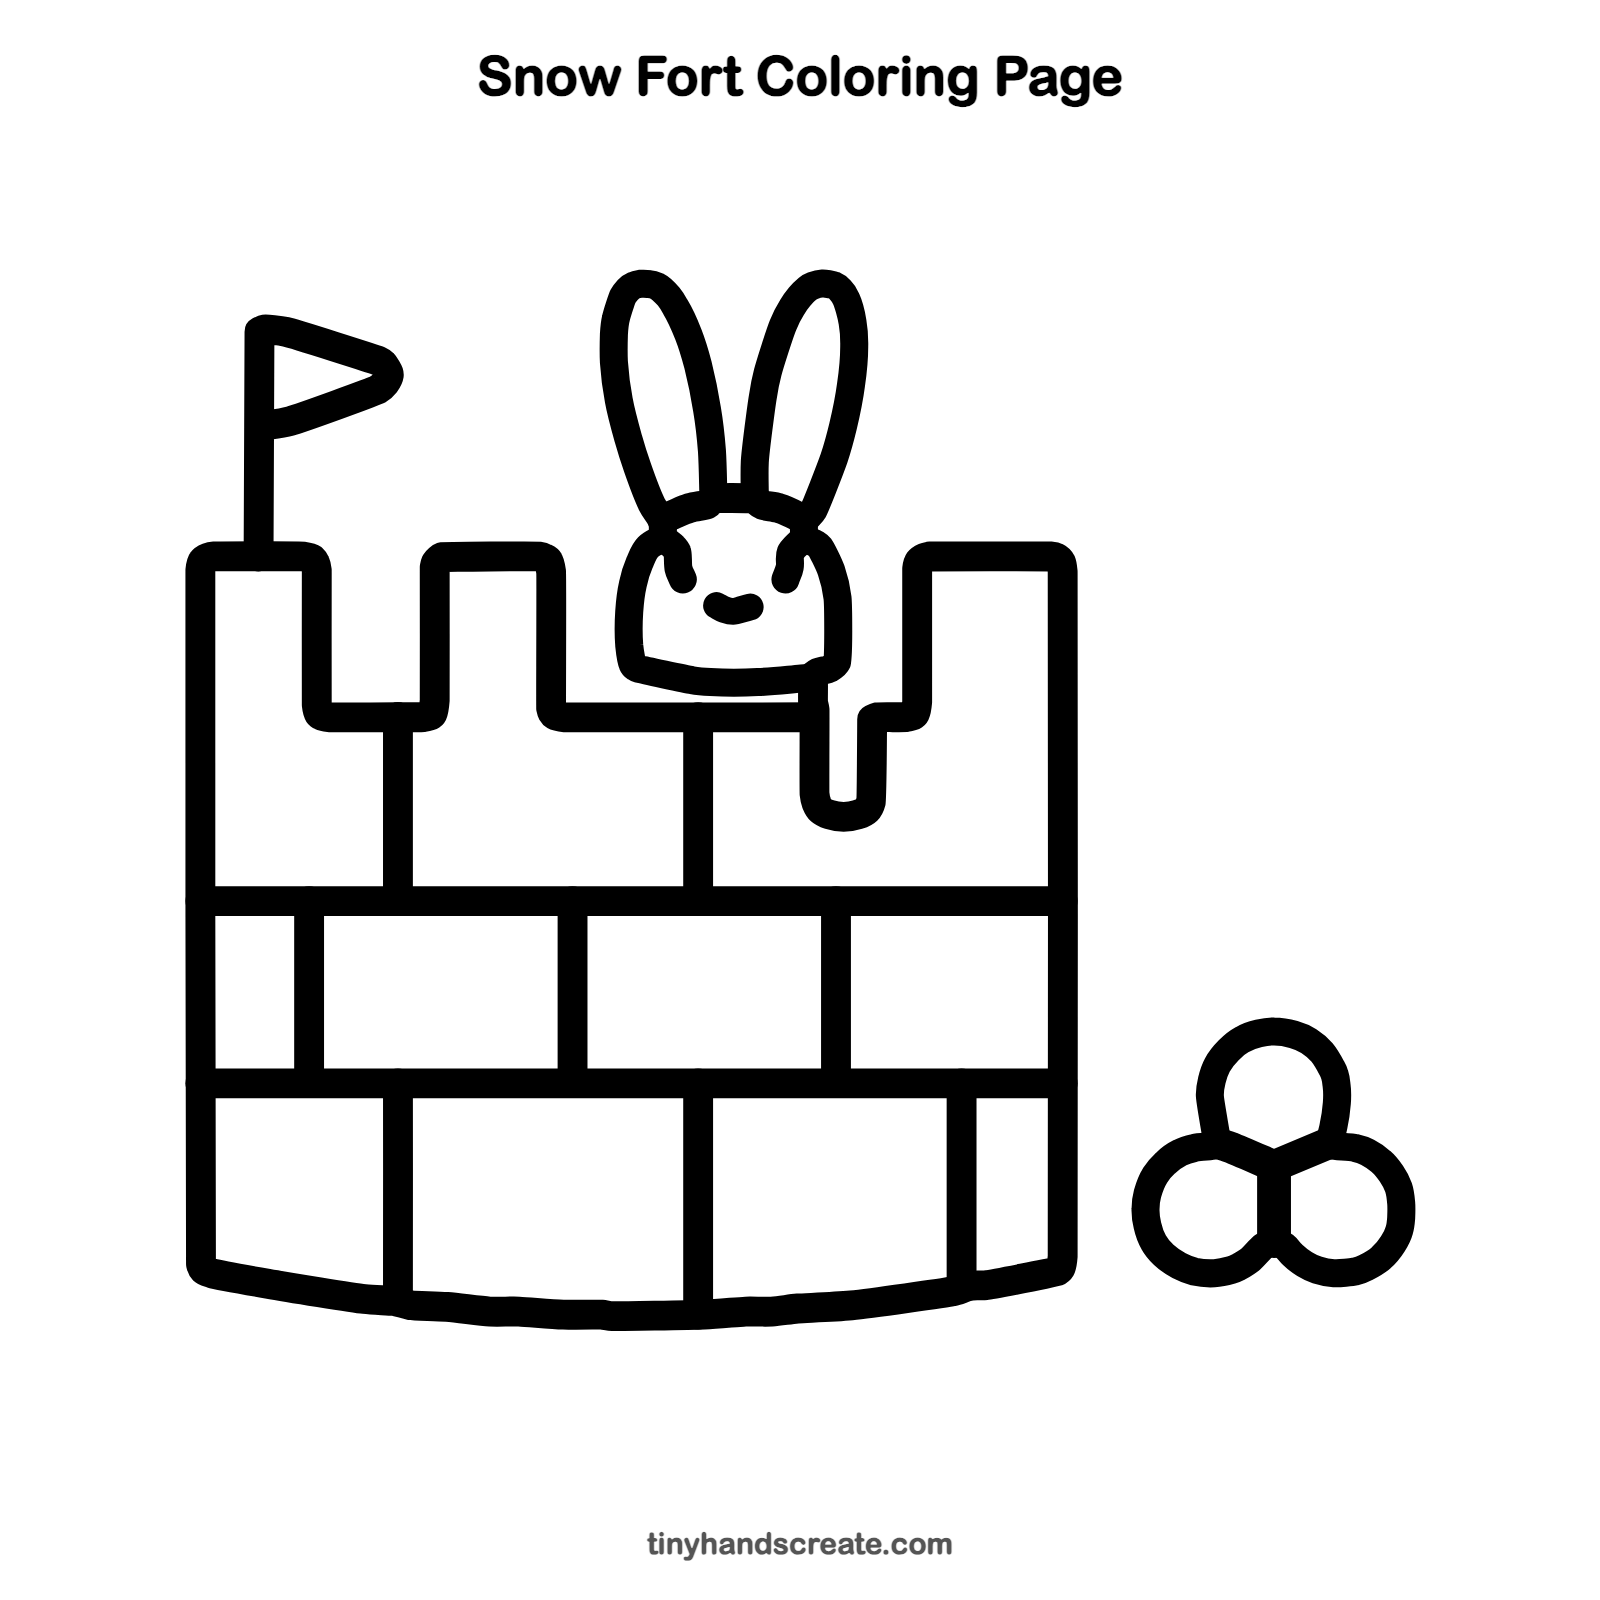
How to color your snow fort drawing
Try light blue on the snow blocks and soft pink inside the bunny's ears. For a creative twist, color the flag in your favorite team colors.
Snow fort fun fact for kids
Snow is a good insulator because it is full of tiny air pockets, which is why animals and people can stay warmer inside a snow shelter than out in the open air.
Questions about drawing a snow fort
What shapes do I need to draw a snow fort?
You need a tall U-shaped wall with square towers, a dome for the bunny's head, long ovals for the ears, a triangle for the flag, and circles for the snowballs.
How do I make my snow fort look like it is made of blocks?
Draw two straight lines across the wall, then add short up-and-down lines in each row. Shift the short lines in each row so the blocks look stacked.
How do I make the bunny look cuter?
Keep the head round and the ears long and skinny. A tiny curved smile makes the bunny look friendly.