How to Draw Skis (Easy Step by Step)
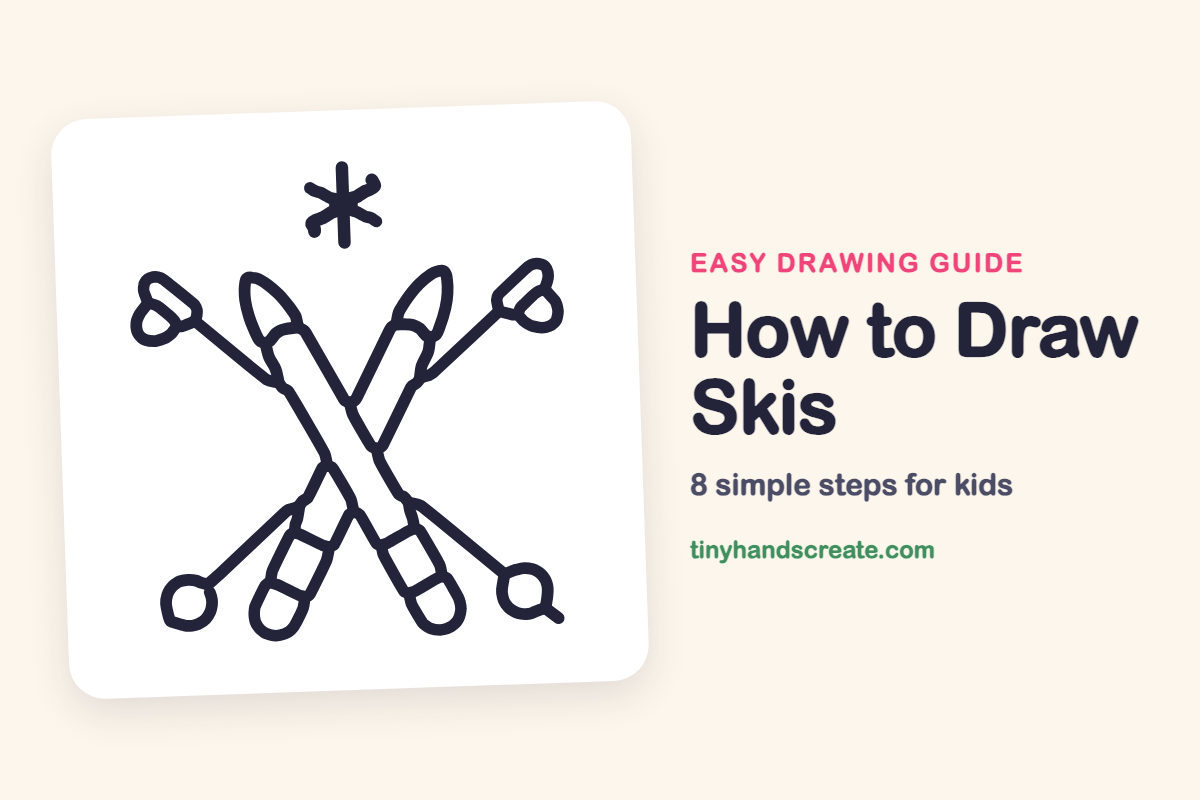
Crossed skis with poles make a cheerful winter picture, and you can build the whole thing from long skinny shapes, small circles, and straight lines. The X shape in the middle is a fun puzzle, because one ski tucks behind the other. A little snowflake above the skis finishes the scene.
- Medium
- 15 minutes
- 8 steps
You need: paper, a pencil, an eraser, and crayons or markers for coloring.
Start drawingIn this article (7 sections)
How to draw skis step by step
How to Draw Skis · tinyhandscreate.com
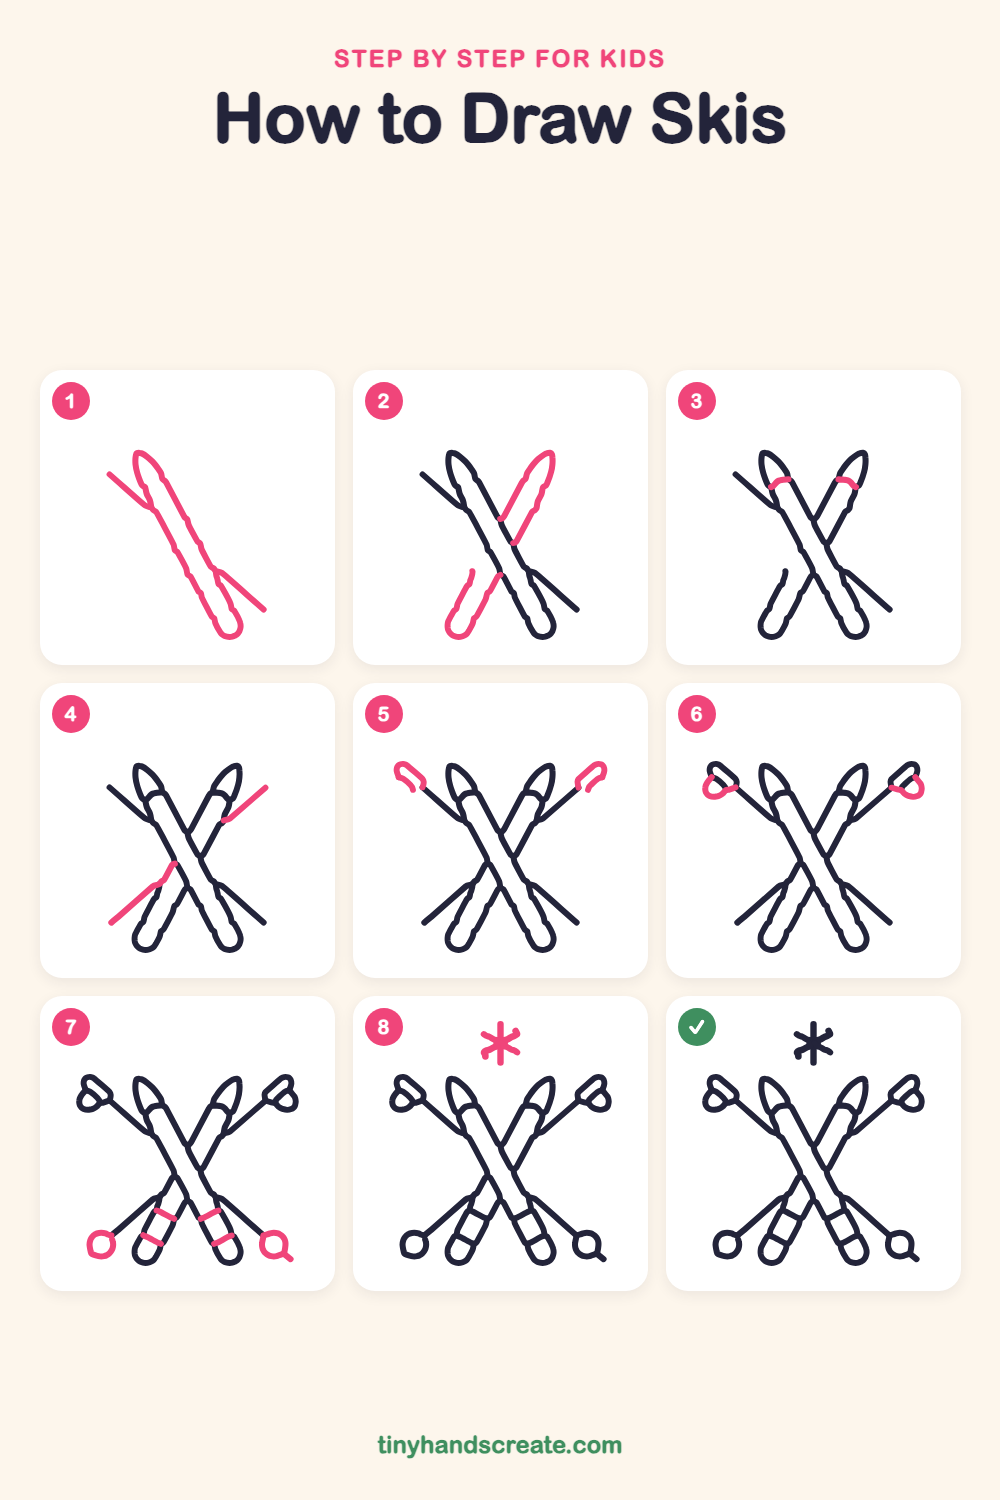
Step 1: First ski and pole
Draw one long, skinny ski leaning like a slash, with a pointy top and a rounded bottom. Then add a short straight line poking out near the top and another near the bottom, which are the first pole pieces.
Step 2: The crossing ski
Draw a second long ski that leans the other way and crosses the first one to make an X. Only draw the parts that show, so it looks like it passes behind the first ski.
Step 3: Tip curves
Near the pointy top of each ski, draw a small curved line across the ski, like a tiny rainbow. This makes the tip look bent.
Step 4: More ski poles
Draw two long straight lines that slant outward, one at the upper right and one at the lower left. Start each line next to a ski and stretch it toward the edge of the page.
Step 5: Pole handles
At the top end of each upper pole, draw a small tilted handle with rounded corners. It looks like a little open loop sitting on the end of the pole.
Step 6: Wrist straps
Under each handle, draw a small rounded loop that hangs down and touches the pole. This is the strap that goes around your wrist.
Step 7: Baskets and bands
At the bottom end of each lower pole, draw a small circle for the basket, and add a tiny tail on the right one for the pole tip. Then draw two short lines across the bottom of each ski for the bands.
Step 8: The snowflake
Above the skis, draw a small star shape: a tall line in the middle with two slanted lines crossing it, so you get six arms. Keep all the arms about the same length.
All done!
Go over your lines with a marker, then color it in.
Finished your skis? Keep the pencils out and learn how to draw a snowman or how to draw Santa Claus next.
Tips for drawing skis
- Draw the first ski lightly. Slant it the way you want the X to go, and leave room on the other side for the second ski.
- For the crossing ski, stop your lines where they touch the first ski. This makes it look like one ski is tucked behind the other.
- Use a ruler or draw slowly for the pole lines. Make the poles on both sides slant out the same amount so the X looks even.
Free skis coloring page
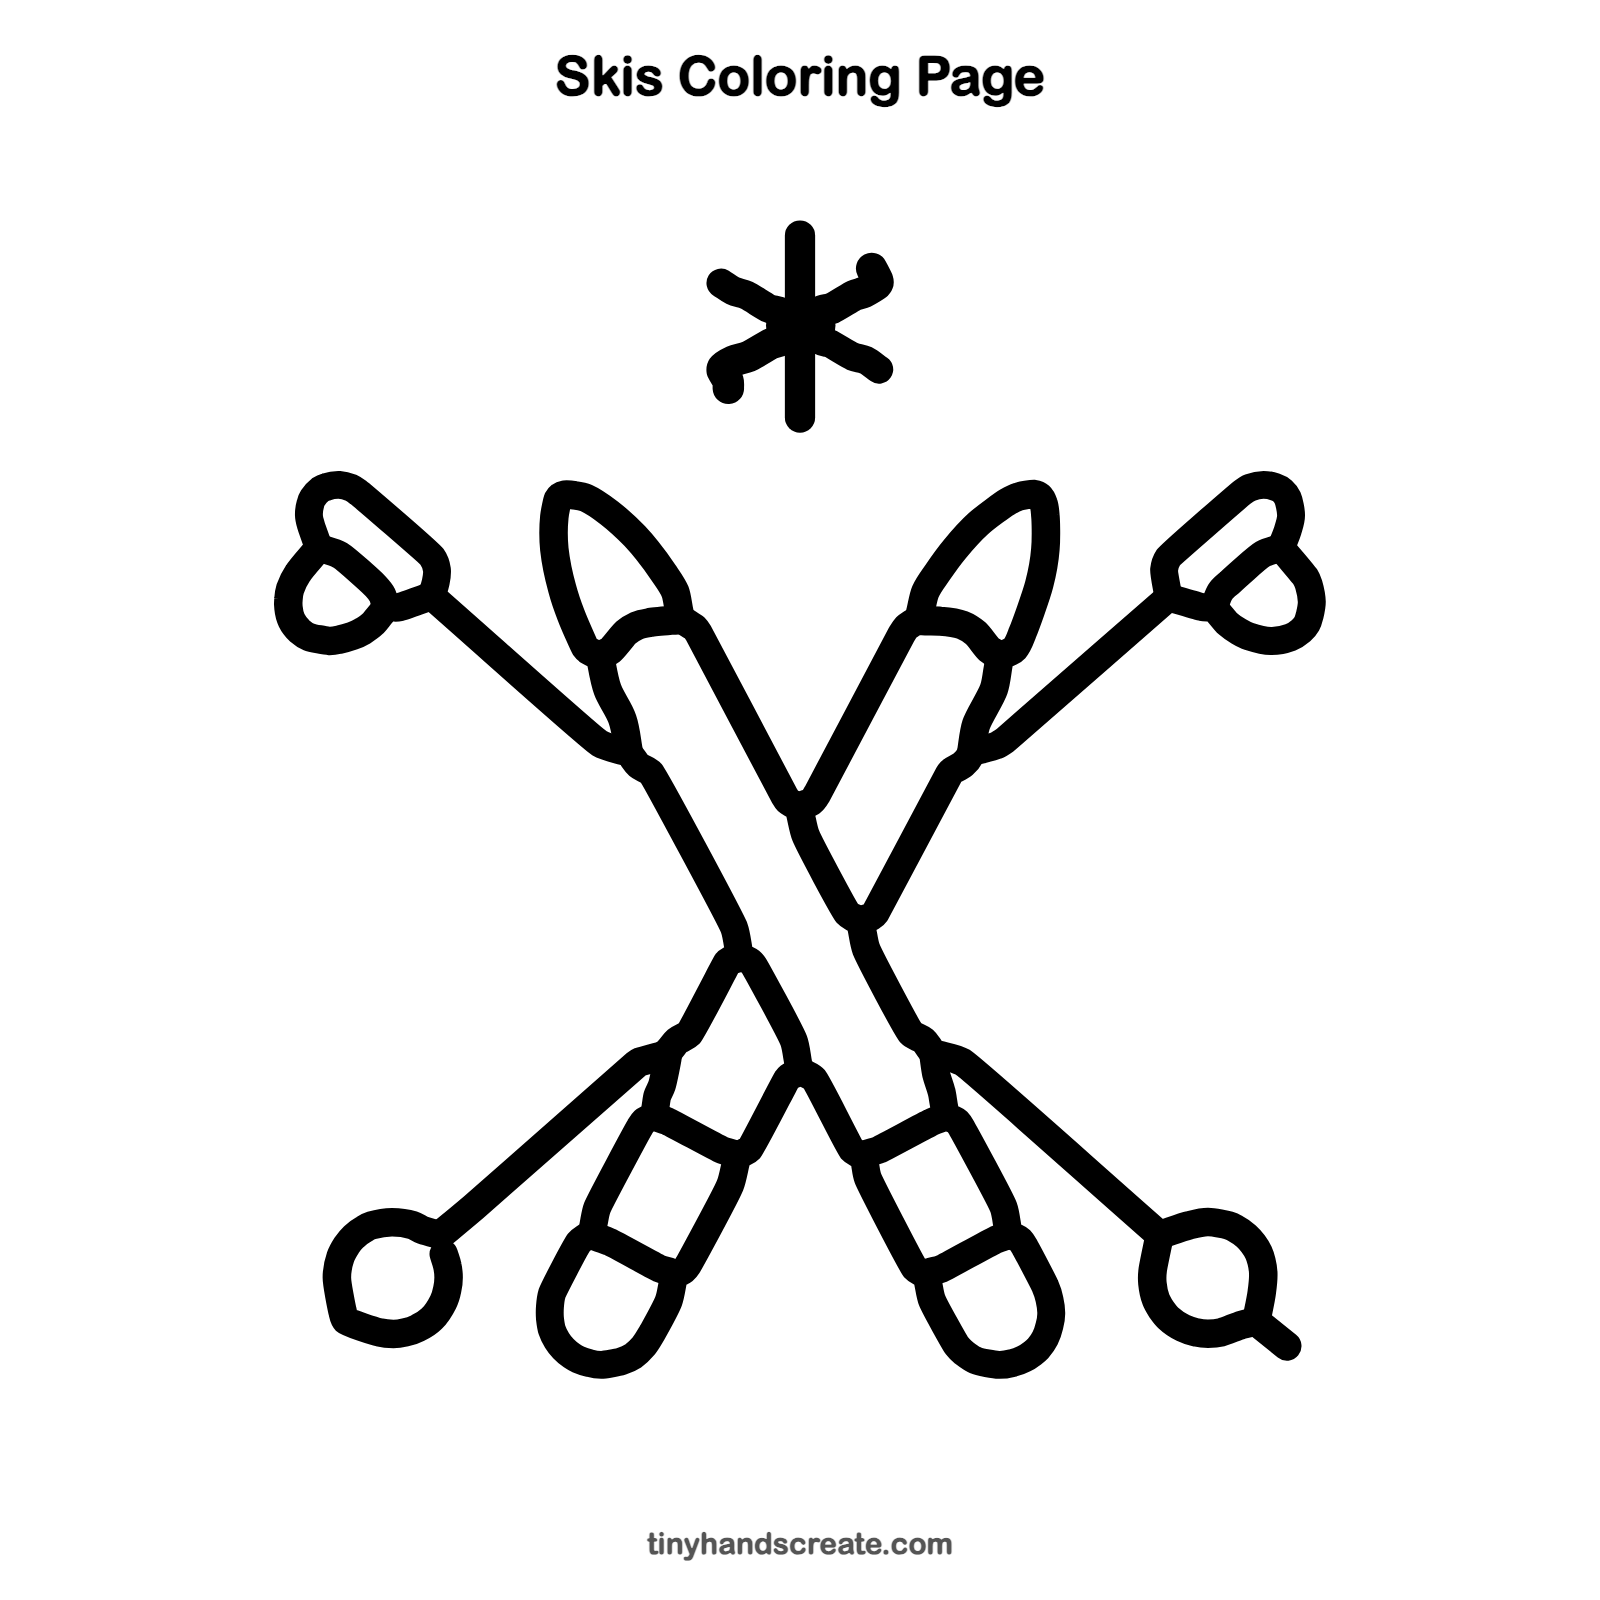
Want to go straight to coloring? Open this skis coloring page at full size and print it. It is the same drawing you just learned, with clean lines ready for crayons or markers.
How to color your skis drawing
Try bright blue and red skis with gray poles, and a light blue snowflake against a white or pale sky. For a twist, color each ski with stripes or zigzags, like your own custom pair.
Skis fun fact for kids
Skiing is very old. People in Scandinavia and Asia used skis thousands of years ago to travel over deep snow, long before anyone raced down mountains for fun.
Questions about drawing skis
What shapes do I need to draw skis?
You need long, skinny shapes with a pointy top and a rounded bottom for the skis, thin straight lines for the poles, and small circles for the baskets. A small star shape makes the snowflake.
How do I make the skis look crossed?
Draw the first ski, then draw the second ski and stop each line where it touches the first one. Skipping the hidden part makes one ski look like it is behind the other.
How do I make my skis look more fun?
Color each ski a different bright color and add stripes or zigzags. You can also draw a few extra snowflakes around the skis.