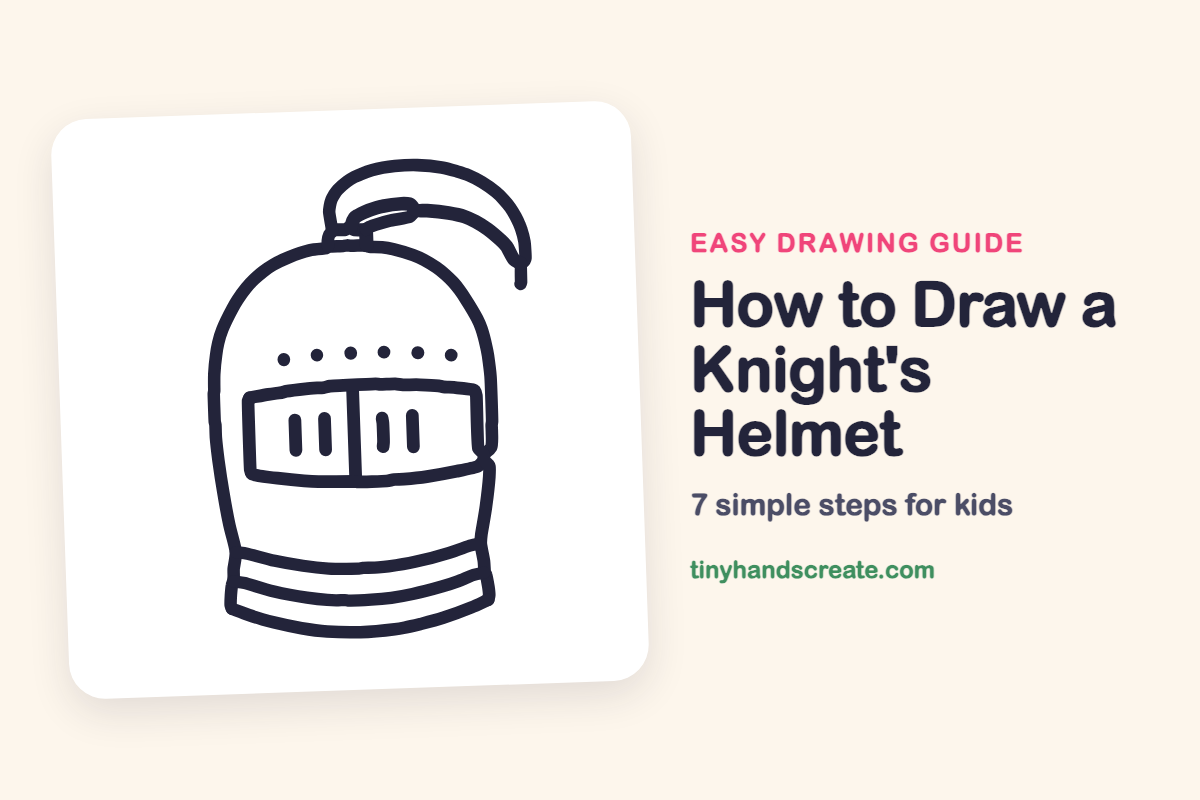
How to Draw a Knight’s Helmet (Easy Step by Step)
A knight's helmet is a fun drawing because it looks tough but is built from very simple shapes. You will use a tall egg shape, a wide rectangle, a few curved lines and some dots. The curved feather on top gives it a proud, brave look.
- Easy
- 10 minutes
- 7 steps
You need: paper, a pencil, an eraser, and crayons or markers for coloring.
Start drawingIn this article (7 sections)
How to draw a knight's helmet step by step
How to Draw a Knight's Helmet · tinyhandscreate.com
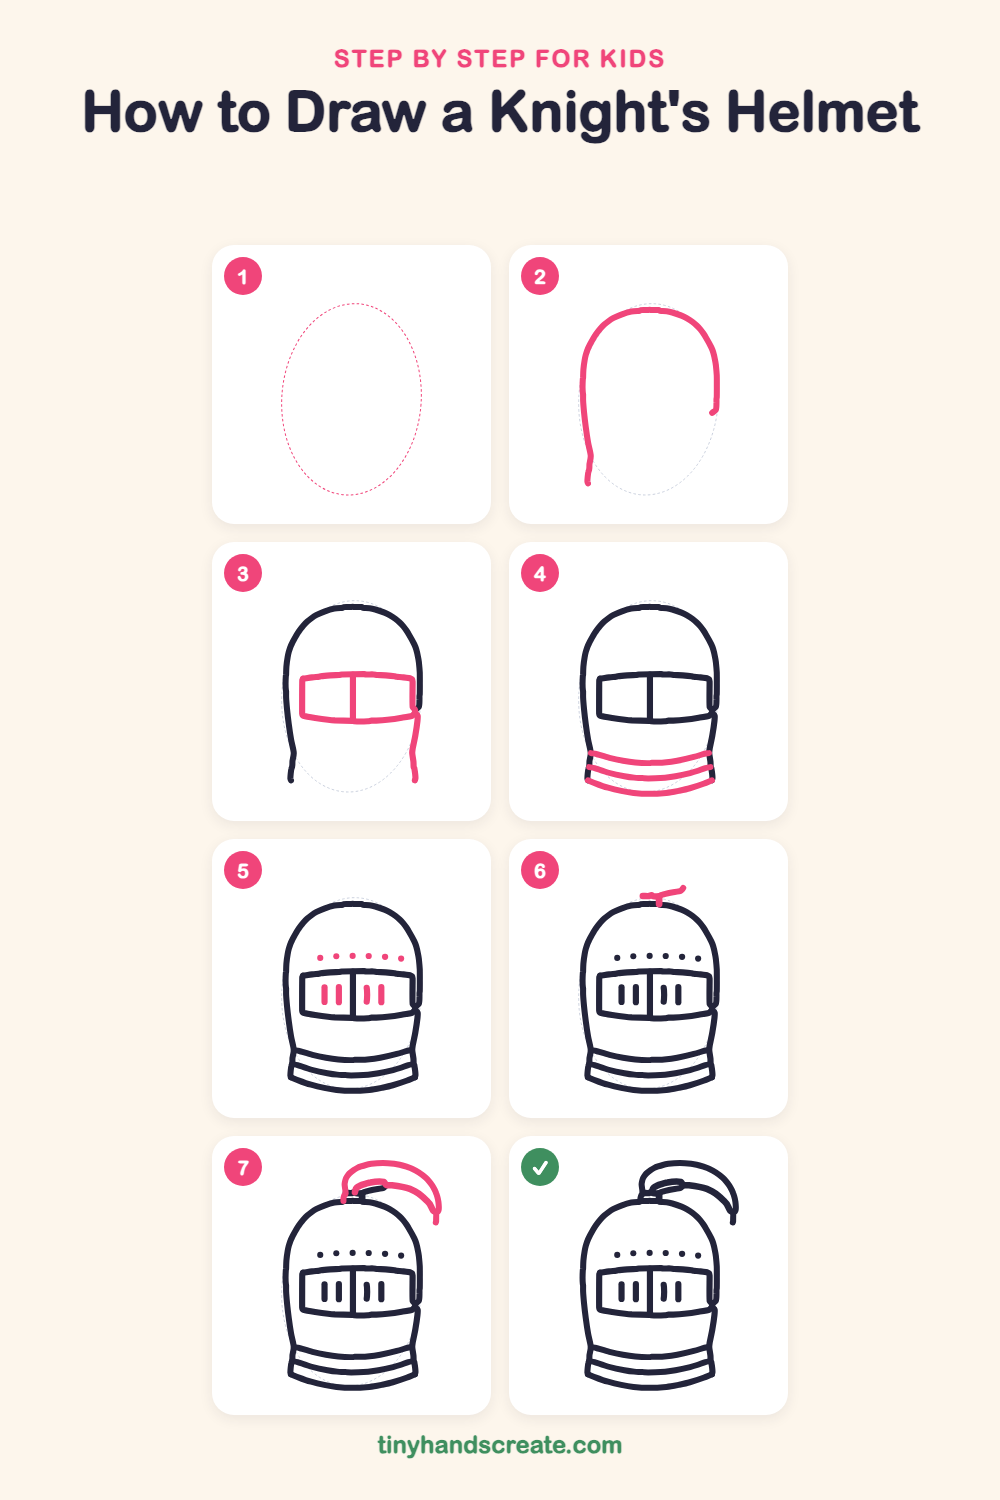
Step 1: Guide shapes
Lightly sketch this oval. It only shows where the big parts go, so press softly. You will erase it at the end.
Step 2: The helmet dome
Draw a tall rounded arch like the top of an egg, with the sides going straight down. Leave the bottom open for now, because the neck rings will close it.
Step 3: Visor and right side
Near the middle of the dome, draw a wide, slightly curved rectangle for the eye opening. Then draw one straight line down the center to split it in two, and finish the right side of the dome by drawing a line down from the visor.
Step 4: Neck rings
At the bottom of the helmet, draw three curved lines that sag a little in the middle, one under the other. They make the stacked metal rings around the neck.
Step 5: Slits and rivets
Inside the visor, draw two tall skinny ovals on each side of the center line for the air slits. Above the visor, add a row of six little dots for the rivets.
Step 6: The plume holder
On top of the dome, draw a small bump with a short curved line stretching to the right. This is the little holder for the feather.
Step 7: The feather plume
Starting at the holder, draw a big curved line that swoops up and over to the right and ends in a point. Then draw a second curve inside it, from the holder to the same point, to make a curved feather shape.
All done!
Erase the guide shapes, go over your lines, then color it in.
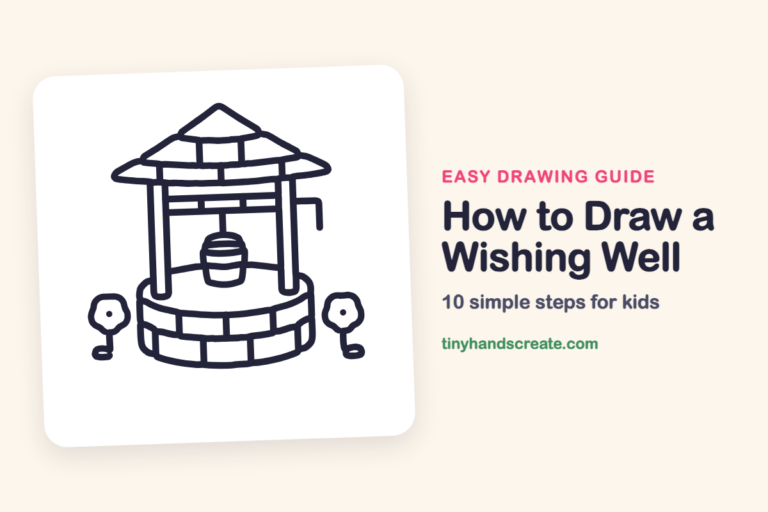
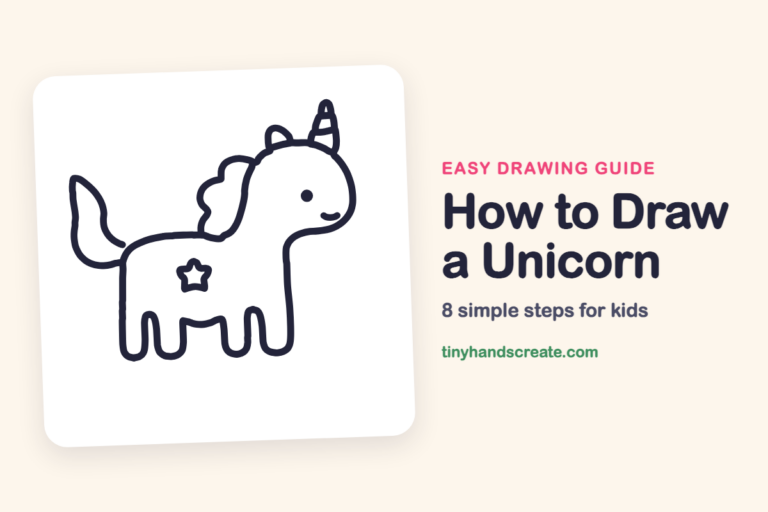
Finished your knight's helmet? Keep the pencils out and learn how to draw a wishing well or how to draw a unicorn next.
Tips for drawing a knight's helmet
- Draw the dome as a light oval first, then trace over it. This keeps both sides of the helmet even.
- The three neck rings are easiest if you draw them one after another with the same gentle curve, so they look stacked.
- For the feather, draw the outer curve first, then tuck the inner curve inside it so both lines meet at the pointed tip.
Free knight's helmet coloring page
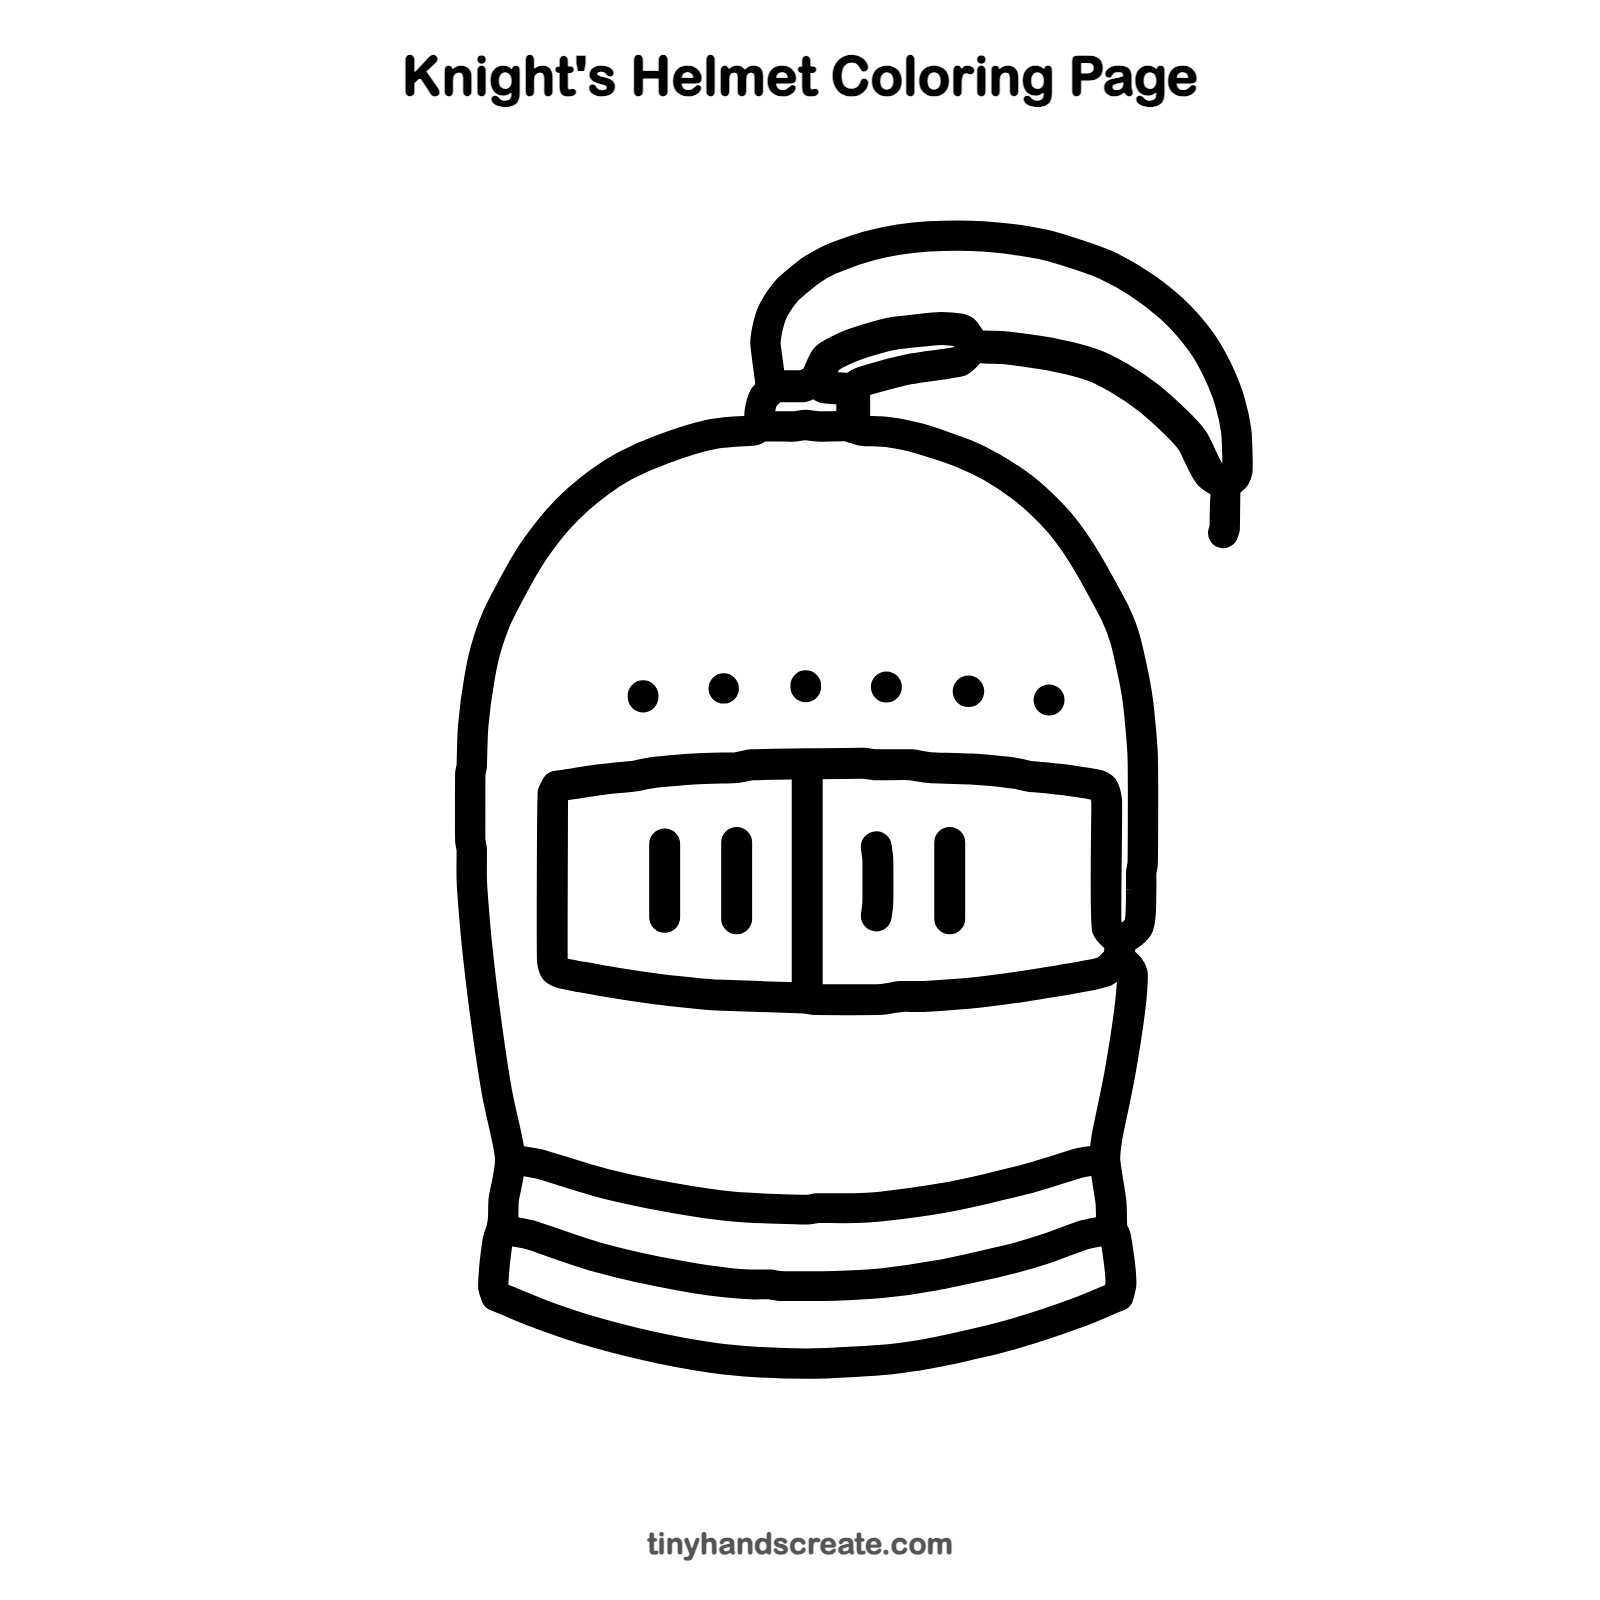
Want to go straight to coloring? Open this knight's helmet coloring page at full size and print it. It is the same drawing you just learned, with clean lines ready for crayons or markers.
How to color your knight's helmet drawing
Try silver or light gray for the metal, with a bright red or blue feather. For a creative twist, give the knight's helmet a rainbow plume or paint a small dragon on the dome.
Knight's helmet fun fact for kids
Many medieval helmets had a hinged visor that a knight could lift up to see and breathe more easily, and lower again to protect the face.
Questions about drawing a knight's helmet
What shapes do I need to draw a knight's helmet?
You need a tall rounded dome, a wide rectangle for the visor, and three curved lines for the neck rings. Add small dots, skinny ovals and a curved feather to finish.
How do I make my knight's helmet look more real?
Add the row of rivets and the air slits in the visor, since real helmets had them. You can also shade one side of the dome with a pencil to make the metal look shiny.
How do I draw the feather on a helmet?
Start with one big curved line that swoops up and over. Then draw a second curve inside it that ends at the same pointed tip.