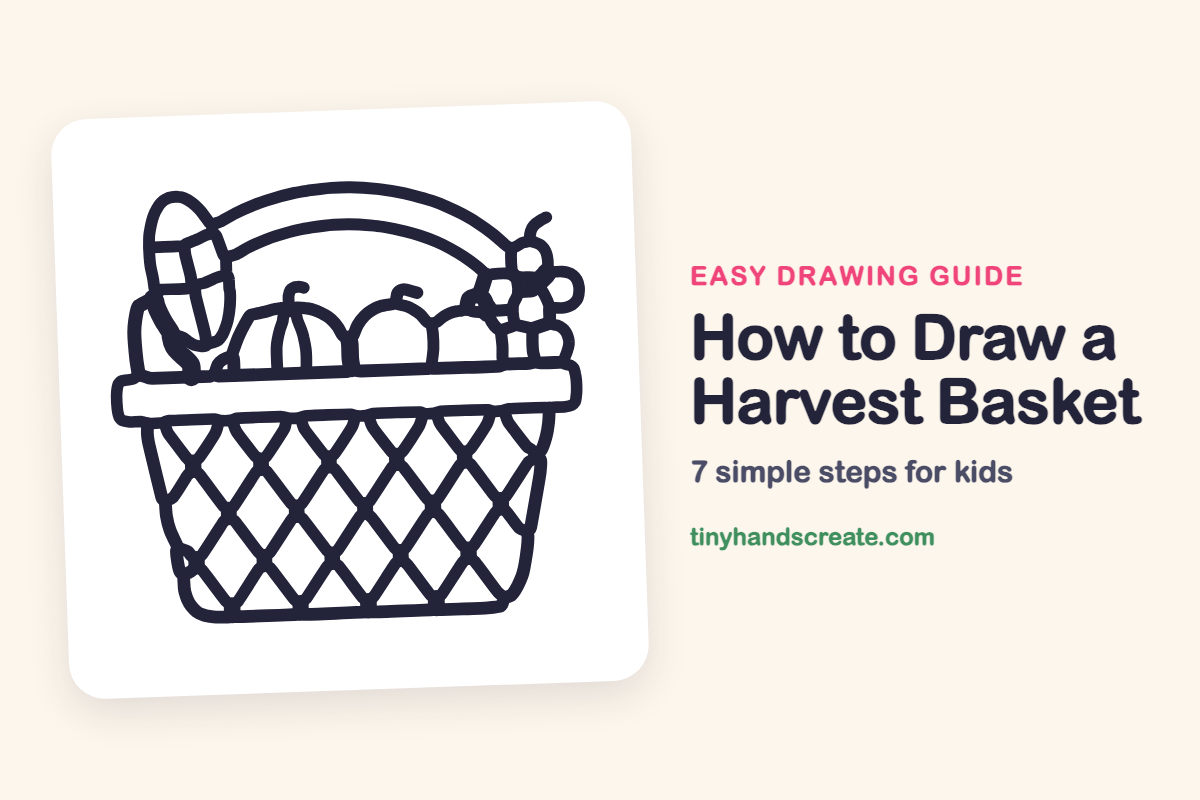
How to Draw a Harvest Basket (Easy Step by Step)
A harvest basket is a pile of fall treats in one cozy picture: corn, a squash, apples and grapes tucked into a woven basket. It is built from simple shapes like ovals, circles, arches and a rounded rectangle, so it is a great way to practice drawing things that overlap.
- Medium
- 20 minutes
- 7 steps
You need: paper, a pencil, an eraser, and crayons or markers for coloring.
Start drawingIn this article (7 sections)
How to draw a harvest basket step by step
How to Draw a Harvest Basket · tinyhandscreate.com
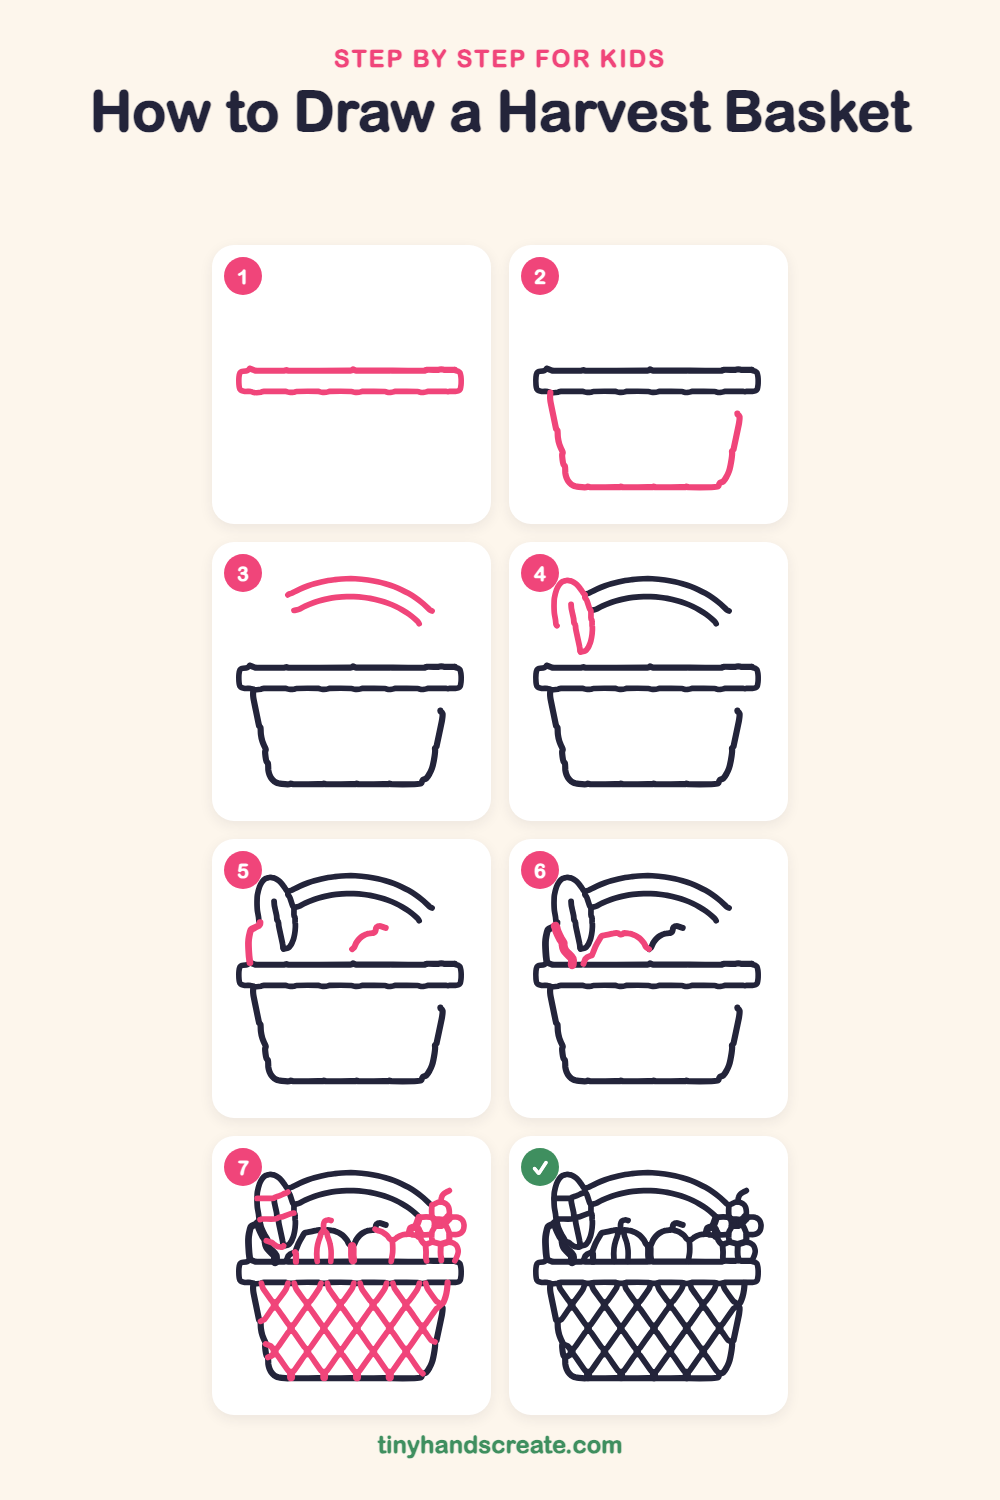
Step 1: The basket rim
Draw a long, wide rectangle with rounded corners across the middle of the page. It should look like a thick flat band.
Step 2: The basket sides
Start under the left end of the rim and draw a line that slants down and a little inward. Curve around the bottom corner, draw a flat bottom line, then curve up and slant toward the right end. Stop partway up on the right side.
Step 3: The handle arch
Above the basket, draw a long curved arch that sweeps from the left to the right. Draw a second arch just under it so the handle looks like a thick band.
Step 4: Top of the corn
At the left end of the handle, draw a tall oval for the corn. Add a short curved line inside it, near the left side.
Step 5: Corn side and apple top
Under the corn, draw a wavy line that goes down to the rim on the left. Then, in the middle of the basket, draw a small curved line with a tiny curl for the top of an apple.
Step 6: Leaf and squash top
On the left, draw a curved leaf line that slopes down from the corn to the rim. Next to it, draw a bumpy arch above the rim for the top of the squash.
Step 7: Fruit, grapes and weave
Add curved lines across the corn for kernels, then finish the squash with two curved ribs. Draw the round apple and a second fruit beside it, ending each at the rim. Add a bunch of small circles for grapes, then fill the basket with criss-cross lines to make diamonds.
All done!
Go over your lines with a marker, then color it in.
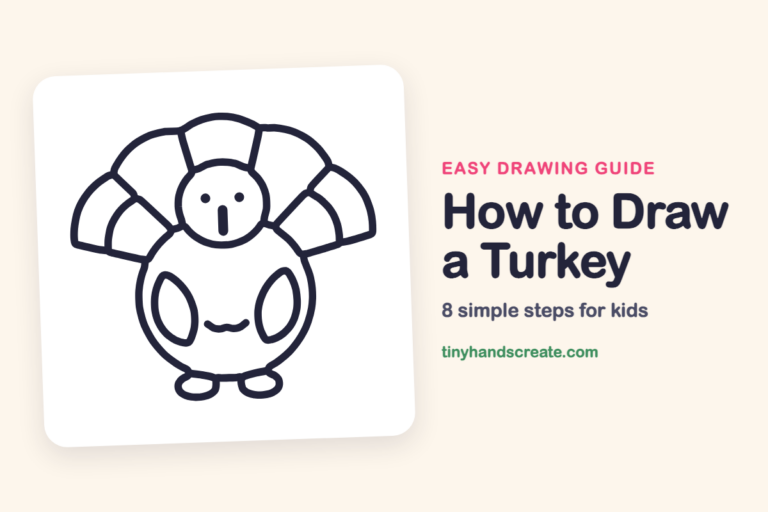
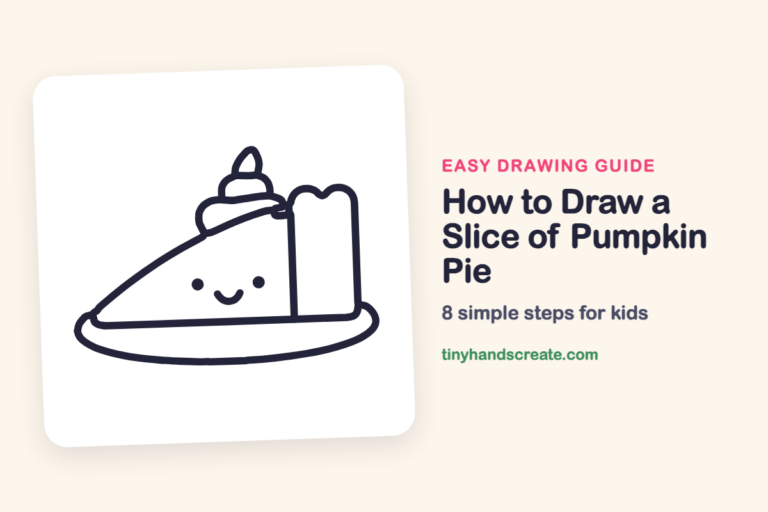
Finished your harvest basket? Keep the pencils out and learn how to draw a turkey or how to draw a slice of pumpkin pie next.
Tips for drawing a harvest basket
- Draw the rim and basket first, then let the fruit sit behind the rim. Stopping the fruit lines at the rim makes everything look tucked in.
- The weave is the trickiest part. Draw all the lines slanting one way first, then cross them with lines slanting the other way, and keep the gaps about the same size.
- For the grapes, draw one circle, then add the next circle touching it. Overlapping a few of them makes the bunch look full.
Free harvest basket coloring page
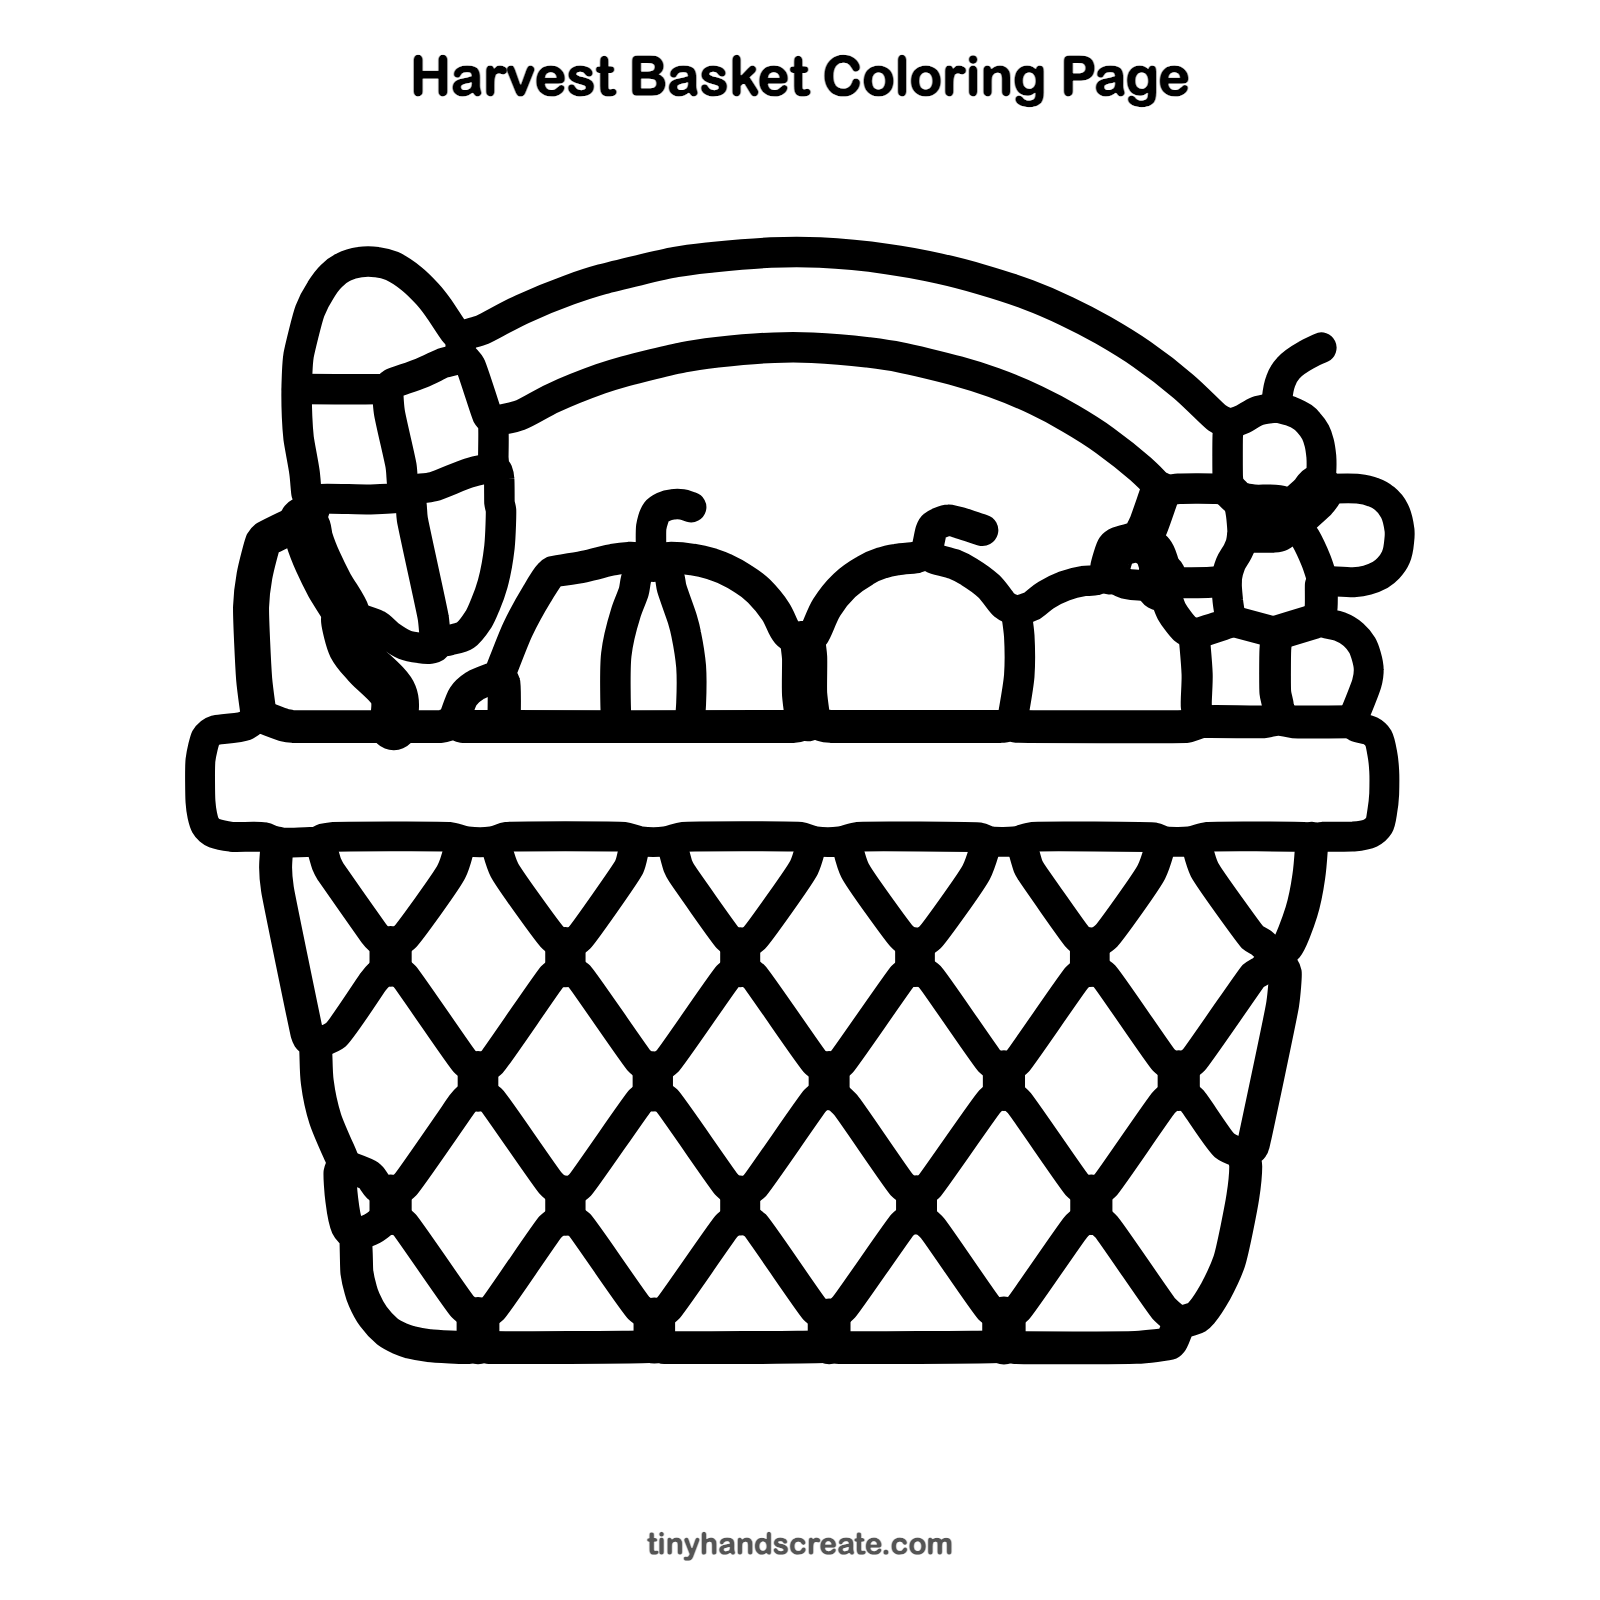
Want to go straight to coloring? Open this harvest basket coloring page at full size and print it. It is the same drawing you just learned, with clean lines ready for crayons or markers.
How to color your harvest basket drawing
Try golden yellow for the corn, orange for the squash, red and green for the apples, and purple for the grapes, with a warm tan basket. For a twist, color each diamond of the weave a slightly different shade of brown.
Harvest basket fun fact for kids
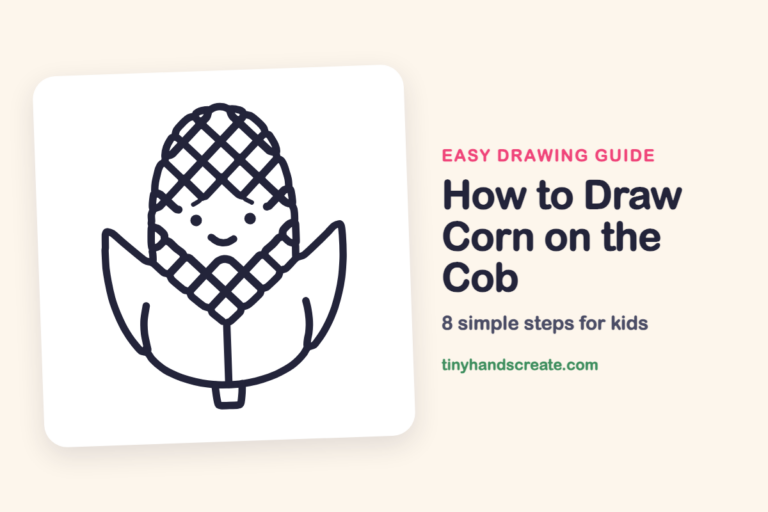
Corn kernels grow in neat rows, and an ear of corn almost always has an even number of rows, often 16 or 18.
Questions about drawing a harvest basket
What shapes do I need to draw a harvest basket?
You need a long rounded rectangle for the rim, a wide bowl shape for the basket, circles for the fruit and grapes, a tall oval for the corn, and a curved arch for the handle.
How do I draw the basket weave?
Draw a row of slanted lines going one way, then cross them with slanted lines going the other way to make diamonds. Keep the lines evenly spaced to make it neat.
How can I make my harvest basket look fuller?
Overlap the fruit so some pieces sit in front of others, and let the corn and grapes poke up above the rim. Overlapping makes the basket look packed with food.