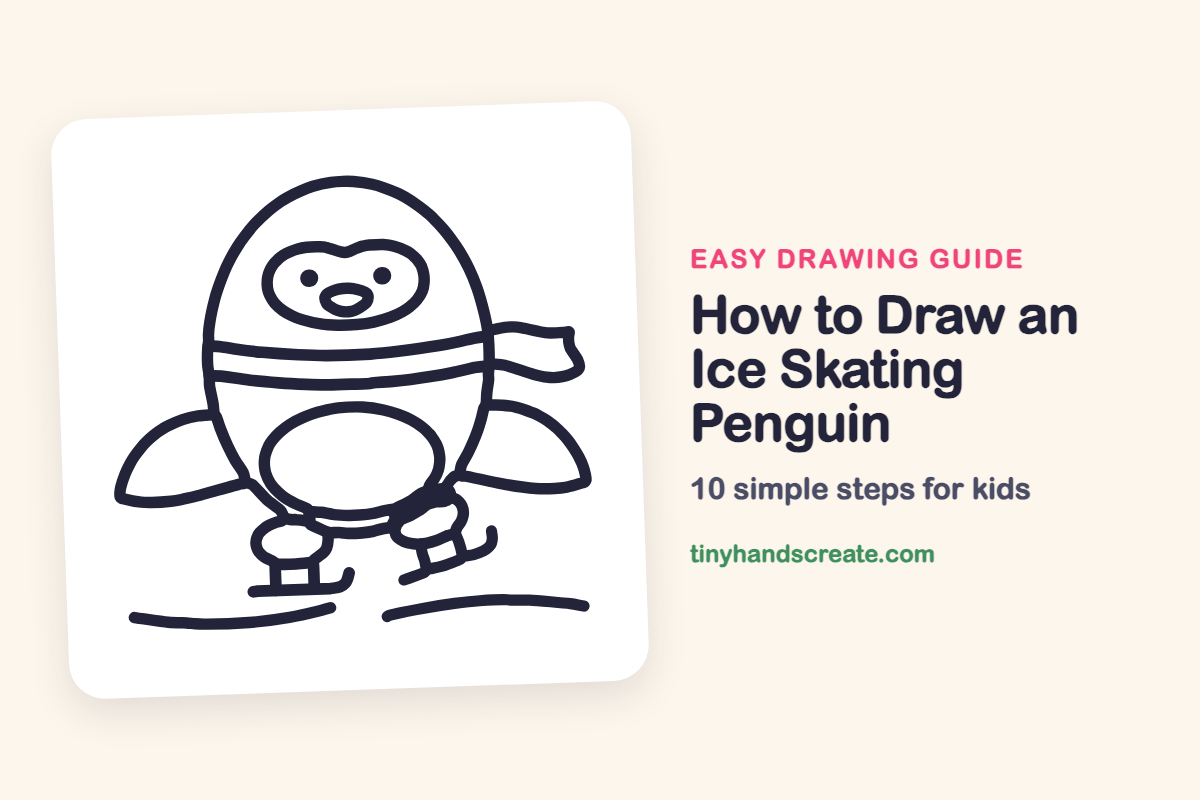
How to Draw an Ice Skating Penguin (Easy Step by Step)
This chubby penguin glides along in a scarf and tiny skates, and it is mostly built from ovals. If you can draw an egg, a few curved lines and two little dots, you can draw the whole thing. It is a great first drawing because every part is round and friendly.
- Easy
- 15 minutes
- 10 steps
You need: paper, a pencil, an eraser, and crayons or markers for coloring.
Start drawingIn this article (7 sections)
How to draw an ice skating penguin step by step
How to Draw an Ice Skating Penguin · tinyhandscreate.com
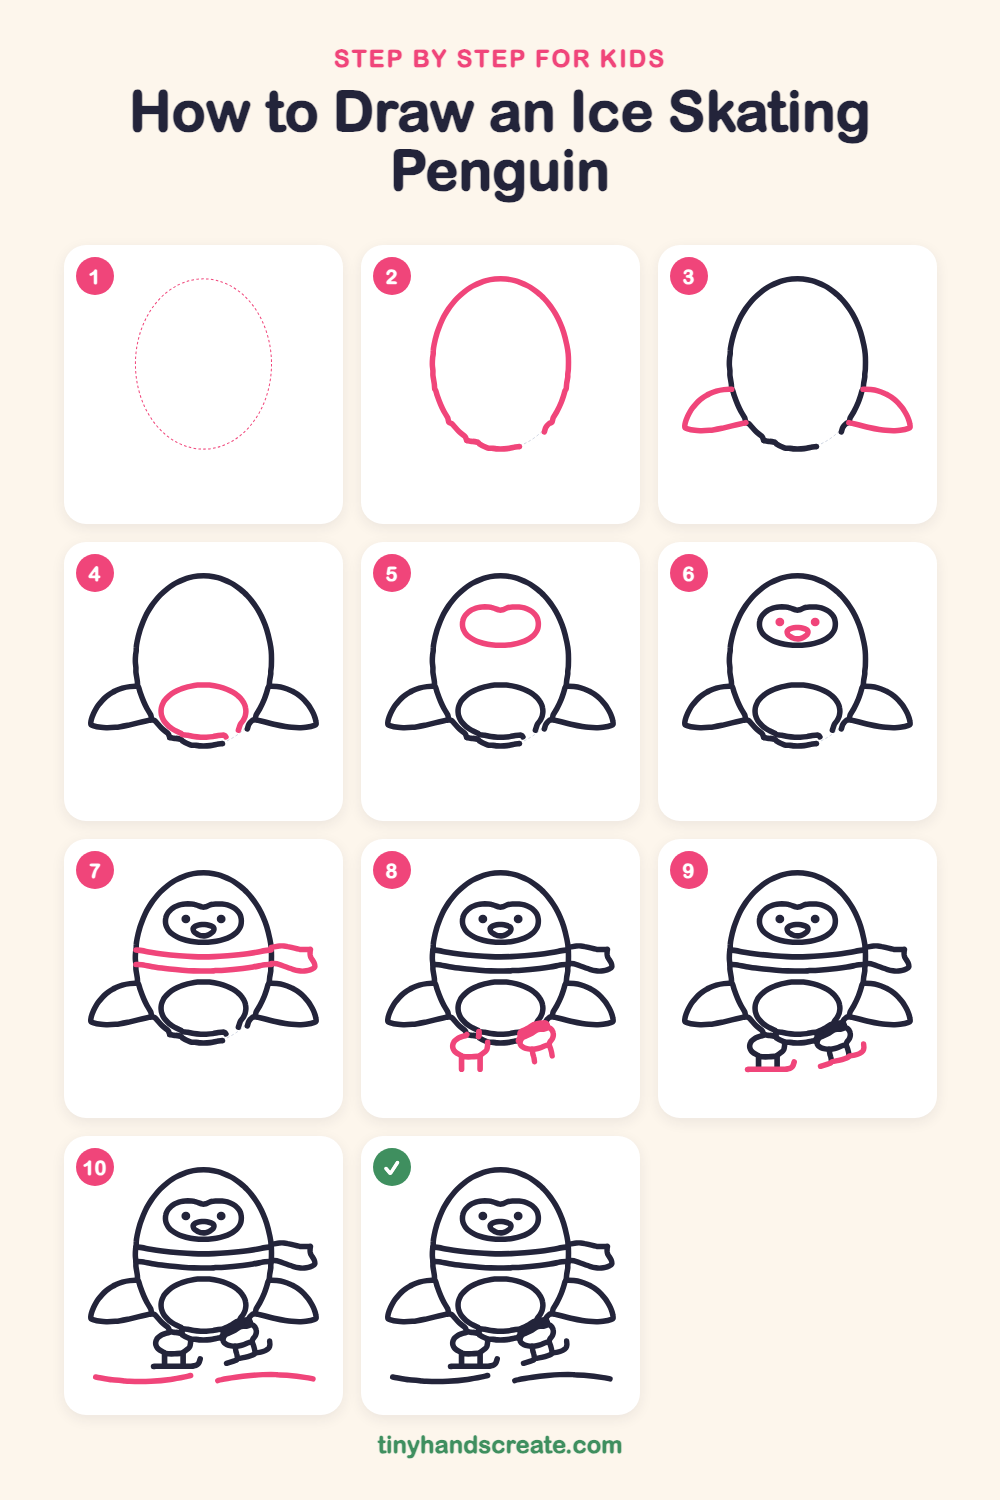
Step 1: Guide shapes
Lightly sketch this oval. It only shows where the big parts go, so press softly. You will erase it at the end.
Step 2: The round body
Draw a big tall egg shape, a little wider at the bottom. Leave a tiny gap at the bottom right, because the next lines will meet there.
Step 3: The two wings
On each side of the body, draw a curved teardrop that points down and out, like a small leaf. Start each wing where it touches the body and let the tip swing outward.
Step 4: The belly
Draw a wide oval in the lower middle of the body. Let its bottom edge sit right on the bottom of the body.
Step 5: The face patch
Near the top of the body, draw a wide, rounded shape with a small dip in the top middle, like a soft heart lying on its side.
Step 6: Eyes and beak
Inside the face patch, add two small dots for eyes. Between them and a little lower, draw a small rounded oval for the beak.
Step 7: The scarf
Draw two long curved lines across the body, just under the face, to make a wide band. Then add a wavy flag shape flowing out from the right side for the scarf tail.
Step 8: The little feet
Under the body, draw two small rounded bumps for feet, one on each side. Add two short straight lines going down from each foot to make the skate posts.
Step 9: The skate blades
At the bottom of each pair of posts, draw a long, thin line for the blade. Curl the front end up a little, like a tiny hook.
Step 10: The ice
Under the skates, draw two long, gently curved lines to show the ice the penguin glides on.
All done!
Erase the guide shapes, go over your lines, then color it in.
Finished your ice skating penguin? Keep the pencils out and learn how to draw a Christmas gnome or how to draw milk and cookies next.
Tips for drawing an ice skating penguin
- Start with the big egg body and take your time. Everything else attaches to it, so a good egg makes the rest easy.
- The two feet do not have to match. Draw the left one first, then make the right one about the same size, even if it tilts a little.
- Make the scarf bands curve a little instead of drawing them straight. The curve makes the scarf look like it wraps around the body.
Free ice skating penguin coloring page
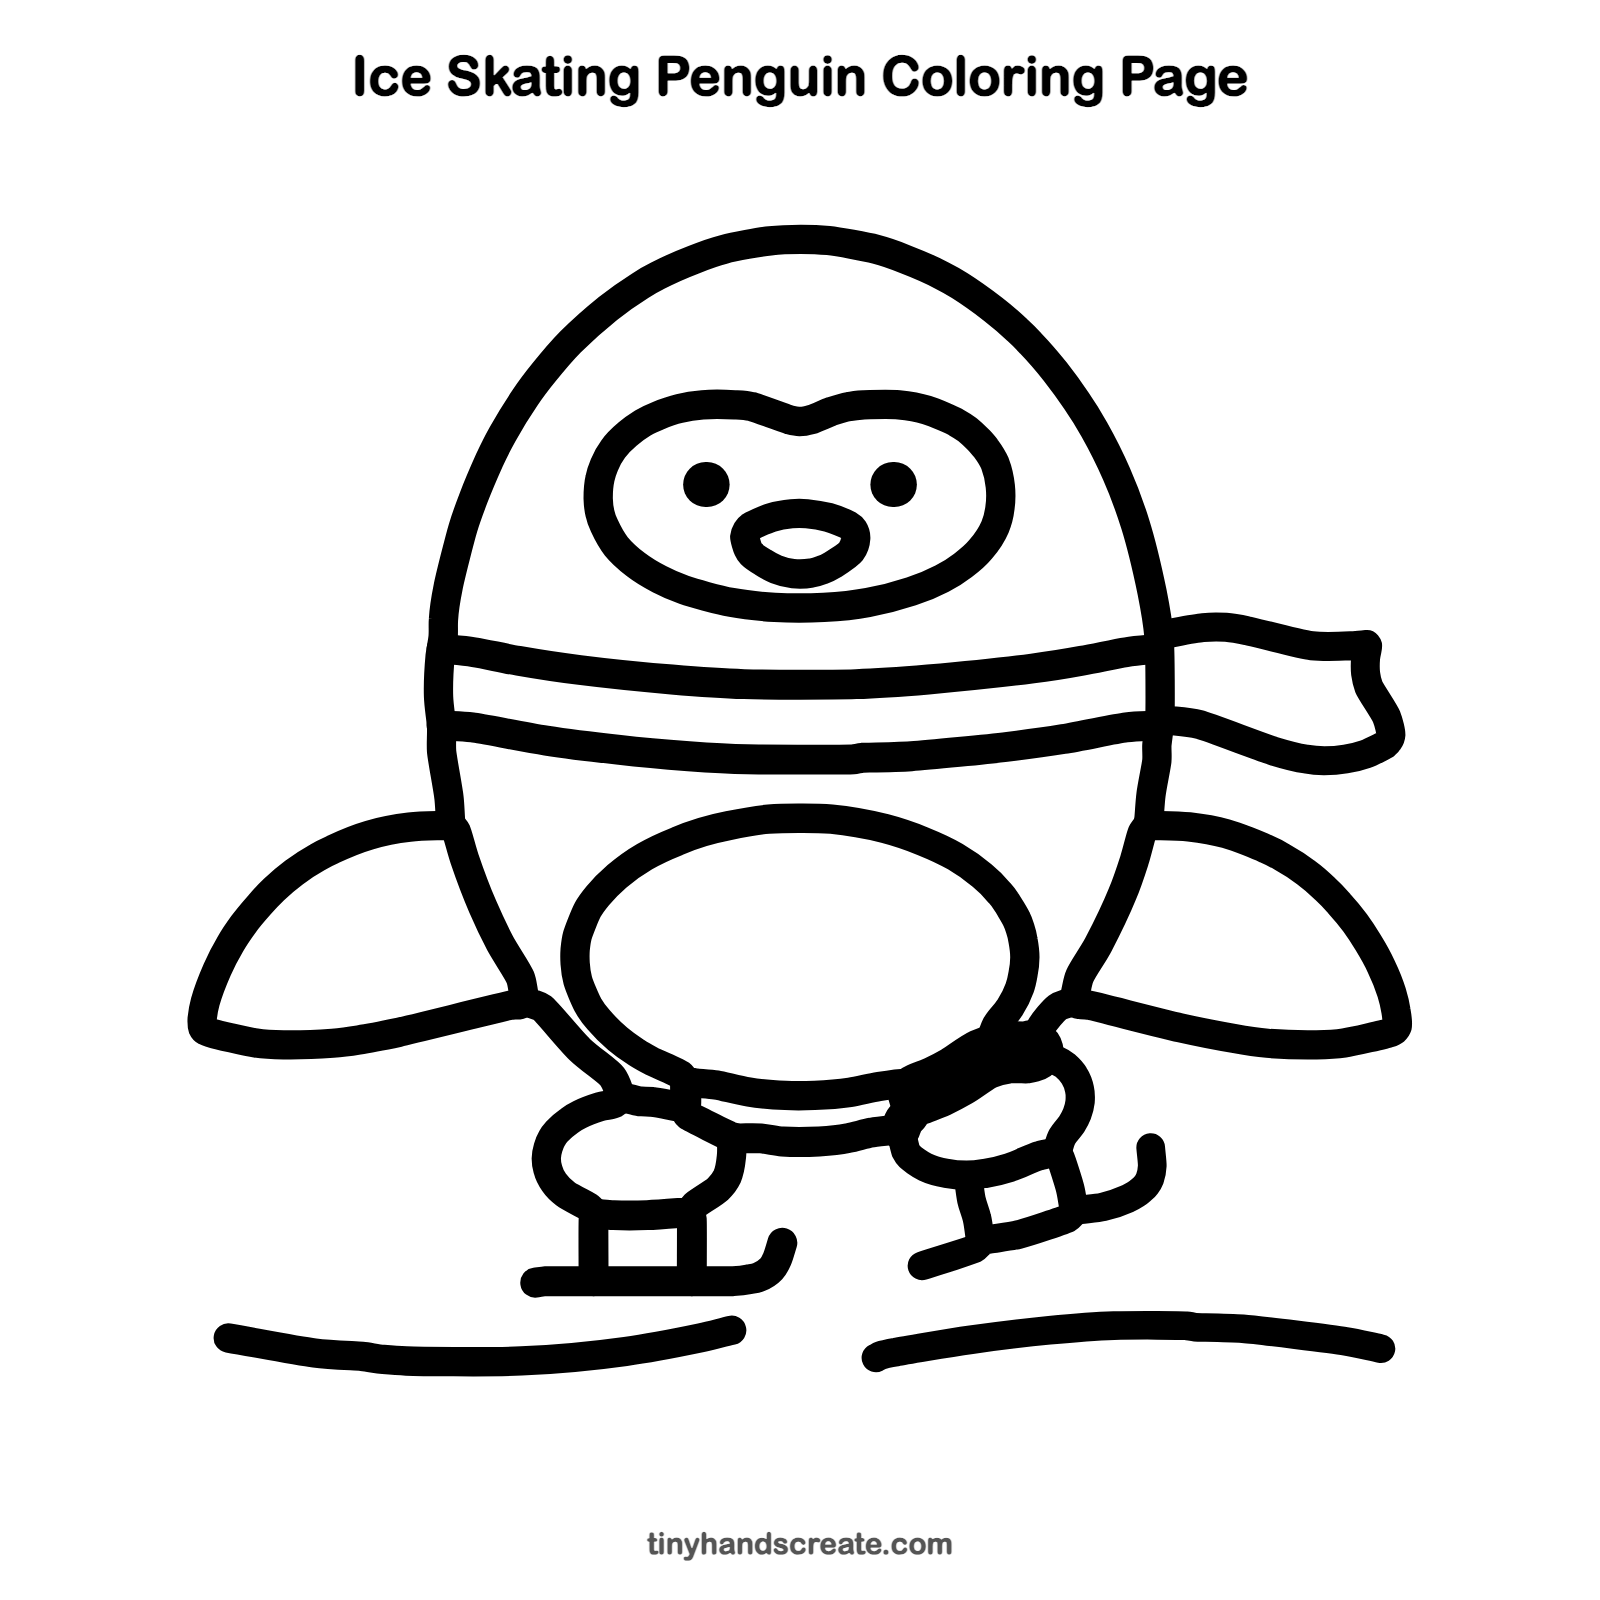
Want to go straight to coloring? Open this ice skating penguin coloring page at full size and print it. It is the same drawing you just learned, with clean lines ready for crayons or markers.
How to color your ice skating penguin drawing
Color the body dark blue or black, leave the belly and face patch white, and make the beak and feet orange. For a creative twist, give the scarf bold stripes and add falling snowflakes in the background.
Ice skating penguin fun fact for kids
Penguins cannot fly, but their wings work like flippers and help them swim fast underwater. On land, some penguins also slide across the snow on their bellies, which is called tobogganing.
Questions about drawing an ice skating penguin
What shapes do I need to draw an ice skating penguin?
Mostly ovals. You need a big egg for the body, a smaller oval for the belly, a wide rounded shape for the face, and teardrops for the wings. The skates are just short lines and curves.
How do I make my penguin look cuter?
Keep the eyes as small dots and the beak small and round. A chubby body and tiny feet also make it look sweeter.
How do I draw the skates so they look right?
Draw two short posts under each foot, then one long line across the bottom for the blade. Curl the front end of the blade up a little, and the skate will look just right.