How to Draw a Ferris Wheel (Easy Step by Step)
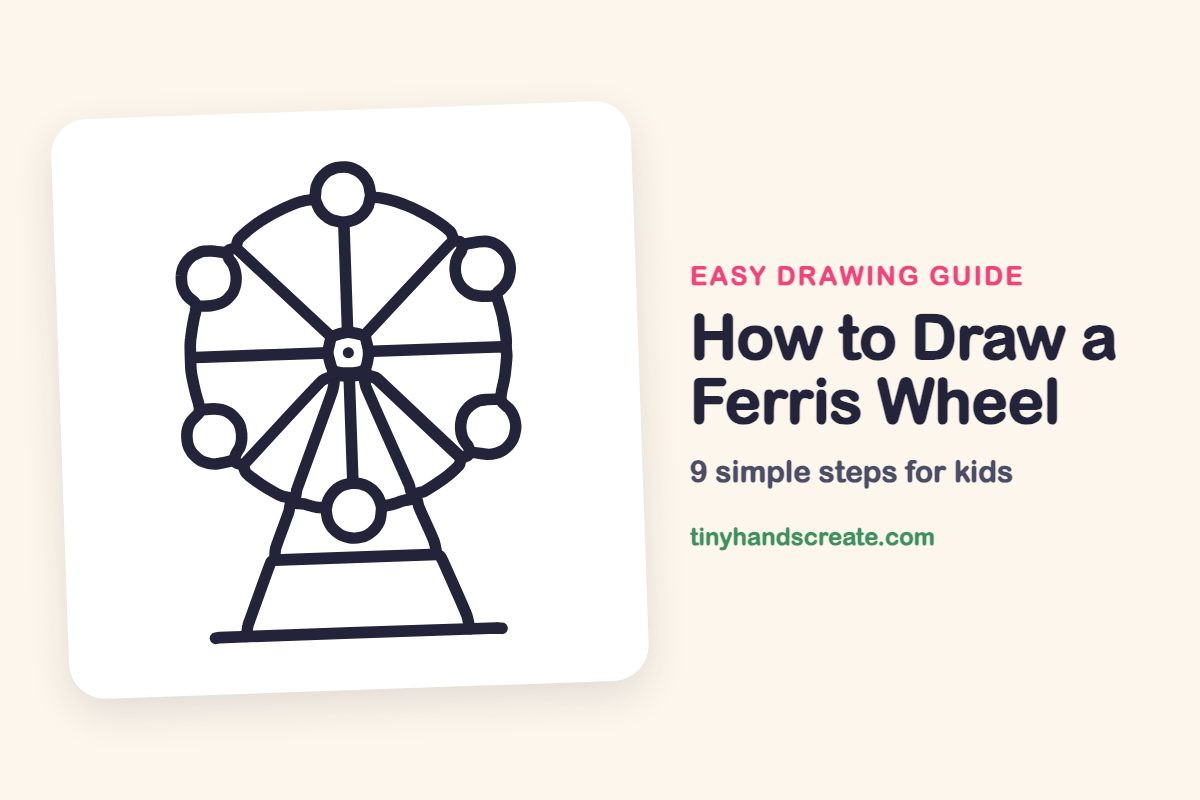
A Ferris wheel is a fun one to draw because it is mostly circles and straight lines. You will draw one big ring, a small hub, spokes like a bicycle wheel, and six little round seats. A tall triangle stand holds it all up.
- Medium
- 15 minutes
- 9 steps
You need: paper, a pencil, an eraser, and crayons or markers for coloring.
Start drawingIn this article (7 sections)
How to draw a Ferris wheel step by step
How to Draw a Ferris Wheel · tinyhandscreate.com
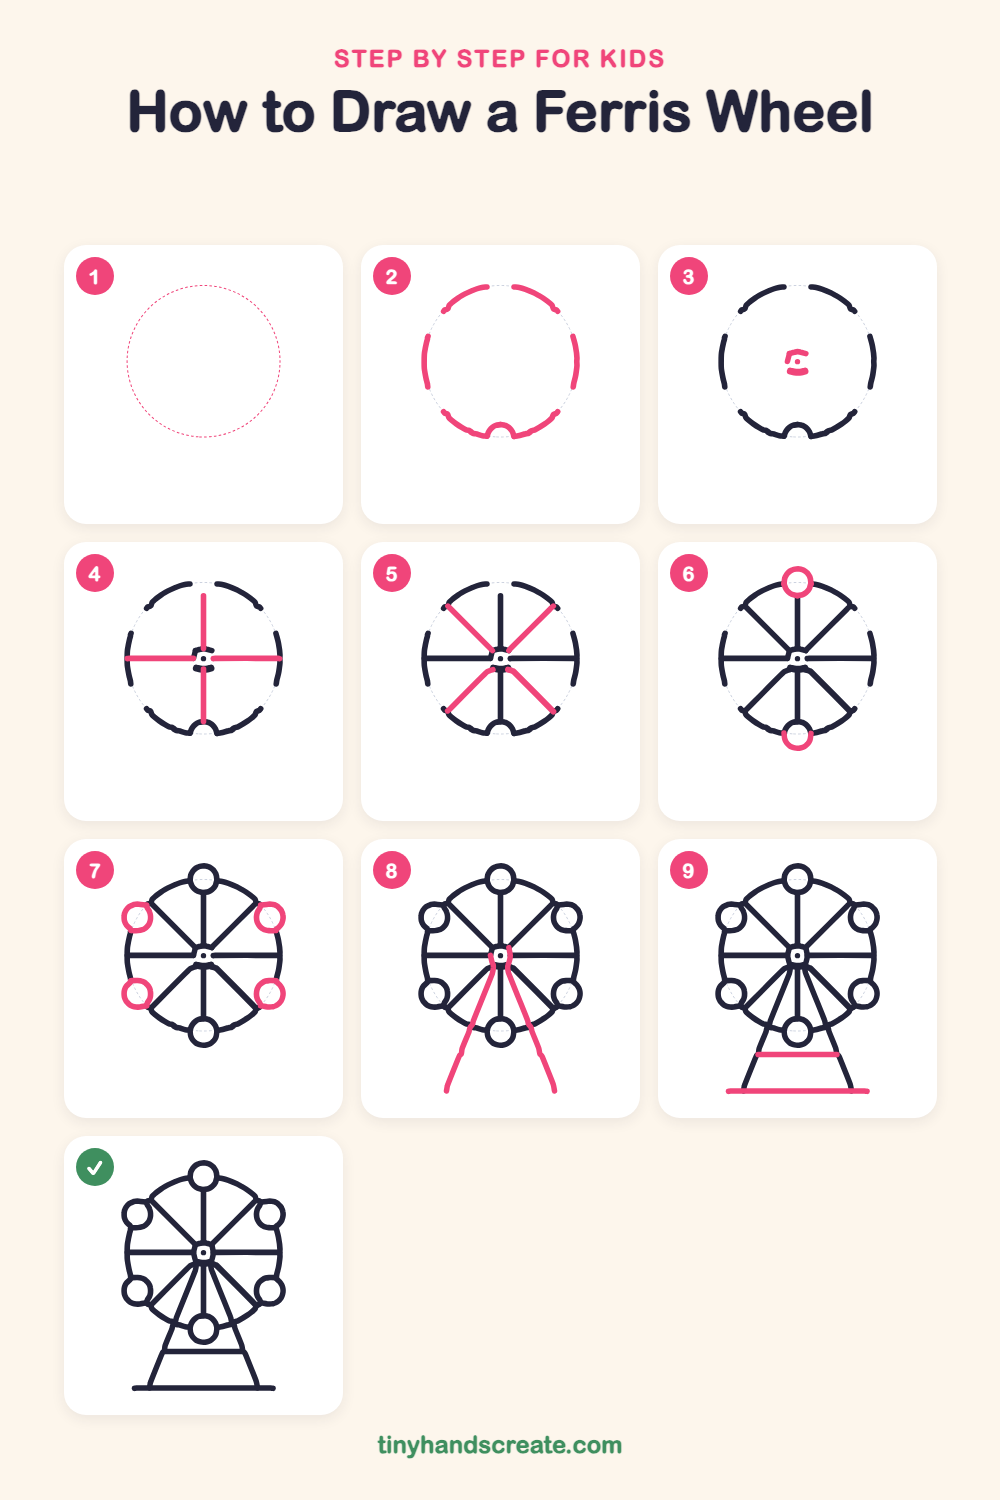
Step 1: Guide shapes
Lightly sketch this oval. It only shows where the big parts go, so press softly. You will erase it at the end.
Step 2: The big wheel
Start with a large round ring in the middle of your paper. Draw it big and smooth, and leave room around it for the seats and room below it for the stand.
Step 3: The center hub
In the middle of the wheel, draw a small circle for the hub. Then draw a tiny dot inside it, like the center of a button.
Step 4: Straight spokes
Draw four straight lines from the hub to the ring: one going up, one going left, one going right, and one going down. They work like the spokes of a bicycle wheel.
Step 5: Diagonal spokes
Now add four slanted lines from the hub, two going up and two going down. Stop each one where it touches the big ring.
Step 6: Top and bottom seats
Draw a small circle on the ring at the very top, and another at the very bottom. Each circle sits right on the wheel, like a bead on a necklace.
Step 7: Side seats
Draw four more small circles on the ring, two on the left and two on the right. Try to make them all about the same size as the top one.
Step 8: The tall stand
Draw two long slanted lines from the hub down to the ground. They should lean outward, so they make a tall triangle shape, like a letter A without the bar.
Step 9: Brace and ground
Draw a short straight line across the stand to hold it steady. Finish with a long flat line at the bottom for the ground.
All done!
Erase the guide shapes, go over your lines, then color it in.
Finished your Ferris wheel? Keep the pencils out and learn how to draw a circus tent or how to draw a piggy bank next.
Tips for drawing a Ferris wheel
- Draw the big ring lightly first. If it comes out a little wobbly, you can go over it again with a darker line.
- Space the six seats evenly around the ring. Place the top and bottom seats first, then add two on each side.
- Draw the stand with a ruler or the edge of a book for the slanted lines. Make both sides lean the same amount so the wheel stands straight.
Free Ferris wheel coloring page
Want to go straight to coloring? Open this Ferris wheel coloring page at full size and print it. It is the same drawing you just learned, with clean lines ready for crayons or markers.
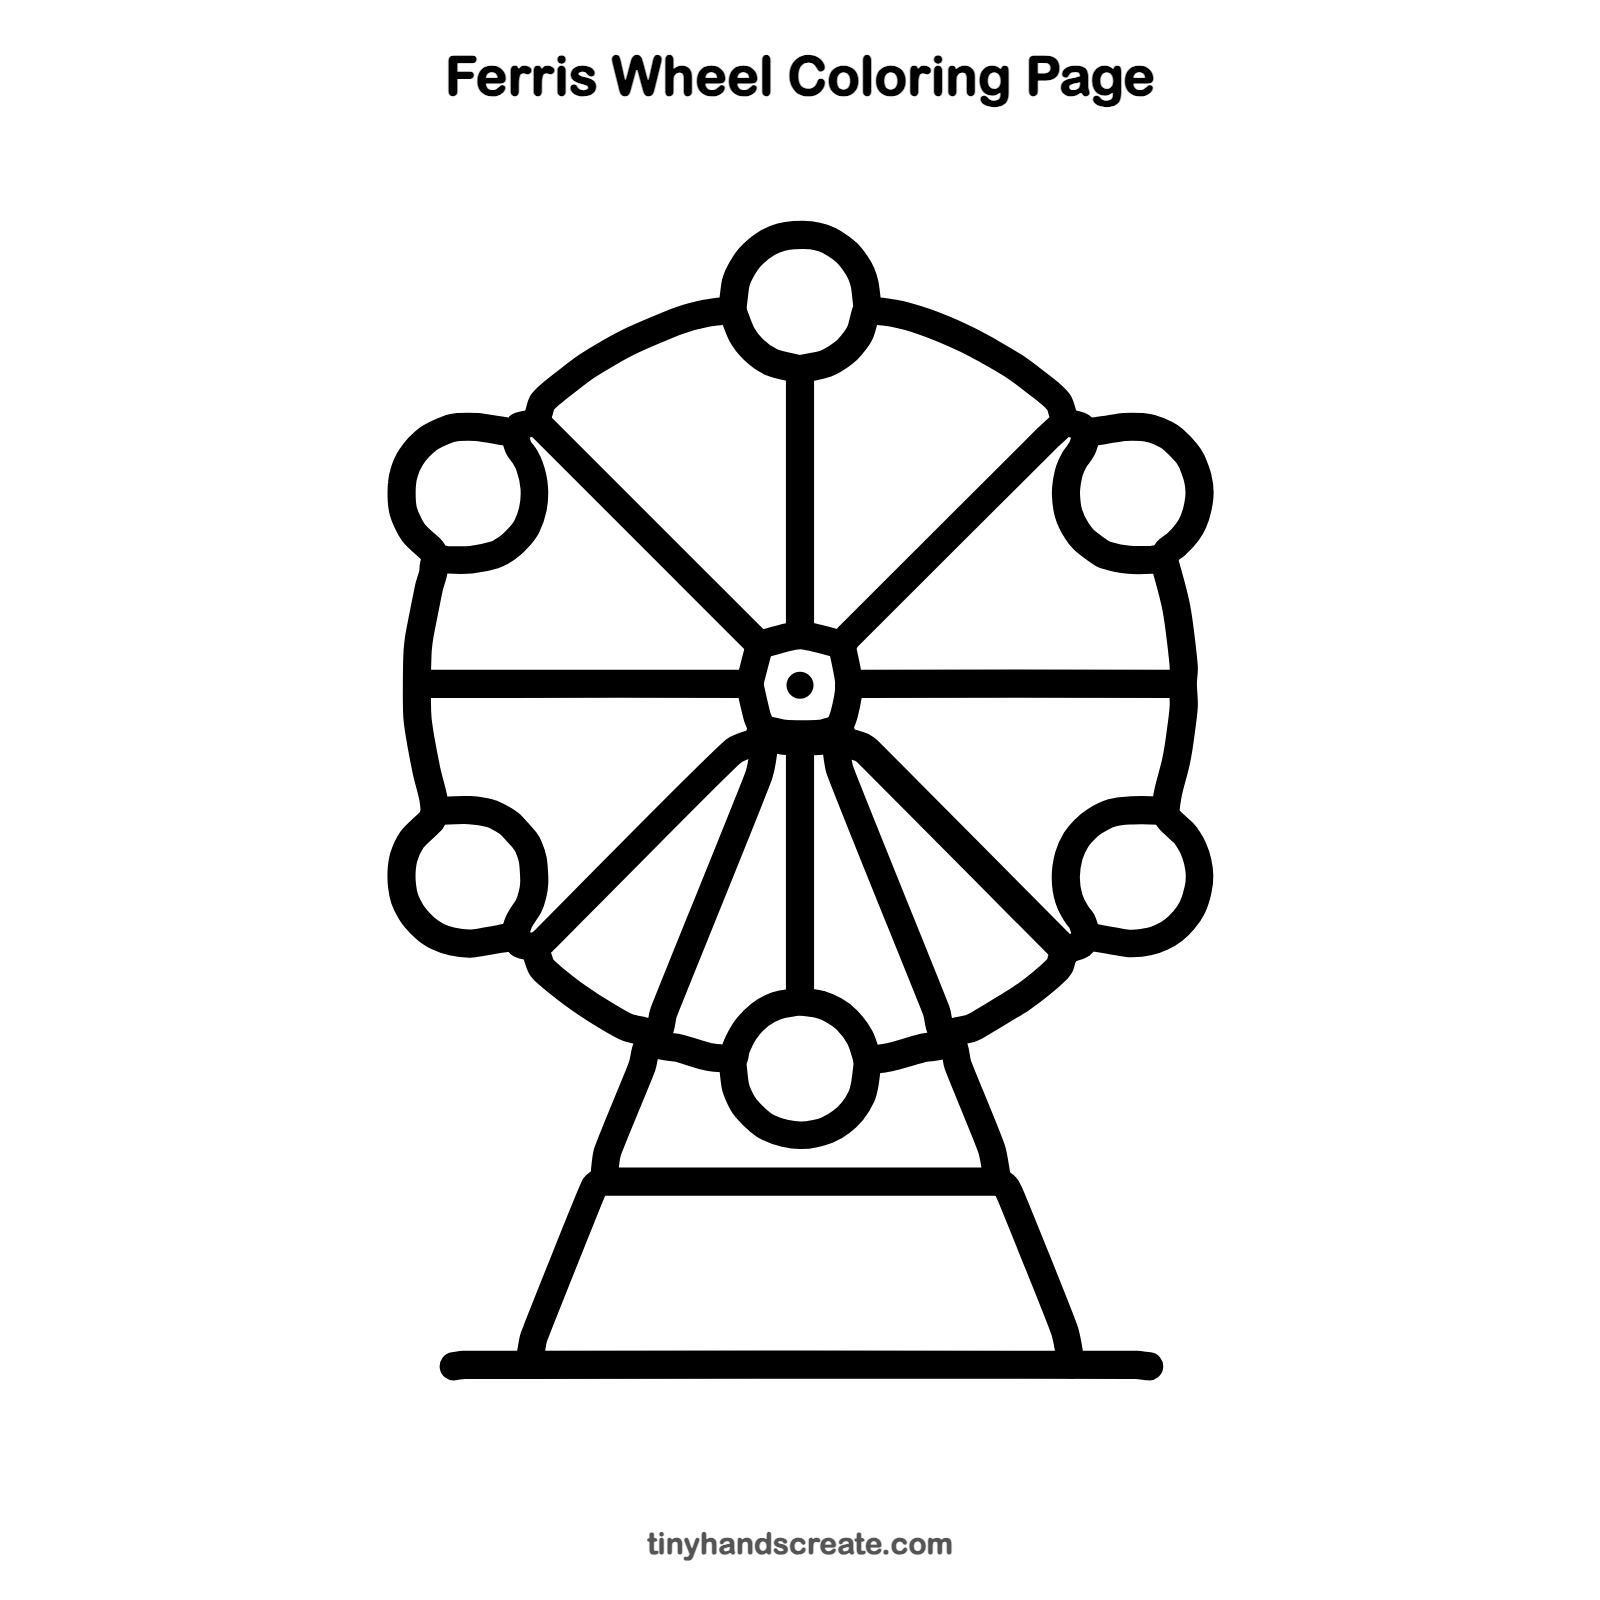
How to color your Ferris wheel drawing
Color each seat a different bright color, like red, yellow, blue, and green, and use gray or blue for the stand. For a creative twist, draw a night sky behind it and color the seats yellow so they glow like lights.
Ferris wheel fun fact for kids
The very first Ferris wheel was built for the 1893 World's Fair in Chicago, and it was named after its engineer, George Ferris. It was about 264 feet tall and could carry more than two thousand people at once.
Questions about drawing a Ferris wheel
What shapes do I need to draw a Ferris wheel?
You need circles for the wheel, hub, and seats, and straight lines for the spokes and the stand. The stand makes a tall triangle shape.
How do I draw a Ferris wheel that looks round?
Sketch the ring very lightly first and turn your paper as you draw. Once it looks smooth, trace over it with a darker line.
How do I make my Ferris wheel look more fun?
Color each seat a different color and add little stars or balloons in the sky around it. A night sky with glowing yellow seats looks great too.