How to Draw a Drum (Easy Step by Step)
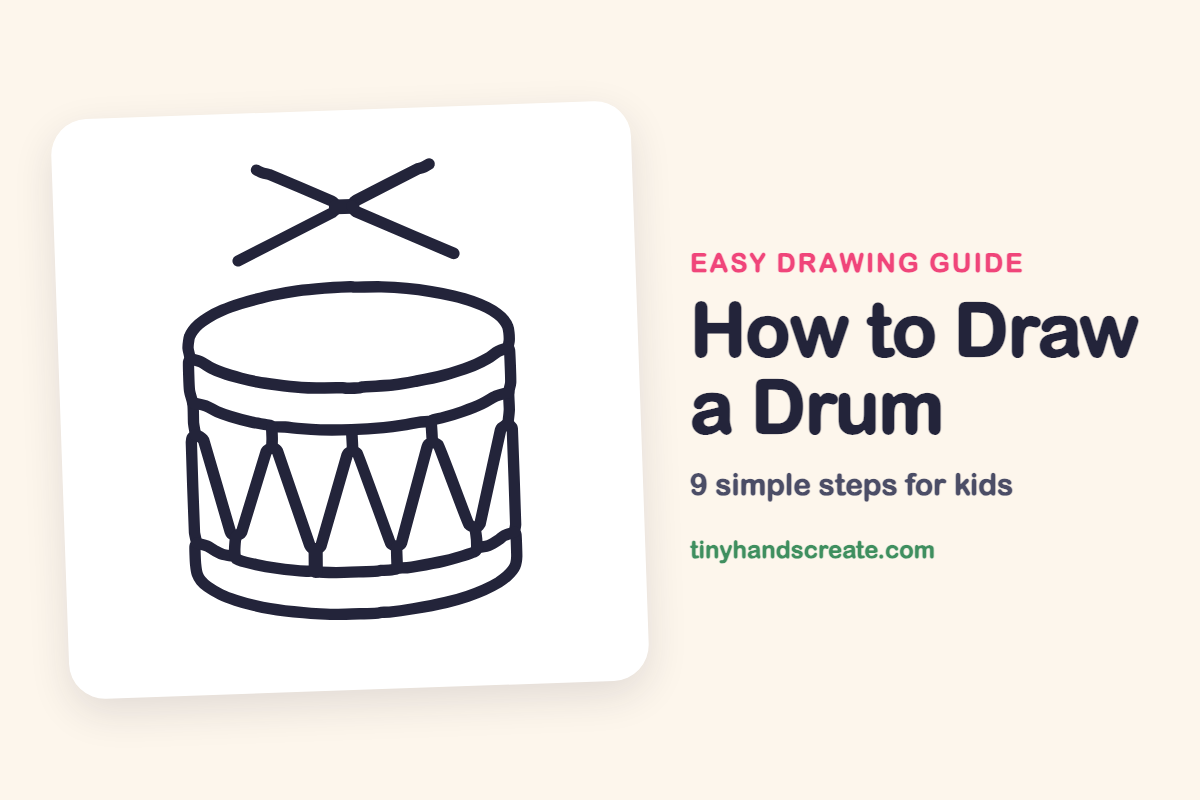
A drum is a fun first subject because it is built from just a few simple shapes: a rounded can shape, curved lines, and zigzags. The crossed drumsticks above it make it feel like a parade is about to start. Once you can draw this one, you can try a whole band.
- Easy
- 10 minutes
- 9 steps
You need: paper, a pencil, an eraser, and crayons or markers for coloring.
Start drawingIn this article (7 sections)
How to draw a drum step by step
How to Draw a Drum · tinyhandscreate.com
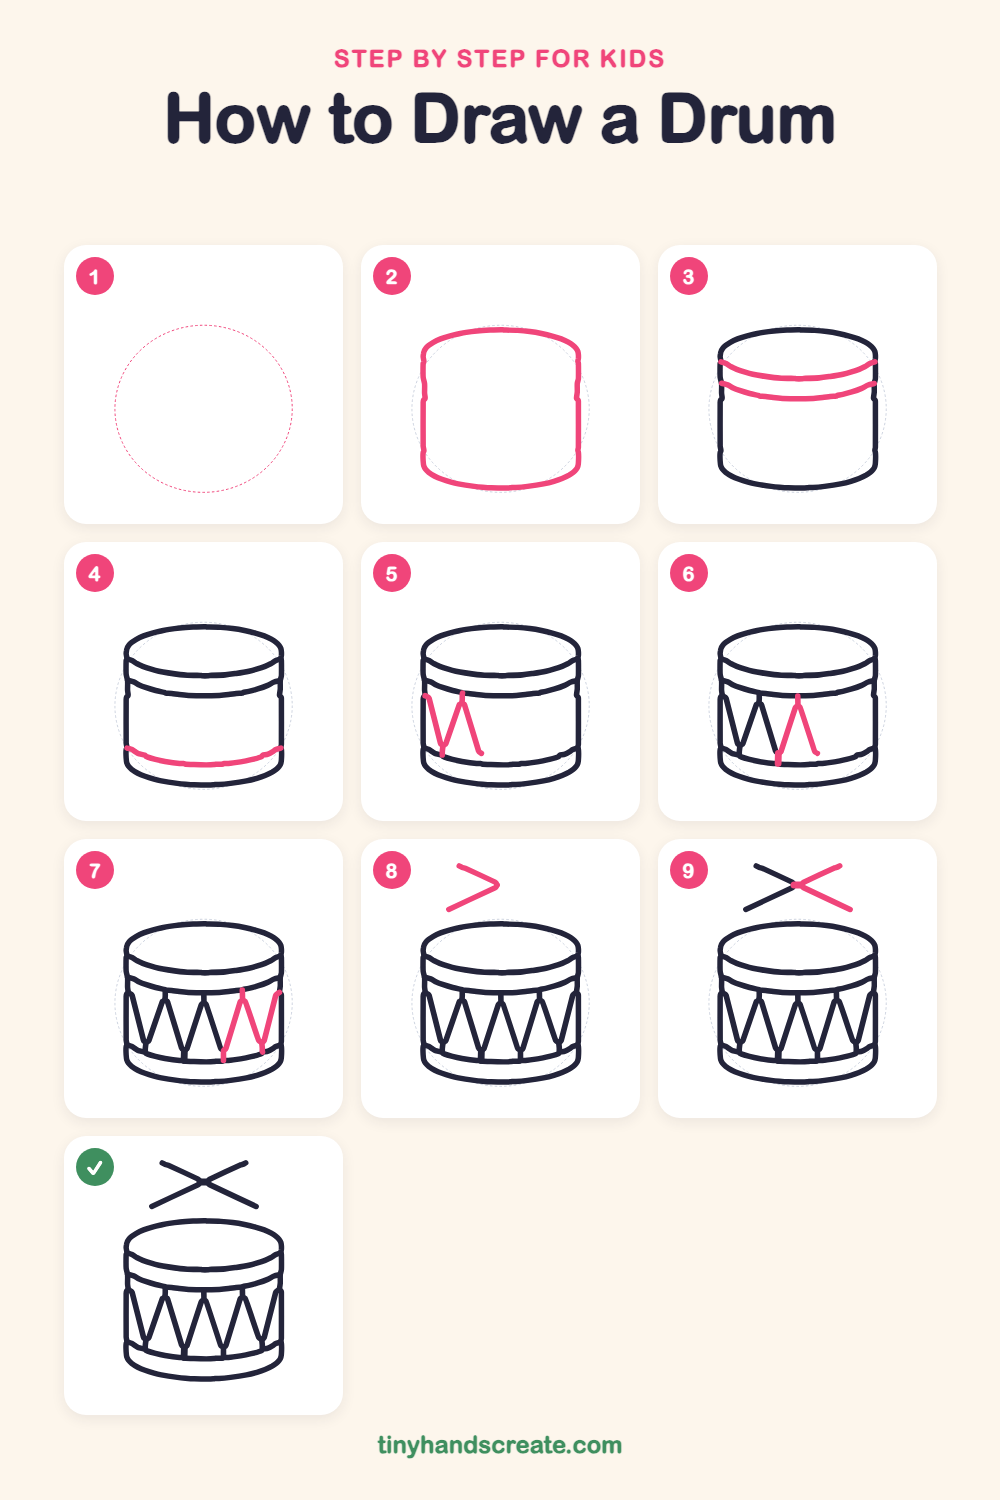
Step 1: Guide shapes
Lightly sketch this oval. It only shows where the big parts go, so press softly. You will erase it at the end.
Step 2: Drum body outline
Draw a rounded shape like a short, wide can. Start with a gently curved line across the top, then go down the left and right sides and connect them with a curved line along the bottom.
Step 3: Top rim band
Near the top of the drum, draw a curved line from the left side to the right side, bending downward in the middle. Draw a second curved line just below it to make a thin band.
Step 4: Bottom rim band
Near the bottom of the drum, draw one gently curved line from the left side to the right side. It makes a band that matches the one at the top.
Step 5: Zigzag on the left
Start at the top band on the left and draw a line slanting down to the bottom band. Then slant up to the top band and back down again, like the letter W.
Step 6: Zigzag in the middle
Keep the zigzag going. Start at the bottom band next to the last point, slant up to the top band, then slant back down to the bottom band to make a pointed peak.
Step 7: Zigzag on the right
Finish the pattern on the right side with one more W shape. Slant up to the top band, down to the bottom band, then up to the top band again at the right edge.
Step 8: First stick lines
Above the drum, draw two short slanting lines that meet at a point on the right, like a sideways V pointing right. These are the first halves of the crossed drumsticks.
Step 9: Crossing stick lines
Draw two more slanting lines that meet at the same middle point and open toward the right, so they cross the first pair. Now the lines make an X above the drum.
All done!
Erase the guide shapes, go over your lines, then color it in.
Finished your drum? Keep the pencils out and learn how to draw a light bulb or how to draw a gemstone next.
Tips for drawing a drum
- Draw the body first and keep it short and wide. If it is too tall, the drum will look like a tube instead of a drum.
- The zigzag is the trickiest part. Make light dots along the top band and the bottom band first, then connect the dots, so all the points are spaced evenly.
- For the sticks, make the two sideways V shapes meet at the same middle point so they cross in a neat X.
Free drum coloring page
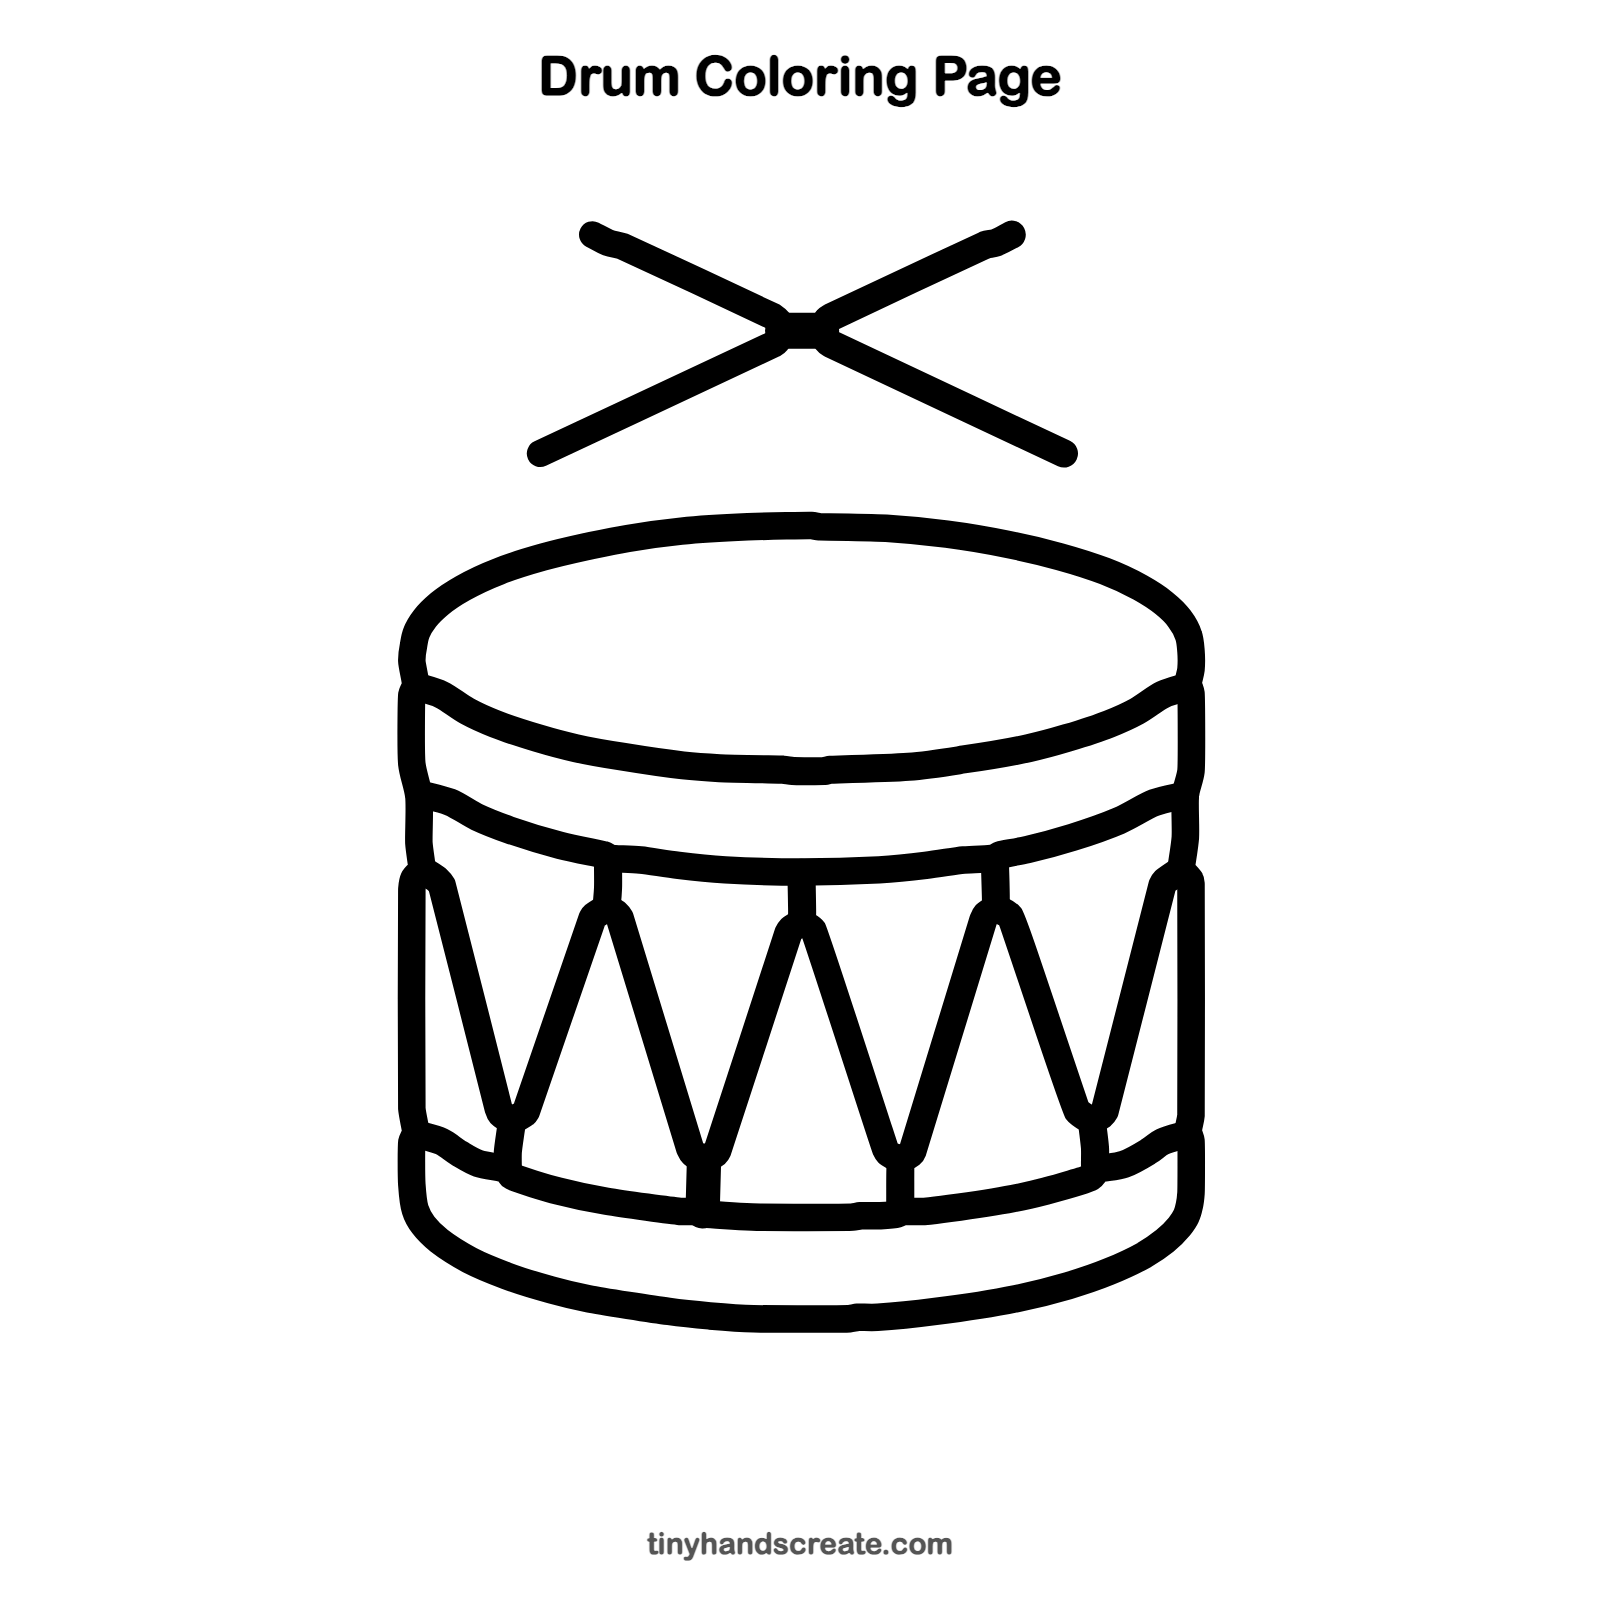
Want to go straight to coloring? Open this drum coloring page at full size and print it. It is the same drawing you just learned, with clean lines ready for crayons or markers.
How to color your drum drawing
Try a bright red or blue for the drum body and gold for the rim bands, with wooden brown sticks. For a creative twist, color each triangle in the zigzag a different color to make a rainbow drum.
Drum fun fact for kids
Drums are some of the oldest instruments in the world. People have been tapping on stretched animal skins and hollow logs for thousands of years.
Questions about drawing a drum
What shapes do I need to draw a drum?
You need a rounded can shape for the body, curved lines for the rim bands, and a zigzag made from straight slanting lines. The drumsticks are two long crossed lines above the drum.
How do I make my drum look round and not flat?
Curve the lines on the front of the drum so they bend downward, just like the curve across the top. Flat straight lines make the drum look like a box.
How do I make my drum look more fun?
Add music notes floating around it, or color the zigzag triangles in different colors. You can also draw a little drummer standing behind it.