How to Draw an Onigiri Rice Ball (Easy Step by Step)
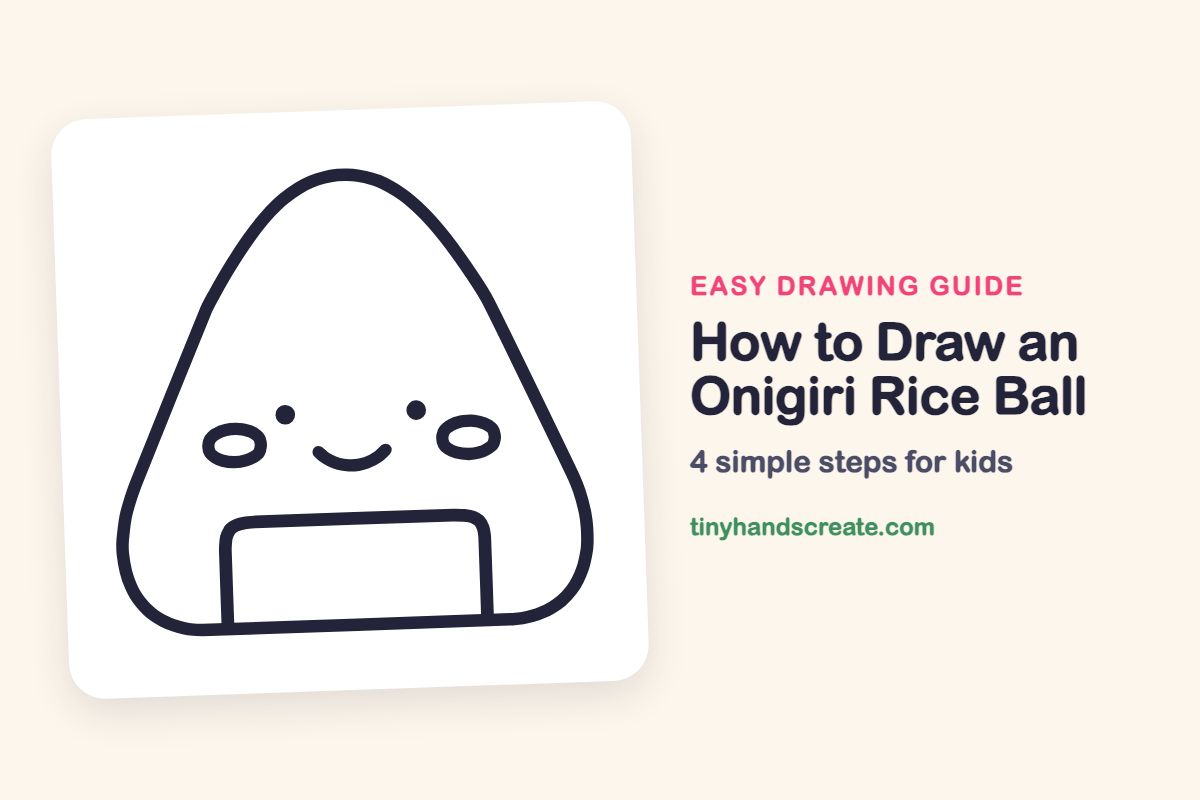
An onigiri is a Japanese rice ball, and a smiling one is one of the easiest cute characters to draw. It is built from just a rounded triangle, a rectangle, two ovals, two dots, and one curved smile.
- Easy
- 8 minutes
- 4 steps
You need: paper, a pencil, an eraser, and crayons or markers for coloring.
Start drawingIn this article (7 sections)
How to draw an onigiri rice ball step by step
How to Draw an Onigiri Rice Ball · tinyhandscreate.com
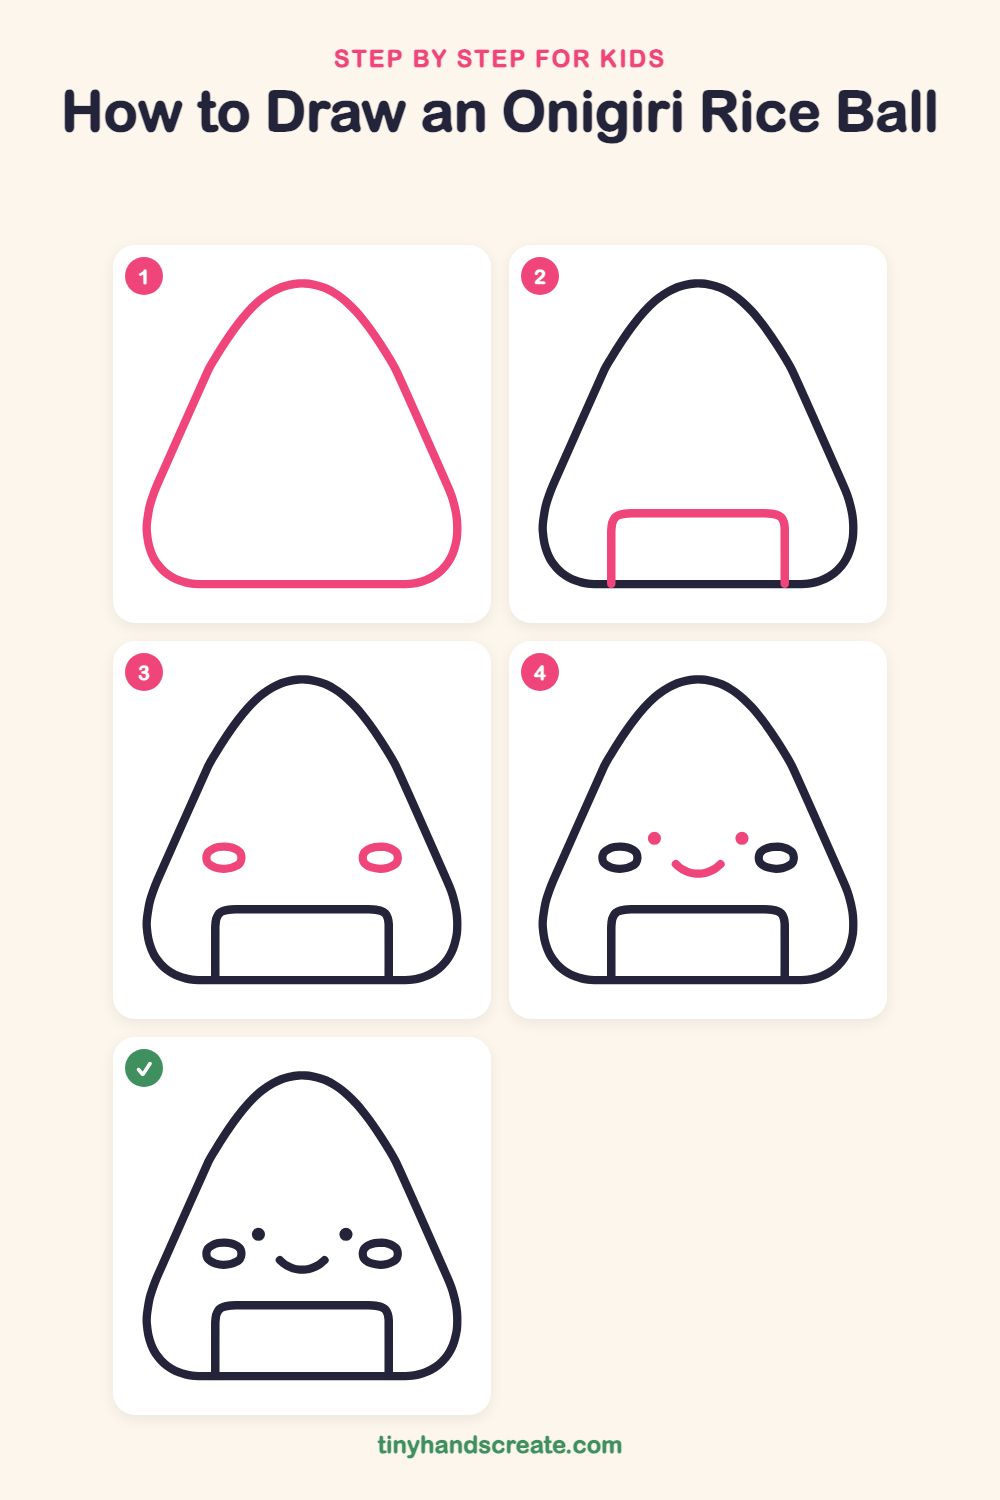
Step 1: The rice ball
Start with a big triangle that has soft, round corners. Make the top a gentle curve and the bottom a flat line with rounded corners.
Step 2: The seaweed wrap
Near the bottom, draw a wide rectangle with rounded top corners. Start each side line on the flat bottom edge and bring them up to meet the top line. You do not need to draw a bottom line, because the rice ball's edge is already there.
Step 3: Rosy cheeks
Draw two small sideways ovals, one on the left and one on the right, above the seaweed. Try to keep them the same size and at the same height.
Step 4: Eyes and smile
Add two small dots for eyes, just above the cheeks and a bit toward the middle. Then draw a little curved smile between the cheeks, like a tiny bowl.
All done!
Go over your lines with a marker, then color it in.
Finished your onigiri rice ball? Keep the pencils out and learn how to draw a matcha latte or how to draw a cinnamon roll next.
Tips for drawing an onigiri rice ball
- Draw the triangle lightly first, then round off the corners. Sharp corners make it look like a mountain instead of a squishy rice ball.
- Let the seaweed rectangle start right on the bottom line so it looks like it is wrapped around the rice.
- Draw the two cheek ovals at the same height, then place the eye dots a little above them and the smile in the middle. That keeps the face even on both sides.
Free onigiri rice ball coloring page
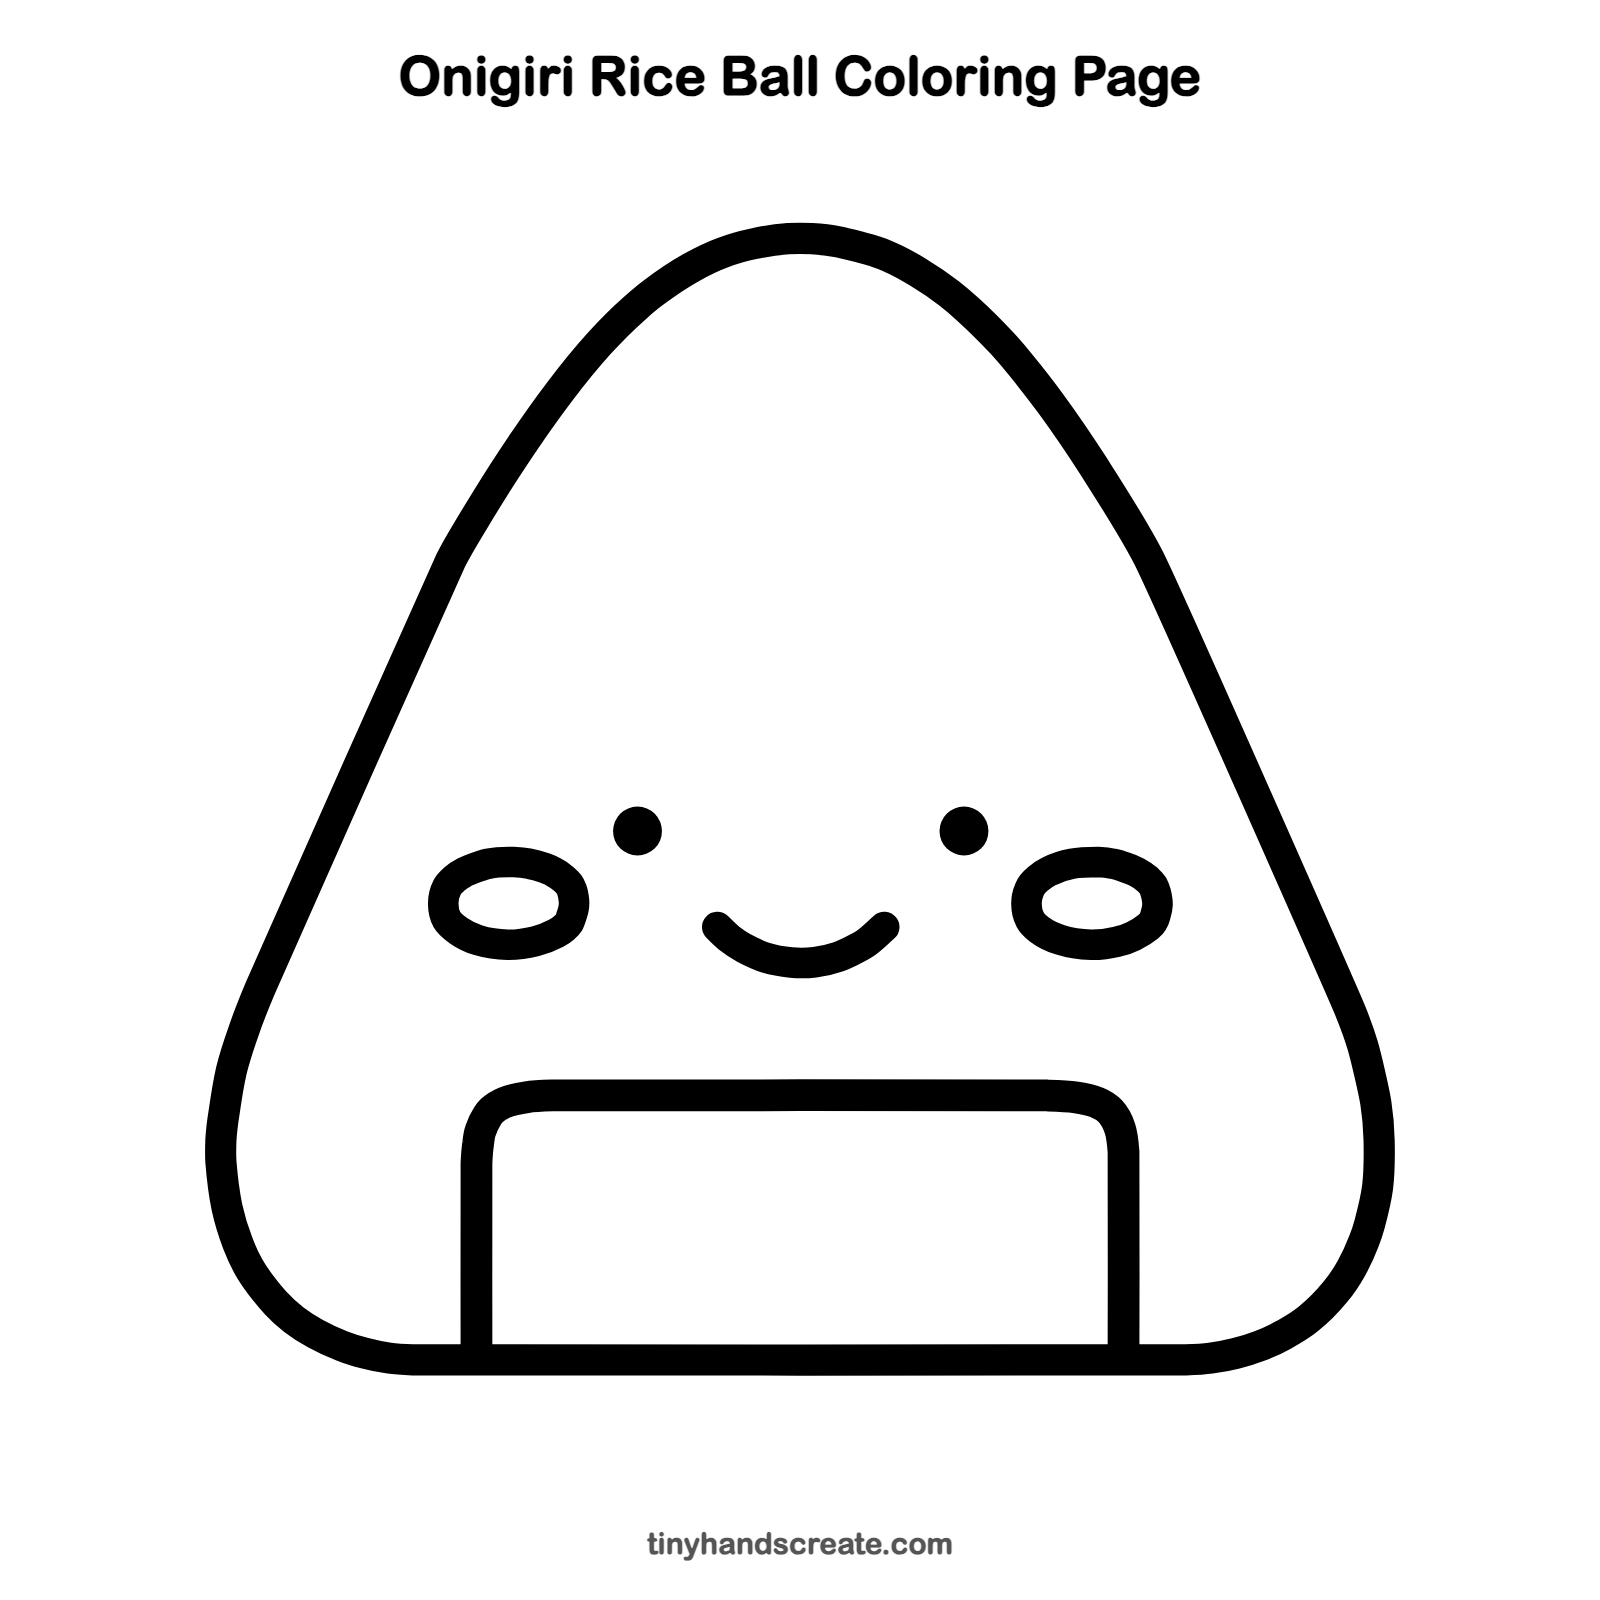
Want to go straight to coloring? Open this onigiri rice ball coloring page at full size and print it. It is the same drawing you just learned, with clean lines ready for crayons or markers.
How to color your onigiri rice ball drawing
Color the rice ball white or very light gray, the seaweed dark green or black, and the cheeks pink. Leave the eyes and smile dark.
Onigiri rice ball fun fact for kids
Onigiri are Japanese rice balls, often shaped into triangles by hand. Many have a strip of dried seaweed called nori wrapped around the bottom so you can hold the rice without getting sticky fingers.
Questions about drawing an onigiri rice ball
What shapes do I need to draw an onigiri?
You need a triangle with round corners, a rectangle, two small ovals, two dots, and one curved line for the smile.
How do I make my onigiri look cuter?
Keep the eyes small and set wide apart, and add rosy cheeks on each side. A tiny smile in the middle makes it look happy.
How do I draw the seaweed wrap?
Draw a wide rectangle with rounded top corners near the bottom of the rice ball. Let its sides start on the bottom line.