How to Draw a Rocking Horse (Easy Step by Step)
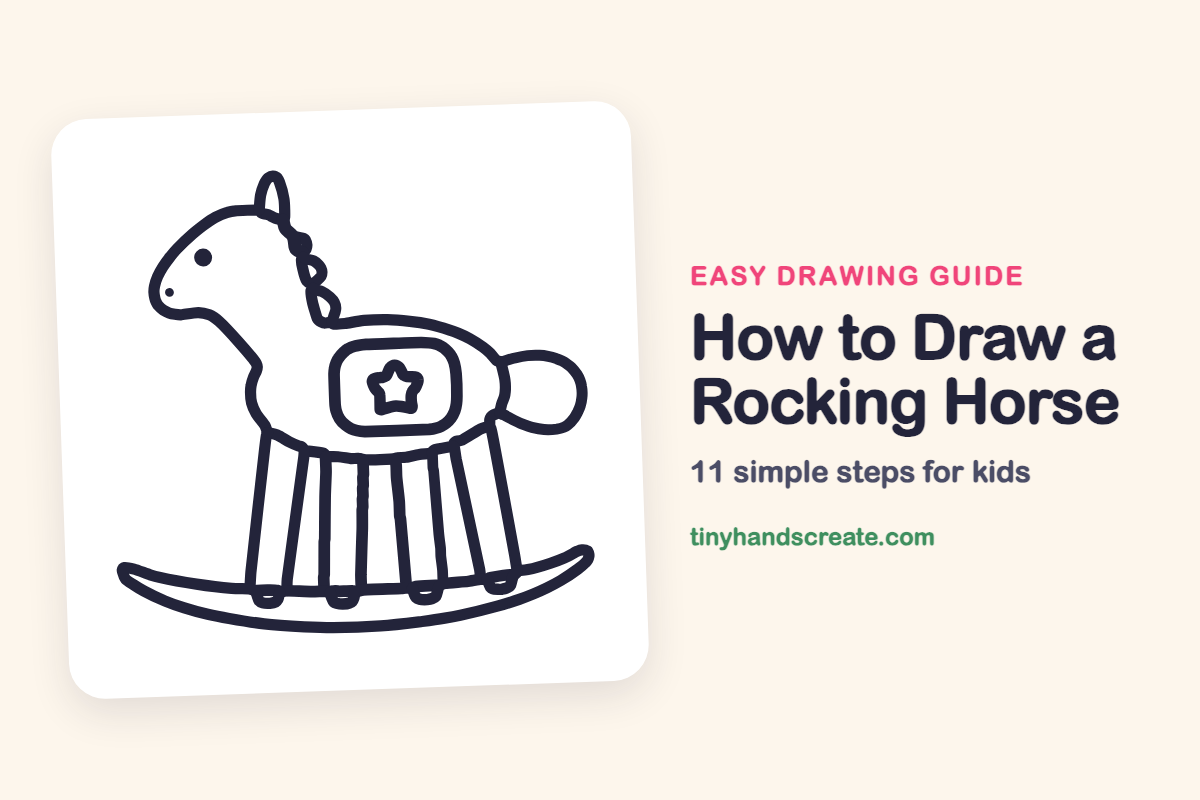
A rocking horse is a cozy toy to draw, and it is built from simple shapes: a round body, straight lines for the poles, and one long curve for the rocker. The star on the saddle is a fun touch that is easy to add.
- Medium
- 15 minutes
- 11 steps
You need: paper, a pencil, an eraser, and crayons or markers for coloring.
Start drawingIn this article (7 sections)
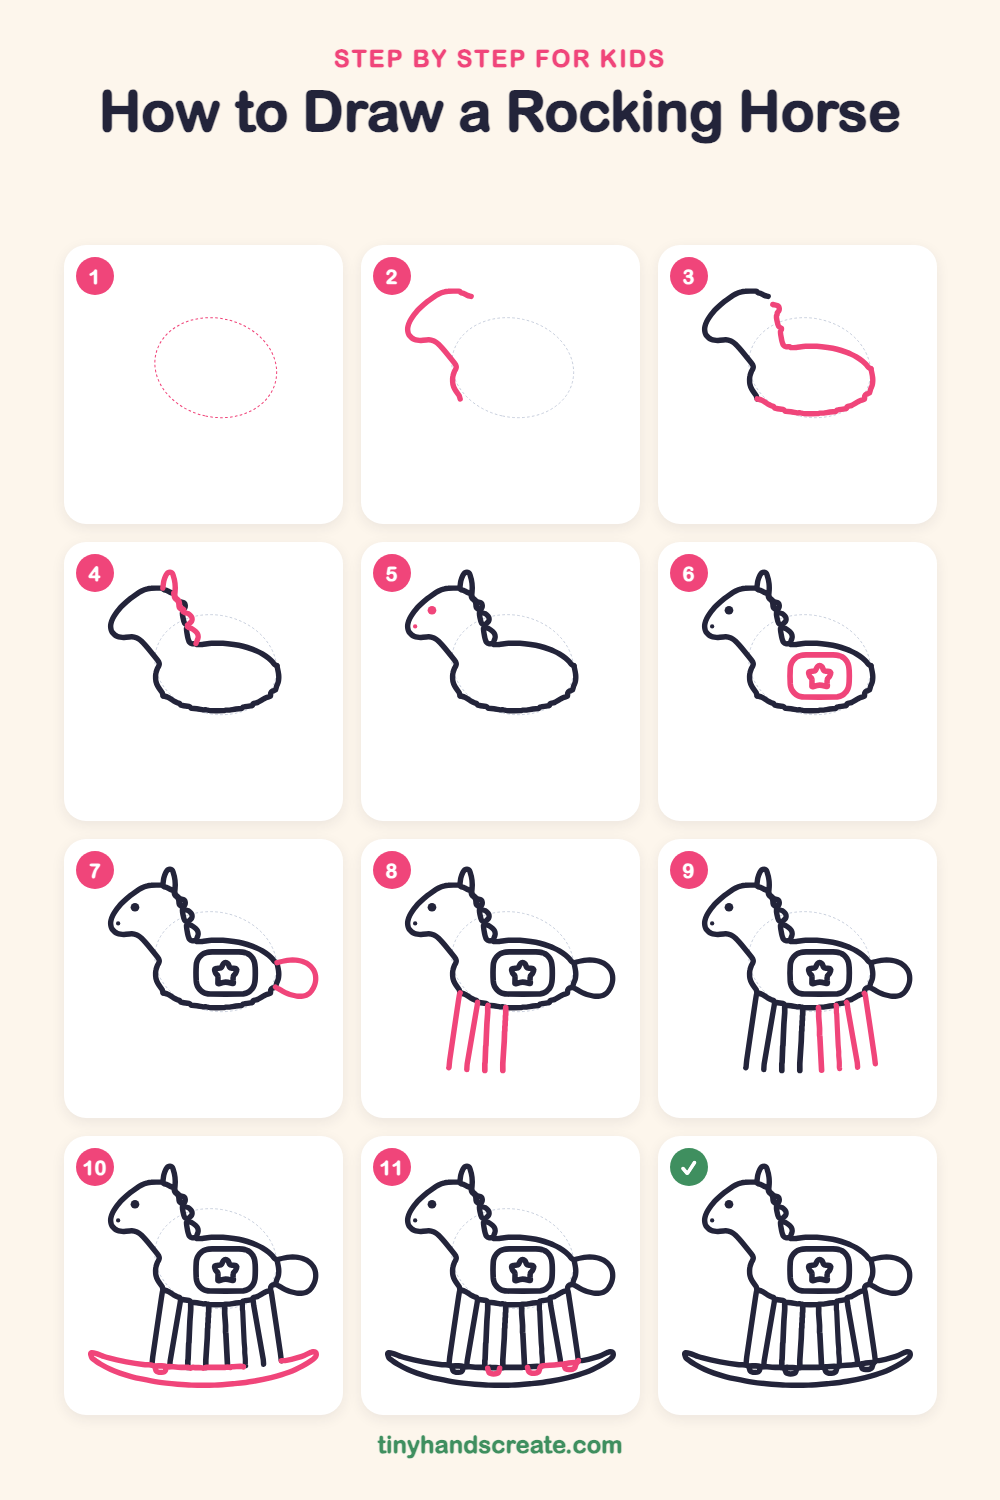
How to draw a rocking horse step by step
How to Draw a Rocking Horse · tinyhandscreate.com
Step 1: Guide shapes
Lightly sketch this oval. It only shows where the big parts go, so press softly. You will erase it at the end.
Step 2: Head and neck
Start at the nose and curve up and over for the top of the head. Then draw the front of the neck sweeping down and to the right, ending near the chest.
Step 3: Back and body
Draw a short line down from the top of the head for the back of the neck. Then draw the top of the body as a gentle hill and curve around underneath to make a big round tummy.
Step 4: Ear and mane
Draw a small pointy loop on top of the head for the ear. Then draw a wiggly, curly line down the back of the neck for the mane.
Step 5: Eye and nostril
Add a small round dot for the eye near the middle of the head. Put a tiny dot at the front of the nose for the nostril.
Step 6: Saddle and star
Draw a rounded rectangle on the middle of the body for the saddle. Inside it, draw a small star with five points.
Step 7: The tail
At the back of the body, draw a round loop for the tail. Start at the body, curve out and around, and come back to touch the body lower down.
Step 8: First poles
Under the left side of the tummy, draw four straight lines going down. Keep them close together and leaning just a little.
Step 9: More poles
Draw three more straight lines going down under the right side of the tummy. Make them end at about the same level as the first four.
Step 10: The rocker
At the bottom of the poles, draw a long, curved shape like a smile that sticks out past the poles on both ends. Close it up to make a thick rocker.
Step 11: Little feet
Where the poles touch the rocker, add small rounded bumps at the bottoms of the poles to make tiny feet.
All done!
Erase the guide shapes, go over your lines, then color it in.
Finished your rocking horse? Keep the pencils out and learn how to draw Santa's boot or how to draw a Christmas cat next.
Tips for drawing a rocking horse
- Draw the head and neck first so the body has a place to join them.
- Take your time with the poles and try to keep the gaps between them about even.
- Draw the rocker in one slow, smooth stroke and let it stick out past the poles at each end.
Free rocking horse coloring page
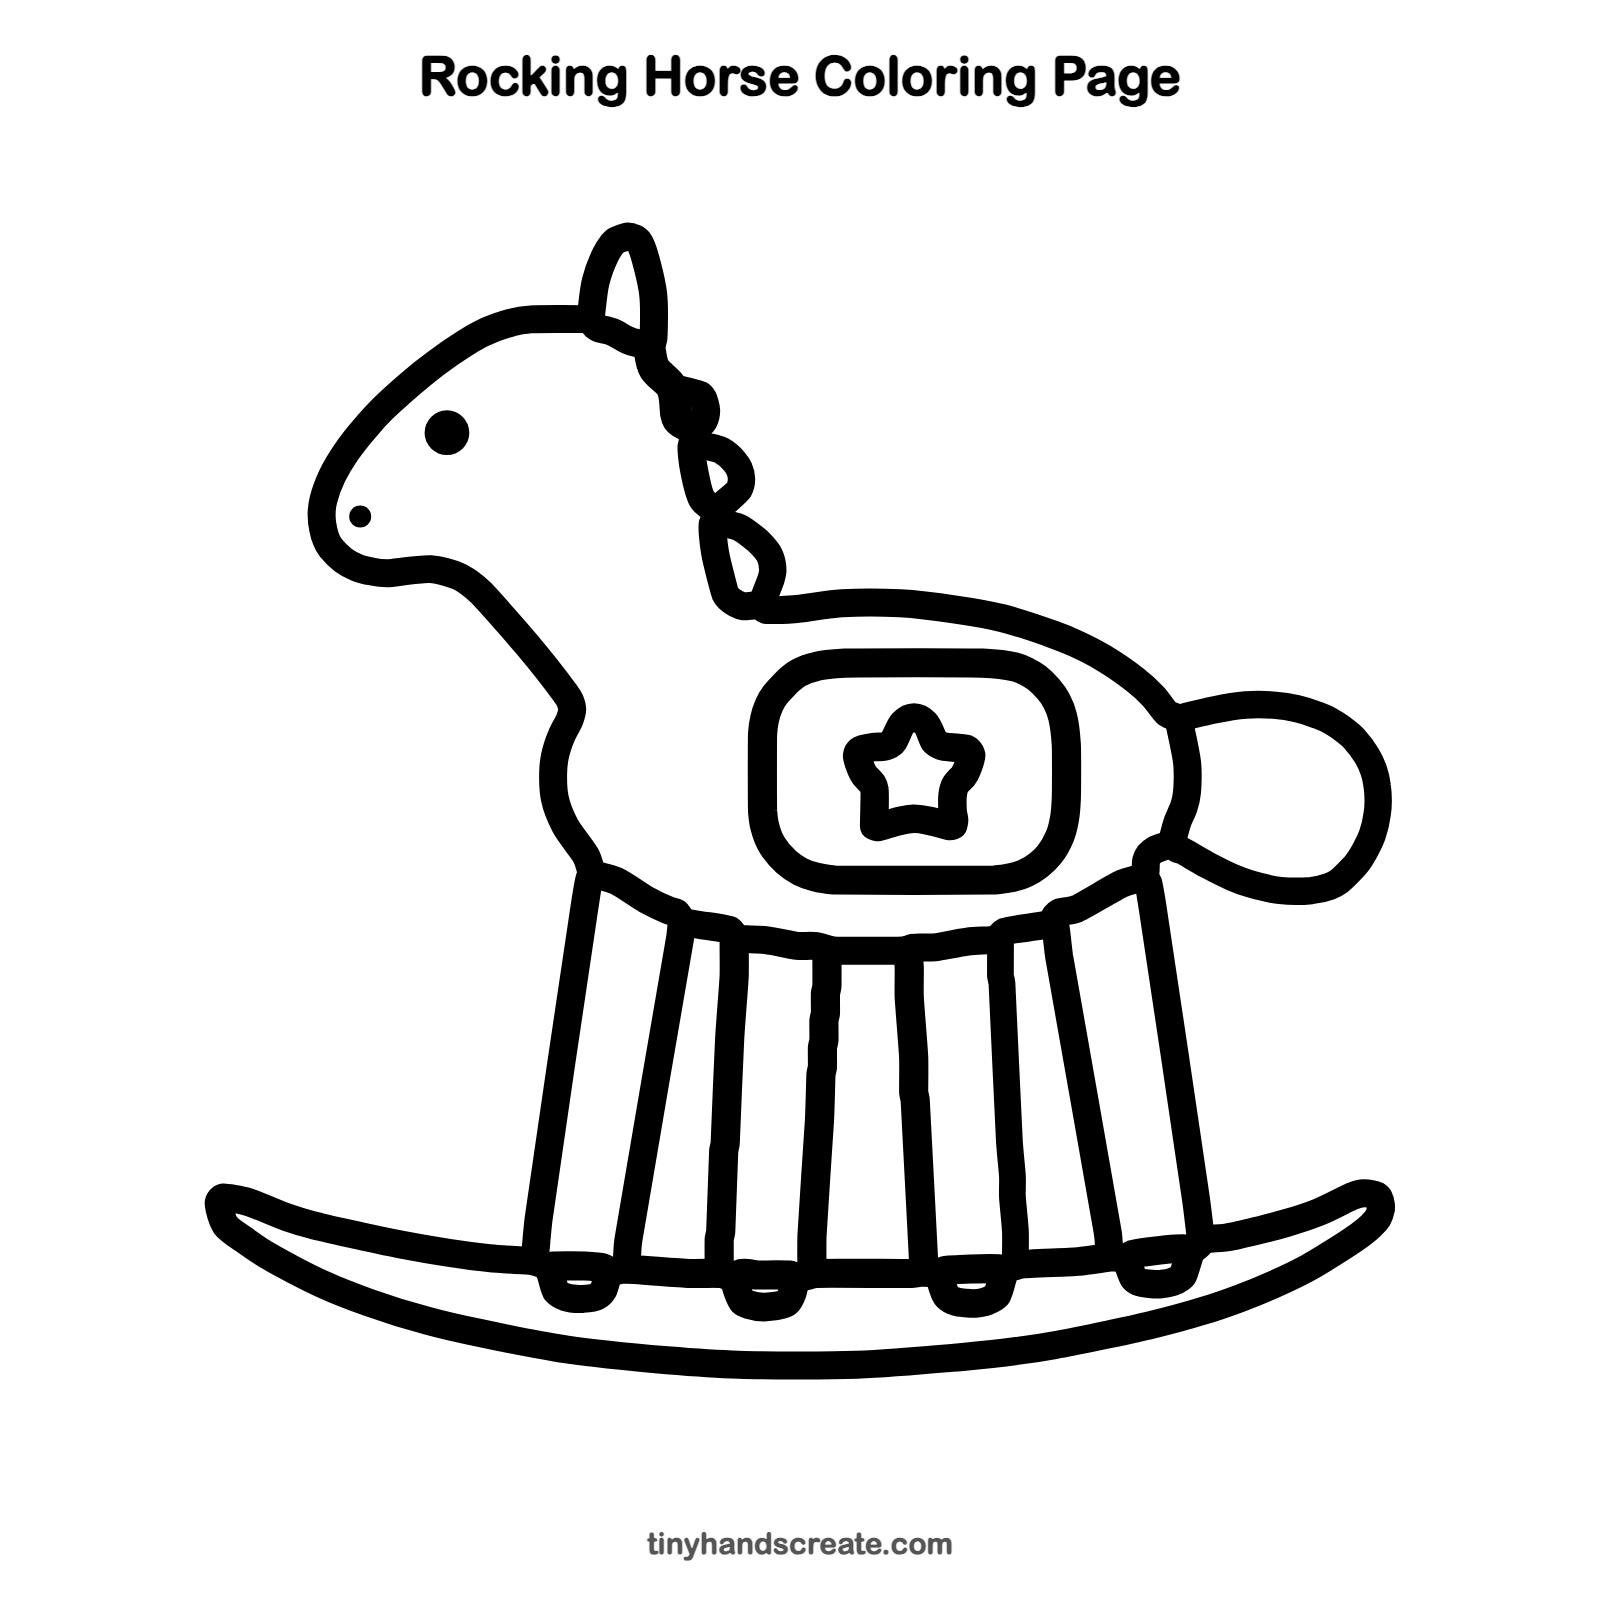
Want to go straight to coloring? Open this rocking horse coloring page at full size and print it. It is the same drawing you just learned, with clean lines ready for crayons or markers.
How to color your rocking horse drawing
Try a classic brown or white horse with a red saddle and a yellow star. For a twist, color the poles in rainbow stripes.
Rocking horse fun fact for kids
A rocking horse gets its name because it rocks back and forth on two curved pieces called rockers.
Questions about drawing a rocking horse
What shapes do I need to draw a rocking horse?
You need a curved outline for the head and neck, a round body, a rounded rectangle for the saddle, a loop for the tail, straight lines for the poles, and a long curve for the rocker.
How do I make my rocking horse look cuter?
Add a curly mane, a small star on the saddle, and a round loop tail. Little rounded feet at the bottom of the poles help too.
How do I draw the rocker so it looks even?
Draw it in one slow stroke like a wide smile, and let it stick out the same amount past the poles on both ends.